The Nail Biter's Trick to Having Reasonable-Looking Nails
Ladies, it's time.
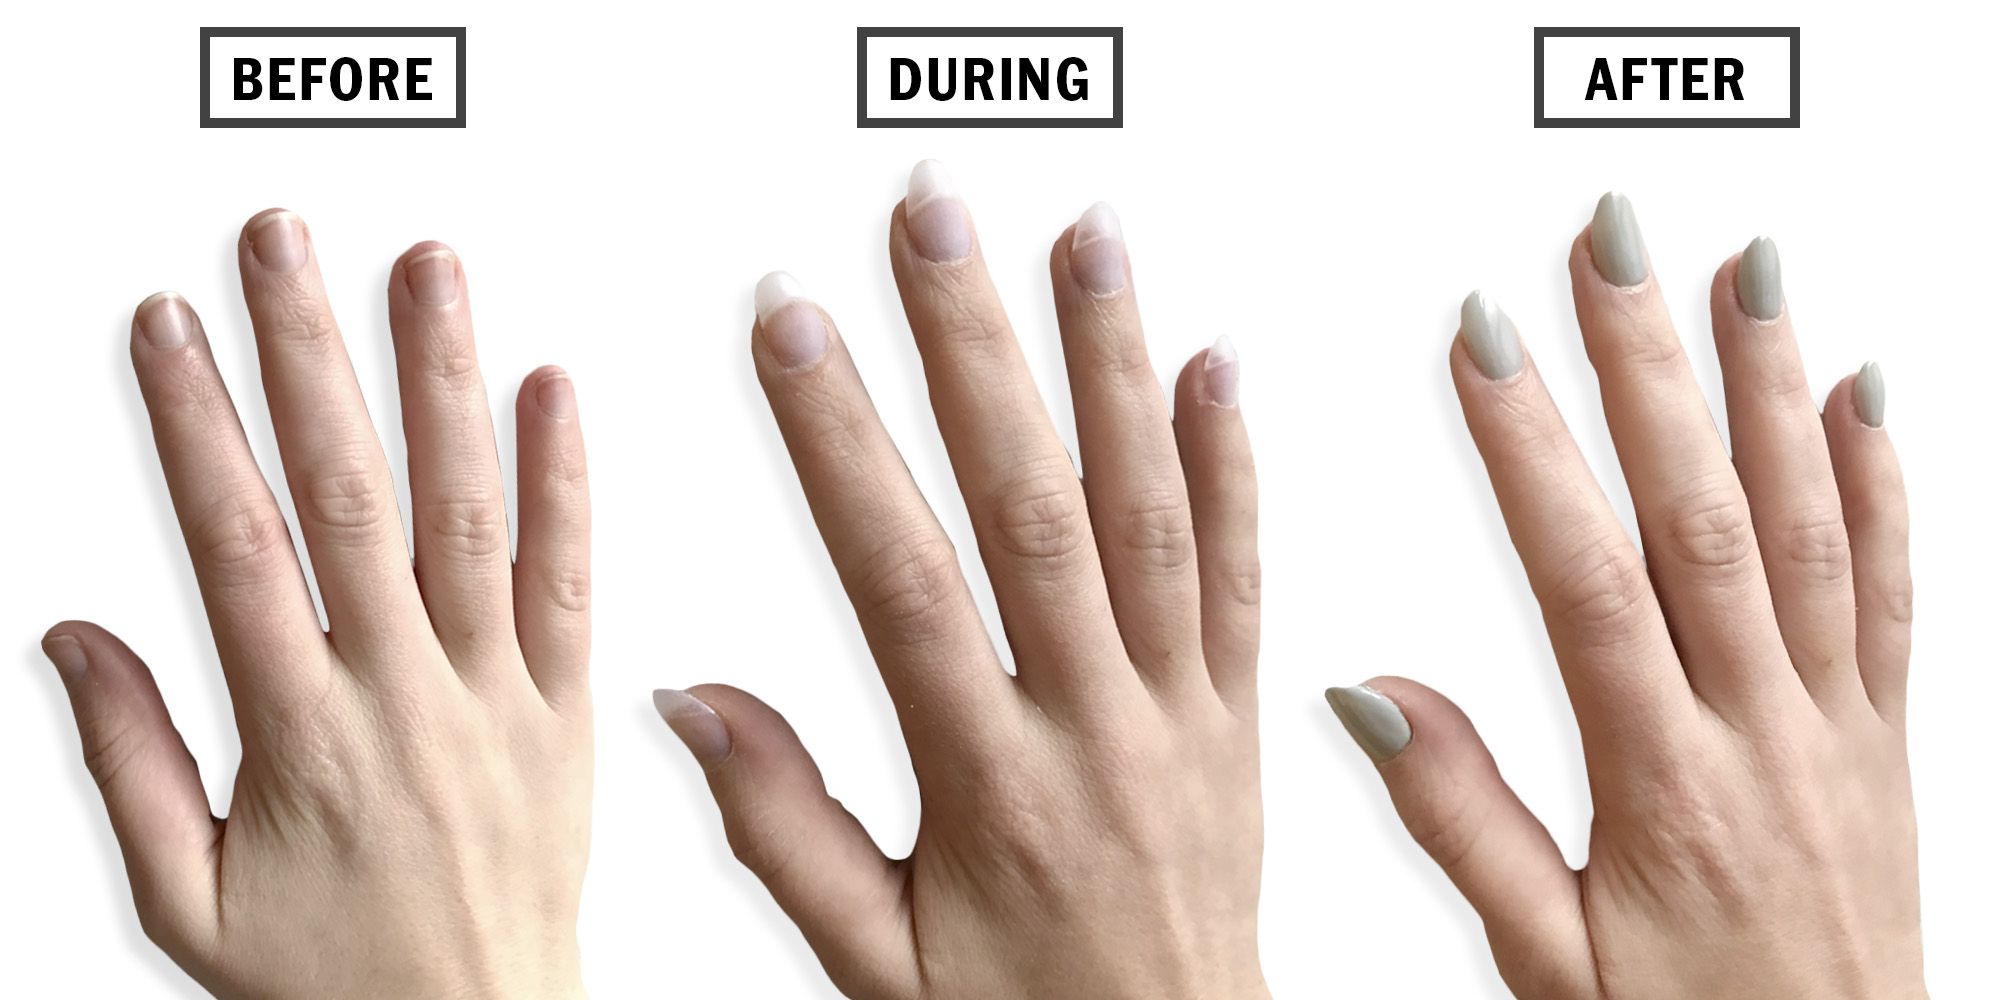
As a beauty editor, copping up to my nail biting habit is kind of mortifying. I have access to some of the most coveted nail salons, artists, and polishes in the world, and yet here I am, nibbling away at my sorry little stubs whenever stress gets the better of me. "It's a horrid habit," as Hallie Parker would say, and eventually, it got to the point where I needed a cover-up of Watergate proportions. It was time for nail extensions.

Because I wanted 1) natural-looking extensions and 2) nail art to complement my Halloween costume, I went to Vanity Projects, an atelier-like space in NYC's Chinatown that's home to some of the most innovative nail artists in the world.
Here's the step-by-step of how they take nails from 0-to-💯 real quick (under two hours) AKA apply gel extensions:
1. Attach the extension forms to the nails
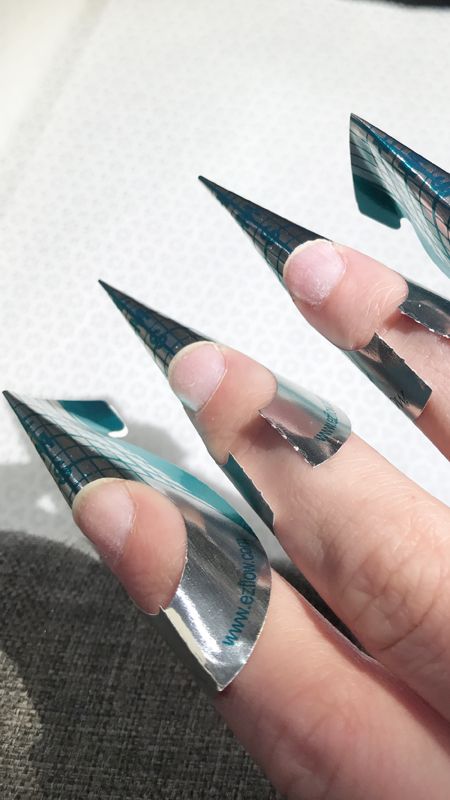
"Tips is a general term for adding extensions also called enhancements," explains Rita Pinto, founder of Vanity Projects. "Generally you can build an acrylic or gel extension by using a form or a plastic tip, and then the acrylic goes on as an overlay."
2. Sculpt the extensions
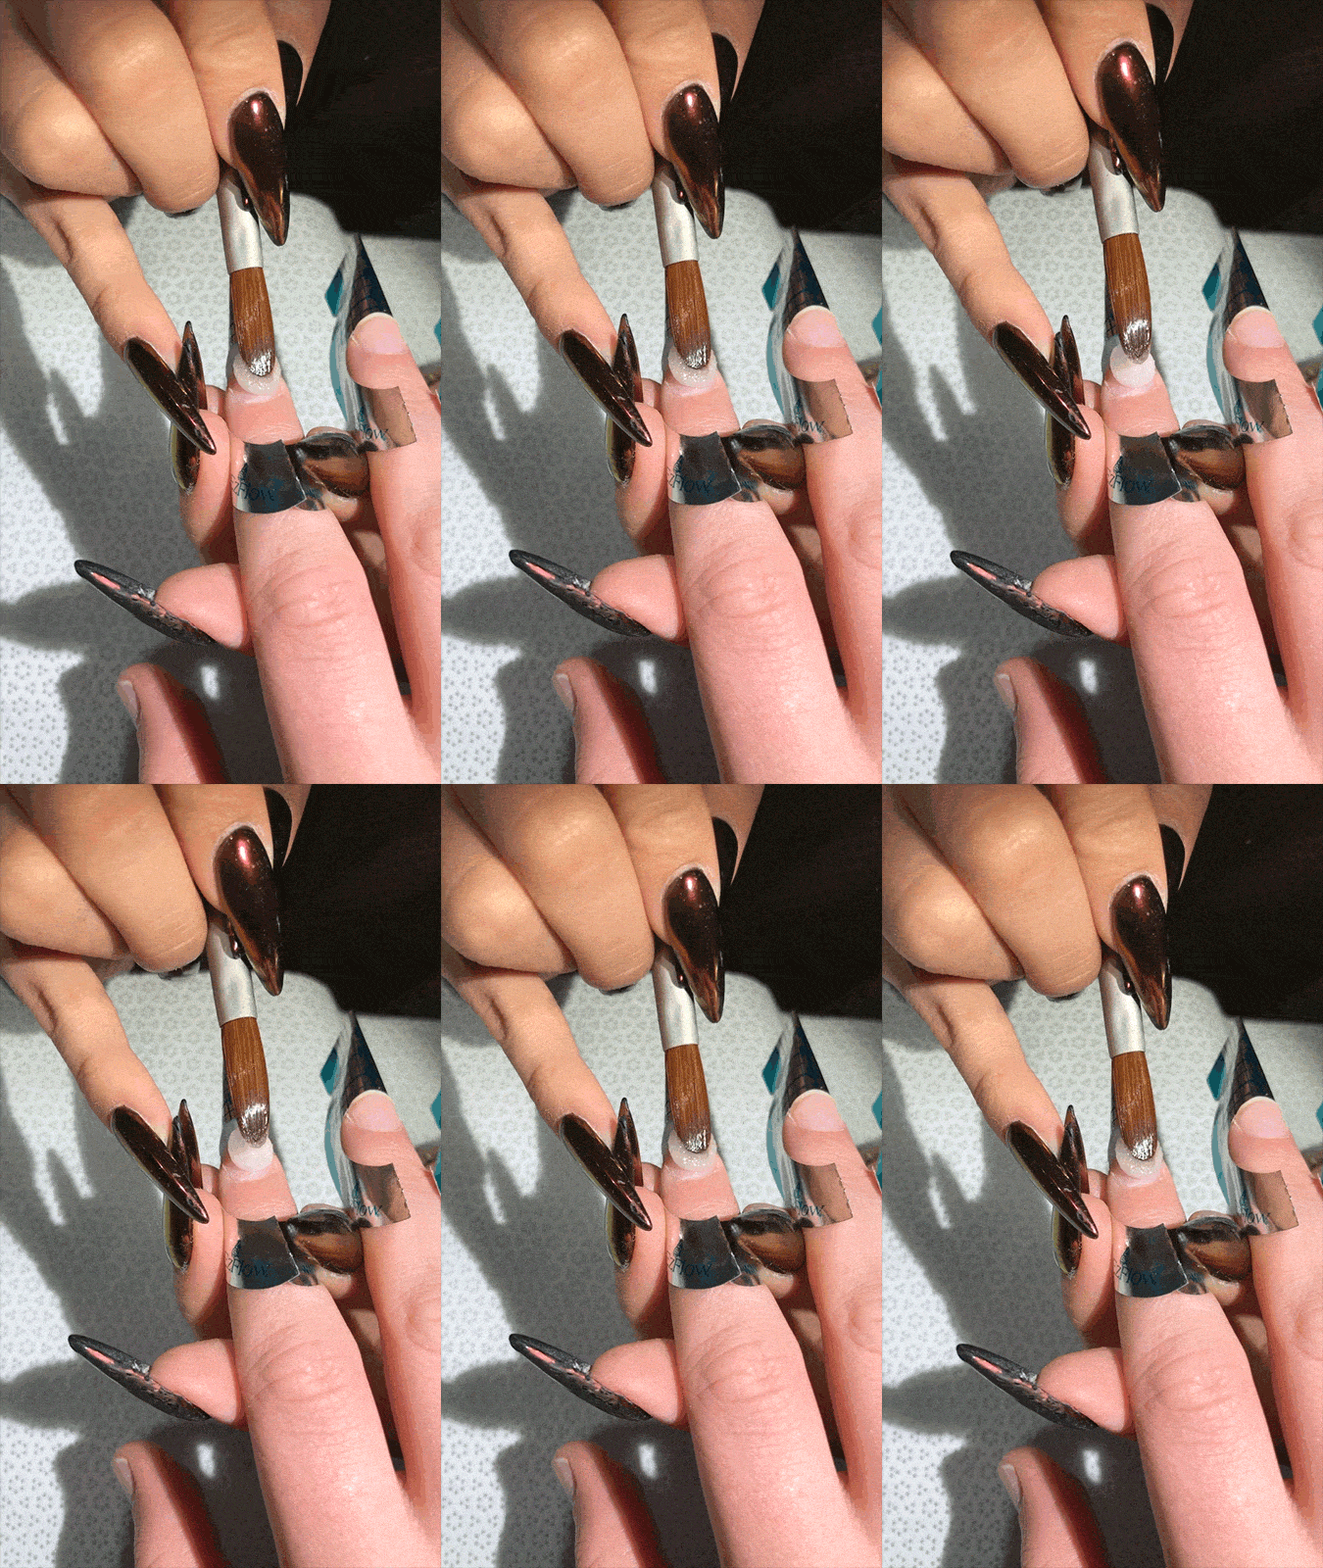
Opting for gel, the extension is made from a special powder and liquid that when mixed together, forms a hard surface used for extensions. "To look natural, the nail technician must be skilled in order to make sure they're not too thick," says Pinto.
Get exclusive access to fashion and beauty trends, hot-off-the-press celebrity news, and more.
Once the paste is applied upon the nail and form, the technician custom sculpts each extension into the shape desired.
3. File them to perfection
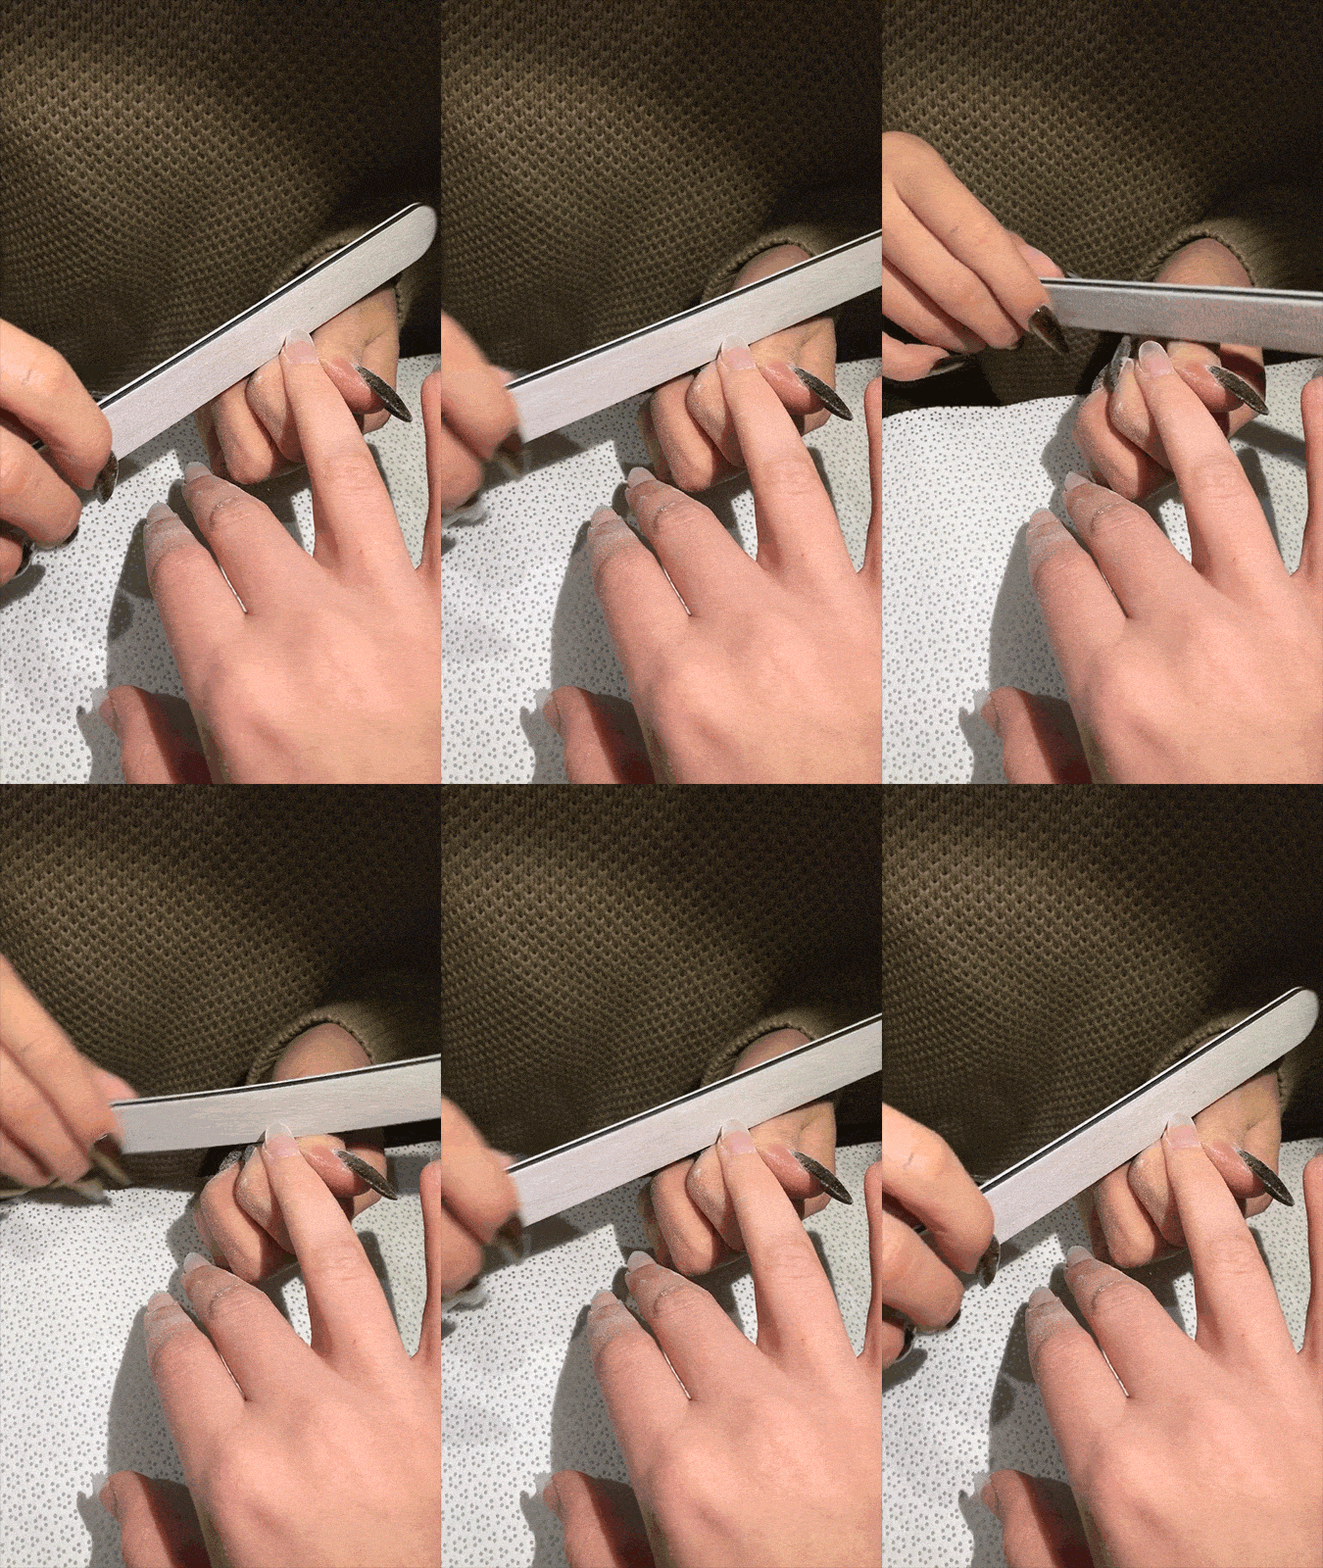
The extensions look exactly like the white, crescent-shaped tips you'd find on real long nails. They are filed and buffed in just the same way.
4. Apply gel polish
"For natural looking extensions, we suggest a hard gel extension as it's less toxic and very durable," explains Pinto. "There is also less wear on your natural nails in the removal process with gel."
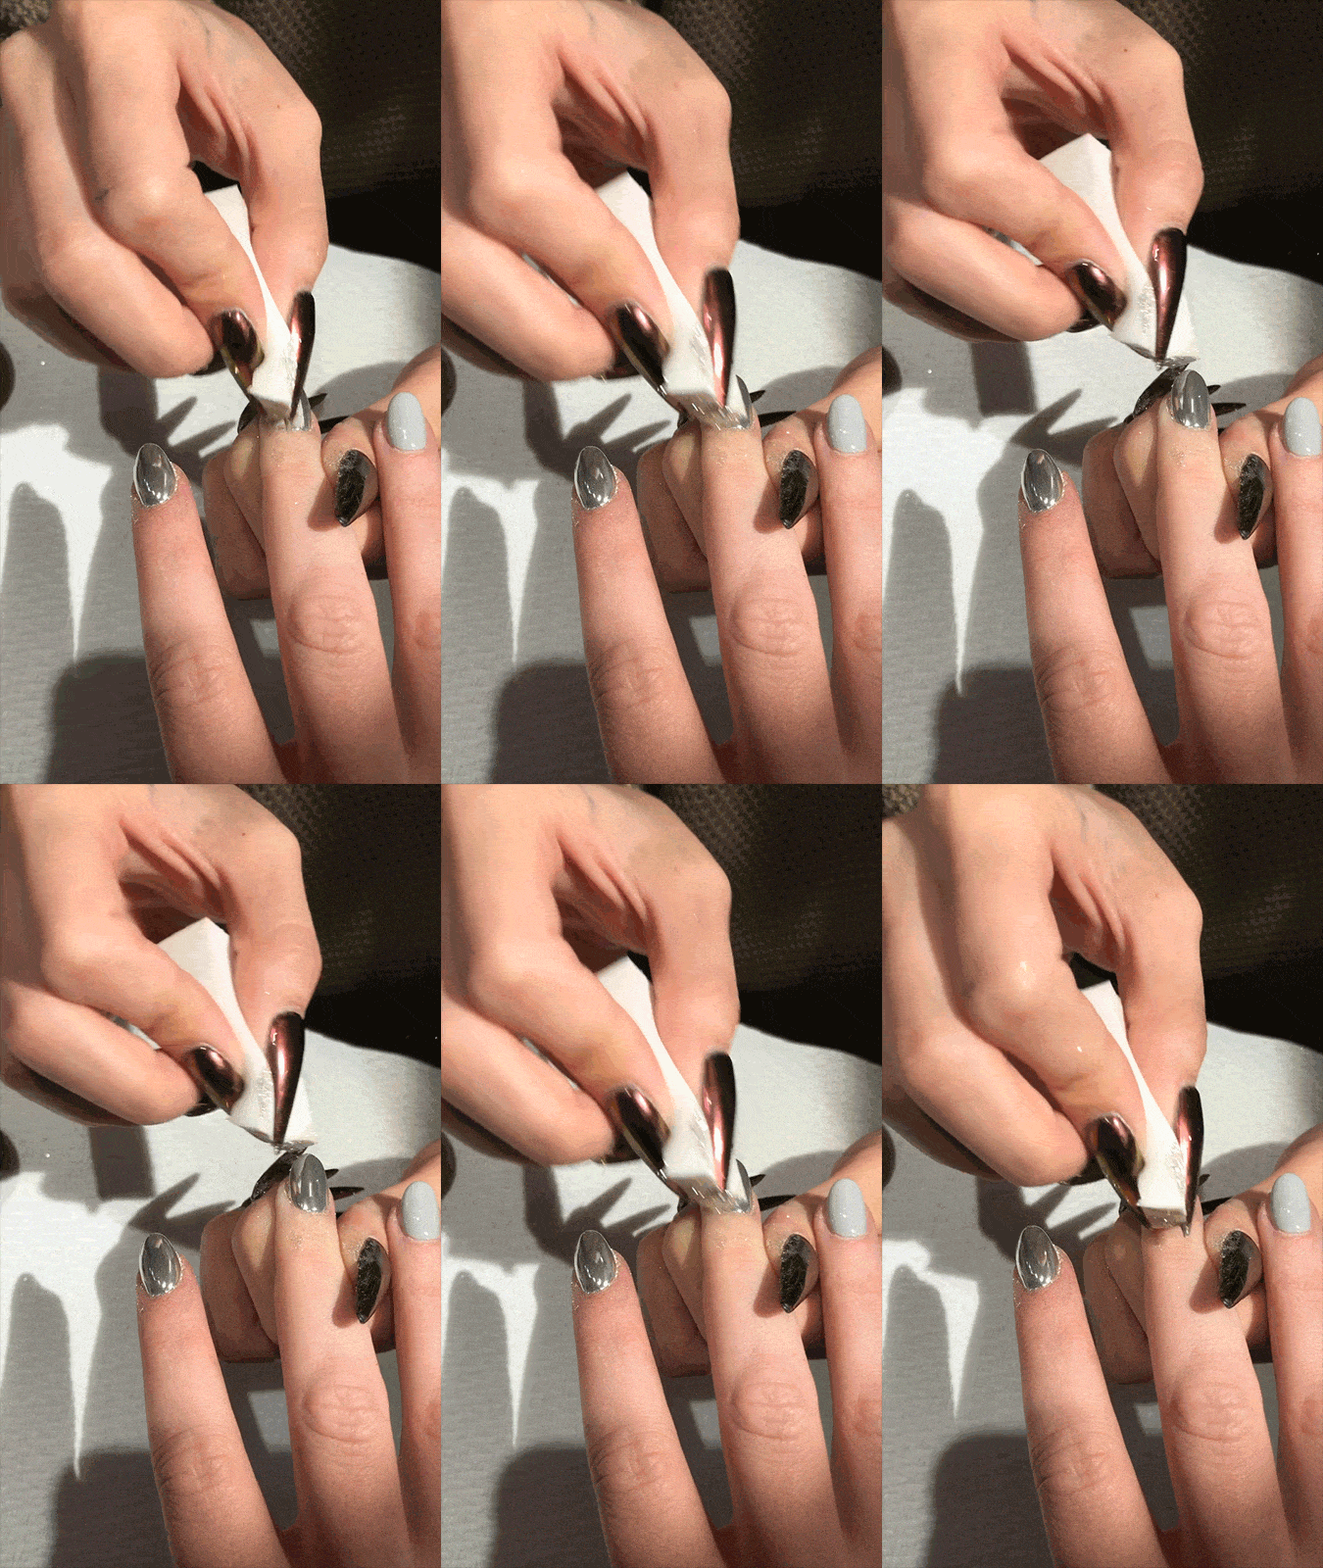
Suggestion: Add a chrome powder pigment for a shiny, silver finish, too.
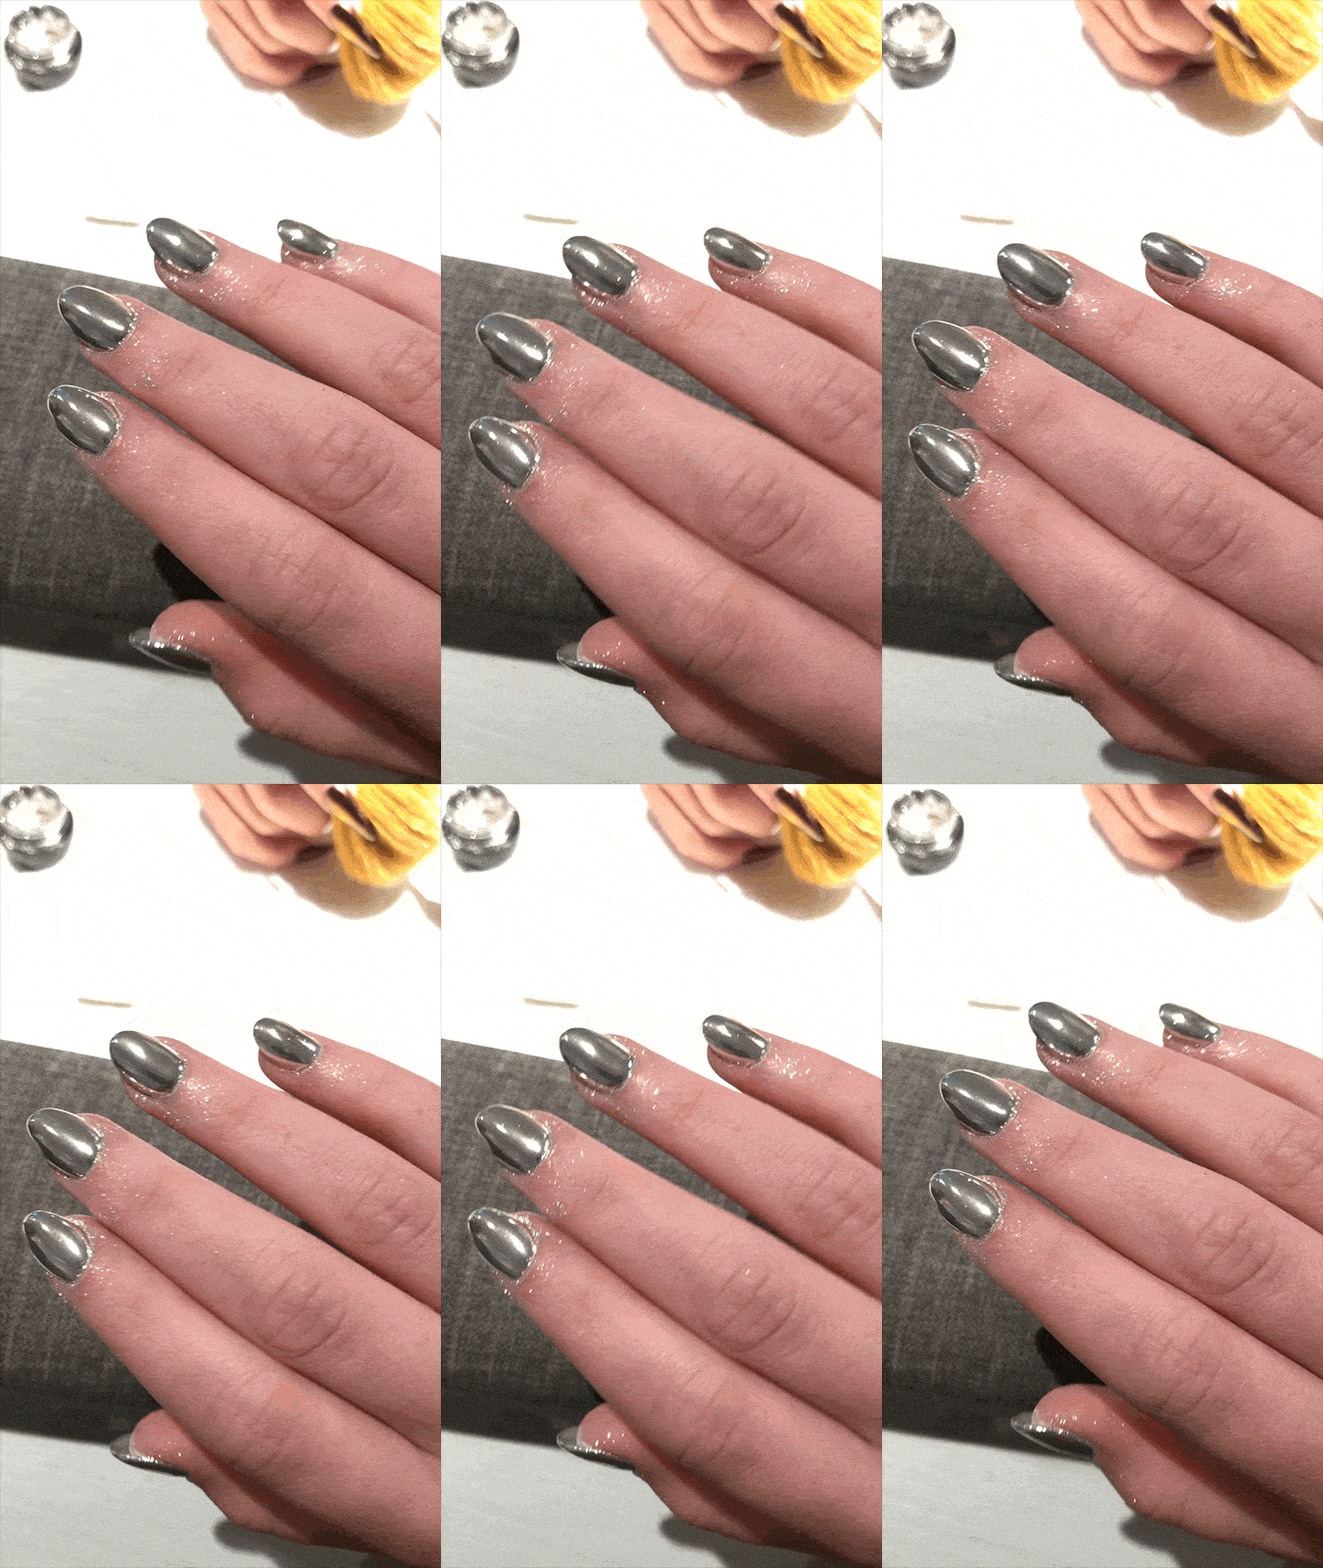
5. Go crazy with nail art to celebrate your new surface area
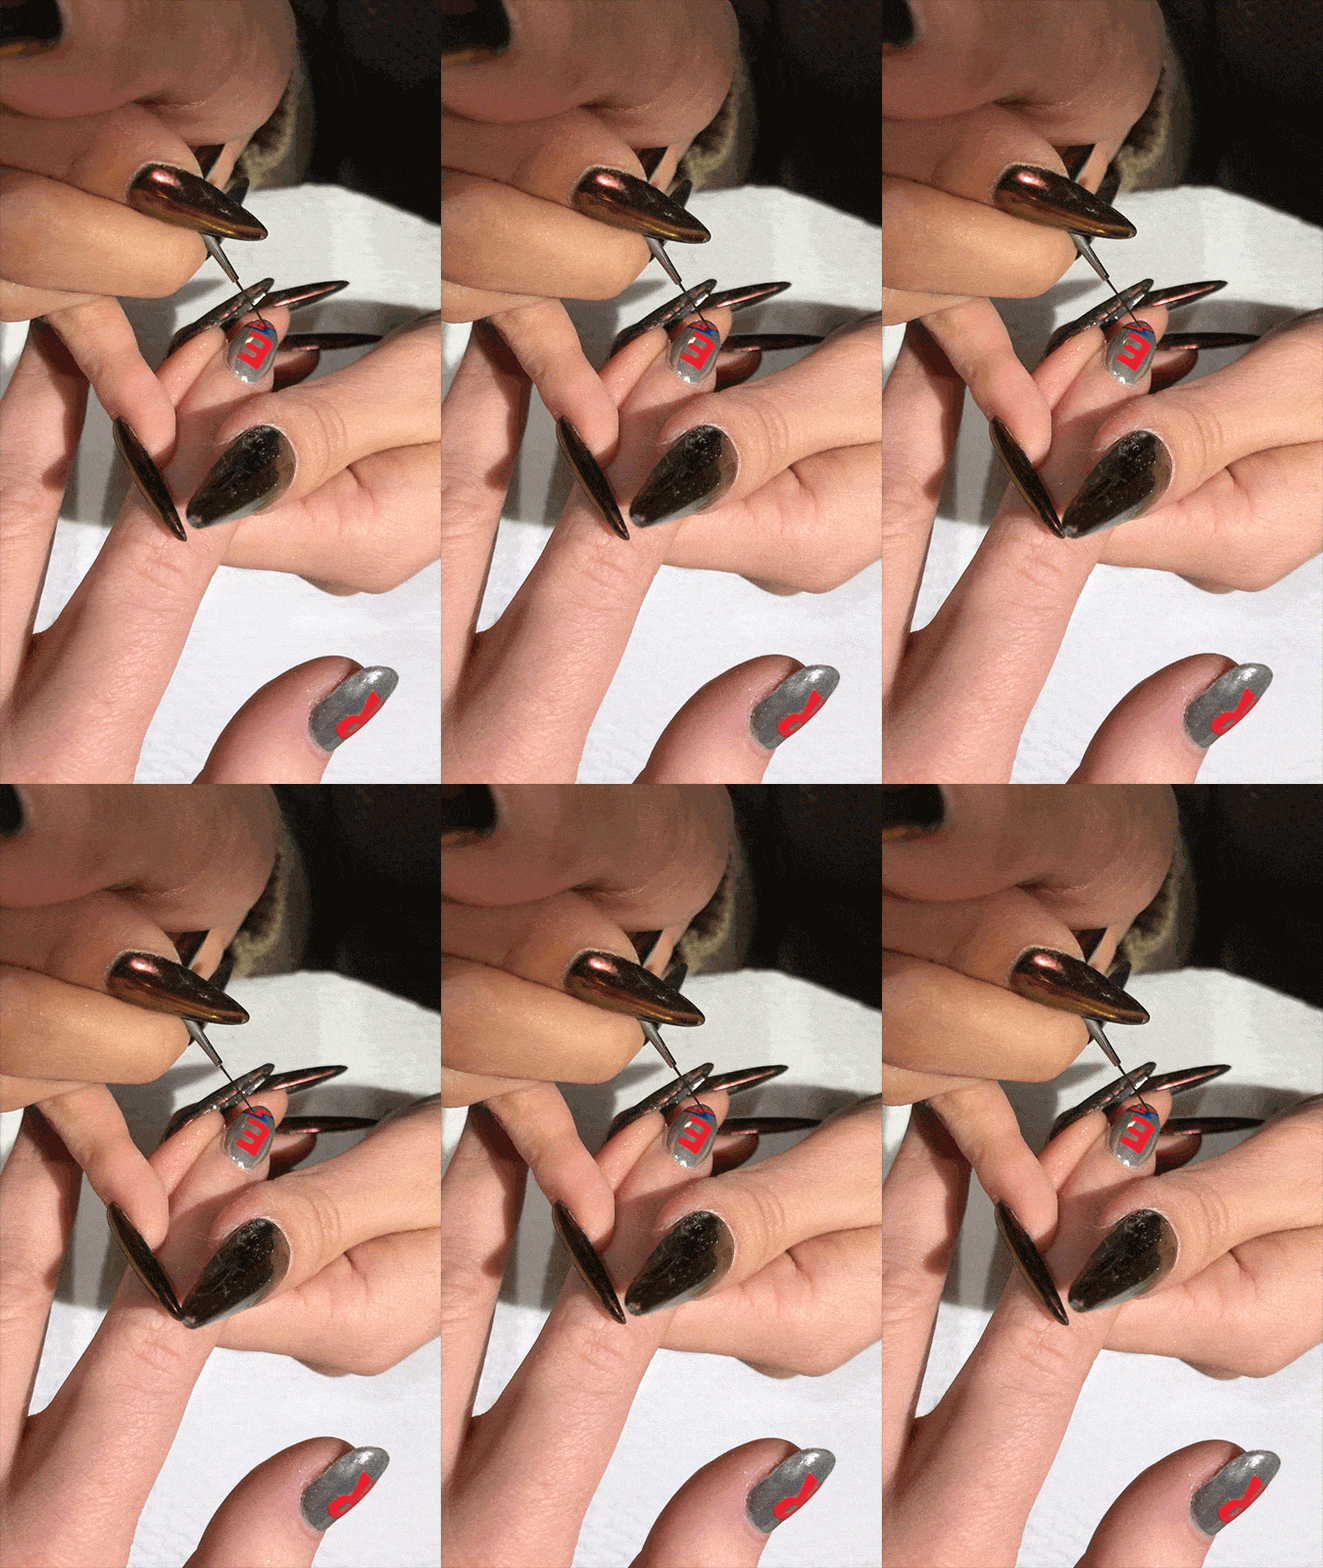
I got my nails emblazoned with "Rebel, Rebel" as I did a David Bowie tribute for Halloween!
A post shared by Vanity Projects (@vanityprojects)
A photo posted by on
The Takeaway
Nail biters, extensions will change your life. Just ask Pinto, who is right there with us...
"As a former nail biter with naturally long nails now, I am convinced that both acrylic and gel extensions are the best way to segue into not biting your nails," she says. (Editors' Note: SAME!) "The length also keeps you from biting your cuticles, which is also a concern."
As for getting used to my newly-long talons, it's been even easier than I thought (although putting in/taking out earrings is a little tricky).
It won't be cheap, but I plan to keep up with my custom gel extensions—they cost $75 and typically last for 2-3 weeks—for the foreseeable future. They not only make me feel like a real adult woman, but inspire me to style/take care of my nails as I do the rest of me. I'm no longer ashamed! And bonus: I haven't thought about biting my nails once.
Out of sight, out of mind, I guess?
A post shared by Vanity Projects (@vanityprojects)
A photo posted by on
Follow Marie Claire on Facebook for the latest celeb news, beauty tips, fascinating reads, livestream video, and more.
Lauren Valenti is Vogue’s former senior beauty editor. Her work has also appeared on ELLE.com, MarieClaire.com, and in In Style. She graduated with a liberal arts degree from Eugene Lang College, The New School for Liberal Arts, with a concentration on Culture and Media Studies and a minor in Journalism.