Some equations are pretty easy to work out: Chanel + nail polish + DIY nail art = summer nail perfection. We teamed up with Chanel to concoct a super easy, super cool nail art design for summer. Known for their cult nail polish colors, Chanel leant us their celebrity manicurist Gina Viviano, who taught us a few tricks of the trade and helped design a new version of the French manicure that reminds us of days spent by the pool and strawberry gelato.

Step 1
Begin with clean nails that have been prepped by pushing back the cuticles and a base coat applied. "Always push back your cuticles, even when you're just sitting around," says Gina. Paint one coat of Chanel Limited Edition Nail Colour in Eastern Light, starting from the base of the nail, slightly curving upward. Don't worry if your line isn't straight, you can adjust it with a cuticle stick later.
Step 2
Dip the tip of a cuticle stick in nail polish remover, and use it to clean up the edges of your white line. The angled tip makes it a lot easier than you might think! If there is still polish, try using a small paintbrush (this is a great tool to keep handy for any DIY nail how-tos).
Step 3
Let your nails dry for two minutes, then apply a second coat of white polish.
Step 4
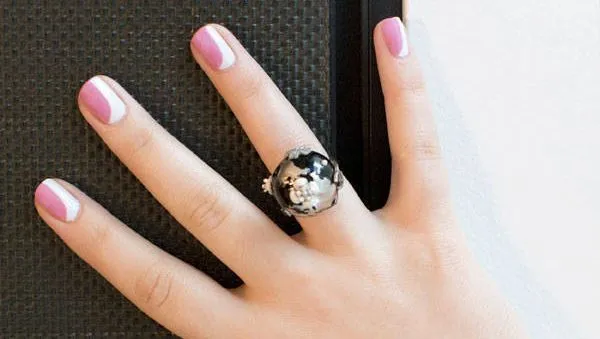
Fill in the rest of the nail with Chanel Limited Edition Nail Colour in Sweet Lilac. Because of the white line you have already created, the colored polish is easy to apply. Wait another two minutes, then add a second coat. After two more minutes, apply your top coat.
Related:
9 Beauty Tips from a Chanel Makeup Artist
Telling Talons: The History of the Manicure
Confessions of a Life-Long Chanel Collector
Photo Credit: Kathryn Wirsing