How to Tint Your Eyebrows at Home—Without Staining Your Skin
Put down the daily brow pencil.
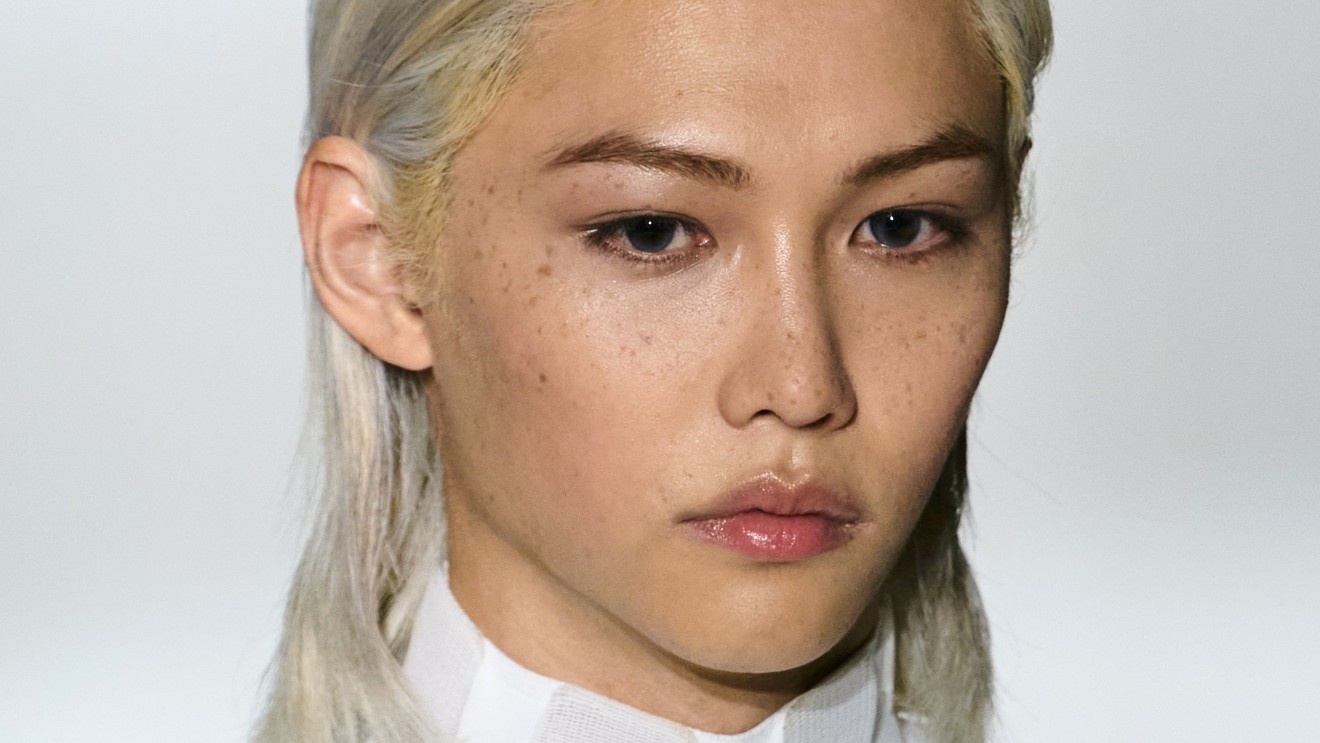

While summer is so often the time for lightened hair, a darker brow makes the most sense in the warmer months. Hear me out: When your eyebrows are tinted, your makeup routine is quicker (put those brow pens away for a couple of weeks!) The best part is that learning how to tint your eyebrows at home is actually pretty easy.
As a professional brow stylist, Melanie Marris has been tinting her brows at home for as long as she can remember. "Tinting my brows made me feel so put together—it elevated my look even when I had no makeup on and, as a little hack, it made my brows look five times fuller than they were," she says.
We've already given you our picks for the best at-home brow tints, and now it's time to teach you how to tint eyebrows yourself. Ahead, Marris, along with Laura Kay, owner of permanent makeup clinic Laura Kay London breaks down how to use the best tints to achieve killer brows.
How to Tint Your Eyebrows at Home
Step One: Patch Test
Patch testing adds extra time to the process, but it's important to ensure your body won't react to the products you're using. Especially when they're going to be applied so close to your eyes.
"Simply apply a tiny amount of the mixed product to a small area like the inside of your elbow or behind your ear," explains Marris. "If there’s no reaction within 24 to 48 hours, you’re good to go."
I like to patch test in the crook of my arm. It's innocuous enough but not so invisible that I forget it's there and don't wipe off my product.
Step 2: Preparation Is Key
In the restaurant world they call your pre-cooking setup (tools out, veggies chopped) your mise en place. This is the same concept. Because you know what? When you have tint on your face and that timer starts counting down you're not going to want to run around looking for q-tips.
Get exclusive access to fashion and beauty trends, hot-off-the-press celebrity news, and more.
"To ensure the tint adheres properly, use an oil-free cleanser to remove any makeup from your brows. Your brows need to be completely dry and free of oils before you begin tinting," says Marris. "To prepare the tint, mix a pea-sized amount of the tint and cream activator in the dish with the application brush until you get a creamy paste. The paste will darken as you mix it."

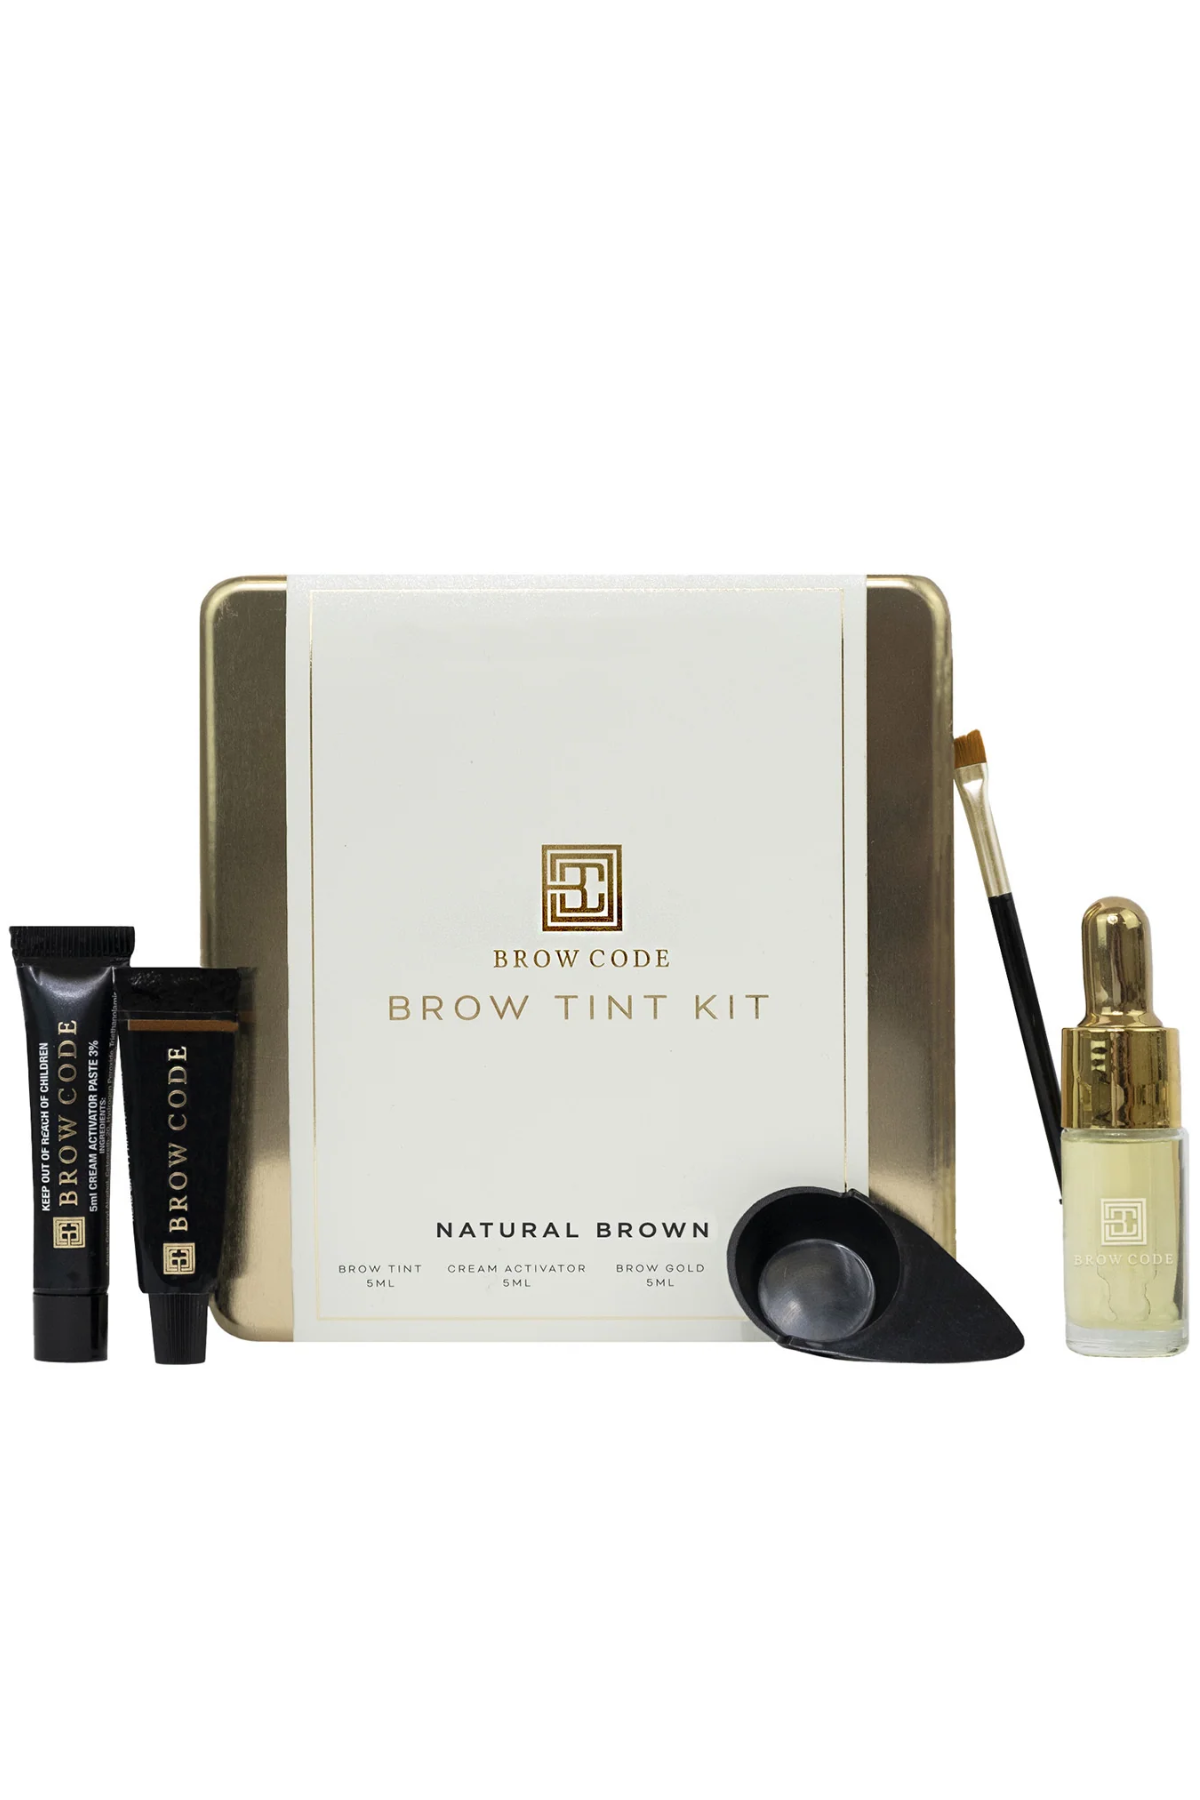
The contents of a Brow Code Brow Tint Kit.
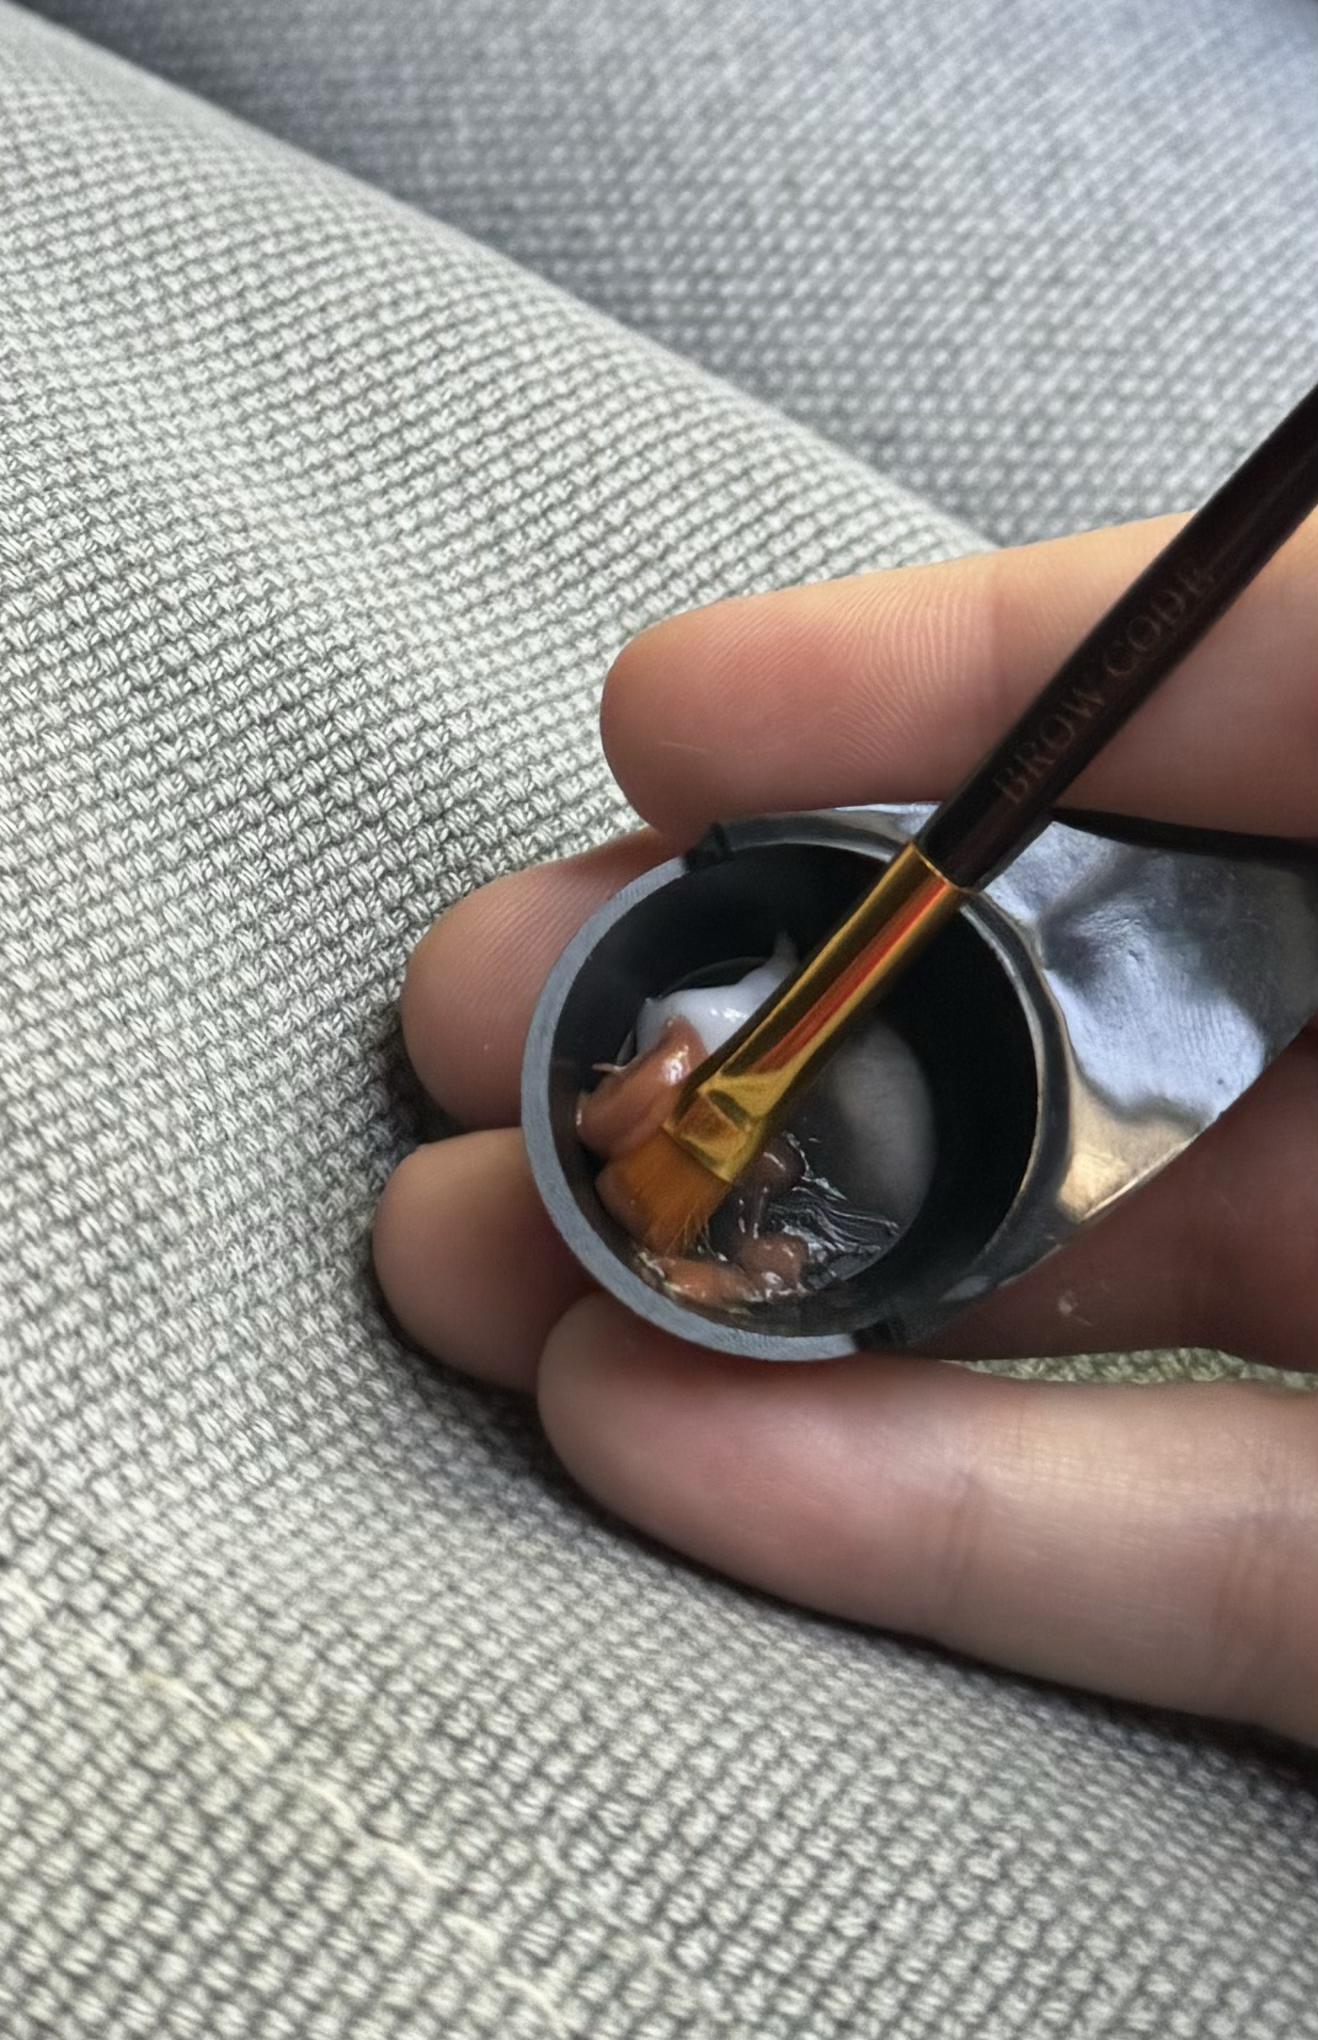
The mixing step.
Step 3: Apply Away
Next, you'll apply the already-mixed tint mixture to the first eyebrow, making sure you cover all the hairs you want colored.
"Blend the tint through the brow with a dry cotton tip for even distribution. Wipe away any excess tint outside your desired shape for a defined look and start the timer for your first brow," says Marris. "Repeat the steps for the second brow, starting a second timer once complete. This is a pro tip to give you the most even results." Aren't you glad phones have double-timer ability these days?
Step 4: Trust the Process(ing)
The processing time can make or break your look and it's arguably the most important part of your brow tint.
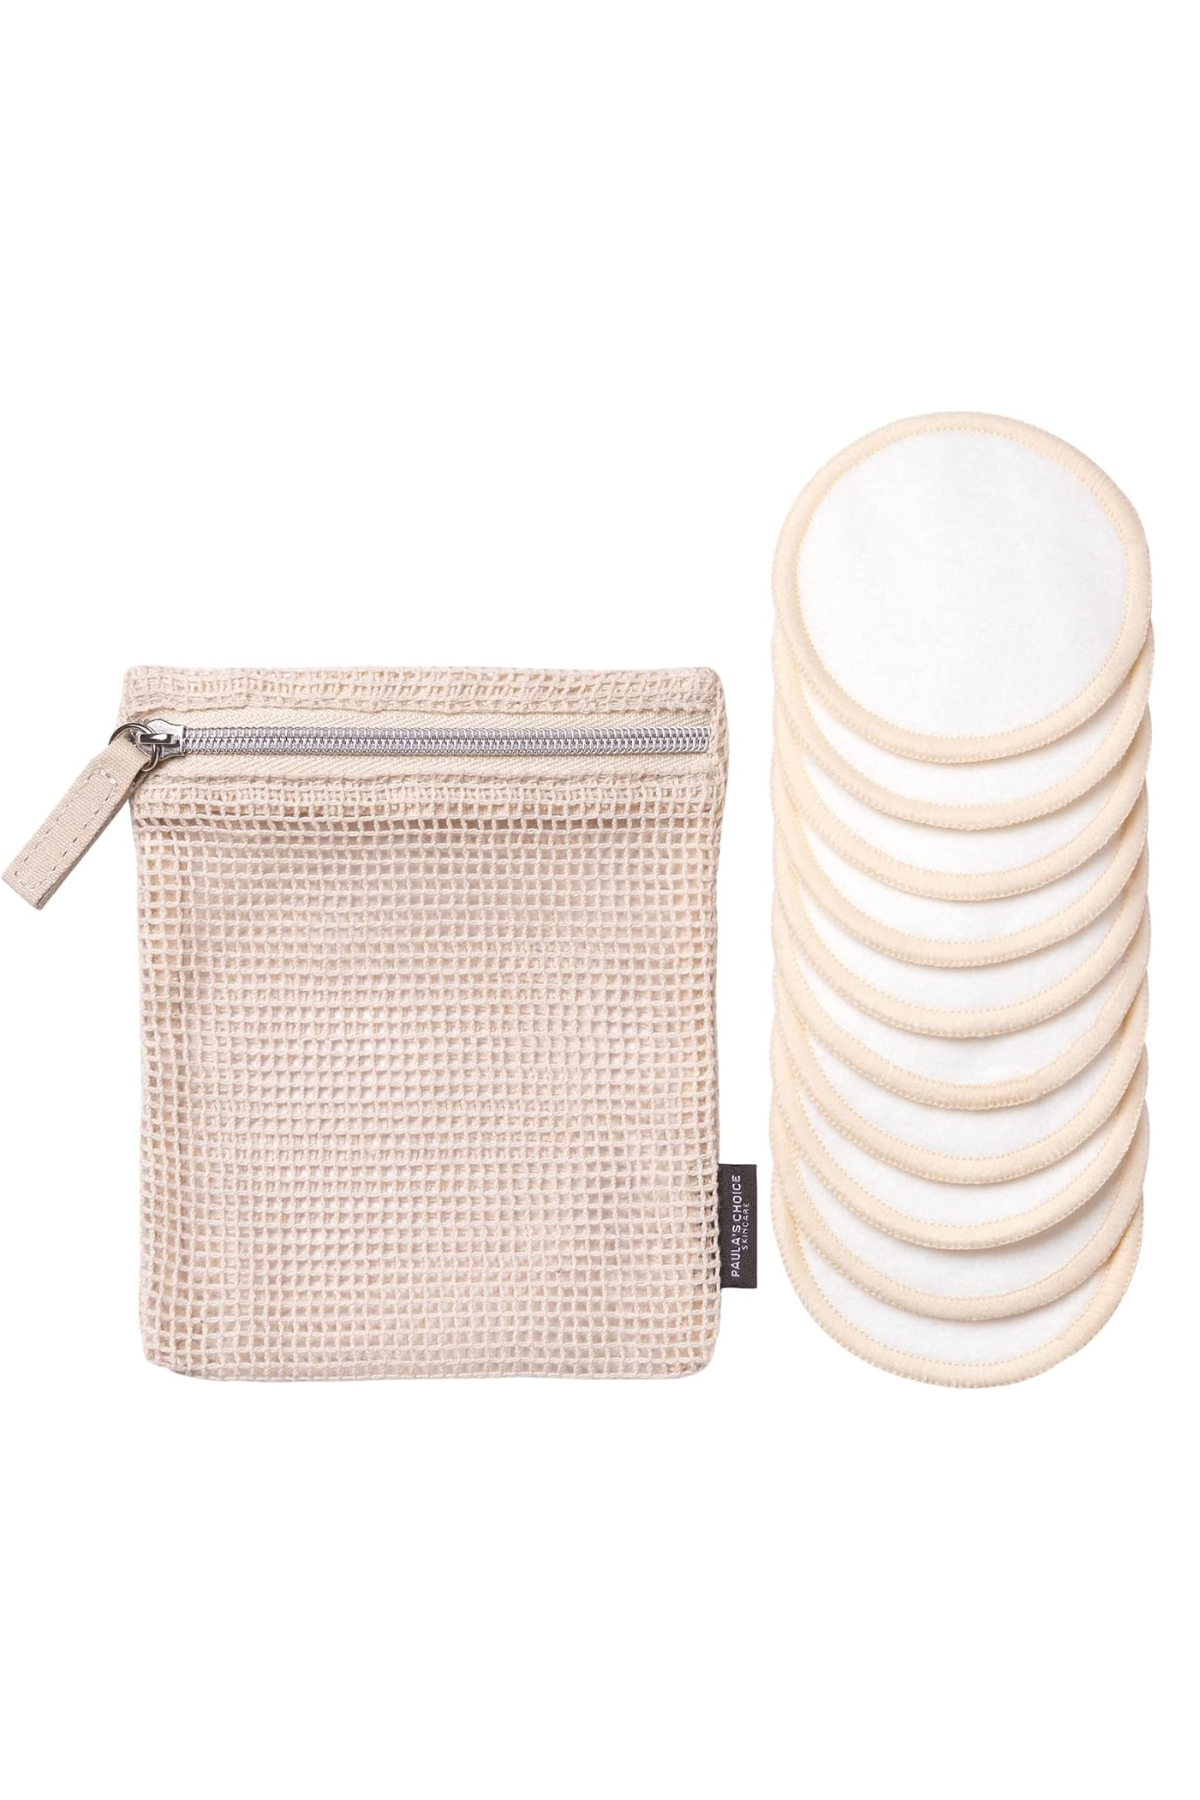
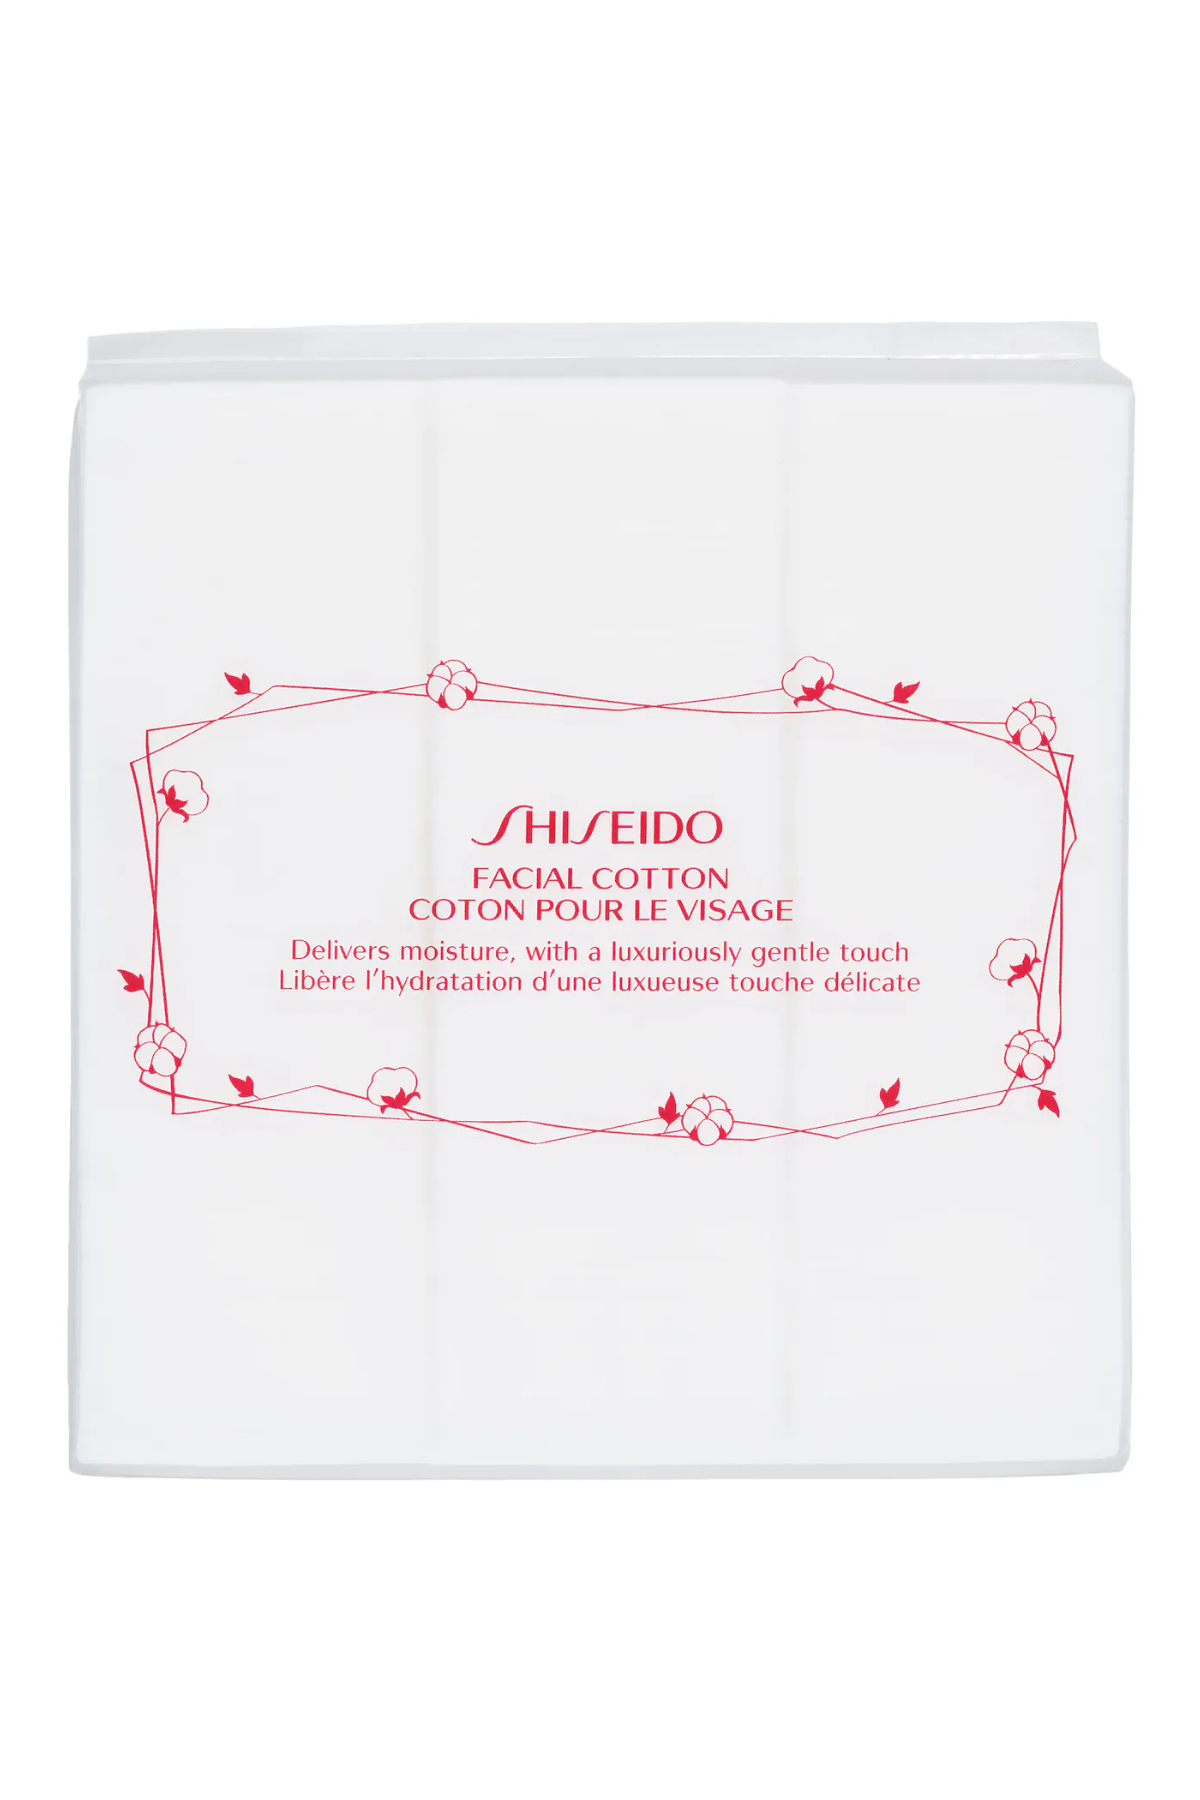
"When it comes to processing time, remember you can adjust the time based on your desired intensity," notes Marris. (I was using the brand's light brown brow tint, and left it on five to seven minutes for a soft brown shade.) "Once the tint has been processed, remove it with a damp cotton round, wiping towards the edge of your face. Avoid scrubbing back and forth to prevent removing the skin stain."
Step 5: Aftercare
As with so many beauty treatments, aftercare is crucial for getting the most wear out of your tint. To prolong your new brows, keep your brows dry for 24 hours and avoid sunbeds, saunas, steam rooms, and swimming pools. Also, avoid exfoliating and self-tanner around the brow area for the next two to three days.
Whether tinting at home or by a professional, Kay recommends not scratching the area and reapplying your tint every three to four weeks to keep your brows looking fresh. "Avoid rubbing, exfoliating, or oil-based products around the brows, as this will cause the tint to migrate, fade, or become patchy," she adds.
What Color Brow Tint Should I Choose?
"Clients often ask for darker brows because fuller, thicker eyebrows can help frame the face and enhance features," explains Kay. "Darker brows can also make the eyes appear more prominent. Overall, the look is bolder and more polished. Brow tinting is a common treatment because some people's natural brow hair is light or spare and tinting can help define the area and make your features stand out." (Hi, that's me.)
When it comes to choosing your shade, it's best to go lighter if you're new to brow tinting. I used Brow Code's Light Brown Tint Kit for a softer, more subtle look.
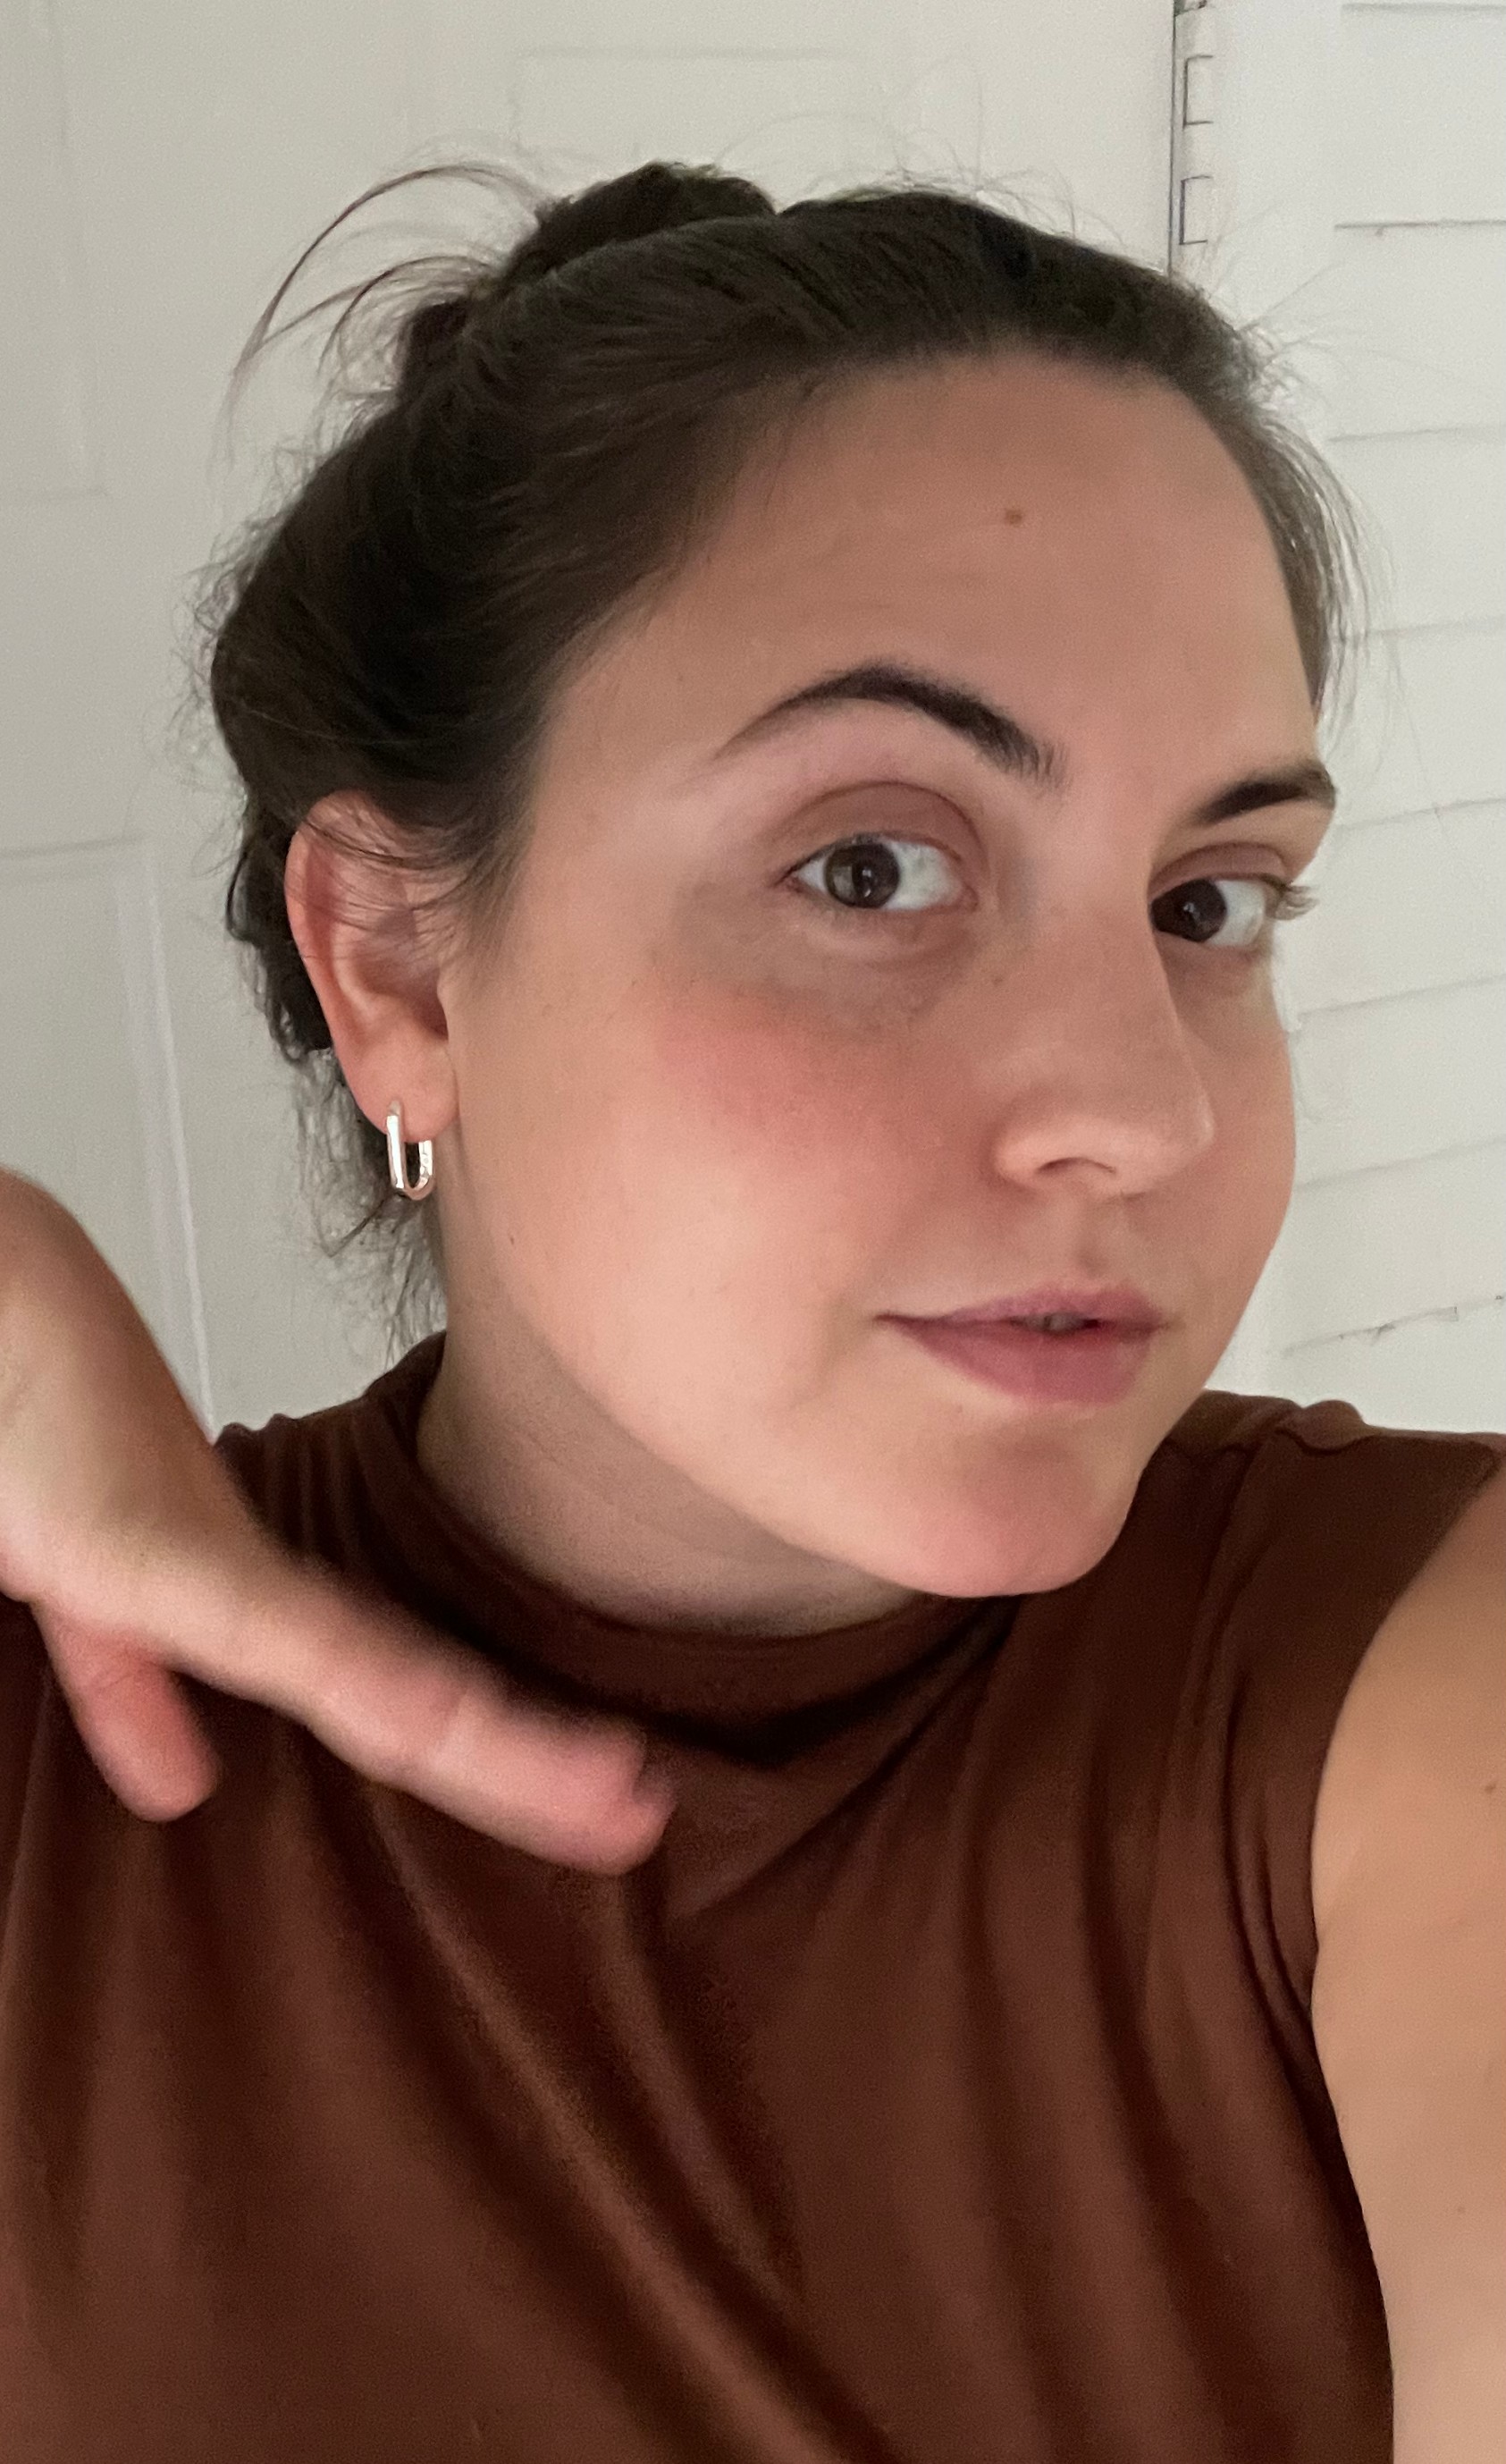
Freelance Beauty Writer Sophia Vilensky after a visit to the aesthetician for a brow tint. The goal: an at-home tint as dark and clean as this (that also perfectly hides her half-blonde left brow).
Risks of an At-Home Tint
As long as you follow instructions and keep the product out of your precious eyes, there are no major risks involved in an at-home tint—besides eyebrows that are darker than you anticipated.
"Brow tinting uses semi-permanent dye, so there is a risk if mistakes are made, your brows could look unnaturally dark, or appear unevenly tinted," notes Kay. "I’d say just be conscious of the amount of time you allow the stain to sit on the hair and skin and follow the instructions/directions thoroughly," Marris adds.
What Do I Do If My Brows Are Too Dark?
If you do end up with brows that are too dark, don't worry; they'll lighten up soon.
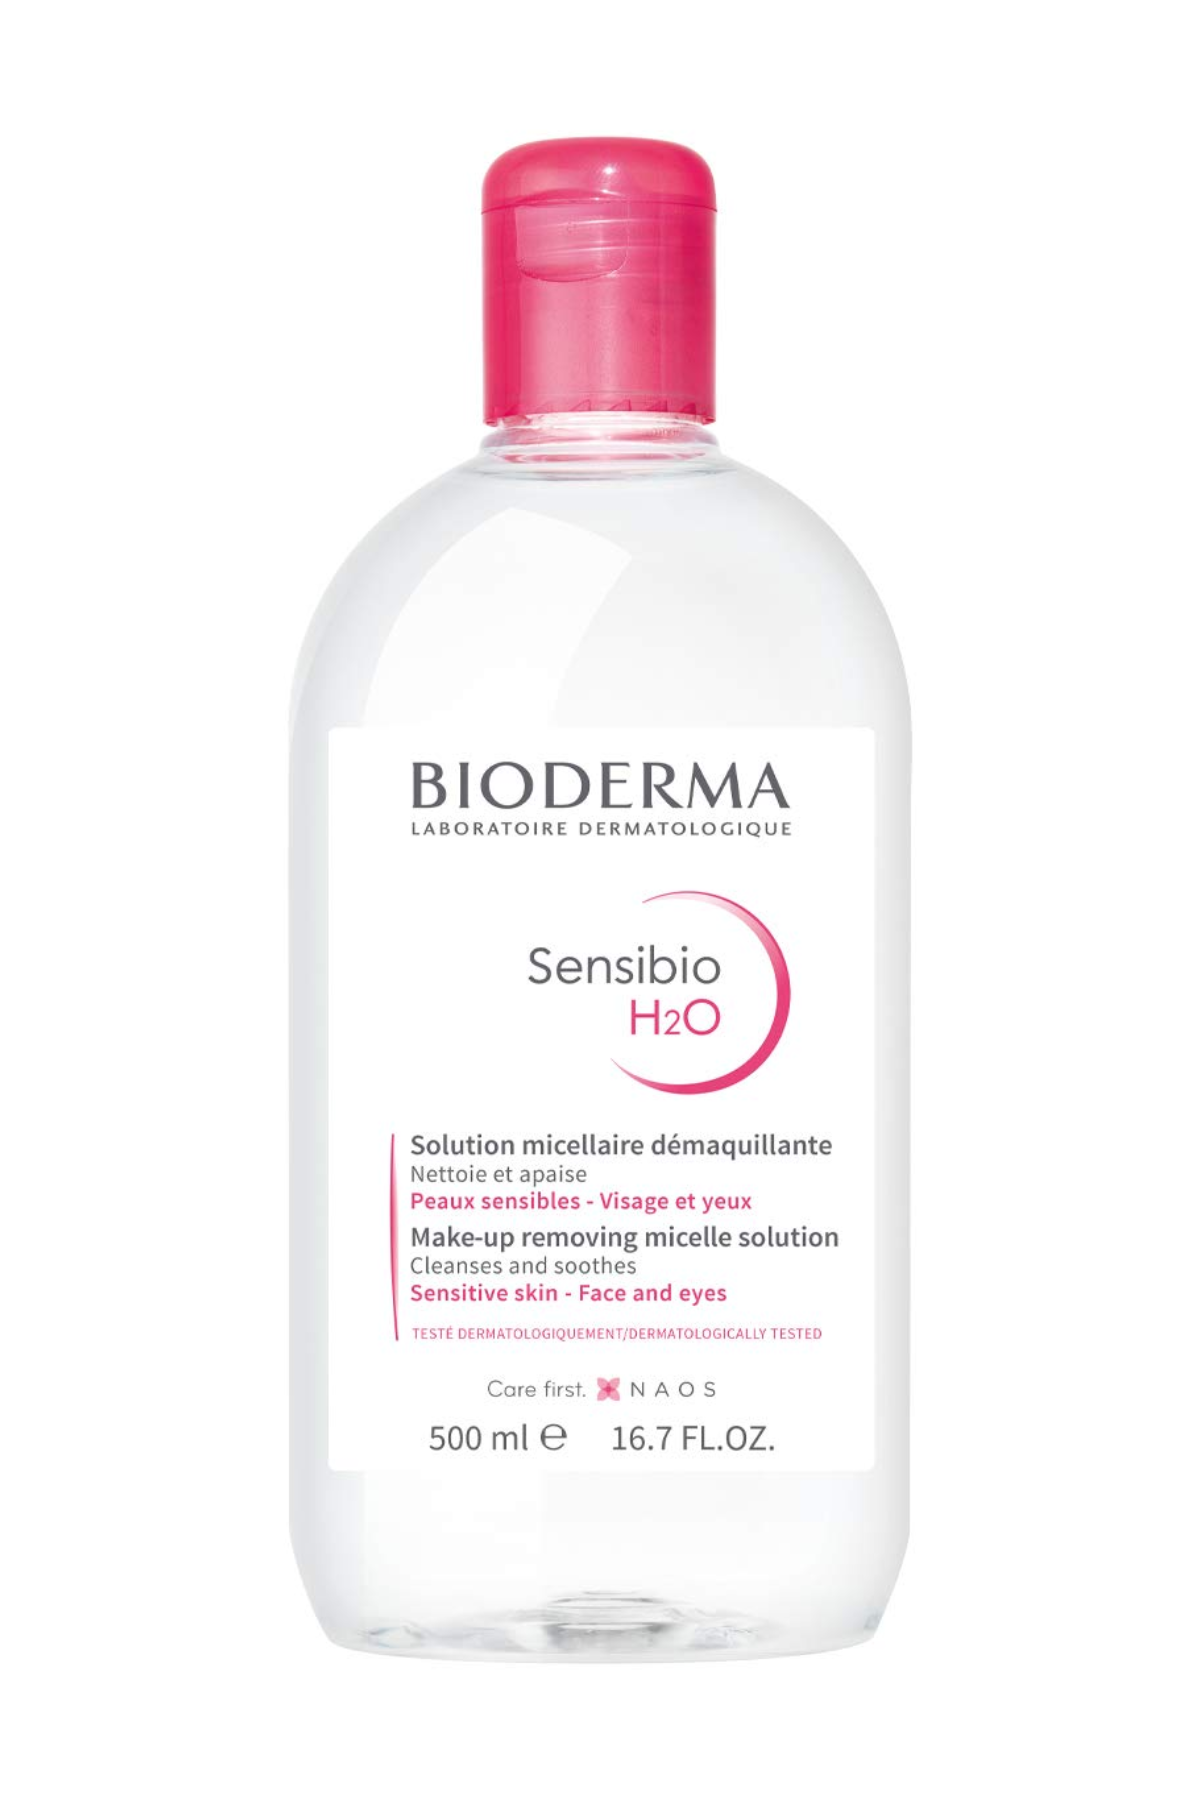
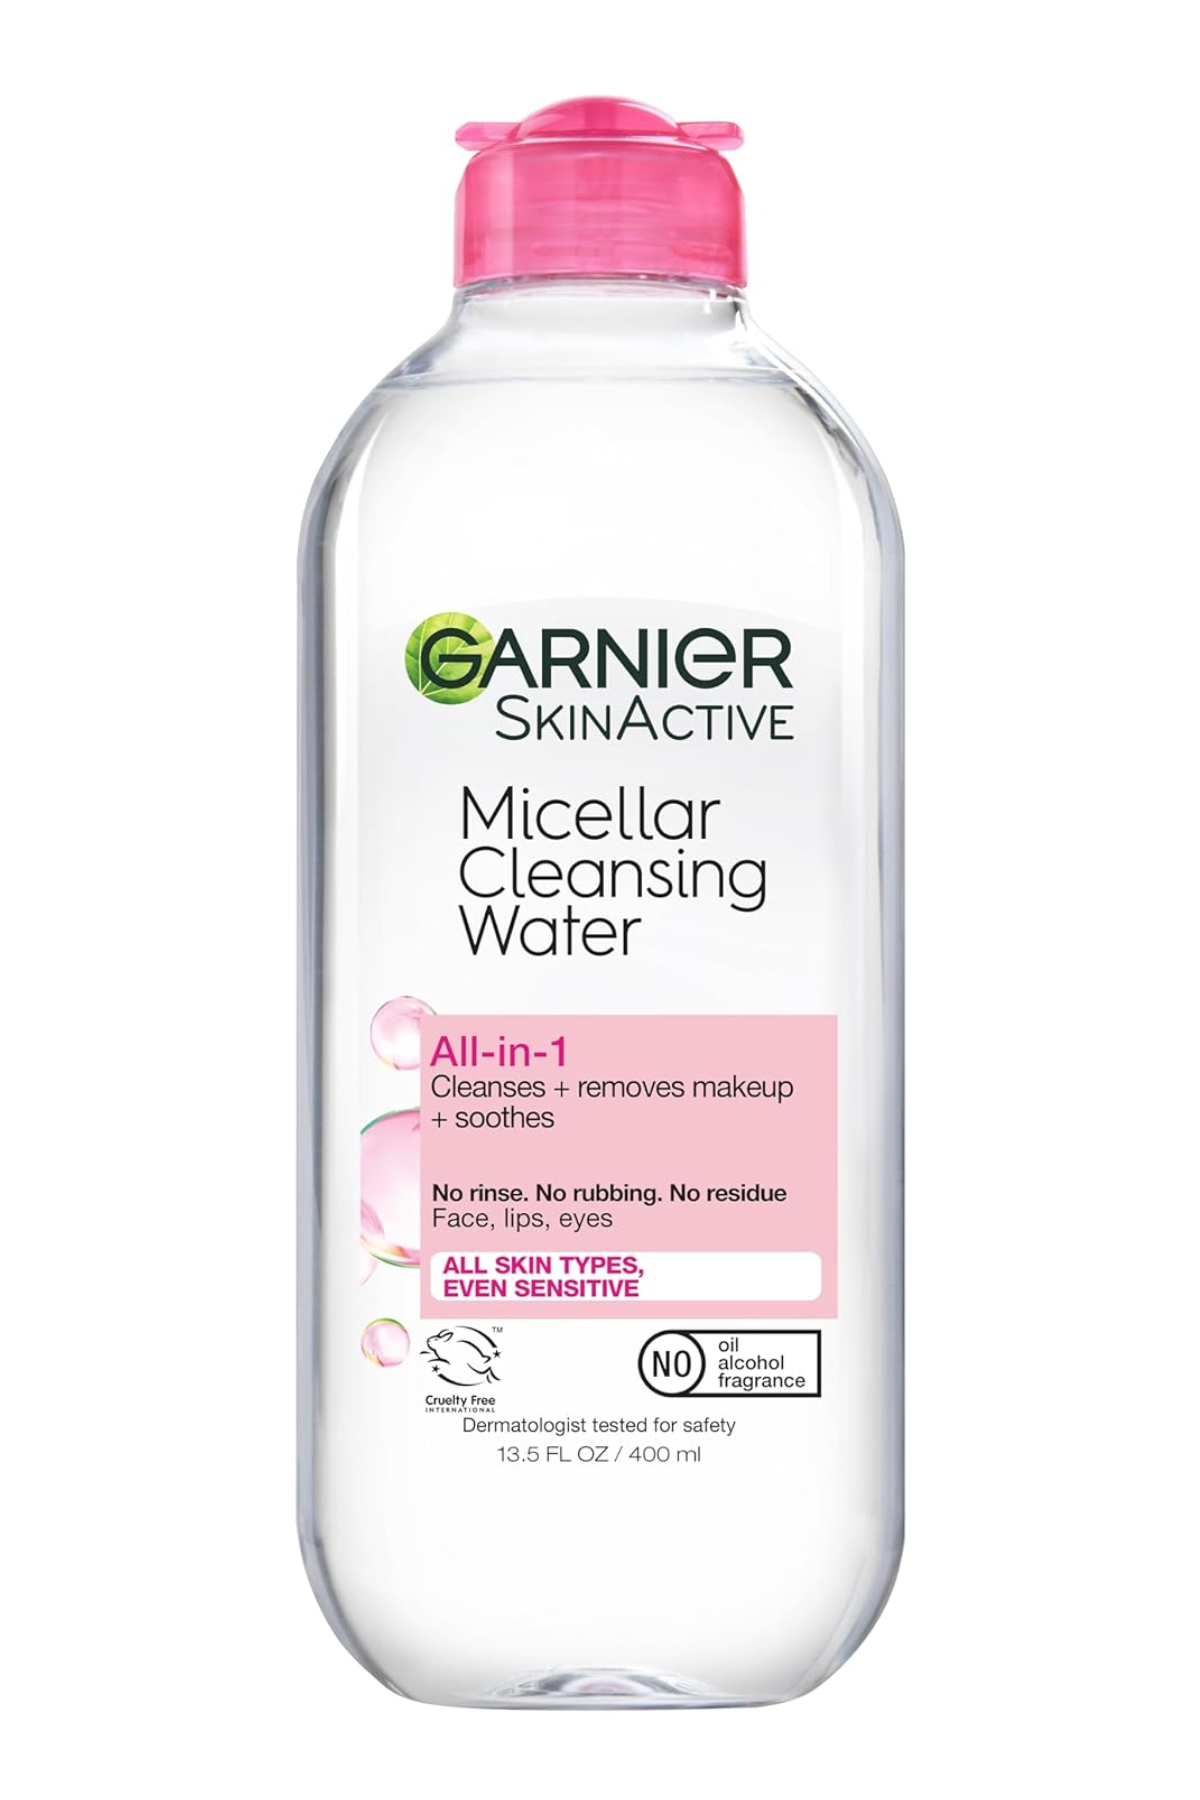
"Using either a micellar water or our tint remover on a cotton pad, simply begin to buff away the stain until it reaches your desired shade," explains Marris. "While the tint in the hair will remain, remember that it’s a semi-permanent color and will naturally fade over about a week."
Meet the Experts
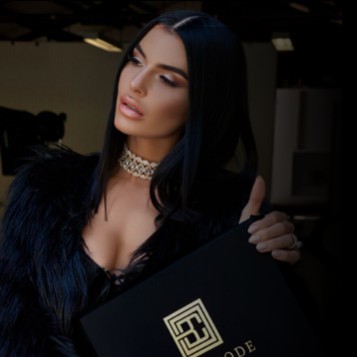
Brand connoisseur, serial entrepreneur, and master manifester Melanie Marris found her first success in niche beauty start-ups, with a single focus on brows. Marris is the driving force behind Brow Code, the professionally backed, first of its kind brow brand taking the beauty industry by storm. Brow Code is on the vanguard of brow styling and at-home brow care, with over 350,000 stockists worldwide. Melanie’s pioneering techniques, education, eye for fine detail and style have been shaping the brow and beauty industry since 2012.
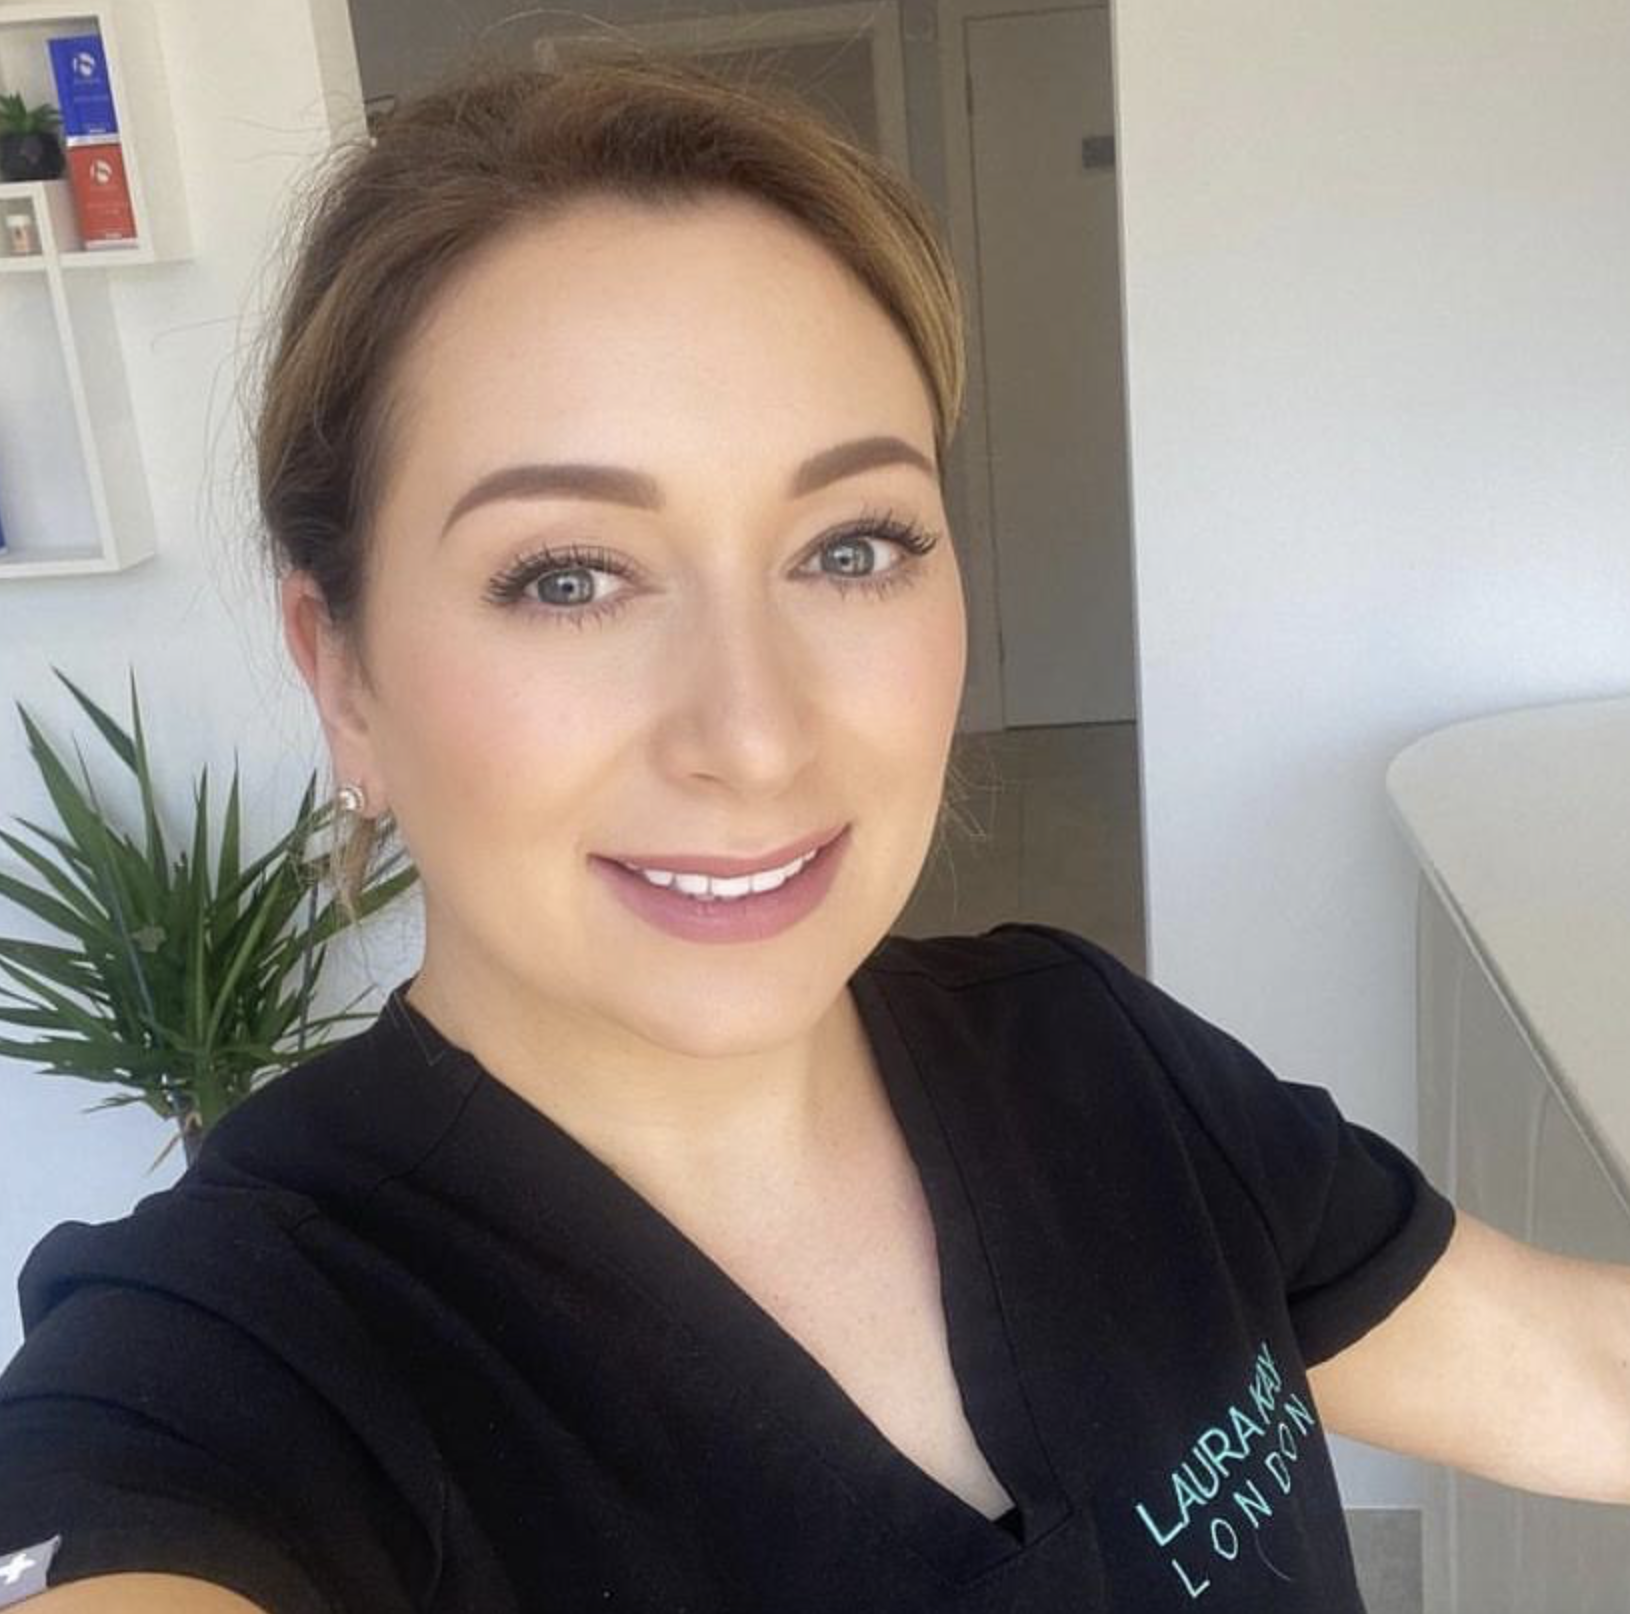
Laura Kay is a world leading, fully qualified Permanent Make Up artist and Founder of Laura Kay London. With over 20 years in the makeup industry, part of which as a professional makeup artist, Laura has first-hand experience of makeup application.
Following the success of her Fortnum & Mason clinic Laura founded Laura Kay London to offer her clients a lasting solution to make up application. Offering permanent make up treatments in her high-profile salon, Laura Kay and her team pride themselves on giving every client the perfect result using the latest cutting-edge techniques.

Sophia Vilensky is a Freelance Beauty Writer at Marie Claire with a beauty, wellness, and entertainment journalism portfolio that includes contributions to Byrdie, Bravo, Teen Vogue, and Us Weekly. Growing up in a family of beauticians—and through her own personal studies—she developed an in-depth understanding of aesthetics, cosmetic product formulation, and beauty treatment development and has also held roles as a senior copywriter, content strategist, and proofreader for top beauty and wellness brands. Even so, you'd be hard pressed to find her with her hair and makeup actually done. Sophia is based in Minneapolis and is a 2019 graduate of the University of Minnesota, where she majored in English and minored in cinema studies. During her time at the university, she was the Arts & Entertainment Editor for the Minnesota Daily, earning the 2019 Editor of the Year award for her work. She connected deeply with the Twin Cities arts scene, collaborating with leading beauty professionals, designers, and artists. Graduating Summa Cum Laude, her thesis—a close-reading of Vanderpump Rules—was featured on NPR. When not immersed in writing or testing new products, Sophia enjoys watching reality TV, reading, and exploring the newest woo-woo wellness trends. Keep up with her on Instagram @sophiavilensky.
