How to Tie-Dye at Home (Because You Know You Want To)
Give those old sweats an upgrade.


Even before the COVID-19 pandemic, tie-dye was having a high fashion moment; the psychedelic swirls were all over the S/S20 runways. Fast-forward a few months, and the trend has evolved from high fashion to "home fashion," thanks to tie-dye sweatsuits becoming the unofficial quarantine uniform. There's no need to splurge on "luxury loungewear" for this trend, because you can get the look at home. Honestly, you can tie-dye anything: Sweatshirts, sweatpants, socks, sheets, shirts, even shoes. So grab an old item of clothing, and let's get going!
Step 1: Gather Supplies
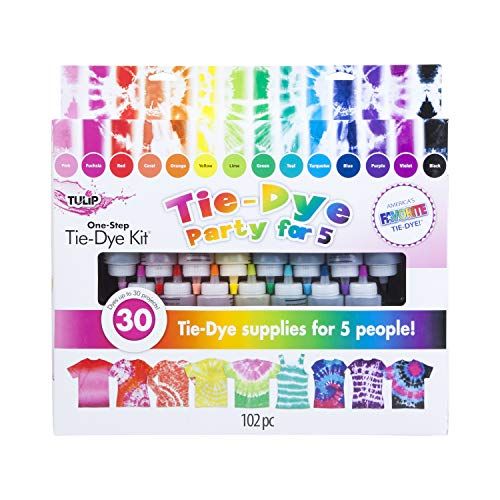
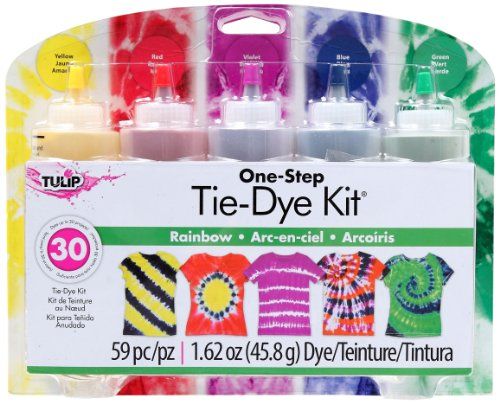
I suggest getting a tie-dye kit—this one includes everything you need and has 15 different colors. Your must-have items include:
- Squeeze bottles for the dye
- Gloves
- Dye or bleach
- Rubber bands
Step 2: Get Your Workstation Ready
Tie-dying is a messy activity. I suggest you work outside, or somewhere like a garage or an unfinished basement. If you're doing this inside, make sure you lay down towels or plastic to protect your space.
If an outdoor space isn't an option, try your bathtub or shower.
Step 3: Pick Your Design
There are so many different swirls and patterns when it comes to tie-dye. There are no wrong answers here—you can go bold and bright with several shades, or stick to one color. The beauty of tie-dye is that the basic steps are the same no matter which design you choose. Once you have the steps down, the ways you twist, fold and place rubber bands on your shirt will determine the design.
I'm going to break down the classic spiral on a T-shirt, because you can't beat the classics, but feel free to follow these steps with your own original design or a different pattern.
The Classic Tie Dye Spiral
Get exclusive access to fashion and beauty trends, hot-off-the-press celebrity news, and more.
Prepare the item. Start out with a pre-washed T-shirt that is still damp—damp, but not dripping wet. Lay the shirt flat on a surface that can get messy.
Twist the fabric. Pick a spot in the center of your shirt. Pinch the fabric and twist it in a spiral motion. Continue twisting the shirt until it looks like a cinnamon roll.
Work your rubber bands. Grab your rubber bands and wrap them around the shirt, creating six or more wedge shapes. This will create our spiral design. The placement of your rubber bands and how your twist your shirt will determine the end design.
Dye it. Throw on some gloves, grab your squeeze bottles of dye, and apply a color to each wedge.
Let the item sit. The shirt needs to sit in order to absorb the dye. Place your shirt in a Ziploc bag for anywhere between eight and 24 hours (the longer the dye sits, the more intense your color will be.)
Rinse it.After you let your shirt soak, it's time to rinse it under cold water. Rinse until the water turns clear. Remove the rubber bands and rinse again.
Wash it. There will still be some dye left in your shirt. Throw it in the wash, but separate from your other clothes so that the dye doesn't bleed on anything else.
Allow it to dry. Finally let the shirt dry. You can either throw it in the dryer or hang to dry.
You're done! VOILA! Enjoy your new tie-dyed item.
Now that you have the basics down, try some different items and patterns.
Tie-Dye Socks
Four Tie-Dye Patterns: Spider, Bullseye, Spiral, and Stripe
Bleach Tie-Dye
Shop Your Tie-Dye Essentials
For more stories like this, including celebrity news, beauty and fashion advice, savvy political commentary, and fascinating features, sign up for the Marie Claire newsletter.
RELATED STORY

Shelby Comroe is the Credits Editor and Fashion Assistant at Marie Claire covering all things fashion and giving credit where credit is due. Check her out @shelbycomroe on Instagram if buying designer handbags is your idea of a retirement plan!


