How to Apply Blush, According to Makeup Artists
Guidelines for a perfect flush, every damn time.
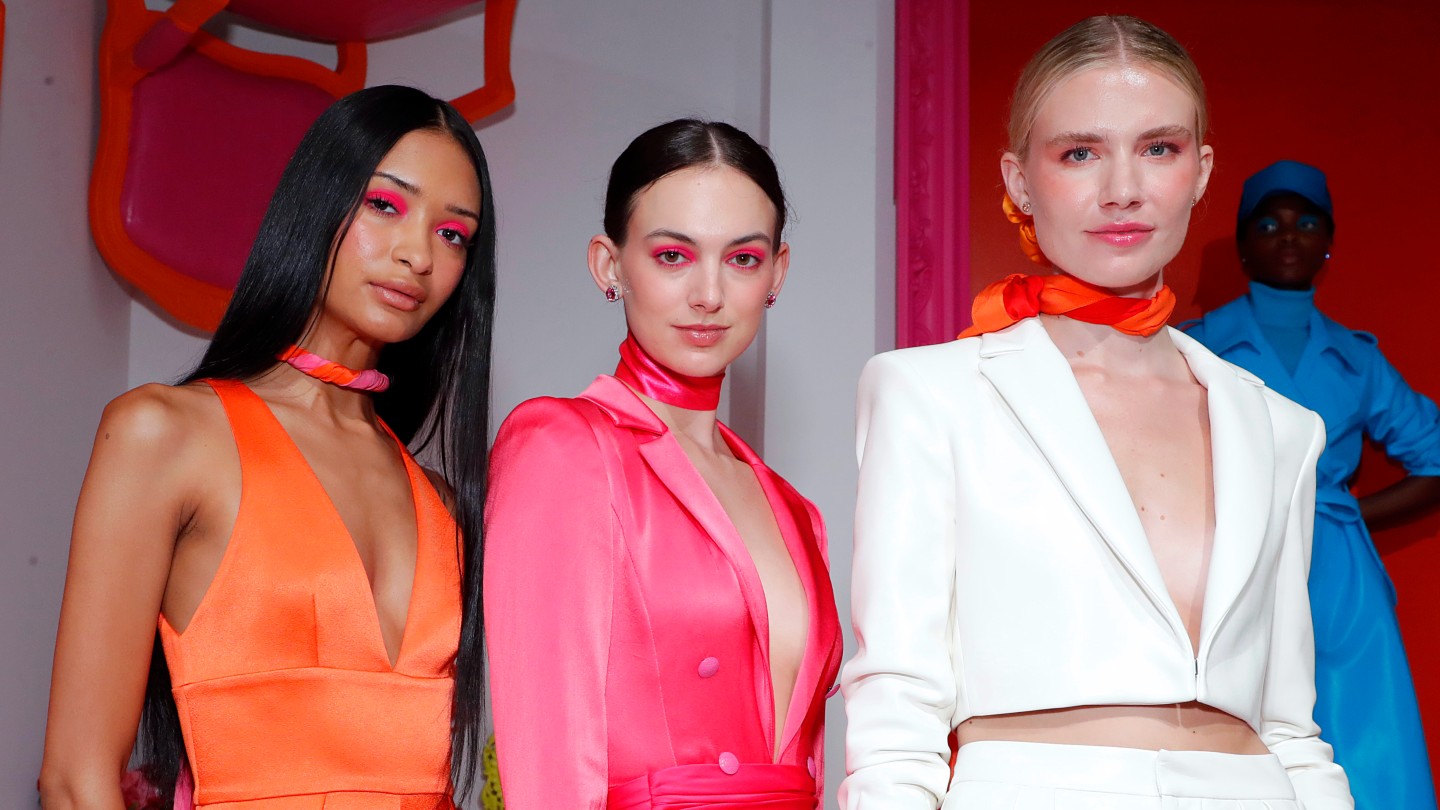

Use your fingers. Use a brush. Apples of the cheeks, always. Wait, what are you doing? Put product on your cheekbones. Overwhelming, right? Everyone out there, from your mom to your favorite TikTok beauty influencer, will tell you a different *right* way to apply the best blush. But the truth is, there’s no hard and fast recipe to getting the perfect flush. There are, however, options, techniques, tips, and tricks to help you along your blush application journey. “I truly think that this is so personal to each person's face, face shape, and comfort level,” explains Omnia Executive Makeup Artist Dominique Lerma.
Here, we’re going to lay out the best blush application tips in the business. From the best location for your rosy-toned blush according to your face shape to the product color that’s going to work best with your skin tone and every little nugget of advice in between, here’s exactly how to apply blush, according to the experts.
Pick a Product Texture
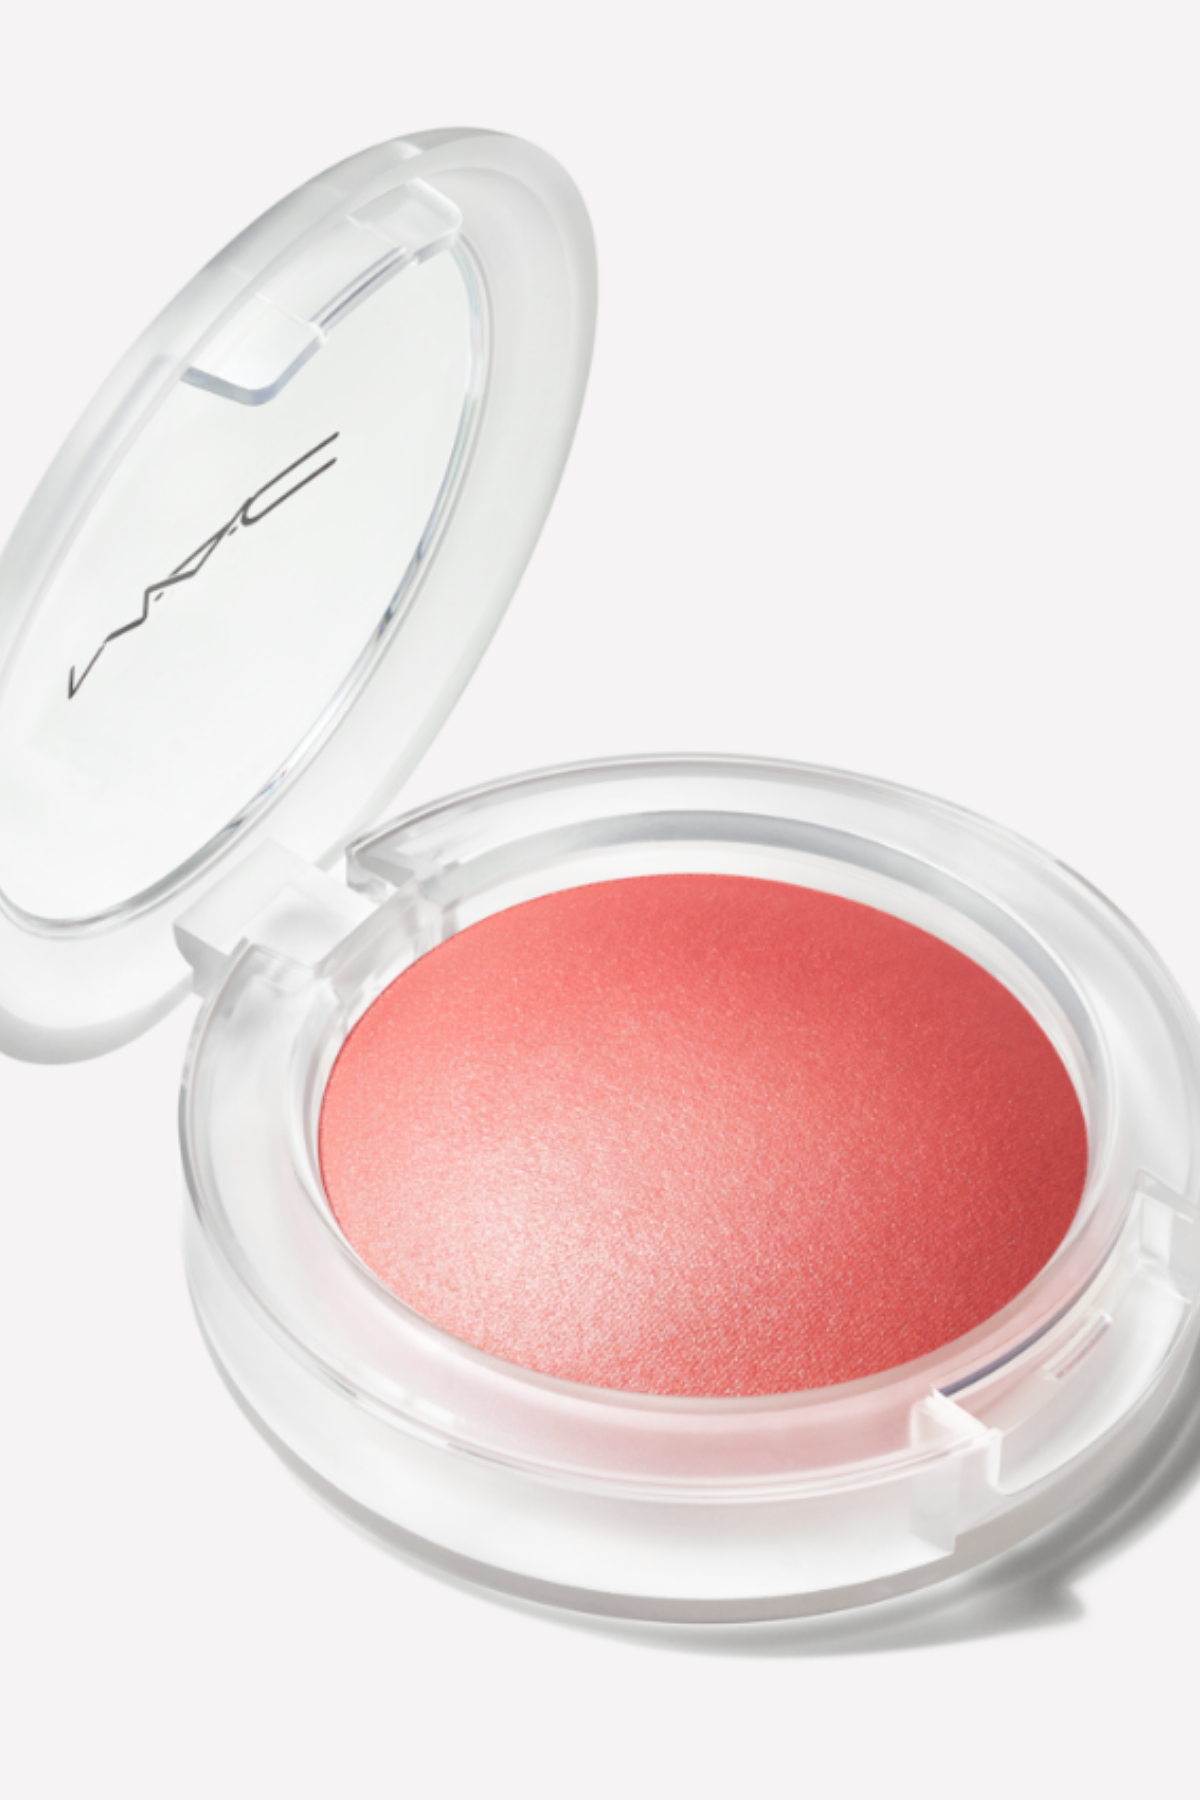
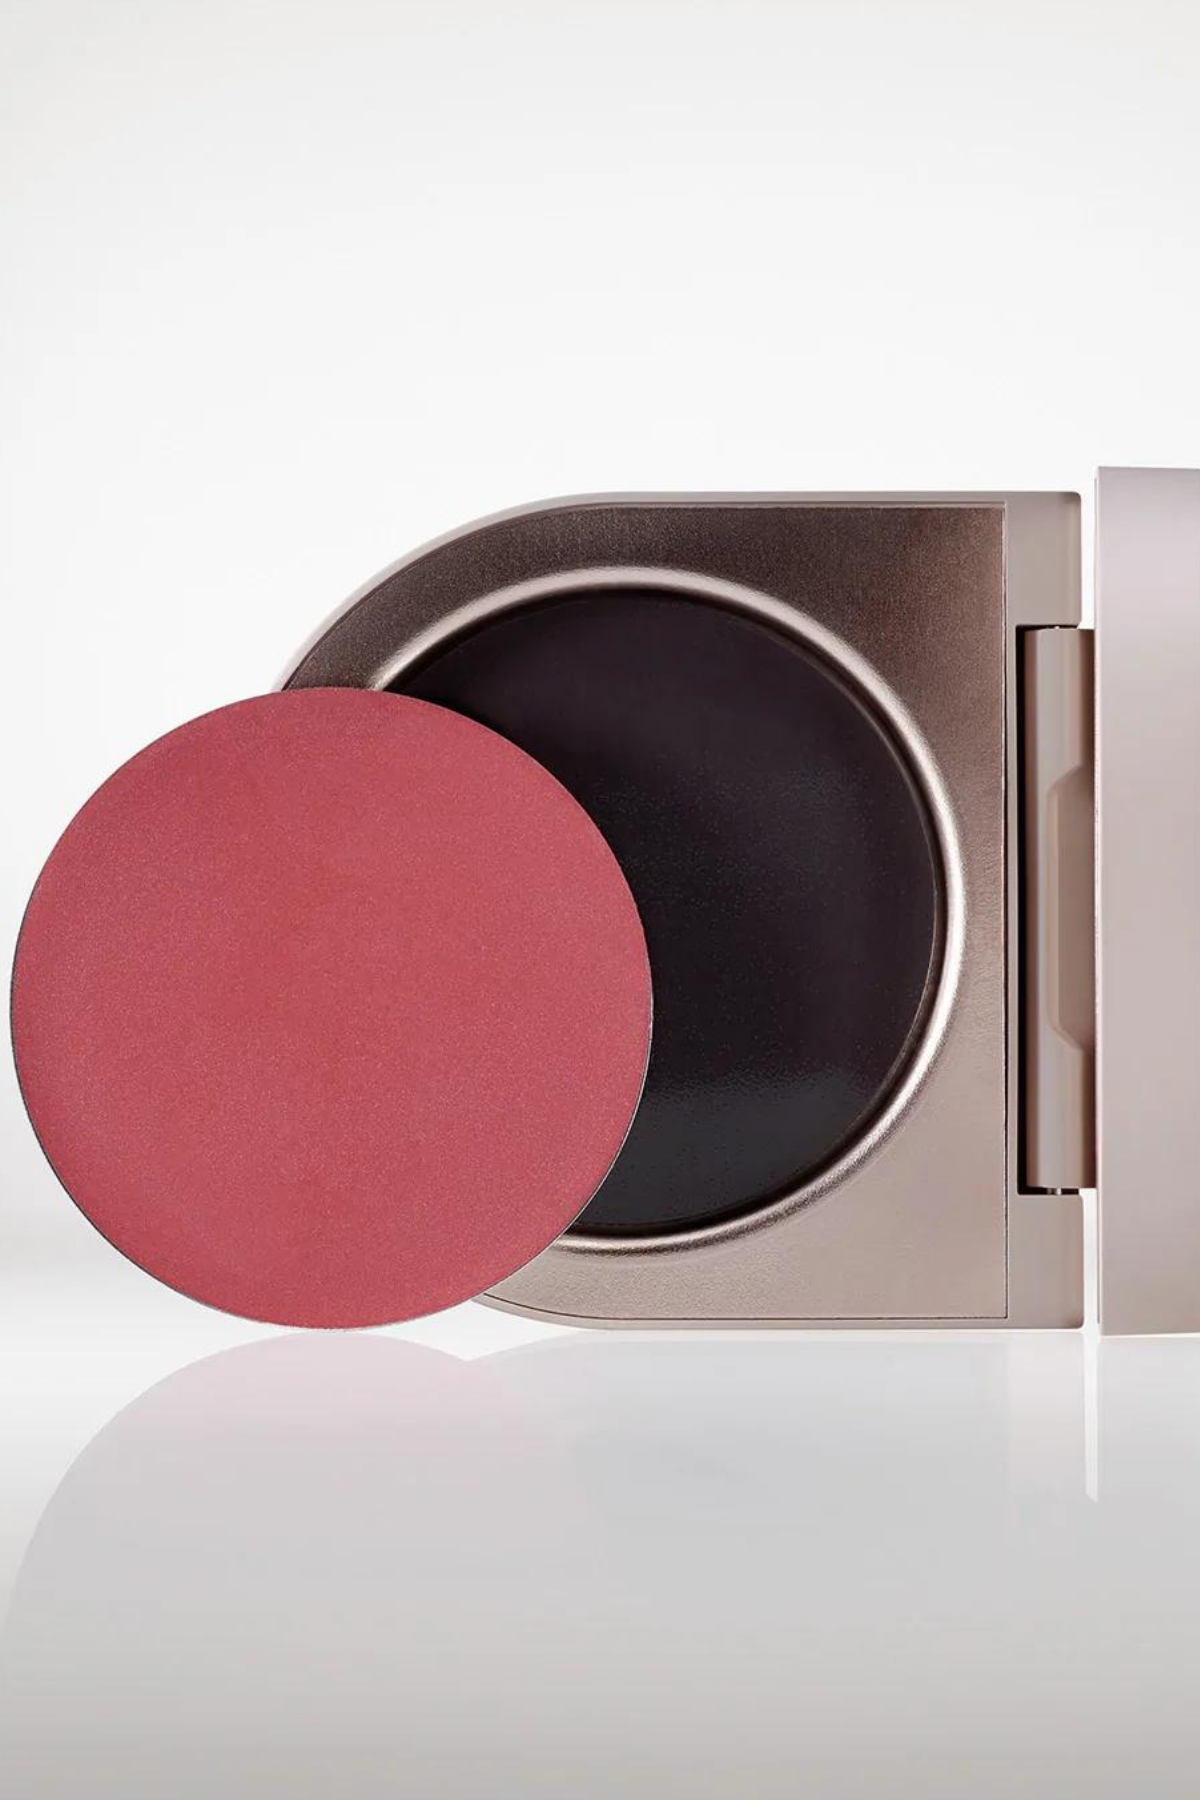
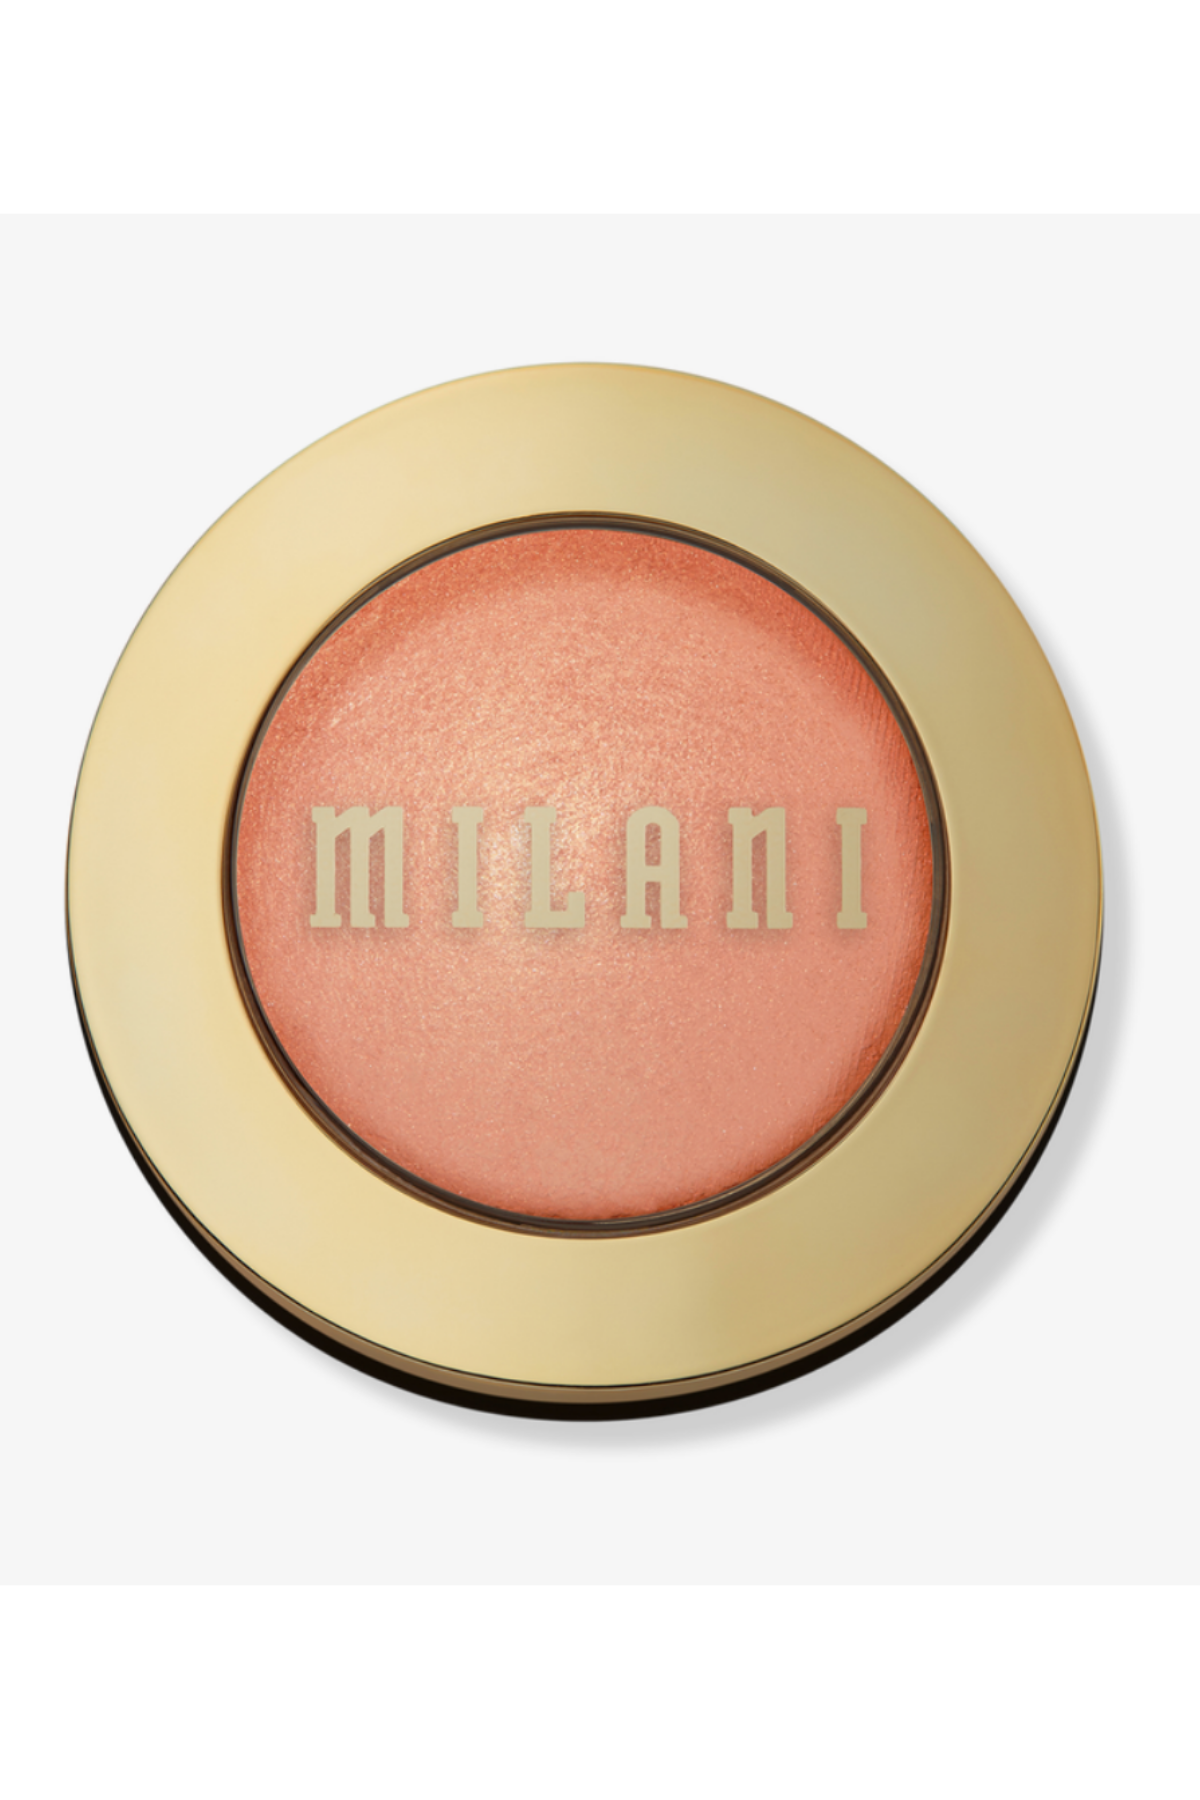
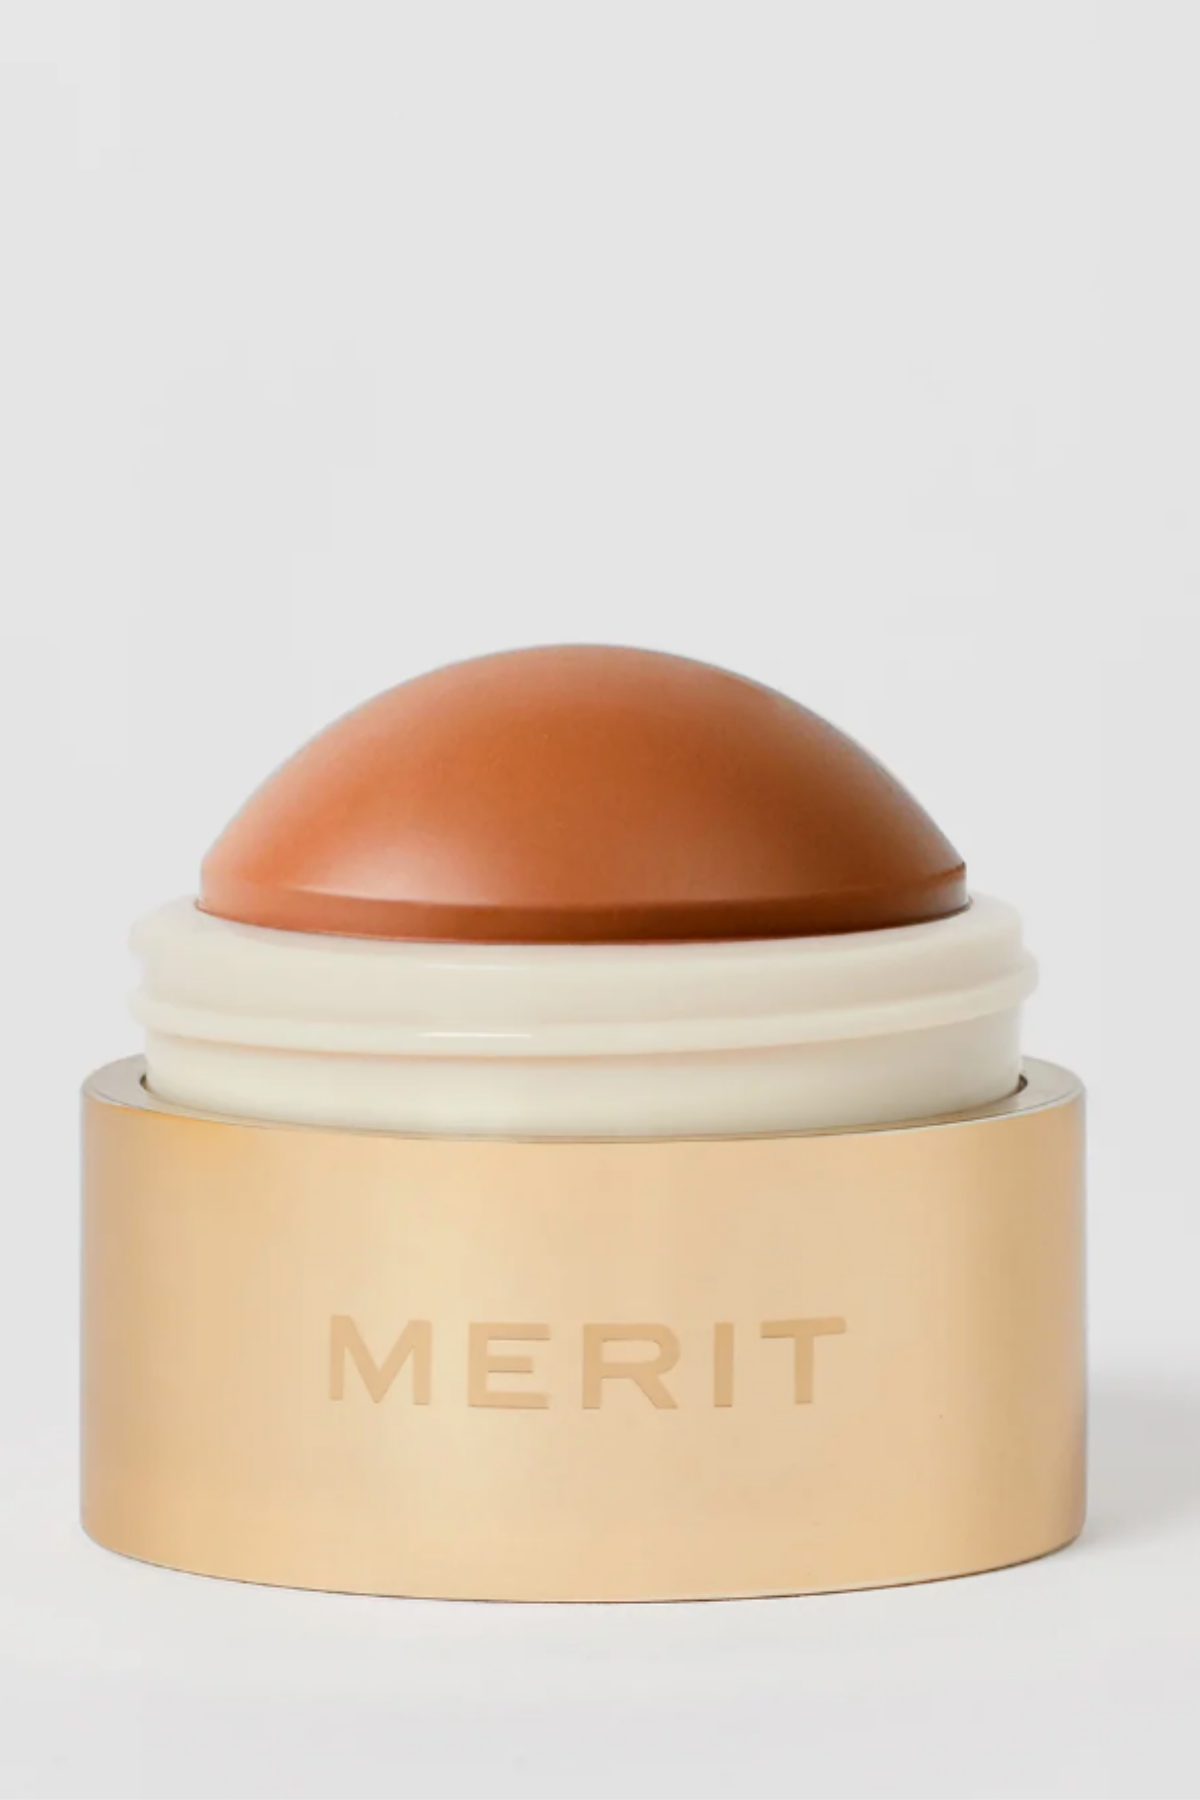
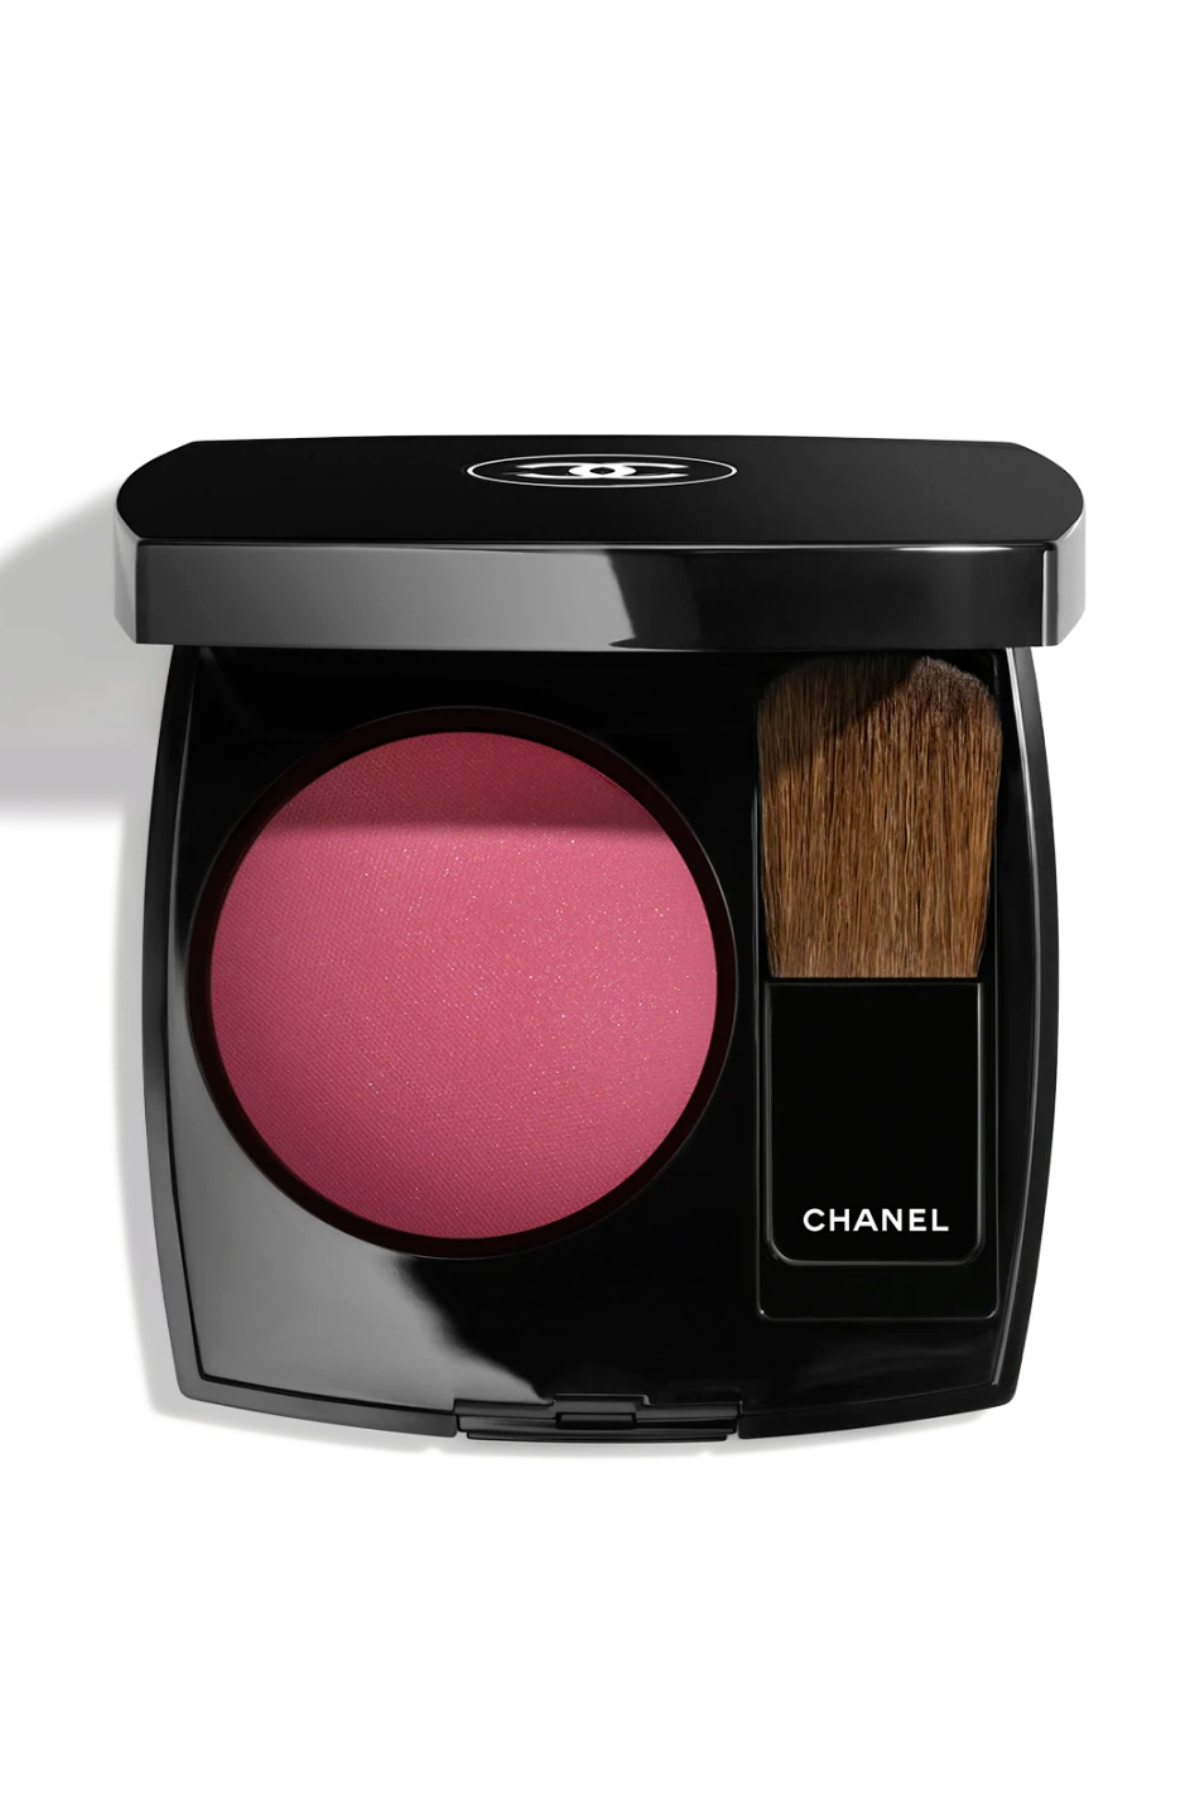
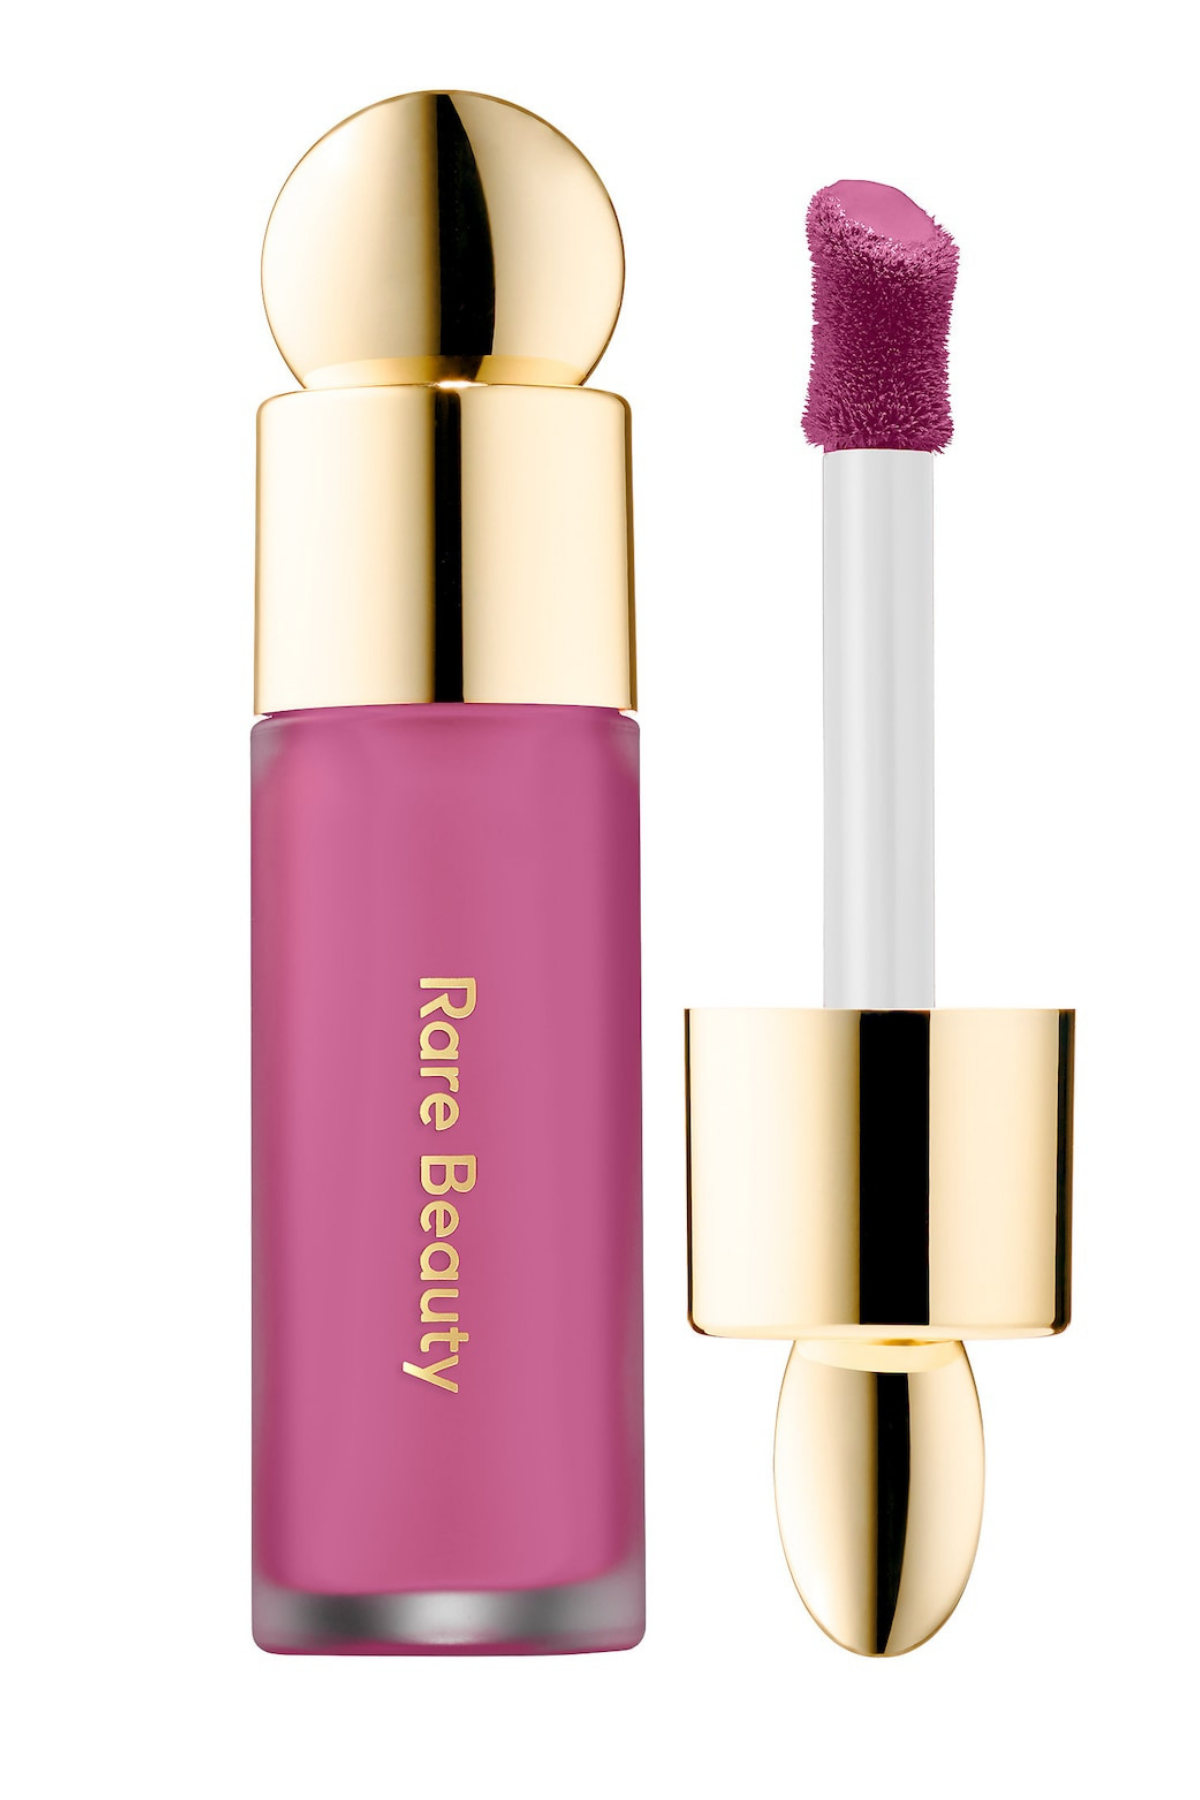
First things first: You have to decide if you want to go with a powder, cream, or liquid blush. “Almost anyone can wear any finish in blush, it just ultimately depends on what makeup look you’re going for,” says makeup artist Billie Gene. “A liquid finish will blend into the skin and give you the most natural look, a cream finish can give you a fresh, almost doll-like dewy look, and a powder is going to give you a more traditional flush of color.”
In addition to personal preference, you’re going to want to consider your skin type. A cream blush or liquid blush is going to hydrate dry skin, whereas a powder might emphasize dry spots and rough textures. The reverse holds true too—an uber-dewy, hydrating cream or liquid formula may make oily skin types look a bit too slick. Instead, opt for a no-budge stain.
Find the Perfect Shade
Let me start off this section by stating that you can pick whatever color your little heart desires. Yellow? Purple? You do you when it comes to makeup. That said, if you’re curious what shades will give you a very natural, flattering finish, allow the pros to be your guide.
Best Shade for Fair Skin Tones
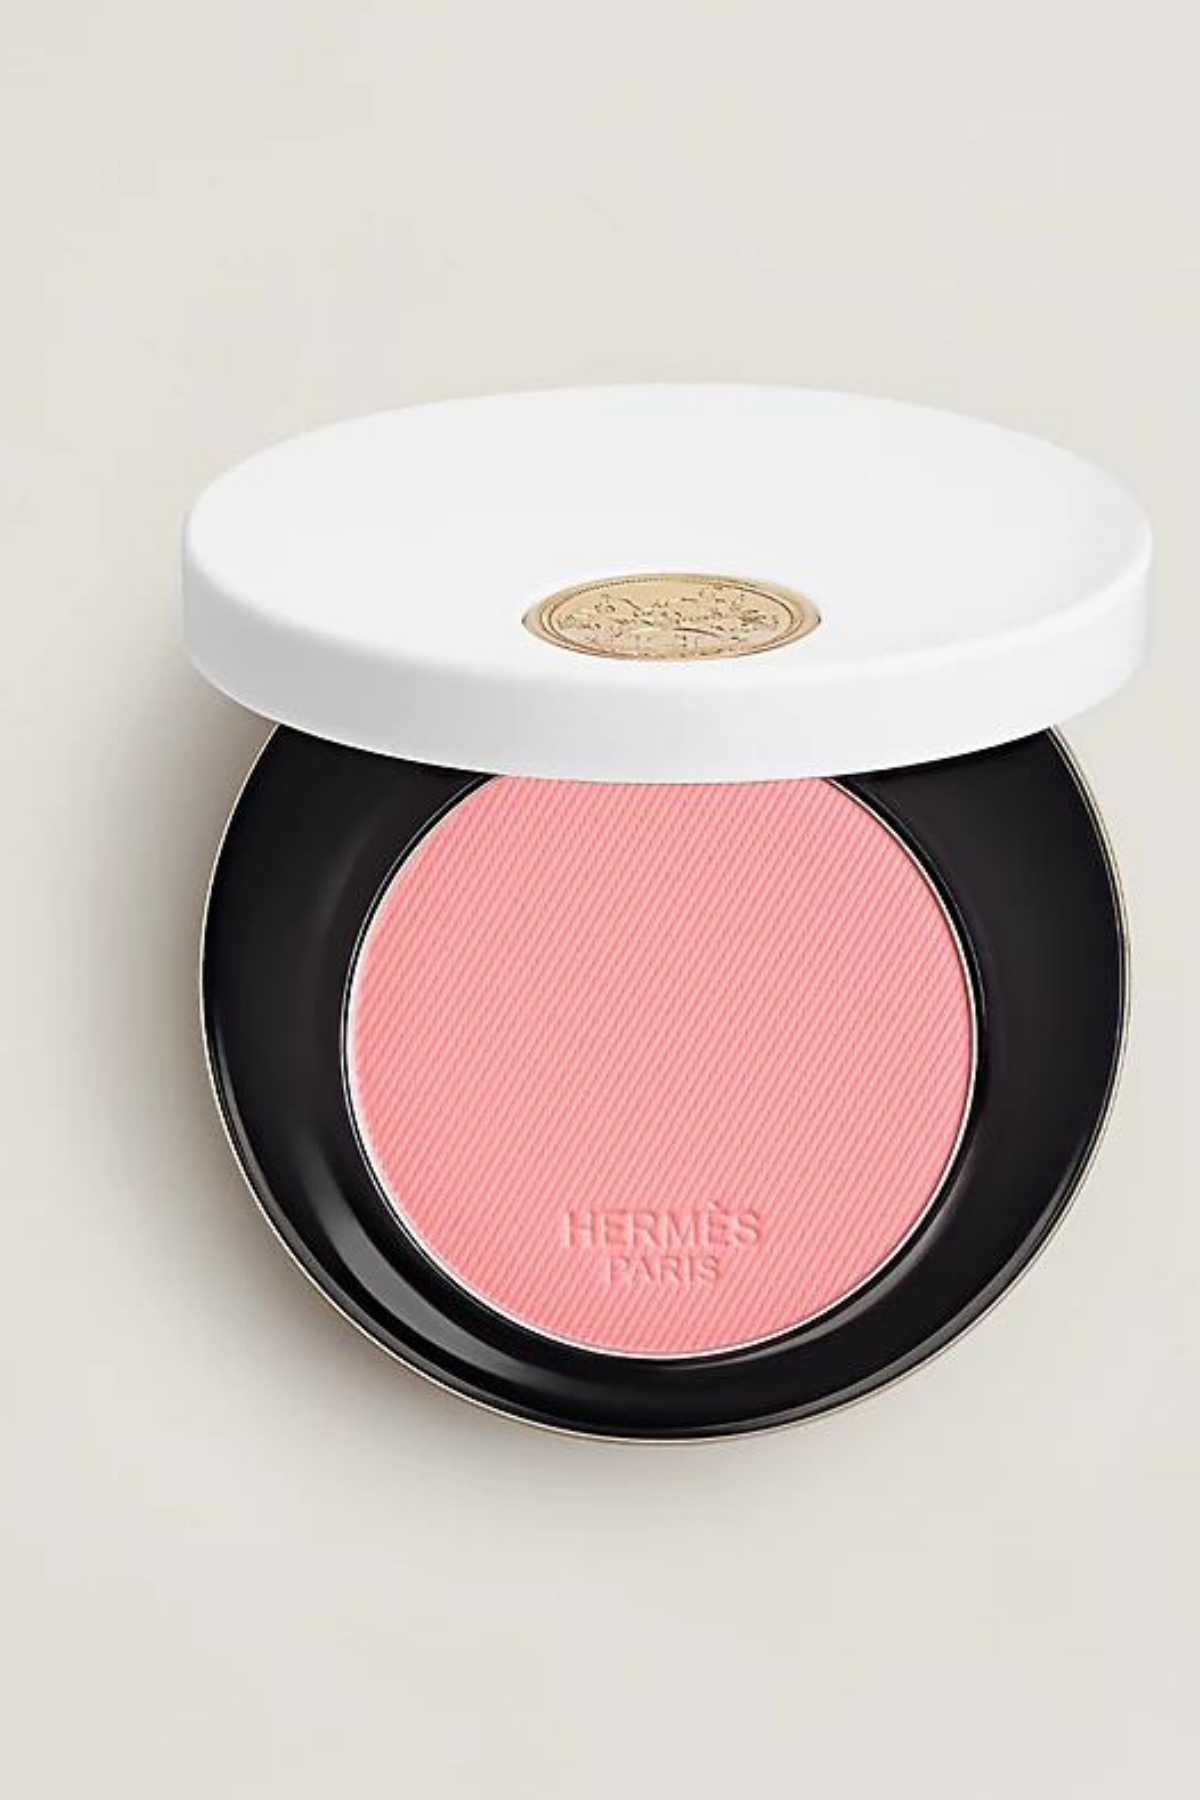
If you’re on the pale end of the spectrum (hi, yes, me!), makeup artist Tobi Henney recommends reaching primarily for soft pinks and peaches. These shades will give a little pinch and pop of color without overpowering your skin or creating a clown-like effect. If you are going to reach for a darker shade, just make sure you start with a small amount of product. Remember: It’s easier to add than to remove.
Best Shade for Medium Skin Tones
“This skin tone has the most flexibility with blush shades,” says Gene. While you can play around with everything from violet to deep red, he’s the biggest fan of pinks and peaches. Henney also loves a rose tone for medium skin tones.
Get exclusive access to fashion and beauty trends, hot-off-the-press celebrity news, and more.
Best Shade for Olive Skin Tones
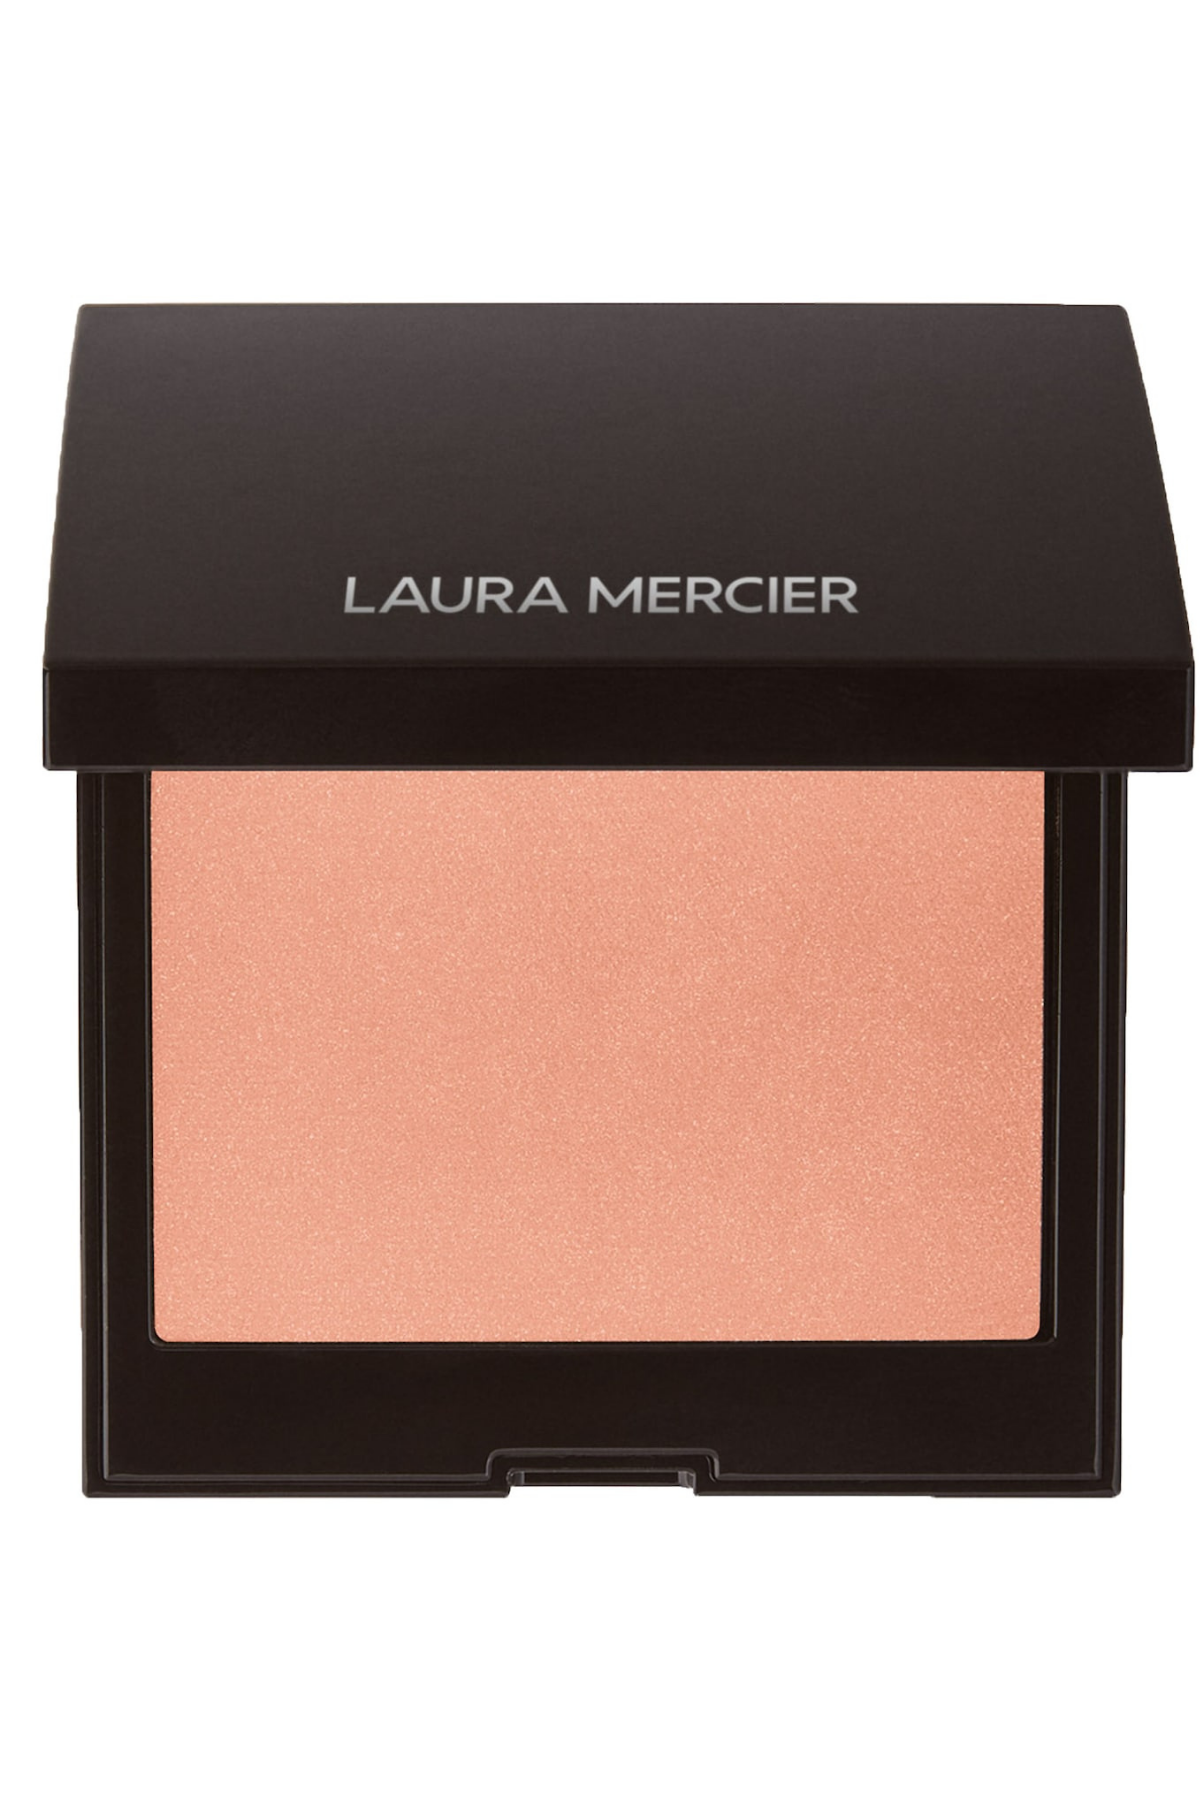
“Olive complexions can choose peachy or bronze shades,” says Gene. “Pink tones can also work with this complexion, but it depends on the tone of the rest of the makeup.”
Best Shade for Dark Skin Tones
“I love a brighter pop of tangerine or a deep plump on dark skin tones,” says Henney. Gene also loves a rich berry shade. It’s also key to make sure you’re reaching for a highly pigmented product. While you can obviously layer to build up intensity, a great blush should only require one swipe.
Decide on Your Tool
If you’ve selected a powder formula, you are 100 percent, without a doubt, going to want to use one of the best blush brushes to apply your product. Otherwise, your product is going to look clumpy, explains Gene. If you’re working with a cream or liquid product however, Henney says you have a few more options at your disposal. You can stick with a brush (denser is preferred) or apply the product directly with your fingers. Just make sure your hands are clean before you get to work.
Figure Out Your Blush Placement
There’s no wrong spot to put your blush, but certain placements are going to alter your look ever-so-slightly. “If you want to elongate the face, then apply your blush on the higher points of your cheeks—right above the cheekbone. Then, round it into your hairline above your ear to help chisel the face upward,” explains Lerma. This is typically the technique recommended for more oval or longer face shapes.
On the flip side, you can apply blush right to the apples of the cheeks—a go-to for round faces. Just note: This technique creates the illusion of a fuller face. “If you are unsure where the apples of the cheeks are, go ahead and smile big. Apply the product on the meatiest part of the cheek area and then blend upward in the shape of a crescent moon.”
Apply Blush Directly After Foundation
Gene recommends applying blush “immediately after foundation” and then “following up with bronzer and highlighter.” Not only is this one-after-the-other technique going to help your liquid or cream blush blend seamlessly with your foundation, but it’s also going to help you figure out where to place your other products for the most sculpted look.
Layer Formulas
When it comes to blush, we’re firm believers that more is merrier. While you can certainly blend different shades of the same product to create a custom color, it’s also worth layering different textures. “Layering products will always give you longer lasting results and it will increase the intensity of the color,” says Gene. You’re typically going to want to start with a wash of cream or liquid and place a powder blush over top.
Make Sure You’re Blotch-Free
Harsh lines are a no-go. As a rule of thumb, blend a little longer than you think you should with your brush or fingers. To seal the deal, grab a Beauty Blender (we’re partial to the OG iteration) and pat-pat-pat along the edges. “They’re a great tool to blend out and soften the appearance of the blush,” explains Henney.
Bring It Onto Your Eyes, Nose, and Lips
One of the many, many reasons we love blushes is because they’re wildly versatile. While the most traditional use is going to be to bring life to your cheeks, many formulas are multi-use. “Blush as eyeshadow or as the crease blending shade works beautifully,” explains Henney. And, if you really want to master a monochromatic look, you can dab a little product on the bridge of your nose and tap it on your lips for a stain.
Avoid Going Too Low
You can focus your blush on the apples of the cheek or higher up on the cheekbone (you do you), but you should always be cognizant of how low your placement is. “The trick when applying blush is to avoid applying color past your labial folds and smile lines,” explains Lerma. This ensures that your face looks alive and awake, as opposed to sad and droopy.
Set Your Blush
This is an optional step, albeit necessary for some. Henney recommends that those with oily skin lock in color with some form of powder—either a traditional, translucent setting powder or a powder blush formula. If you don’t want to risk dulling your cheek color, then grab one of the best setting sprays.
Meet the Experts
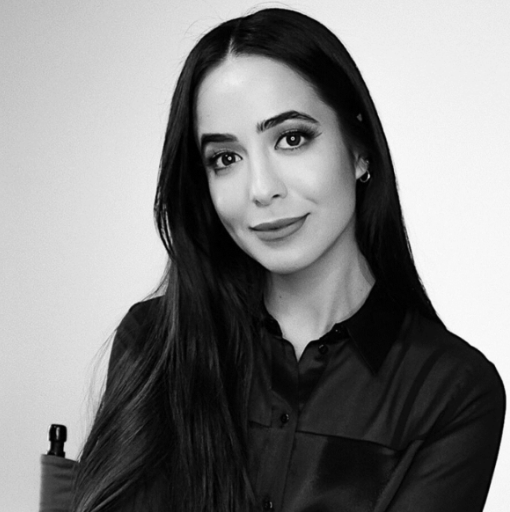
Dominique Lerma a Hollywood bred Internationally published Makeup Artist and Beauty Educator, known for her ability to create flawless complexions and innovative beauty looks. She grew her love for makeup artistry at a very ripe age and began beautifying faces for her fellow classmates at her all girl parochial high school. Her self taught passion flourished while she was given the opportunity of working with the world renowned Mac Cosmetics and soon became a Viva Glam Ambassador.
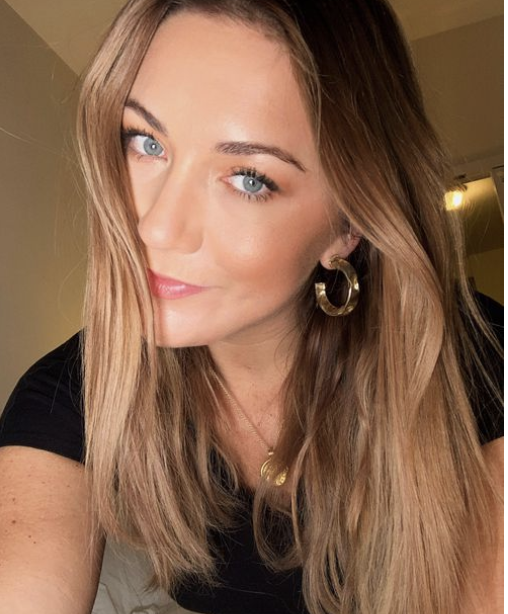
Tobi Henney is a bicoastal makeup artist who originally hails from Sydney, where she was previously the L'Oréal Paris Makeup Director for Australia. She is known for flawless, glowing skin and signature red carpet looks created for clients such as Megan Fox, Ashley Graham, Charlotte Lawrence, Poppy Delevingne, Ellie Golding, Sara Bareilles, Bambi Northwood-Blyth, Barbara Palvin, Georgia Fowler, and Shanina Shaik. Henney’s worked with major brands including Diane Von Furstenberg, Victoria's Secret, Chanel, Dior, Louis Vuitton, Miu Miu, L'Oréal Paris, Clinique, Maybelline, Nike, Anthropology, and Coach.
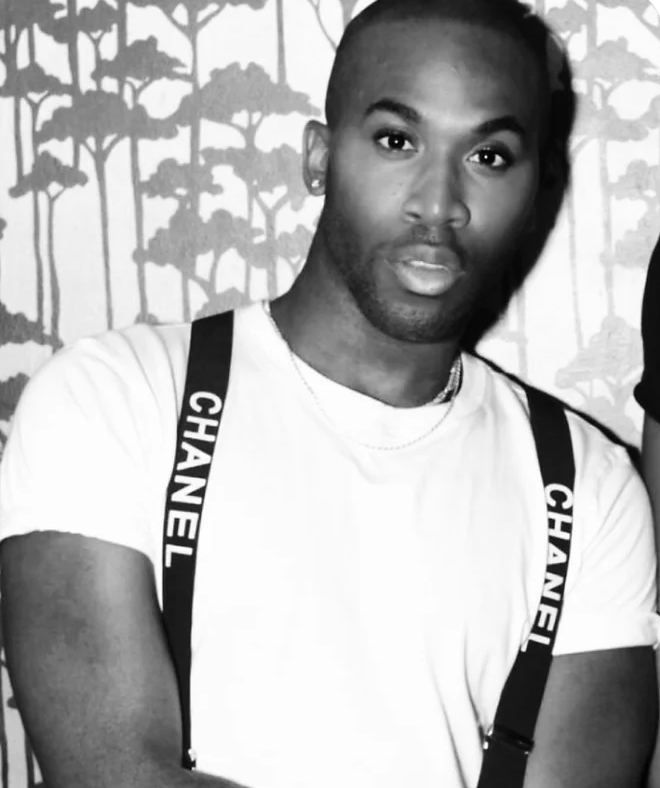
Bringing his background in fashion to the foreground of beauty, Eugene “Billie-Gene” is an industry innovator with a style all his own. As he continues to make a name for himself in the makeup world, Billie-Gene’s approach to the art lends a fresh aesthetic that renews and revitalizes everything we think of beauty. Gene’s basis in beauty shines light on the importance of a proper skin care regimen, and adding shape and dimension to the face.
Using his inspiration, Billie Gene’s technique – initially curated at Aveda and Tom Ford – has evolved into a model for those around him. The idea of using fashion and art to capture and captivate one’s beauty is one that he can call his own, treating each face as a canvas on which to create the art. And his premise is simple: “Beauty is glamorous. Everyone should feel beautiful, as we all know we are.”
Samantha Holender is the Senior Beauty Editor at Marie Claire, where she reports on the best new launches, dives into the science behind skincare, and shares the breakdown on the latest and greatest trends in the beauty space. She's studied up on every ingredient you'll find on INCI list and is constantly in search of the world's glowiest makeup products. She's constantly tracking the biggest nail and hair trends to pop up in the beauty space, going backstage during fashion weeks, tracking celebrity looks, and constantly talking to celebrity hair stylists, nail artists, and makeup artists. Prior to joining the team, she worked as Us Weekly’s Beauty and Style Editor, where she stayed on the pulse of pop culture and broke down celebrity beauty routines, hair transformations, and red carpet looks. Her words have also appeared on Popsugar, Makeup.com, Skincare.com, Delish.com, and Philadelphia Wedding. Samantha also serves as a board member for the American Society of Magazine Editors (ASME). She first joined the organization in 2018, when she worked as an editorial intern at Food Network Magazine and Pioneer Woman Magazine. Samantha has a degree in Journalism and Mass Communications from The George Washington University’s School of Media and Public Affairs. While at GWU, she was a founding member of the school’s HerCampus chapter and served as its President for four years. When she’s not deep in the beauty closet or swatching eyeshadows, you can find her obsessing over Real Housewives and all things Bravo. Keep up with her on Instagram @samholender.
