Exactly How to Give Yourself a Professional Blowout, by a Celeb Stylist
A step-by-step guide for your best at-home blowout.
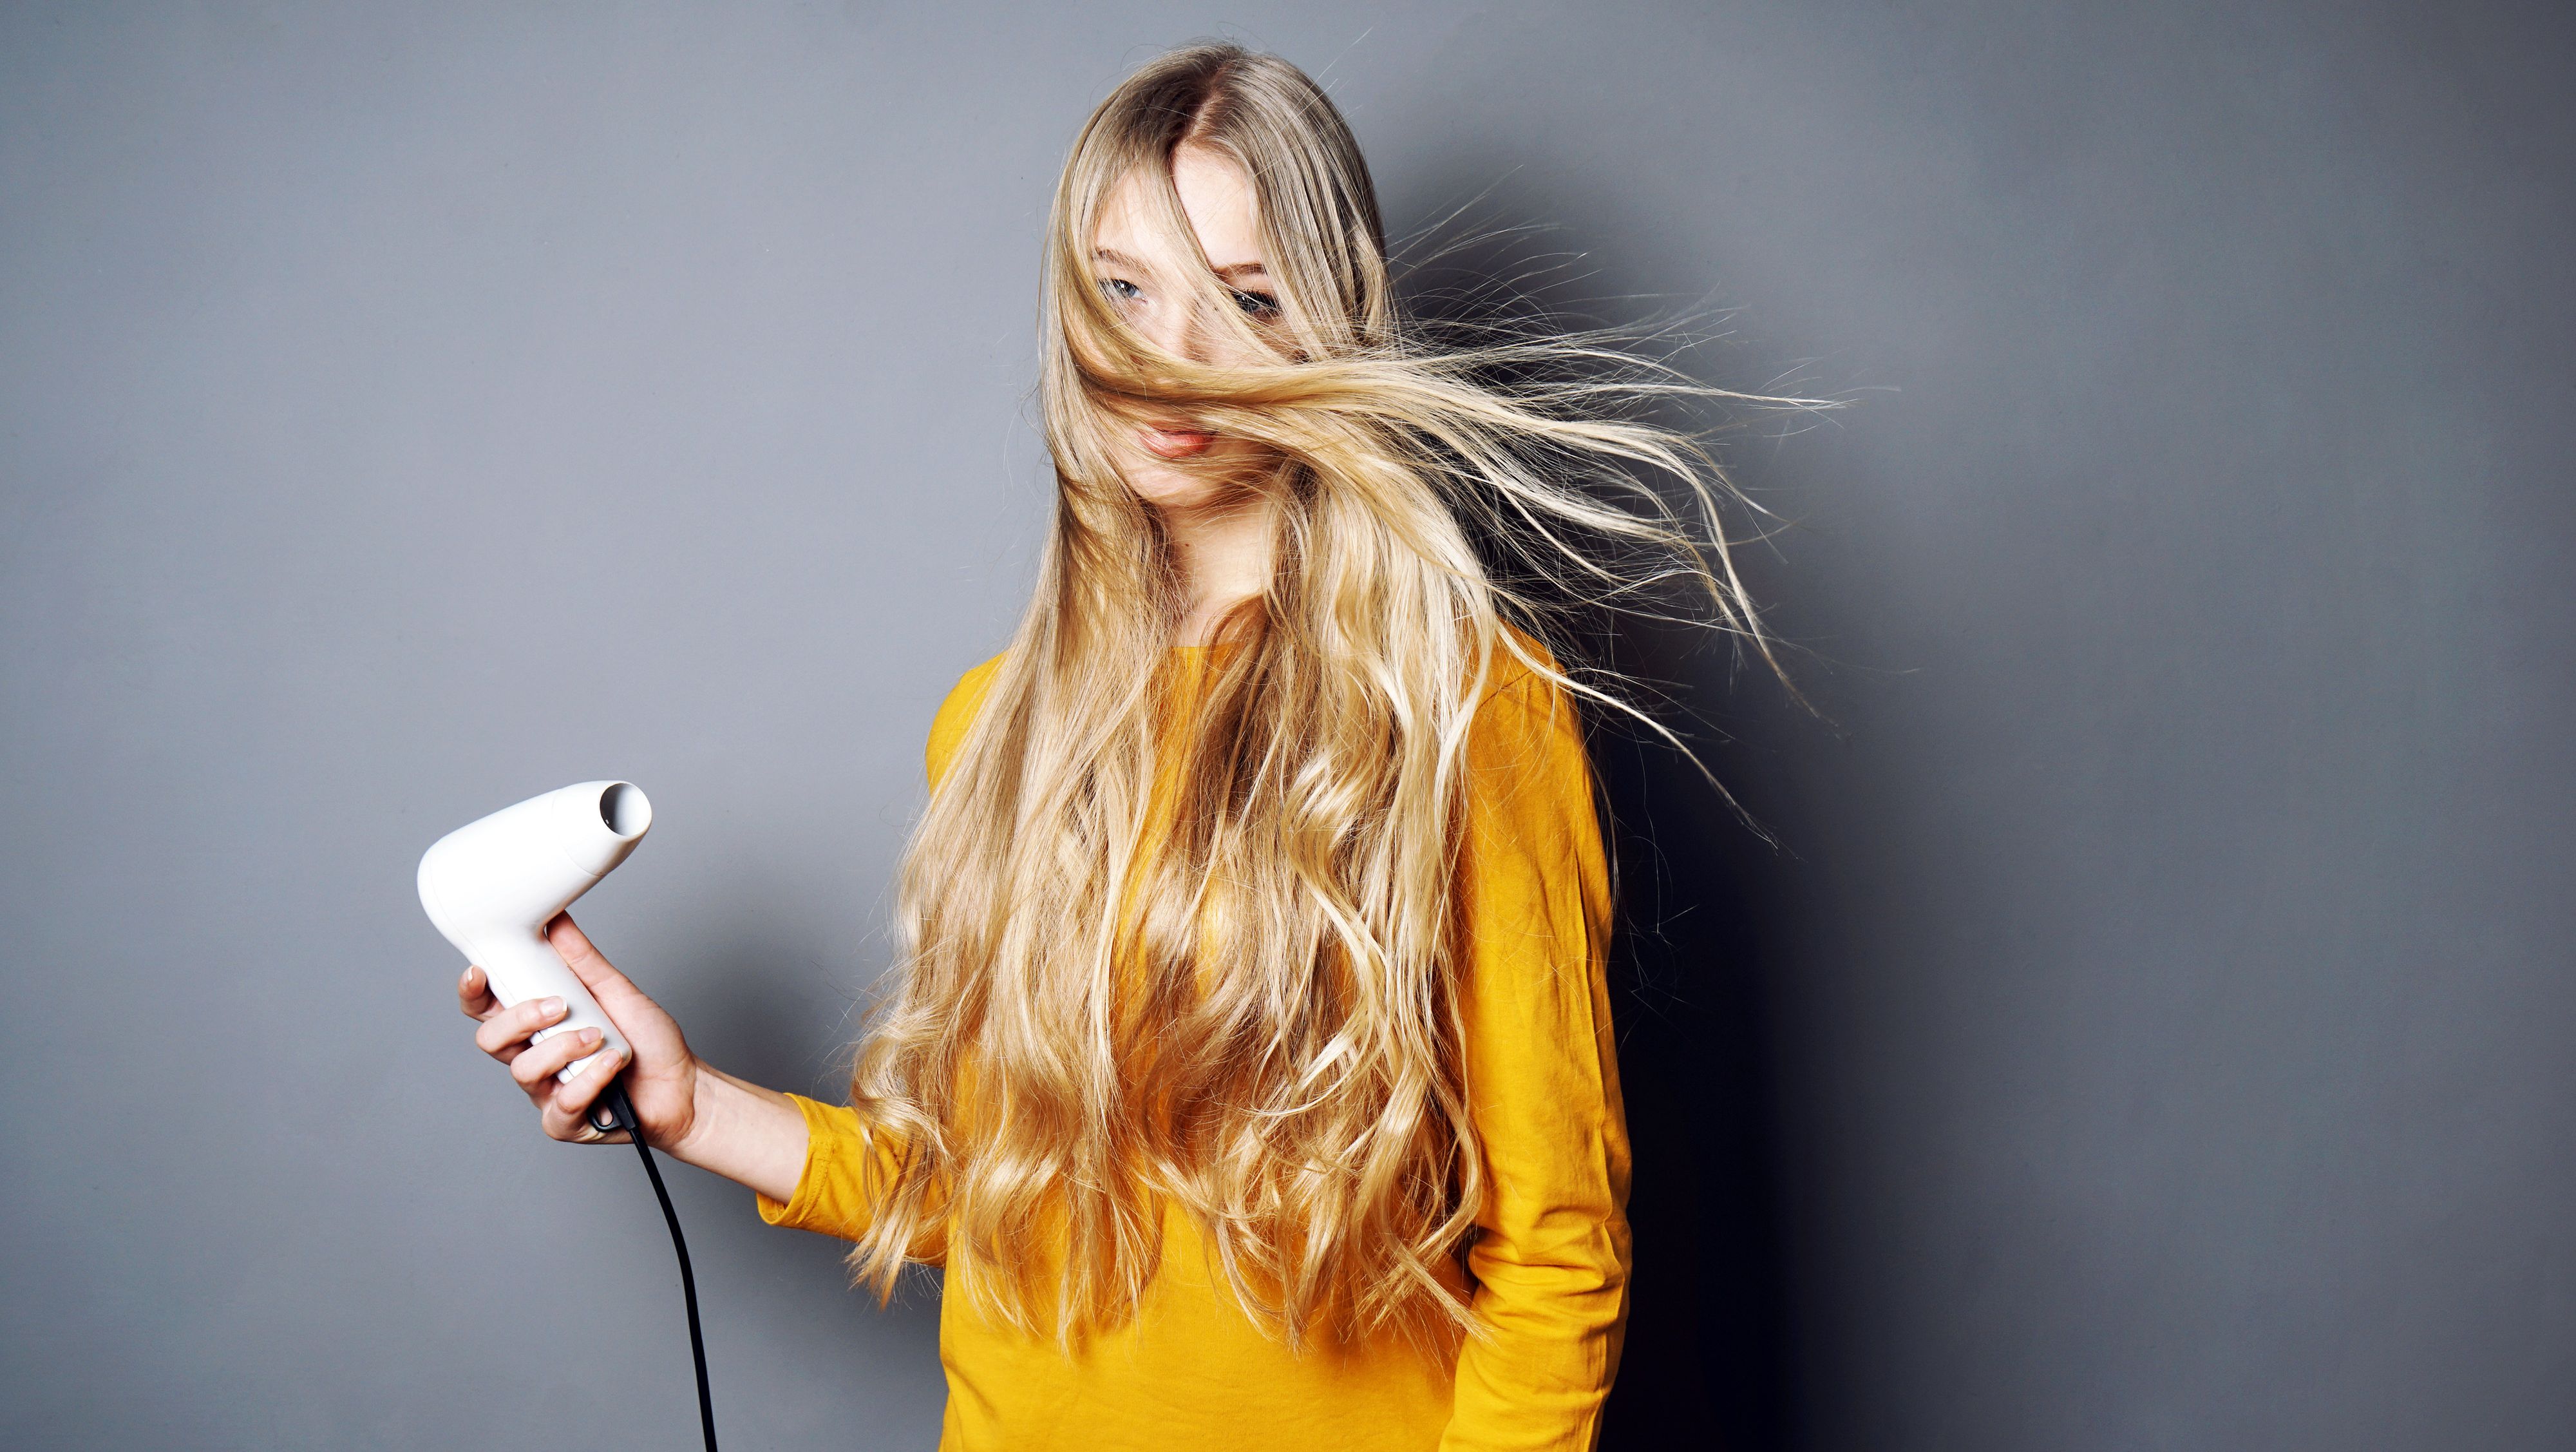

The "perfect blowout" has evaded me for many years. My personal relationship with my hair goes through peaks and valleys, and I can tell if I'm going to have a good day or bad day based on how my hair looks. Frizzy and dry? I'm going to be annoyed from breakfast till dinnertime. Now that none of us can hop into our neighborhood blow-out bars for a quick ego-fix, it's time to finally learn how to handle our own hair. Think of the upside to this: You get to use your favorite go-to products, and you don't have to worry as much about heat damage. Every time I see the salon flat-iron cranking up to 450°, I have to either power through it and watch my ends get singed, or suck up my shyness and request that they turn down the heat. At home? A cool 360° will do.
Since the salon feels like a distant memory at the moment, I figured I'd take the salon to you. Enter, Juan Carlos Maciques, celebrity stylist to the stars, whose clients include J.Lo, Chrissy Teigen, and… oh, me. He's the only person allowed to cut my hair after I gave myself a couple awkward chops (Juan Carlos, I'm sorry!) and he's here to walk you through how to give yourself a good blow-out at home that makes you feel like you just stepped out of a salon, confidence and all.
Step 1: Start With Healthy Hair
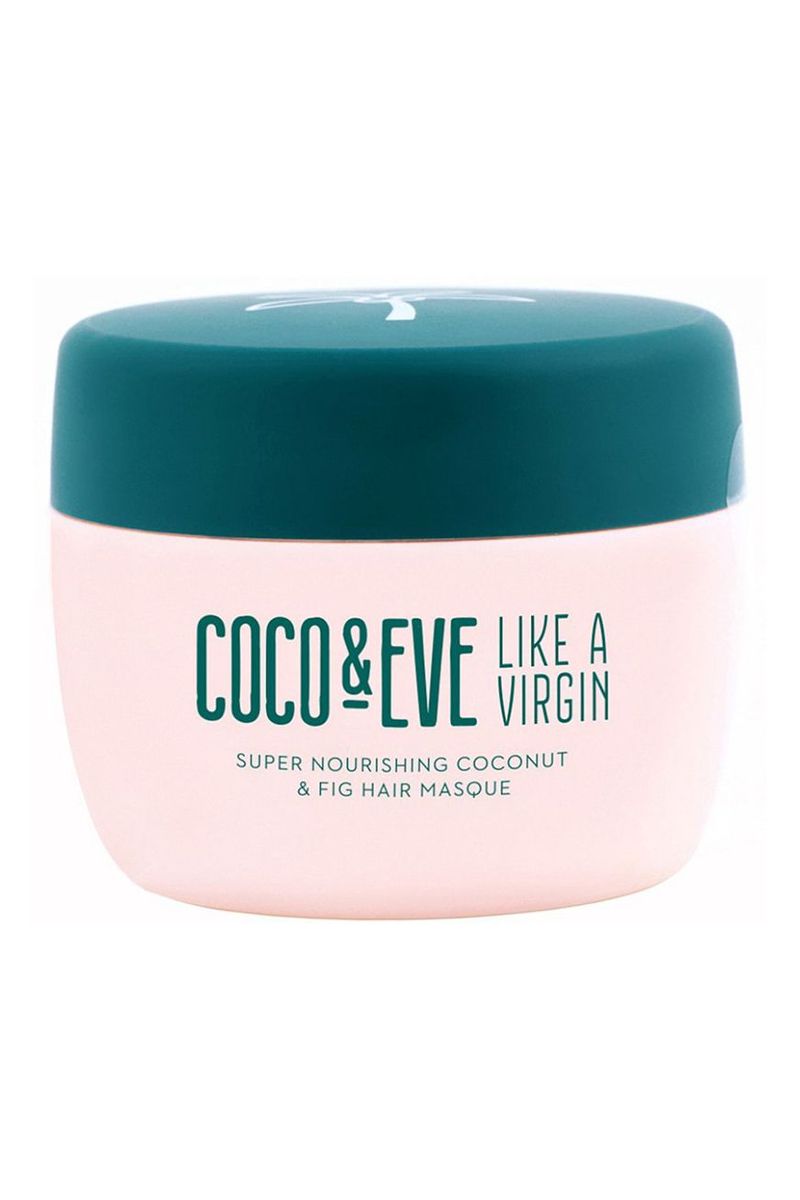
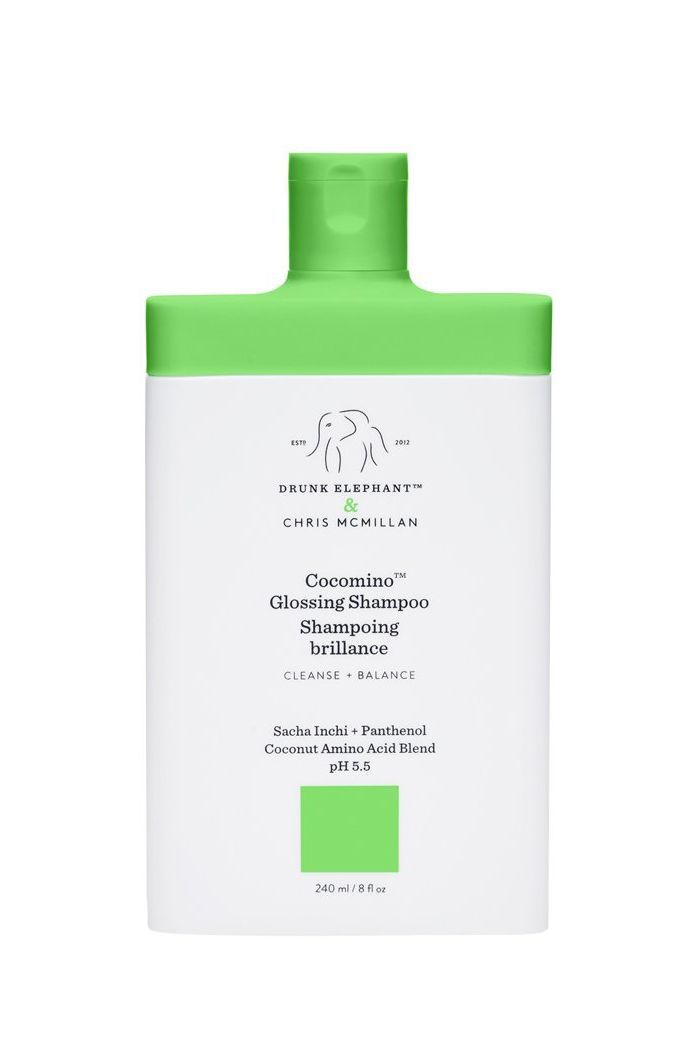
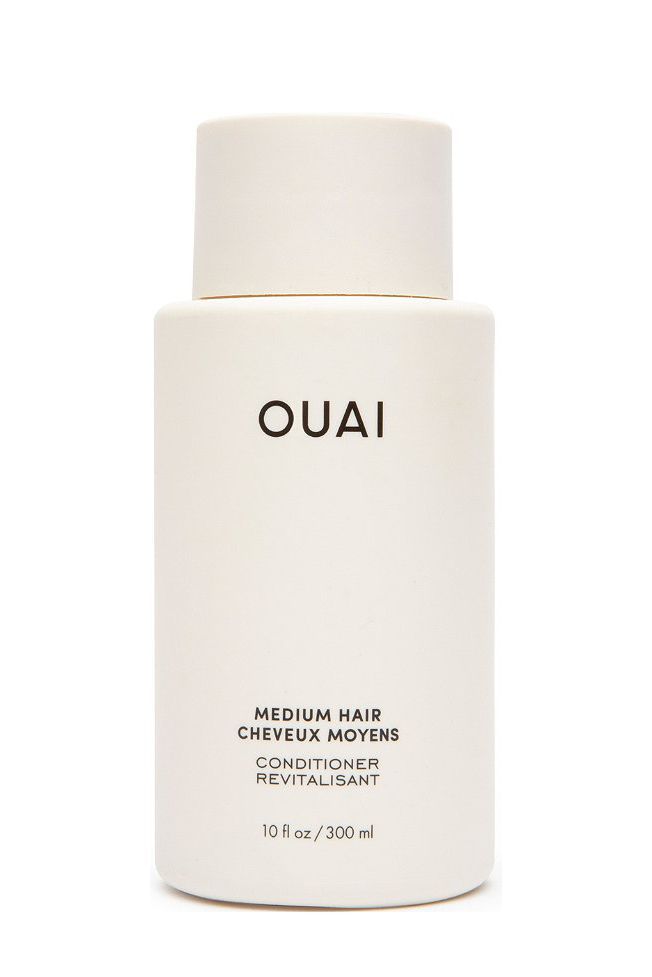
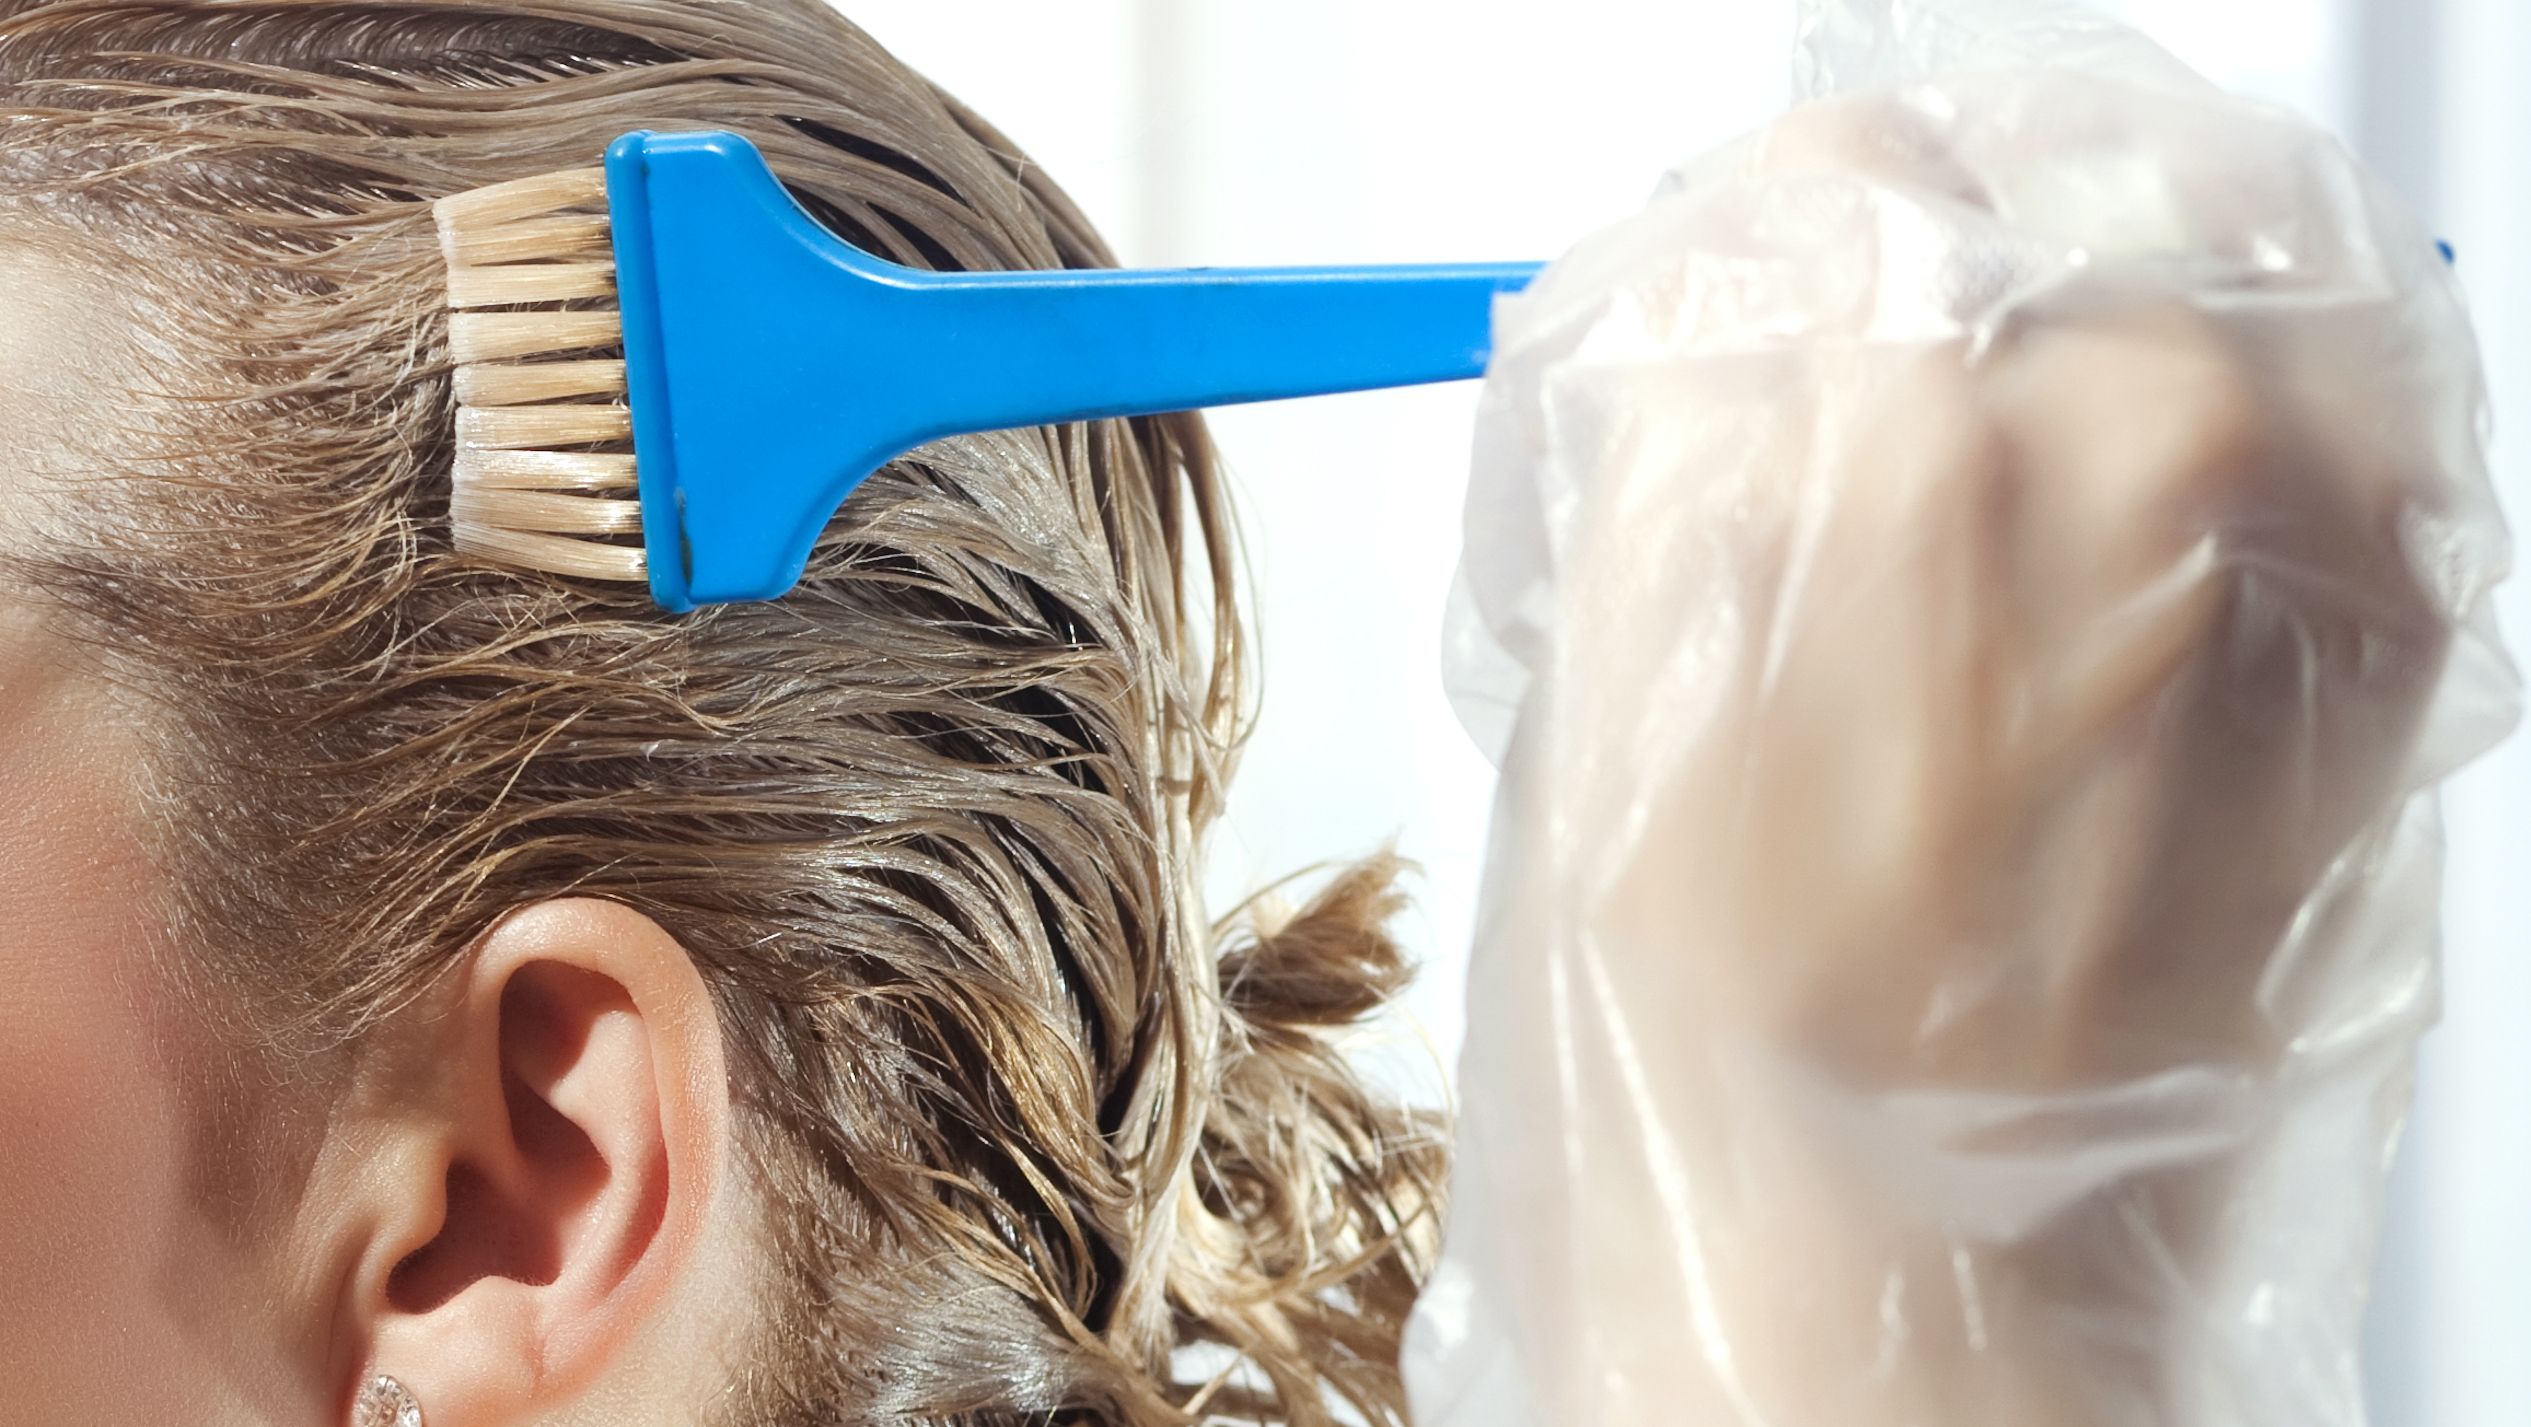
An indisputable fact: luscious hairs starts with healthy hair. If you, like me, have been less than kind to your hair over the years (hi, bleach, heat tools, and more dry shampoo than wet shampoo), don't panic. Just 'cause we're not always nice to our hair doesn't mean it's impossible for it to look good. Yes, regular trims are good to keep the ends of your hair looking fresh. But if you aren't looking to break out the scissors right now, hair masques, treatments, and great shampoo and conditioners can help make hair appear healthier.
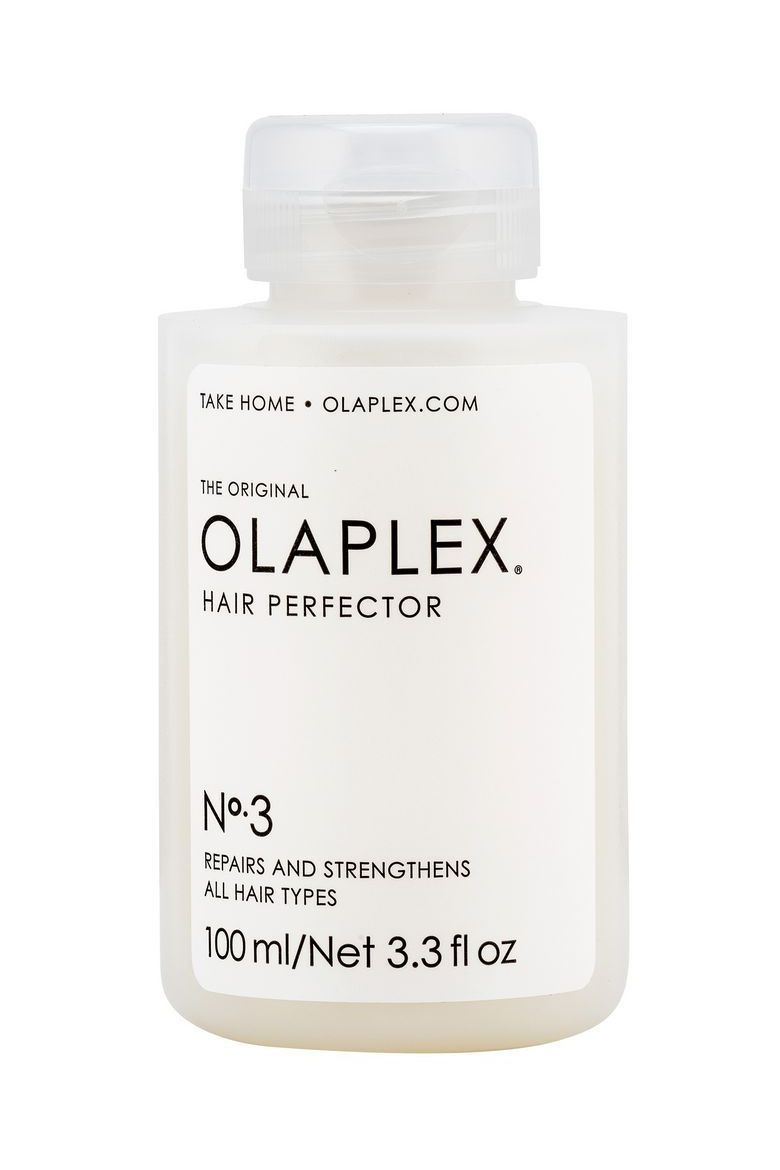
And really, what else are you doing right now? "We always complain that we don’t have enough time to pamper ourselves," Juan Carlos notes. Now is the time to address the two key issues that affect our hair: health and hydration. Some masks can be applied for just twenty minutes, but you can leave them on overnight for intense repair. The Olaplex Mask ($56) is a personal favorite of mine. Run it through your lengths, leave it on for however much time you have, and after you rinse, I promise you'll be able to see a difference.
Try These Hair Treatment Products
Step 2: Prime Your Hair
After washing your locks with a shampoo and conditioner that addresses your hair concerns (frizziness, dryness, damage) it's time to get down to business. No, wait—don't go reaching for those hot tools just yet! Just like you wouldn't take an exam before preparing properly, your hair needs to be properly primed before you even think about coming near it with some heat.
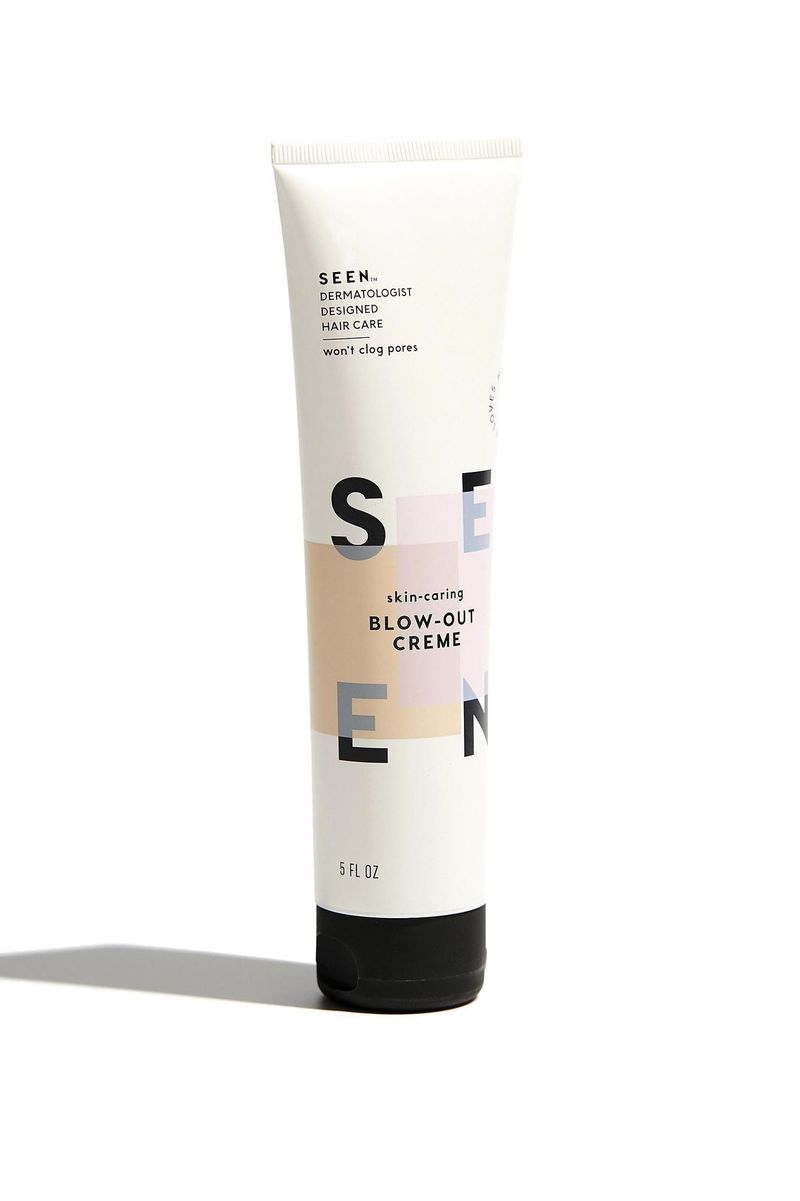
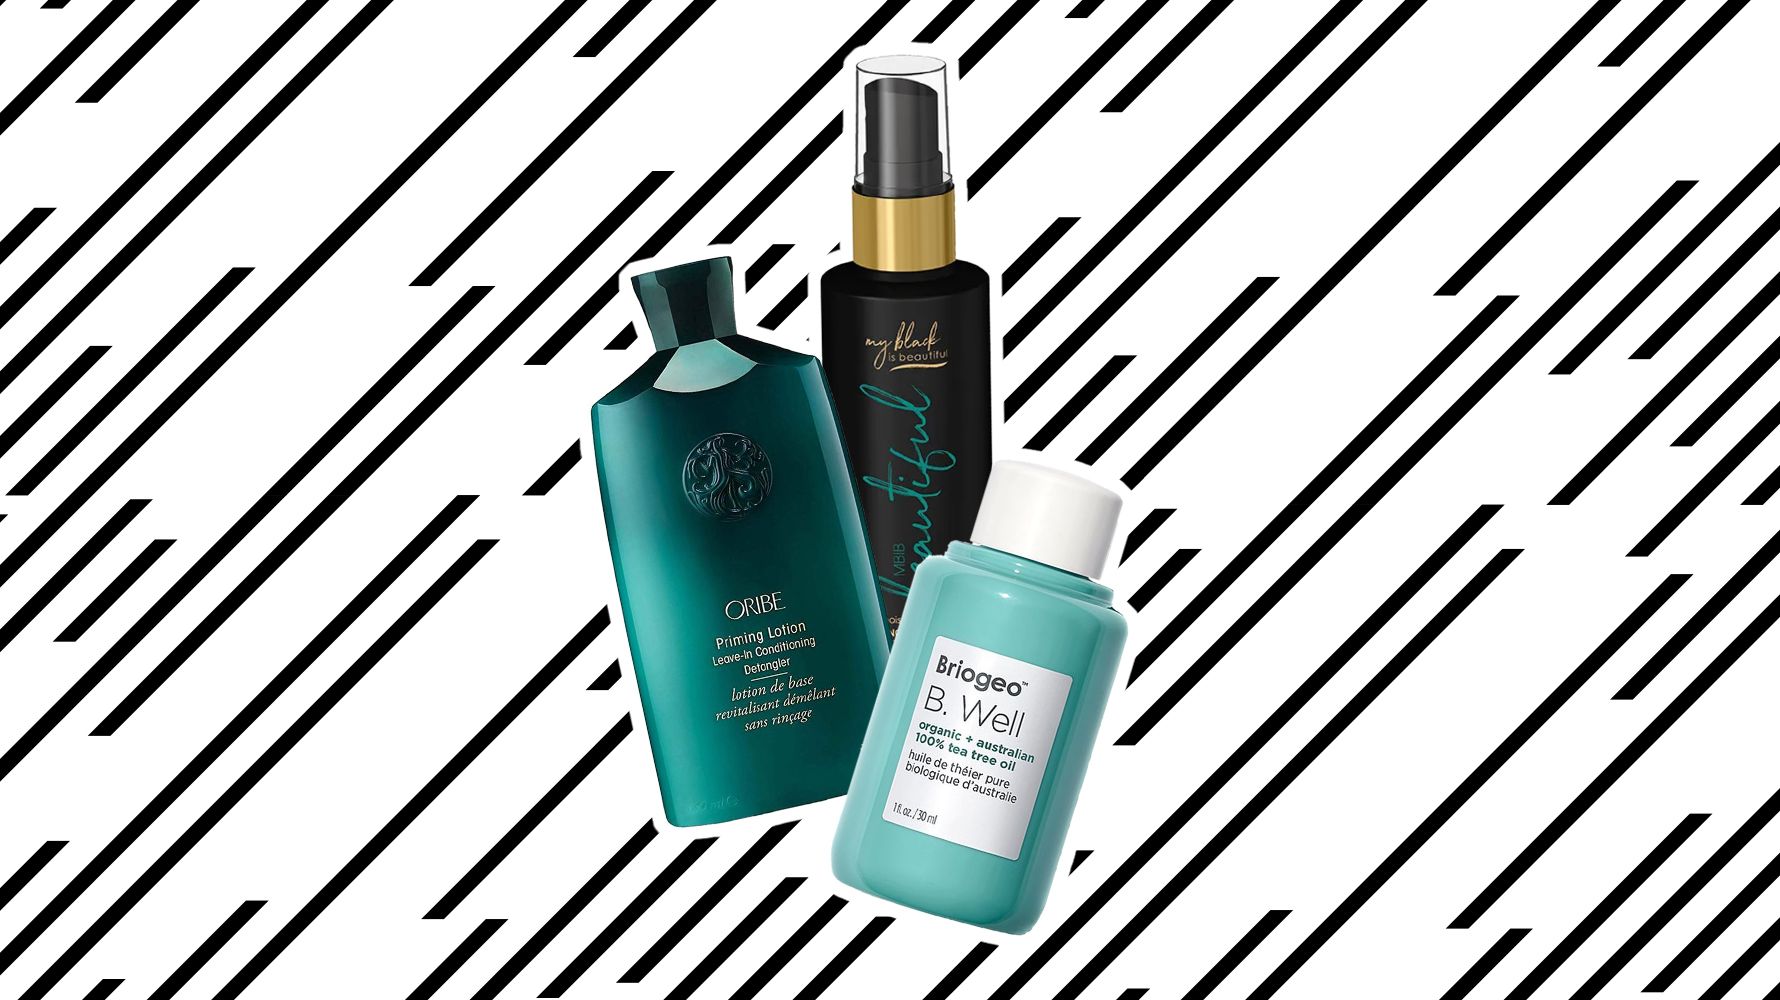
The type of primer you need depends on your hair type. Juan Carlos recommends reaching for some body-building products if you have fine hair, and for coarse or unruly hair, try to get your hands on some anti-frizz and hydrating products. His personal favorite? The Milbon Restorative Blowout Primer. Once you've applied your styling product of choice, you can bring the heat.
Shop Our Favorite Blow-Out Primers
Step 3: The Blow-Out
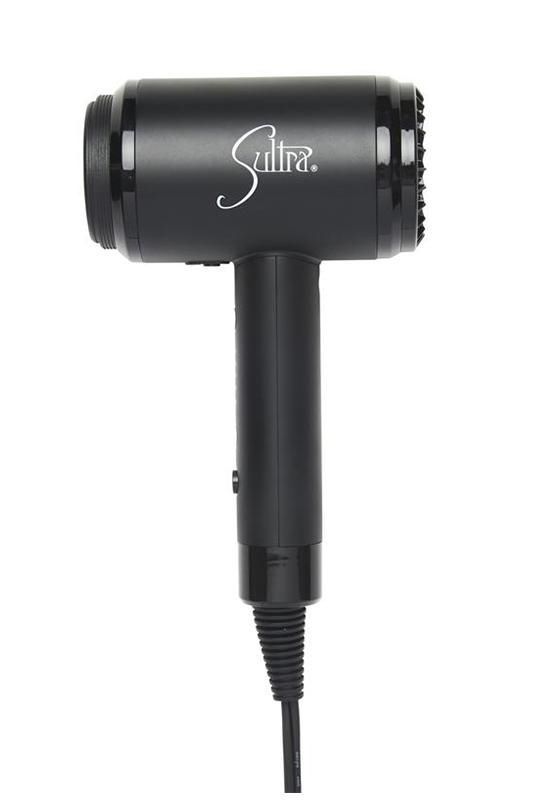
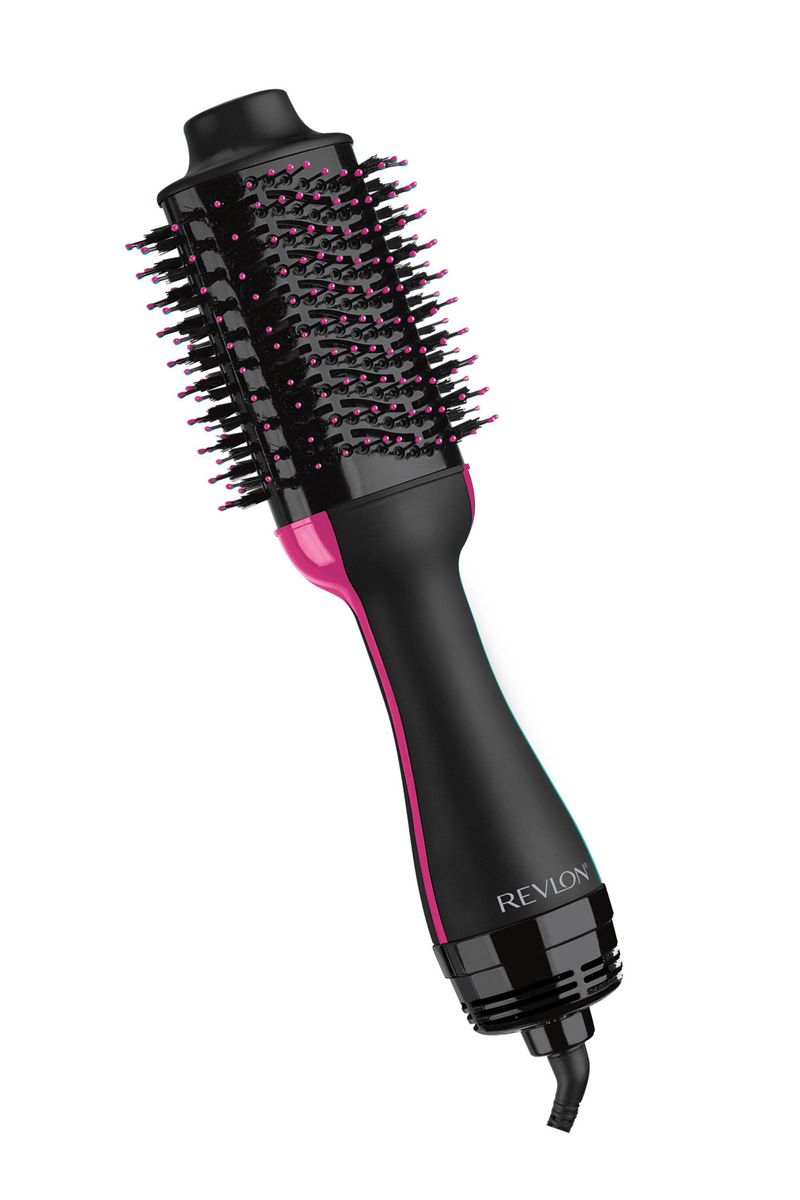
Now that you've treated your locks like the princess that they are, it's time to do the real thing. If you're anything like me, blow-drying your own hair can feel more like an arm workout than anything else. But for novices who aren't comfortable yet with maneuvering tools around your head like a trapeze artist, Juan Carlos has some tips for you to make the process easier:
Get exclusive access to fashion and beauty trends, hot-off-the-press celebrity news, and more.
- Address the unruliest parts of your hair first. This typically includes the hairline around your head and any cowlicks you might want to redirect. Because these parts of your hair are most often the finest and the coarsest, they are more challenging to tame once dry. Therefore, it’s important to smooth these areas beforehand.
- You need to have the nozzle pointing in the direction you are blow drying. This allows the air flow to spread evenly throughout the section of hair and also makes for better smoothing because you are following the cuticle of the hair. Hold the dryer in a fashion thats convenient for you to hold in order to allow this, and turn the nozzle accordingly to also facilitate this process.
- Use the correct brush for your hair texture! Always use a boar brush, no matter your texture. But for curly, coarse hair use a firm bristle brush, and for finer, straight hair use a softer bristle brush.
I myself find it easiest to divide my hair into manageable sections with industrial-looking hair clips like these from DryBar ($16). I finish the top layer of my hair first, then go back and do the bottom layers, working my way up. Maneuvering a brush and a hairdryer at the same time takes some practice, and it might feel like a strain on your delicate biceps at first. But it will definitely get easier, and you'll come out of quarantine with some muscle definition so it's a win-win.
A post shared by Juan Carlos Maciques (@jcmaciques)
A photo posted by on
If you're stuck inside with a partner, they can help you out. Before I learned to do it myself, I would work the brush and have my boyfriend angle the nozzle of the hairdryer since I couldn't do both. Romance!
A post shared by R+Co (@randco)
A photo posted by on
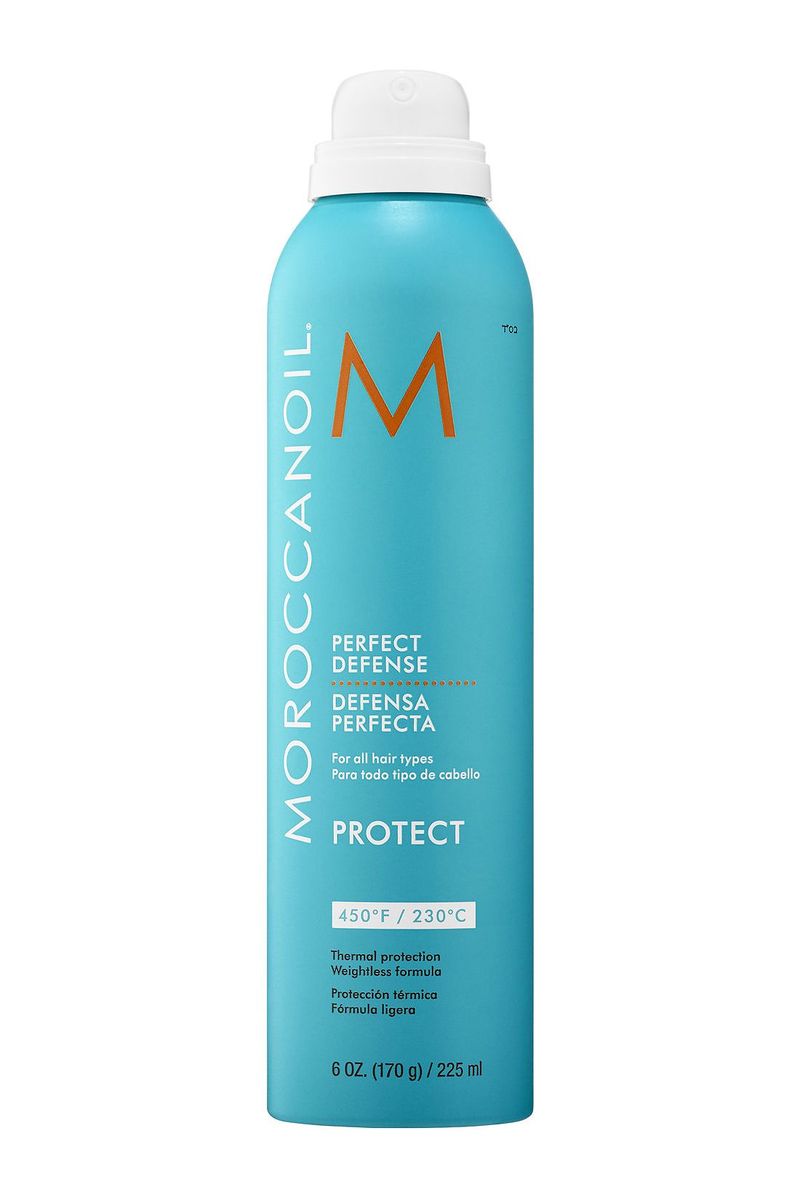
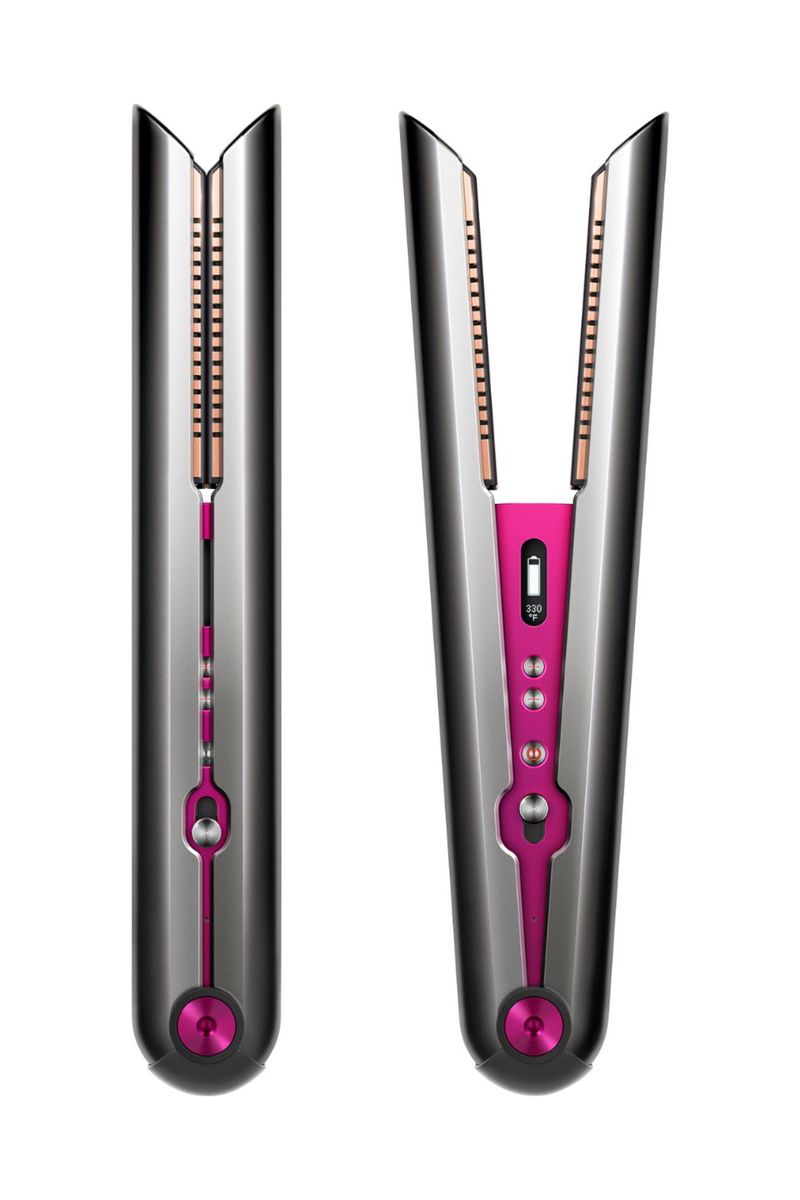
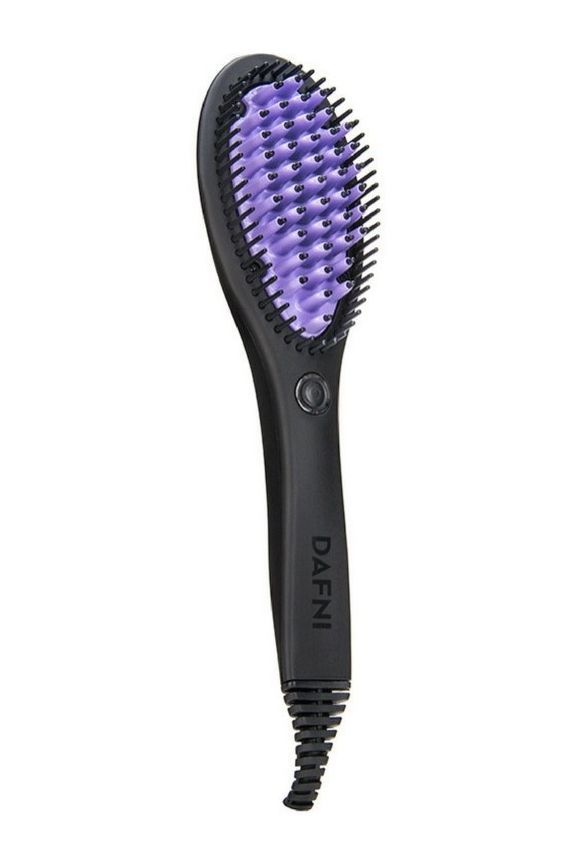
Once your hair is completely dry (completely dry, not 90% dry!) you can go in with an additional styler, like a flat iron or curling wand if that's your usual style. Don't forget to add some spray heat protectant for additional safety.
Try These Hot Tools
Step 4: The Finishing Touches
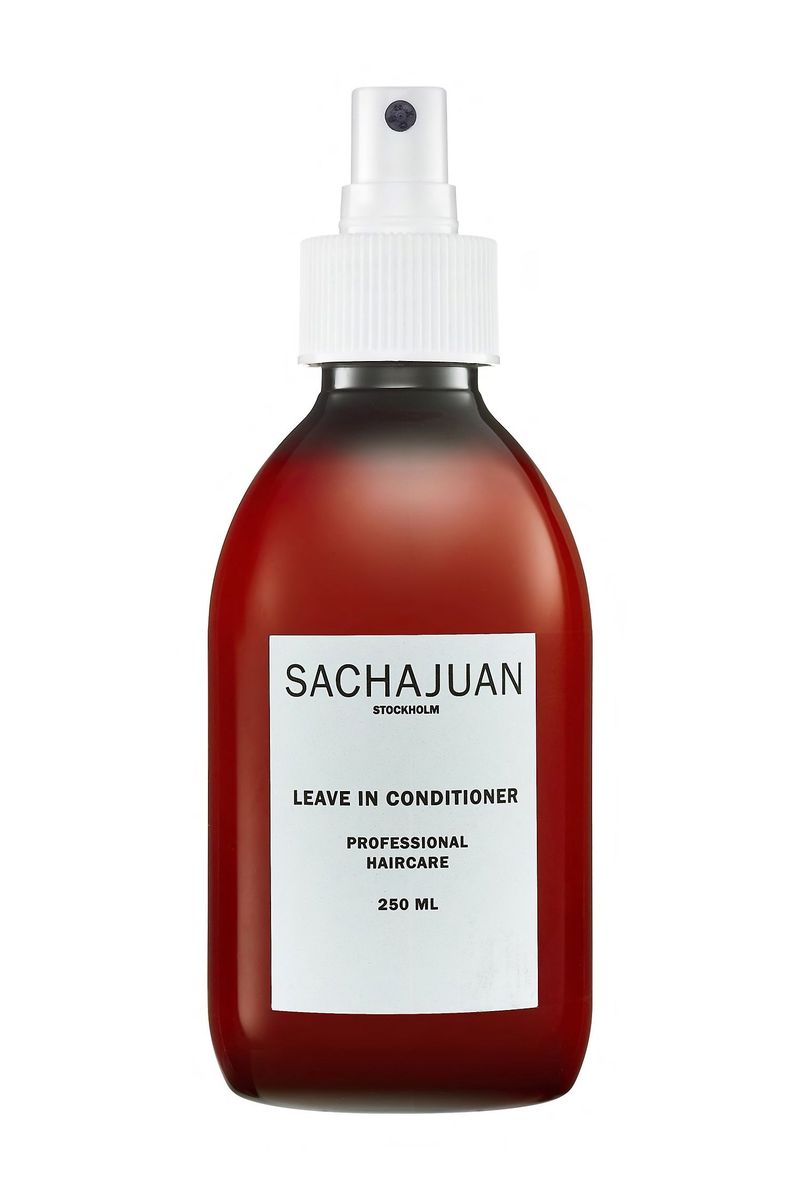
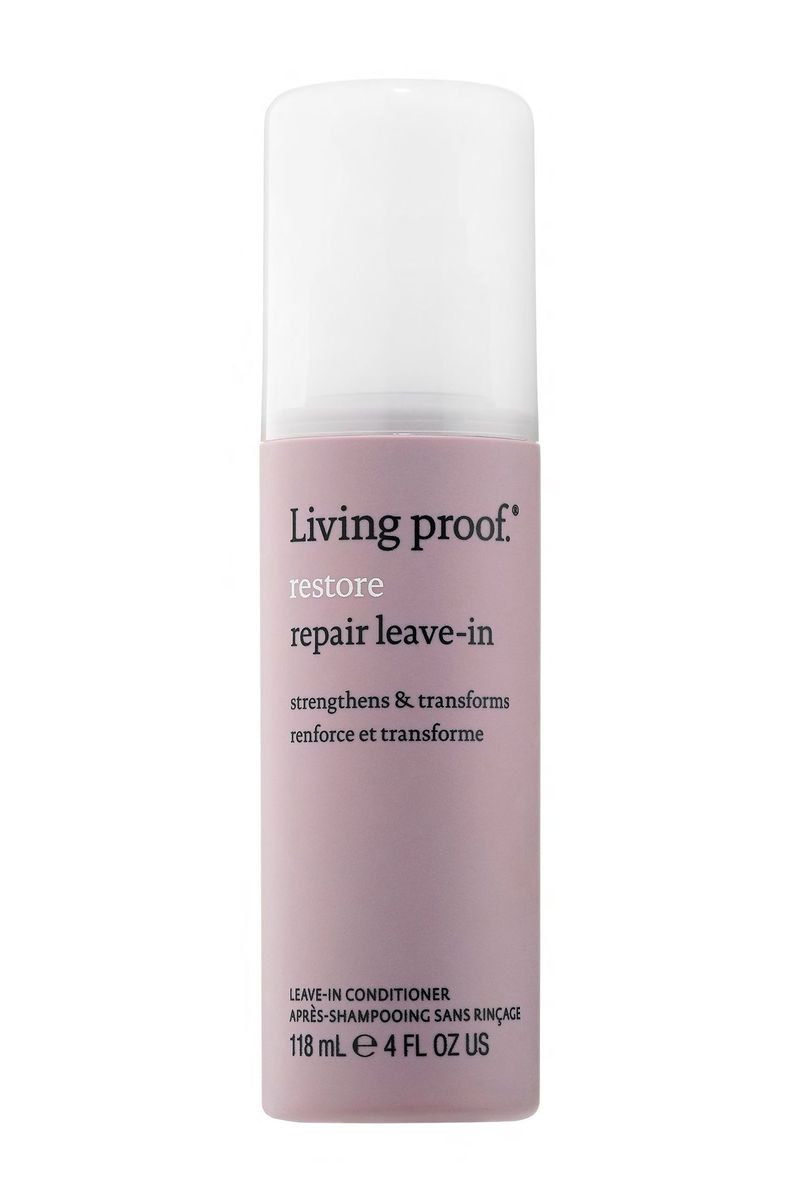
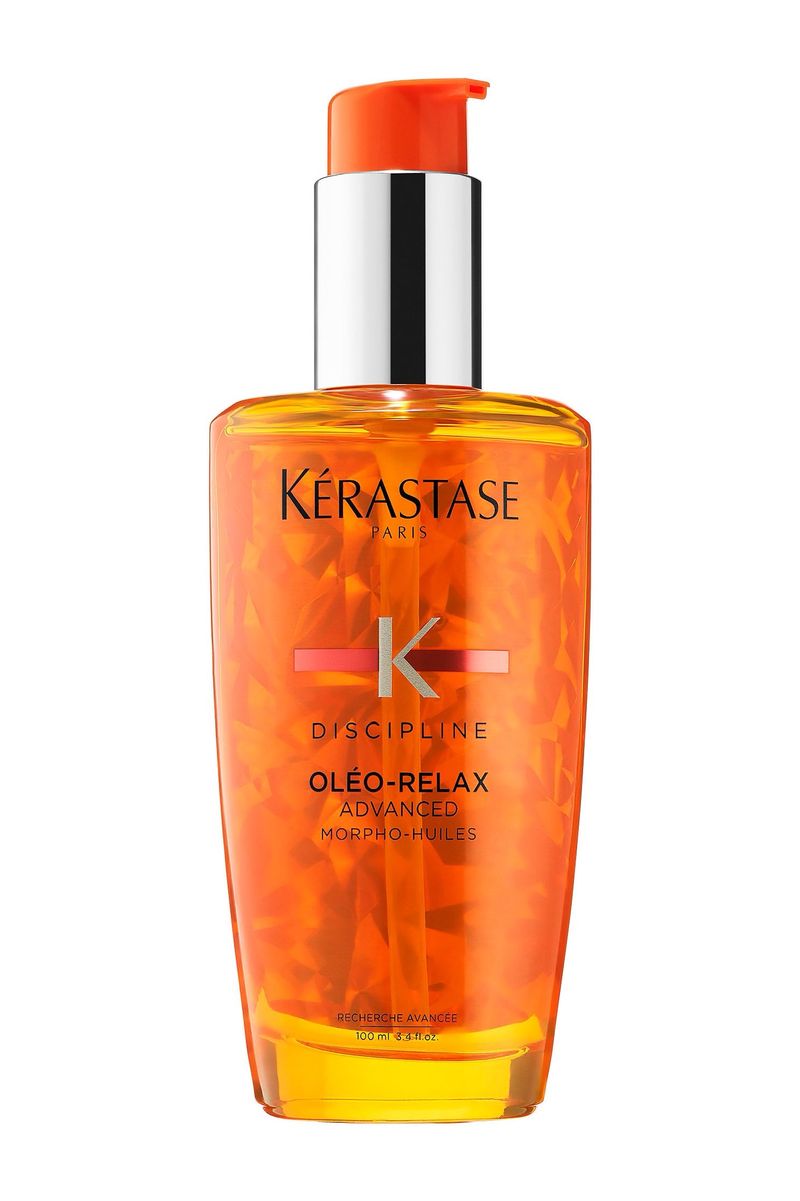
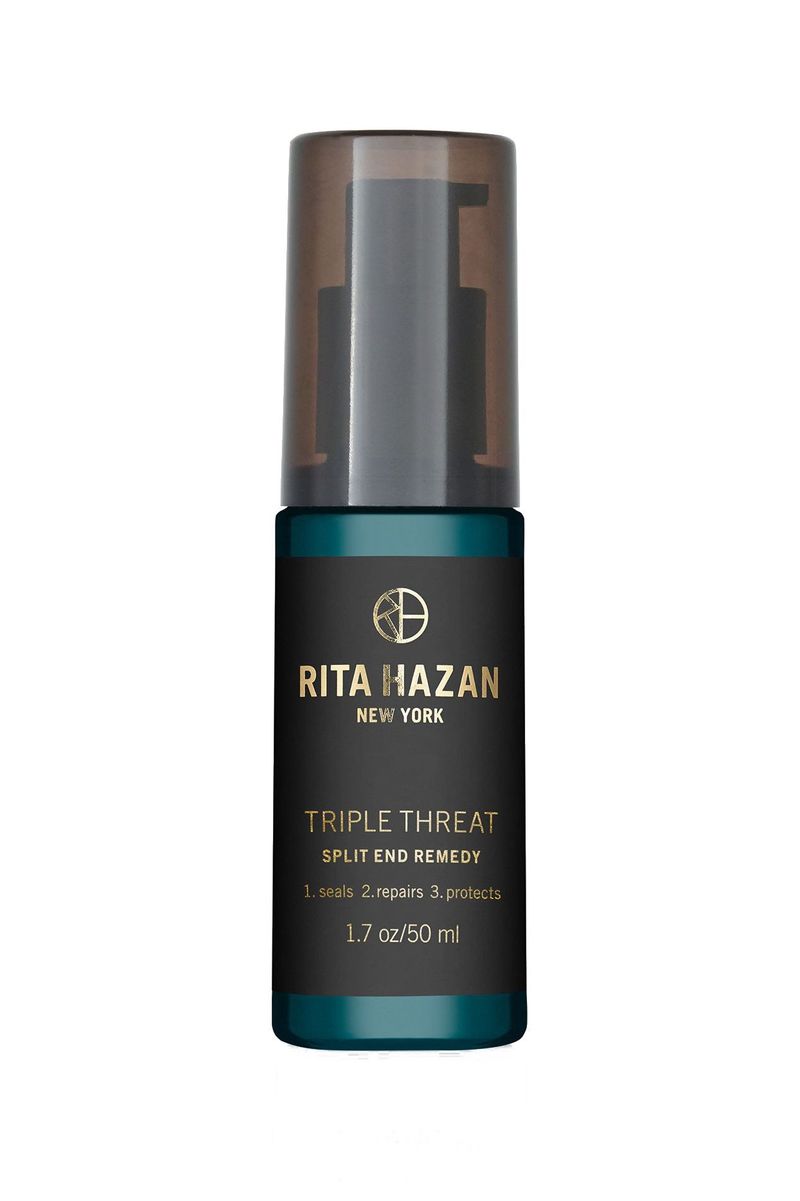
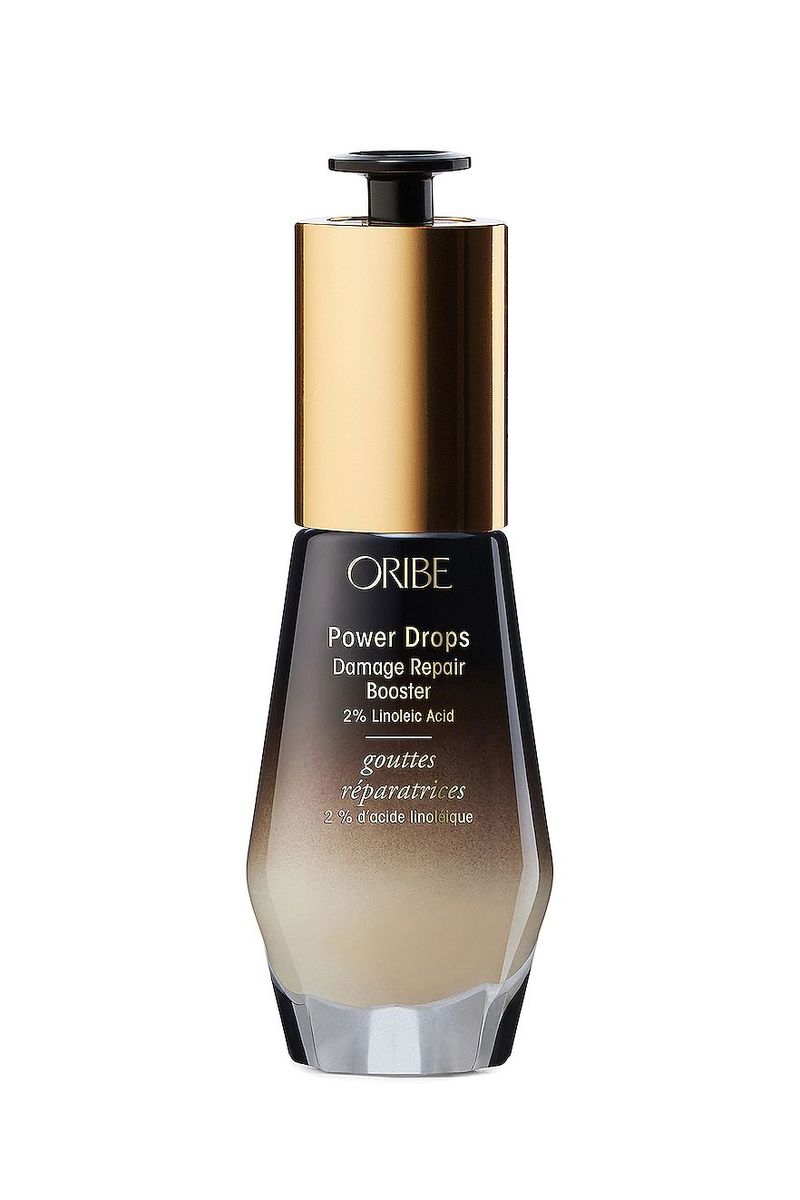
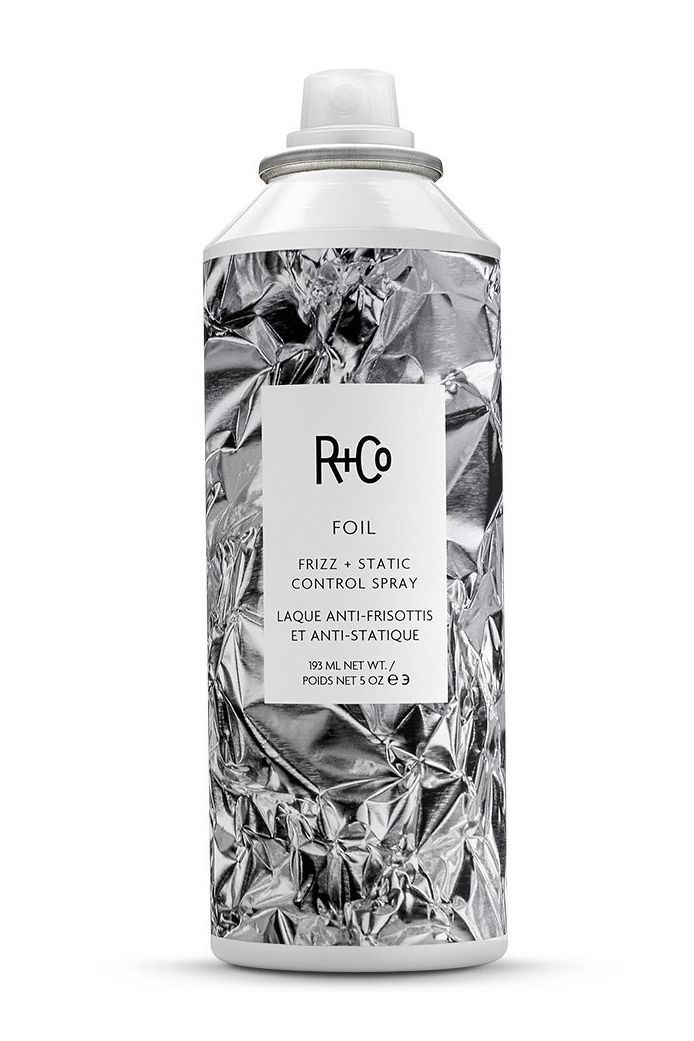
Now that you're blown-out and gorgeous, you can add a final bit of product to tame flyaways, soothe split ends, or just make sure that your style lasts. "We do so much damage to our hair by way of tools and chemicals, that repair is essential," Juan Carlos explains. Grab a hair oil you love, or a hydrating cream, and run it through the mid-lengths and ends of your hair. There are some incredible new products on the market that will make sure all your hard work keeps looking fresh for a few extra nights.
Rinse and repeat: When it's time for your next wash, throw on a repairing mask before hopping in the shower so that your hair keeps on being nourished and taken care of before you give yourself Victoria Secret-esque volume again.
Try These Hair Styling Products
Hair stylists, salon workers and small businesses are really suffering at the moment. As great as it is to be able to make yourself look gorg at home, if you can, please support small businesses and your go-t0 salon. Companies like R+Co are working very hard to support people and businesses, by allowing you to purchase your favorite products from your local salon. We all need to take care of each other during these scary times. So, with your beautiful new 'do, try to spread the love to others, whether it's buying gift cards from small businesses for future use, or just being super understanding to people who may be having a hard time.
For more stories like this, including celebrity news, beauty and fashion advice, savvy political commentary, and fascinating features, sign up for the Marie Claire newsletter.
RELATED STORIES
Tatjana Freund is a Beauty Commerce Writer, covering makeup, skincare, and haircare products and trends. She's a fan of vodka tonics and creepy Wikipedia pages.
