How to Dutch Braid Like a Pro
The summer style everyone will be jealous of.


Because long hair has evaded me for so long, braids often felt like something I did not have access to. Once upon a time, I was convinced that a side-braid was a good look—I rocked it so often, I can never go back. But as my hair slowly inches past my shoulders, I'm finding new ways to incorporate braids into my routine. For me, braids are useful in three categories: First, a nice double braid looks cute by itself. Second, when I'm too lazy to curl my hair, I braid it so that I can have some nice waves. Third, if there's a lot of humidity in the air or I'm about to work out (Gotcha! I never work out!), braids allow me to protect my style.
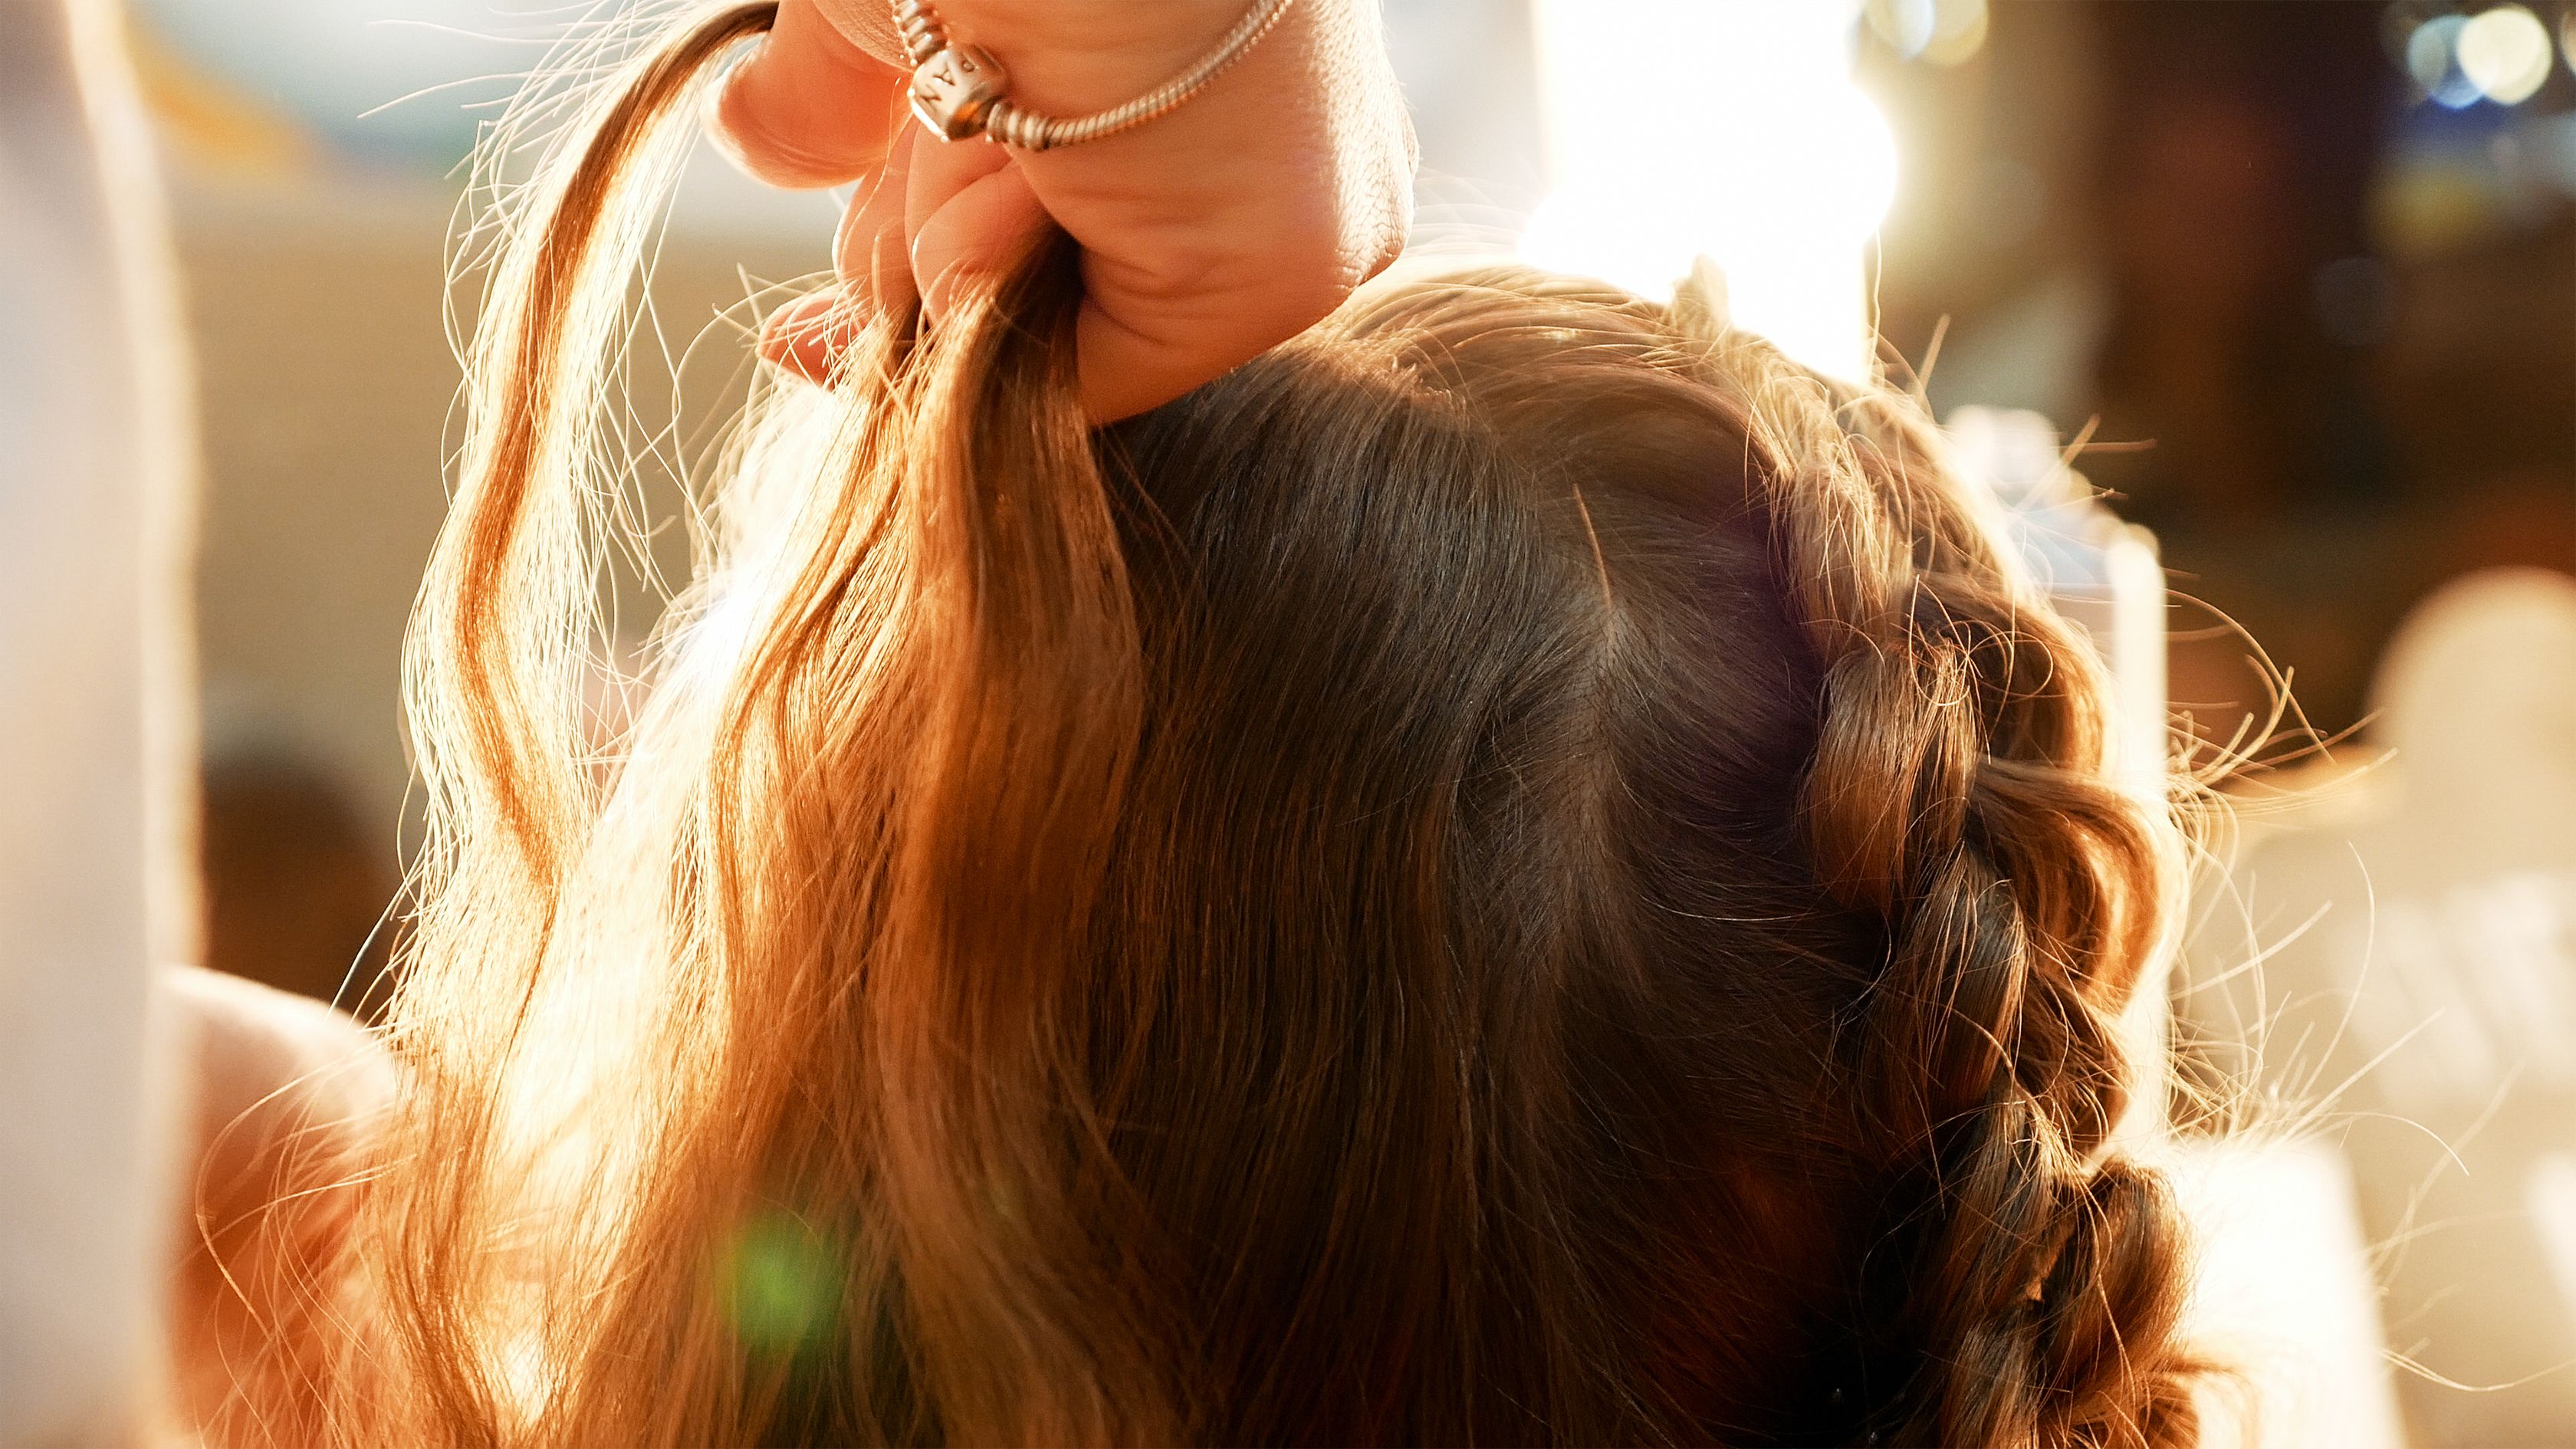
But boring, three-strand-been-there-done-that braids are getting tiring. So now it's time to up the ante: Dutch braids. Most commonly seen in a double braided look—two identical braids on the right and left side of the head—Dutch braids, also known as "reverse braids" or "reverse French braids," are quickly becoming the go-to summer look that's both easy achieve and attractive-looking. For a step-by-step guide on how to achieve this look yourself, read on.
The Prep
Before you get to braiding, you're going to need these four items: a mirror, a comb, a brush, and hair elastics. Quickly brush out your hair to get rid of any knots, and then precisely create a part with a comb straight down the middle of your hair, from your forehead to your neck. Choose which side you feel like starting with first, and leave it down and ready to access. The side that you will do second should be clipped up and out of your way. Warm up your biceps, and get ready to go.
The Technique
Like a standard braid, start with a small section of hair right by your hairline. Grab this piece, separate into three sections, and follow this familiar rhythm: Pull the top piece of hair over the middle section, replacing its position. Pull the bottom piece over the now-middle section, replacing its position.
A post shared by justine marjan (@justinemarjan)
A photo posted by on
After two passes, it's time to add in more hair. With each pass of the top and bottom sections, pull a piece of loose hair into the braid. It's critical to do this while pulling the braid in the direction of the back of your head, rather than forward by your eyes. This is why you'll need a mirror. It might feel more natural to braid forwards, closer to your chin, but we want these braids to lie flat against our head, meaning we need to aim backwards.
The Finish Line
When you've successfully included all the loose hair into your braid, it's time to finish off the braid. Resuming the familiar three-strand technique, continue passing one strand over the other until there is no hair left. Wrap a hair elastic around the end of the hair to make sure it won't unravel. Now, it's time for the second side!
RELATED STORIES


Get exclusive access to fashion and beauty trends, hot-off-the-press celebrity news, and more.
Tatjana Freund is a Beauty Commerce Writer, covering makeup, skincare, and haircare products and trends. She's a fan of vodka tonics and creepy Wikipedia pages.

