The New Dyson Airwrap Is Better Than Ever
The 2.0 version of the cult-favorite hair tool is more effective—and easier to use.
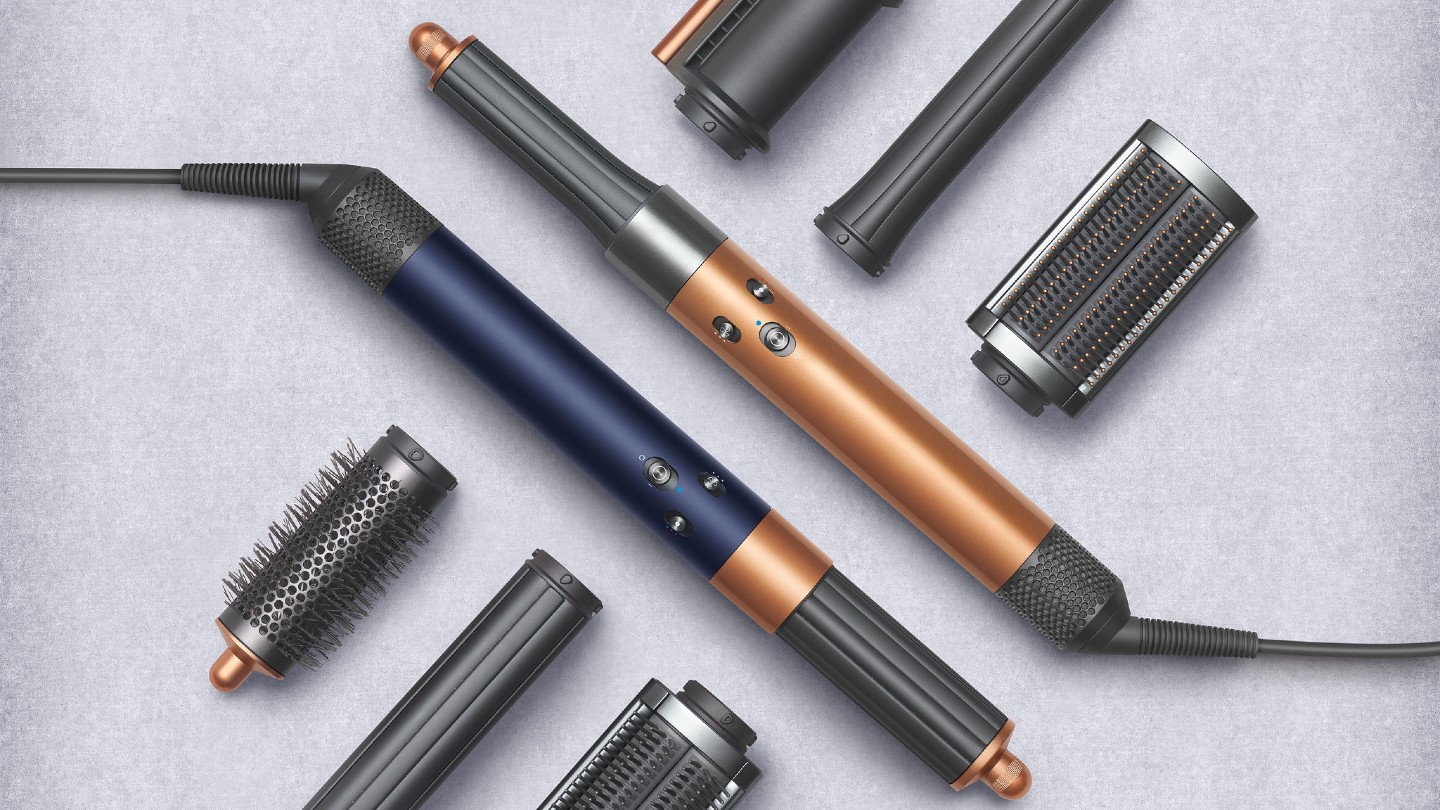

One of the most consistent hot commodities in the beauty world is the Dyson Airwrap. It’s sold out time and again, repeatedly goes viral on TikTok, and is hailed as a do-it-all and do-it-without-damage styler. While the OG version has been going strong since 2018, the brand recently decided to give the blow dryer meets curling wand meets flyaway-tamer a makeover. The innovative Coanda technology, which uses cool airflow to shape and set the hair, remains the same, but there’s a new colorway, new attachments, and new upgrades which promise to make the 2.0 Dyson Multi-Styler better than ever.
As someone who has been a Dyson Supersonic devotee since 2016 (it’s my most cherished beauty possession), I couldn’t wait to get my hands on this new launch. Here, I’ll be breaking down how this edition is different from the original, how the additional attachments work, and some tips and tricks I learned while using the Dyson Airwrap Multi-Styler.
How Is the Dyson Airwrap Multi-Styler Different?
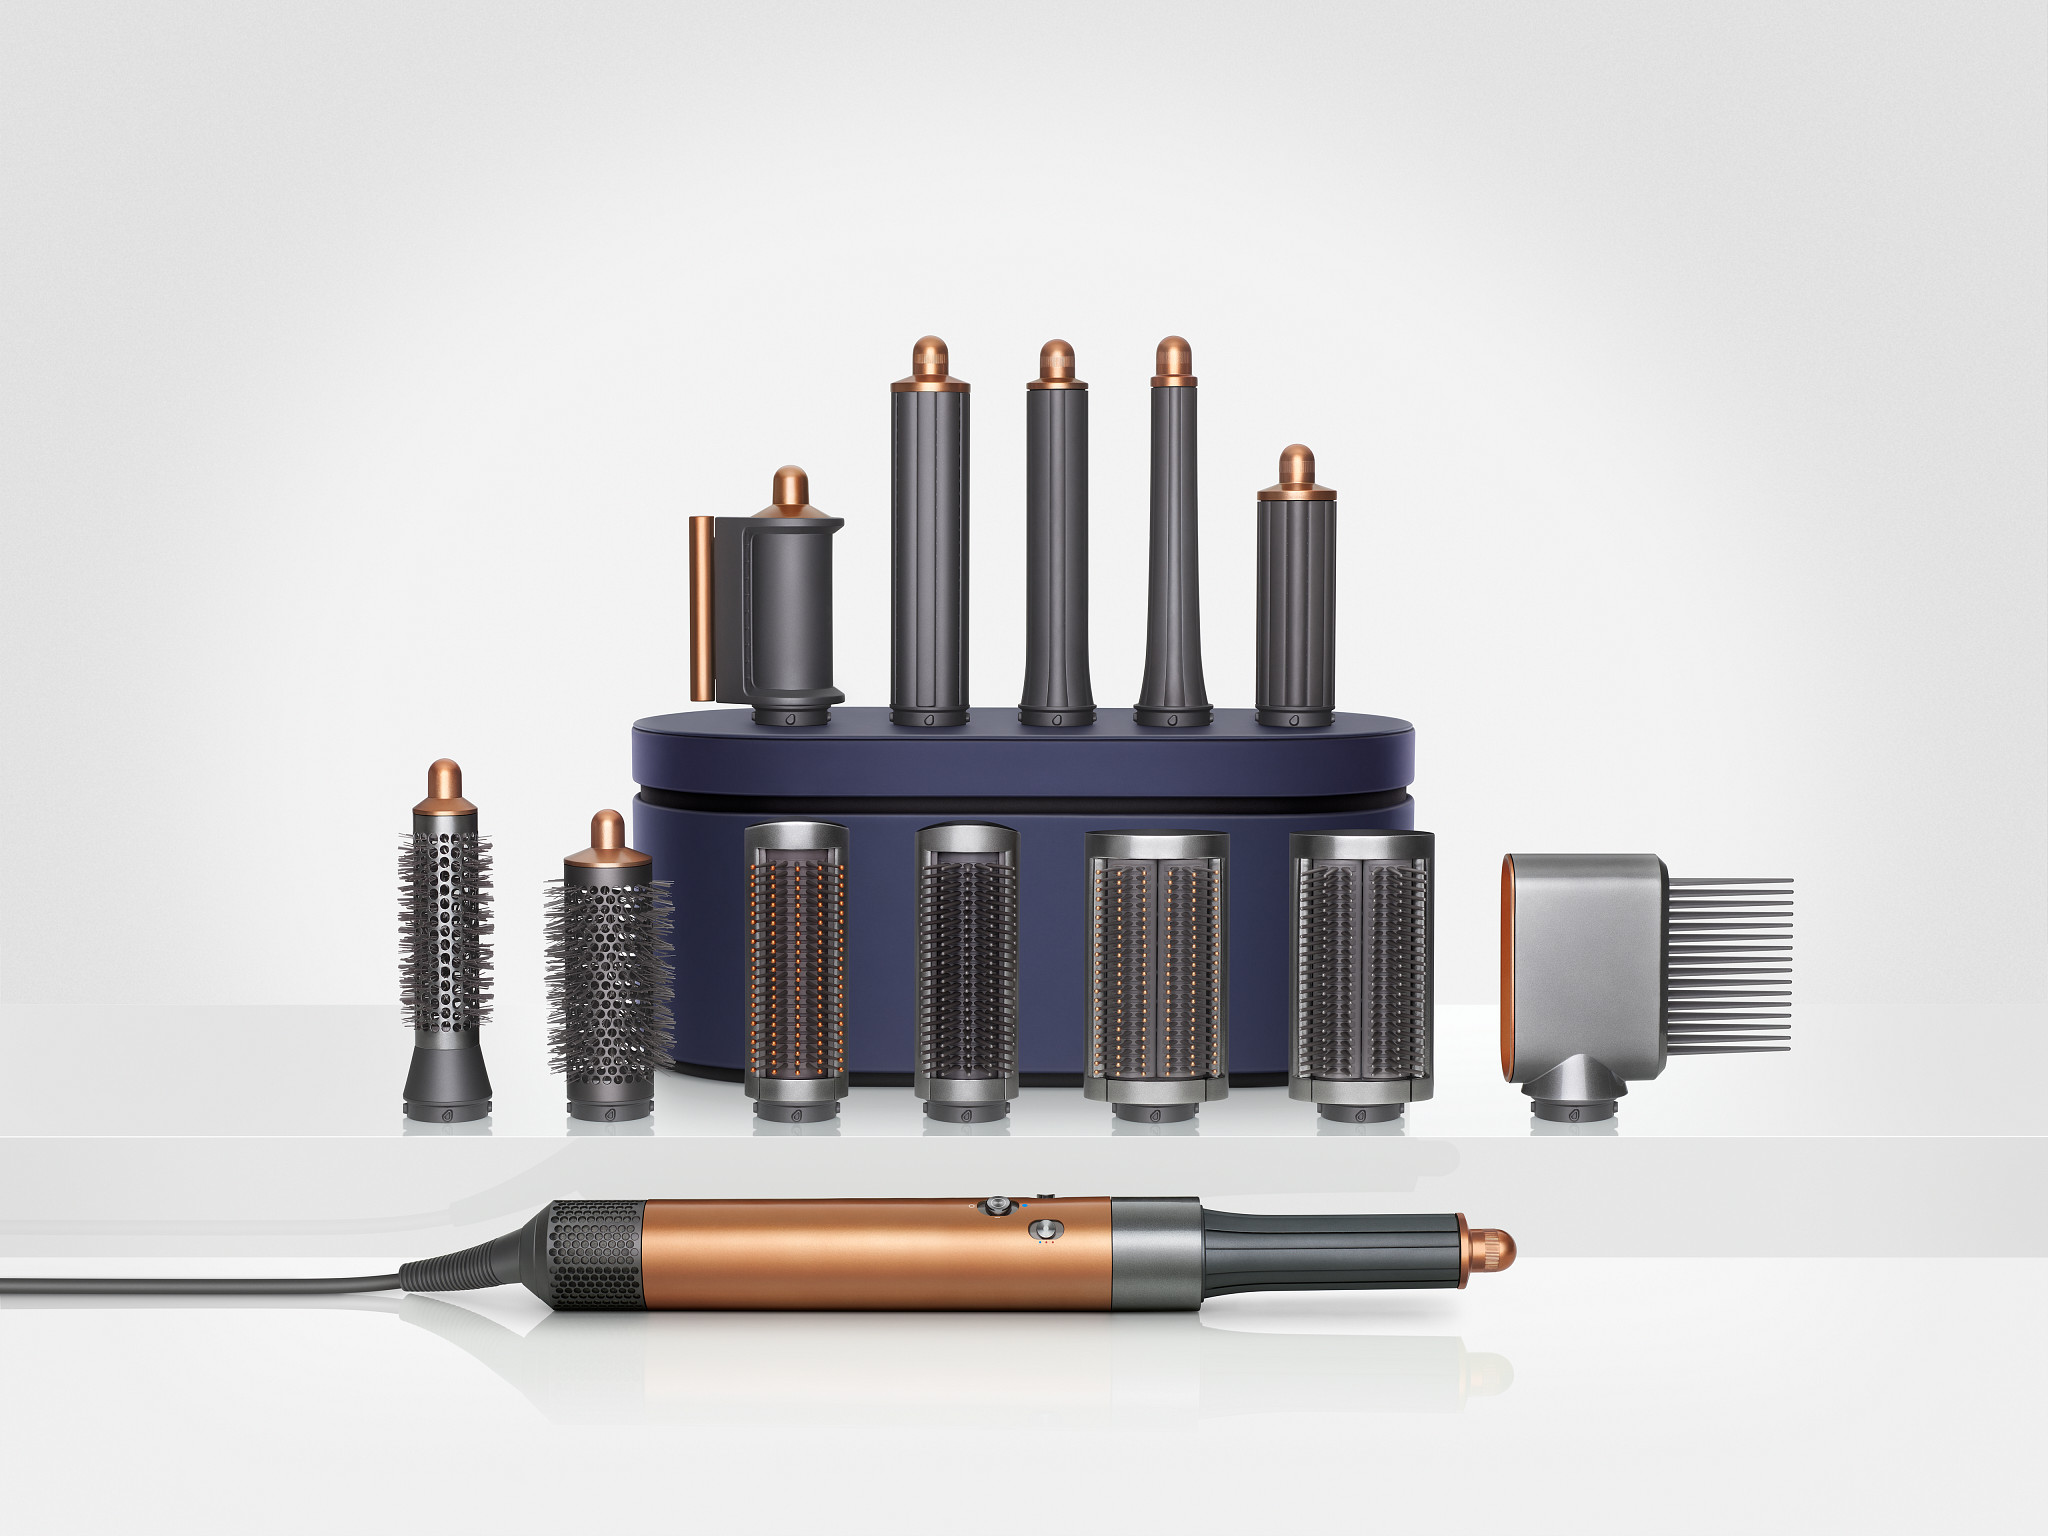
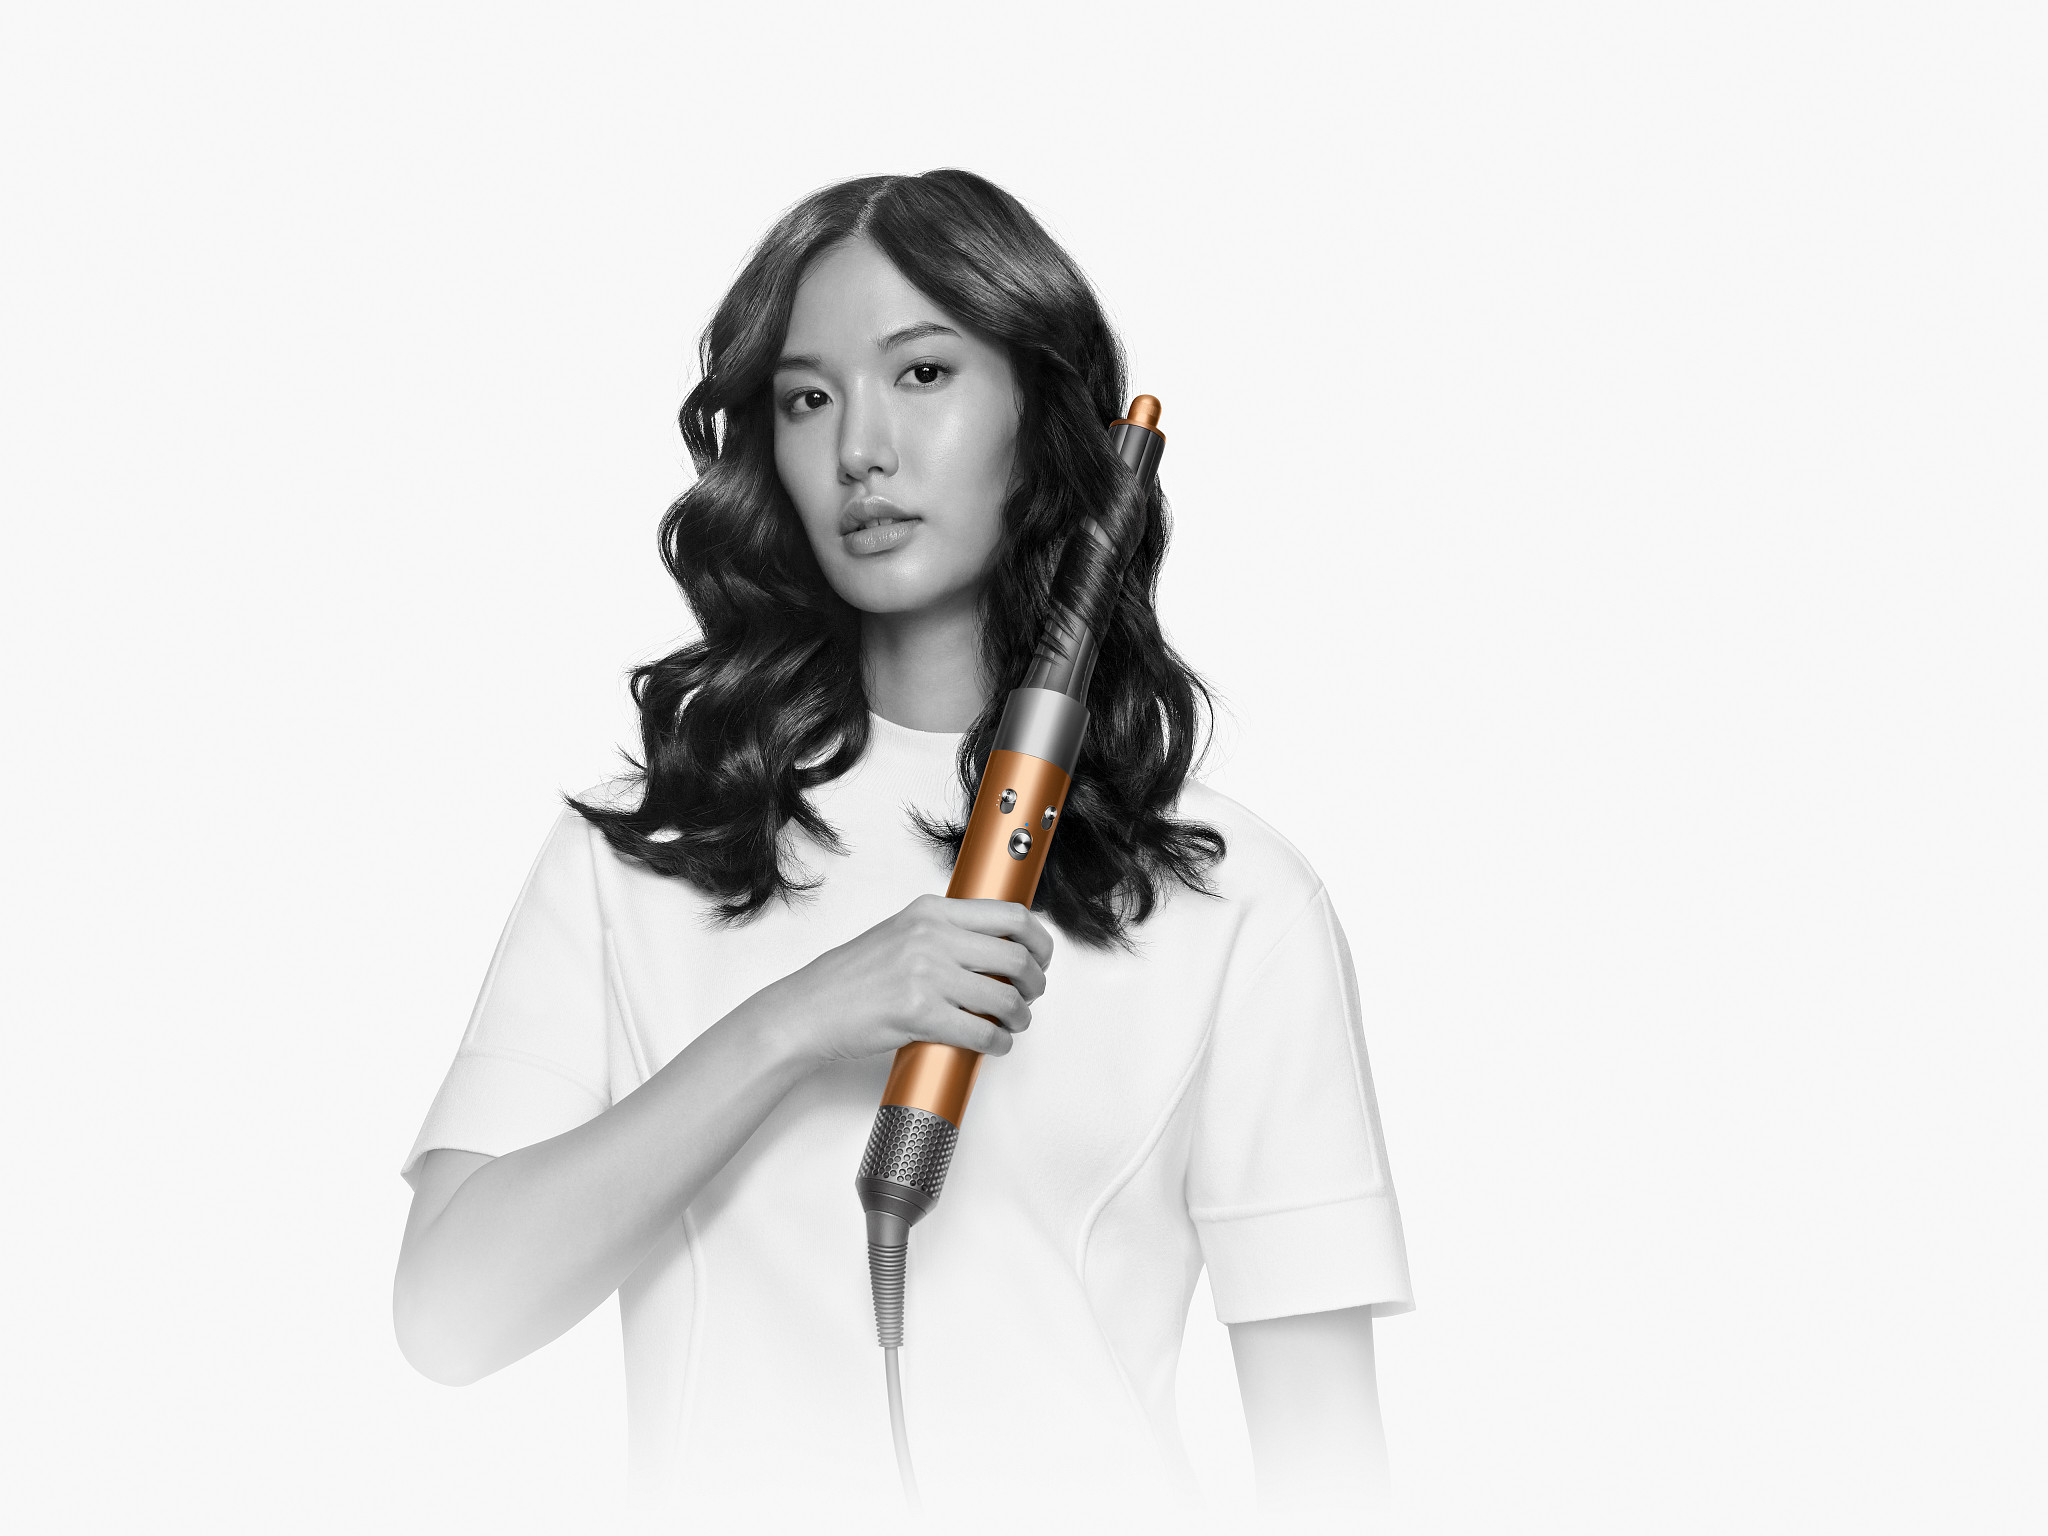
In my humble opinion, the most alluring upgrade is the new attachments. Let’s start by discussing the change to the Airwrap Barrel, shall we? The curling attachments used to be itty-bitty, a.k.a. not so great for anyone with hair past their shoulders. But now, there's *finally* an option to get the 1.2-inch and 1.6-inch barrels in an extra-long length, which makes getting volume from top to bottom so much easier. Then—and this is probably the most requested adjustment—they upgraded the airflow. Previously, you had to swap out barrels depending on the desired direction of your curl. Now, you turn a little knob at the top to switch the airflow from right to left.
The smoothing brushes may look similar to the old ones, but rest assured there are a lot of changes going on inside. The soft and firm brushes, which are designed to work especially well on curly and coily hair types, give more grip and control this time around. The airflow has been re-engineered for fighting frizz and gives a smoother and straighter finish.
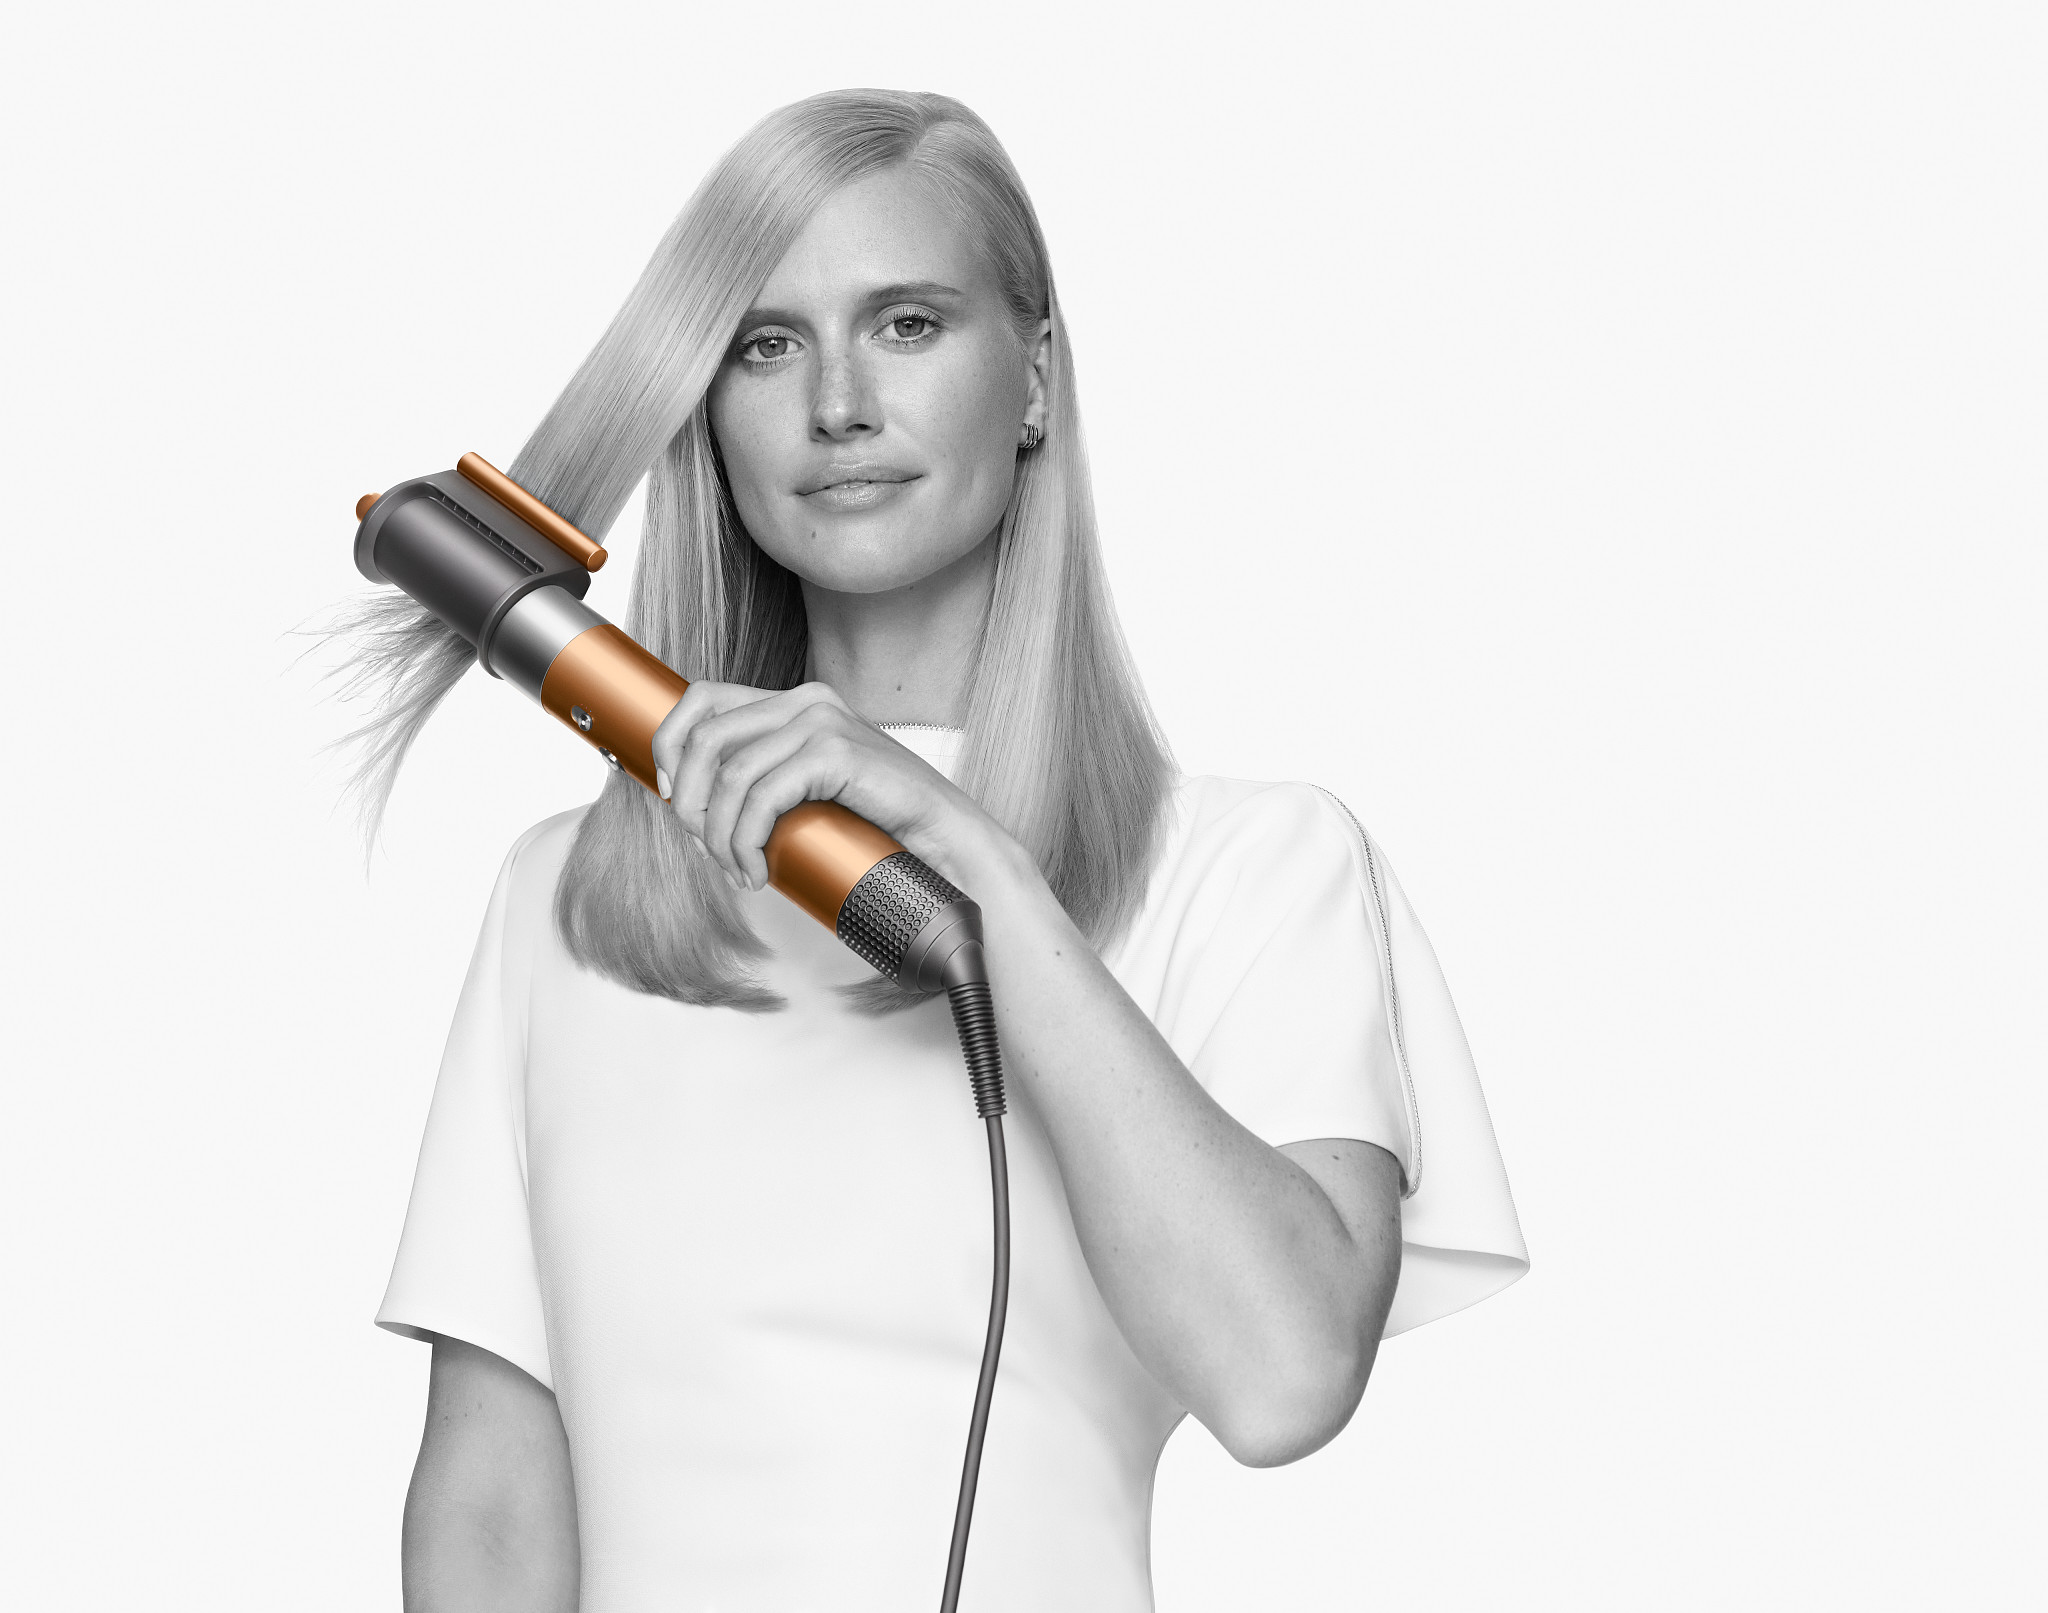
Last, but certainly not least, is the Coanda Smoothing Dryer that’s essentially a two-in-one tool. Similar to the barrels, there’s a little knob at the top that changes the airflow. In one setting, it works as a blow dryer that gives a rough dry ahead of styling. The other, perhaps more exciting direction, allows you to smooth flyaways.
The new attachments are designed to work in tandem with the first edition styler, so you can purchase them separately if you so choose. The 2.0 Dyson Airwrap is available in three sets: the original, the Complete Long (which includes the elongated curling barrels), and the Complete Curly/Coily (which includes a wide-tooth comb attachment).
My Review
Let me start with some background. My hair is long, around five inches past my shoulders and it’s very, very, very fine. Volume is much desired, rarely found. I’m also on a regrowth journey, so extreme heat is not of the essence.
Get exclusive access to fashion and beauty trends, hot-off-the-press celebrity news, and more.
For the purposes of testing the Dyson Airwrap Multi-Styler Complete Long, I put all my typical tools to the side and started with freshly washed, towel-dried hair. First up came the Coanda Smoothing Dryer. The attachment looks a little funky—it’s not a typical nozzle. But once I turned the device on, it’s pretty self explanatory to use. The airflow is powerful and very similar to my Supersonic. All you have to do is make sure the vent is facing outward. My hair was 90 percent dried in about 7 minutes. 10 out of 10.
For Voluminous Curls
I’ve used the old curling barrel attachment a handful of times, but I wasn’t quite sold. With long hair, I found the release to be messy and the pull out left me a bit tangled. Alas, I was going forward with an open mind. I reached for the smaller barrel, snapped it in, and sectioned out my lower layer. I’m a big curl-away-from-the-face believer, so I switched the airflow nozzle (so! easy!) at the top depending on which side I was focusing on.
As I worked through my hair and did a little trial and error, I learned that feeding a piece of hair into the base of the barrel, moving up and down the shaft a few times, and then holding at the top for four second tops was my magic recipe. I’d then turn off the airflow and pull down, instantly brushing through with my fingers. This gave me a seriously voluminous curl that wasn’t too tight. Holding for any longer made my hair look bodied, yes—but also super short. While I loved the bouncy look, I will say that because of the uniform barrel, you don’t have any control over the specific type of curl you’re creating. The tightness can be adapted, but a beachy wave isn’t really an option.
To finish off my look and smooth rouge hairs at the top, I went back to the Coada Smoothing Dryer to use the flyaway portion of the attachment. Now, there was a learning curve—it takes a few tries to figure out the best way to direct the airflow. Here’s what I learned: you want the vent to be lined up directly with the orange cylinder. Then, align the cylinder with your part; it should be at the top of your tool. Finally, pull the strand of hair tight with your opposite hand and drag. It works like a charm once you figure it out. Flyaways literally vanish, so rest assured it'll be my go-to for humid summer days.
For a Bouncy Blowout
I love a good curl, but some days I just want a voluminous—albeit sleeker—style. That’s when I reach for the round brush attachment, which I can confidently say is my all-time personal fave. The lift and the volume is next level. It's better than anything I can achieve with my Supersonic and a traditional round brush. Reason being, the attachment allows me to get so close to my root, especially at the crown, which I notoriously find difficult to reach.
While the round brush gives a great shape on its own, the smoothing brushes help finish off the look. I’m partial to the softer brush, as it gives shape to my fine hair. I start using this mid-shaft and pull through to my ends. It helps give an inward swoop to my layers and angles.
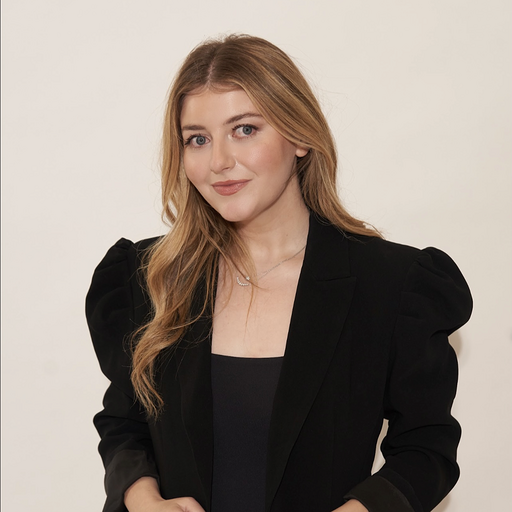
Samantha Holender is the Senior Beauty Editor at Marie Claire, where she reports on the best new launches, dives into the science behind skincare, and shares the breakdown on the latest and greatest trends in the beauty space. She's studied up on every ingredient you'll find on INCI list and is constantly in search of the world's glowiest makeup products. She's constantly tracking the biggest nail and hair trends to pop up in the beauty space, going backstage during fashion weeks, tracking celebrity looks, and constantly talking to celebrity hair stylists, nail artists, and makeup artists. Prior to joining the team, she worked as Us Weekly’s Beauty and Style Editor, where she stayed on the pulse of pop culture and broke down celebrity beauty routines, hair transformations, and red carpet looks. Her words have also appeared on Popsugar, Makeup.com, Skincare.com, Delish.com, and Philadelphia Wedding. Samantha also serves as a board member for the American Society of Magazine Editors (ASME). She first joined the organization in 2018, when she worked as an editorial intern at Food Network Magazine and Pioneer Woman Magazine. Samantha has a degree in Journalism and Mass Communications from The George Washington University’s School of Media and Public Affairs. While at GWU, she was a founding member of the school’s HerCampus chapter and served as its President for four years. When she’s not deep in the beauty closet or swatching eyeshadows, you can find her obsessing over Real Housewives and all things Bravo. Keep up with her on Instagram @samholender.
