These Are the Best Spring Nail Colors to Reach For at Your Next Manicure, According to Nail Pros
Classic lilacs and lavenders are getting a twist.
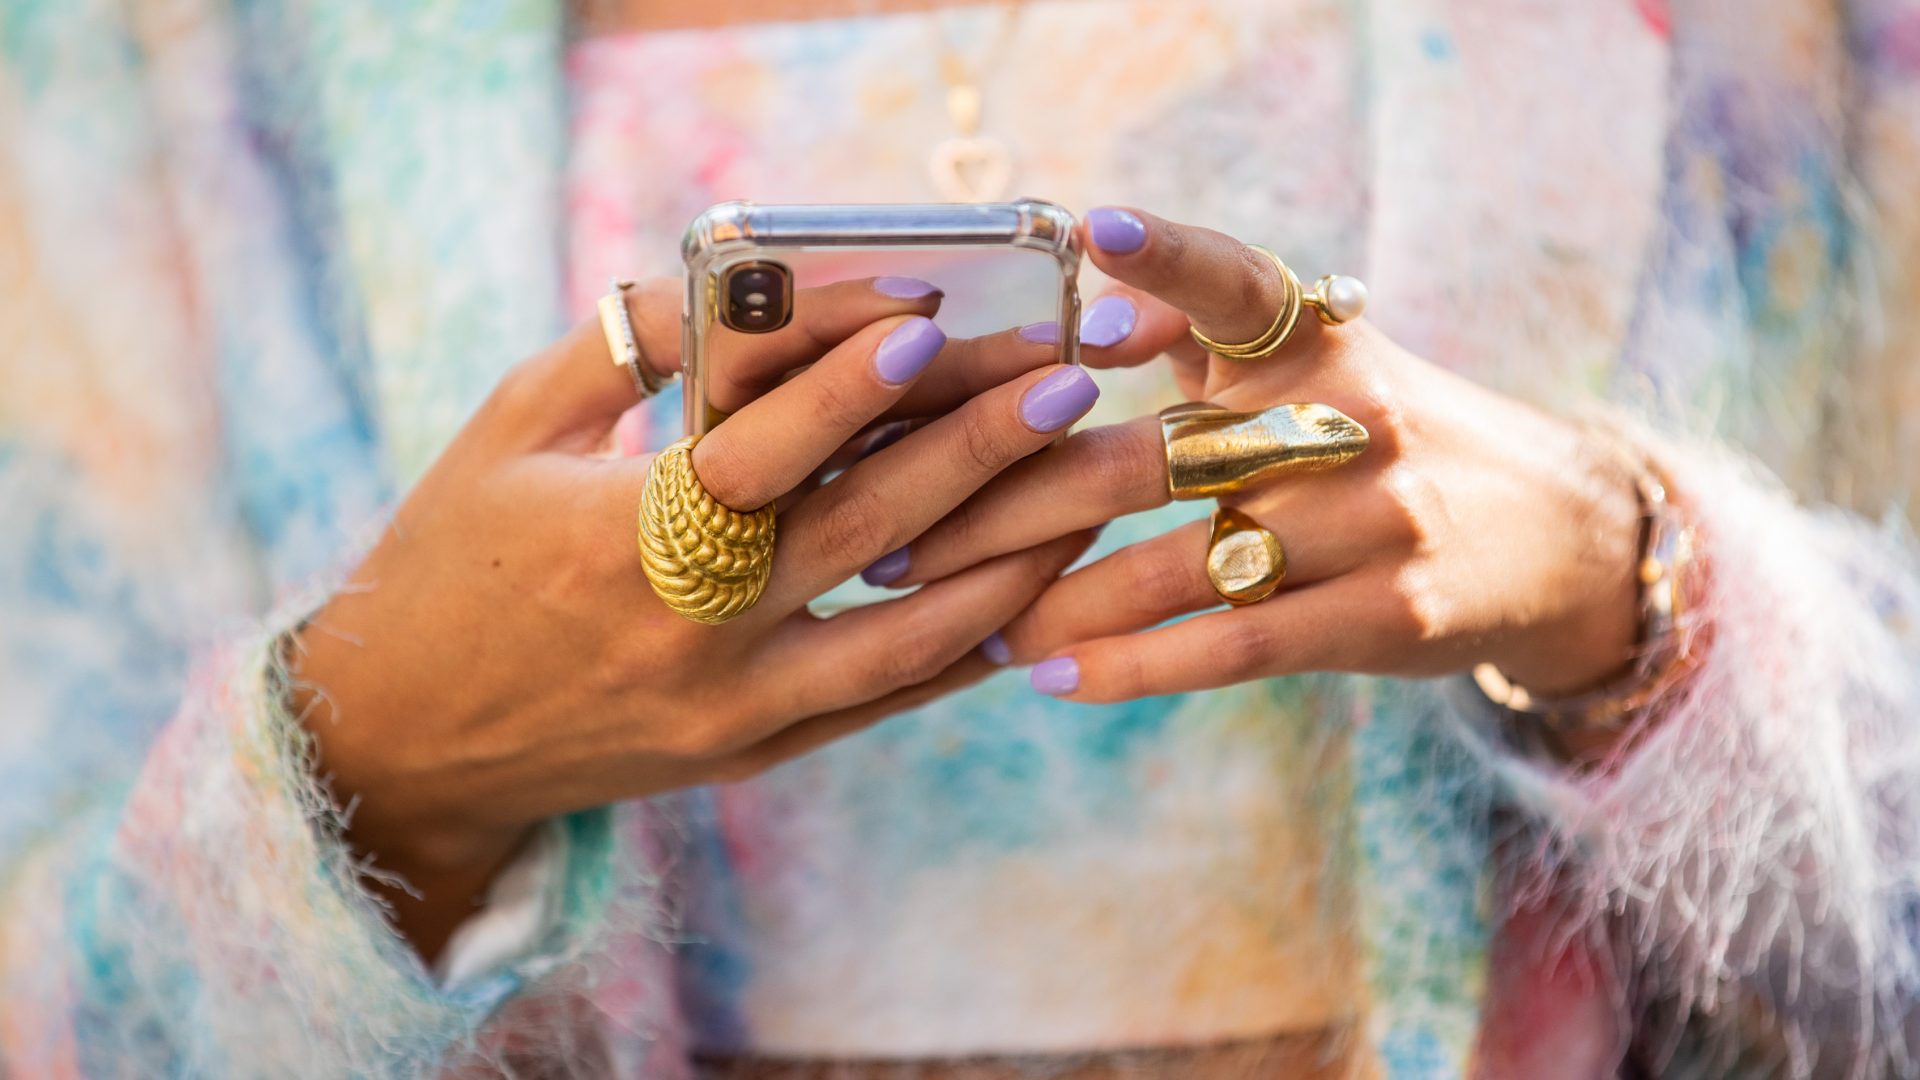

“Out with the old, and in with the new” is my mantra every spring season. There’s something about the freshness of the season that makes me want to deep clean my home, update my wardrobe, and embrace the latest spring beauty trends. While cleaning and shopping take a bit more effort, updating my winter manicure with the best spring nail colors is the easiest way to get usher in spring vibes.
As you might expect from the big and bold nail trends of 2024, this season’s top trending shades put a twist on some of the classics. The pretty pastels of springs past are now translated to sheer “jelly” shades, while the lilacs that crop up this time every year are getting a shimmery new finish. Even the mirror-like metallics of last winter get an elevated feel. But don’t get it wrong—the ever-popular red nail polish is here to stay. At least for the season, that is.
For the lowdown on the exact polishes to wear, I did some digging—I consulted with nail pros, read hundreds of reviews, and sifted through our favorite nail polish brands, to bring you this list of the best nail colors for your spring manicure. These 24 pretty polishes will have you set to take on spring 2024’s nail trends with a long-lasting, ultra-pigmented, smooth finish.
Loving Lilacs
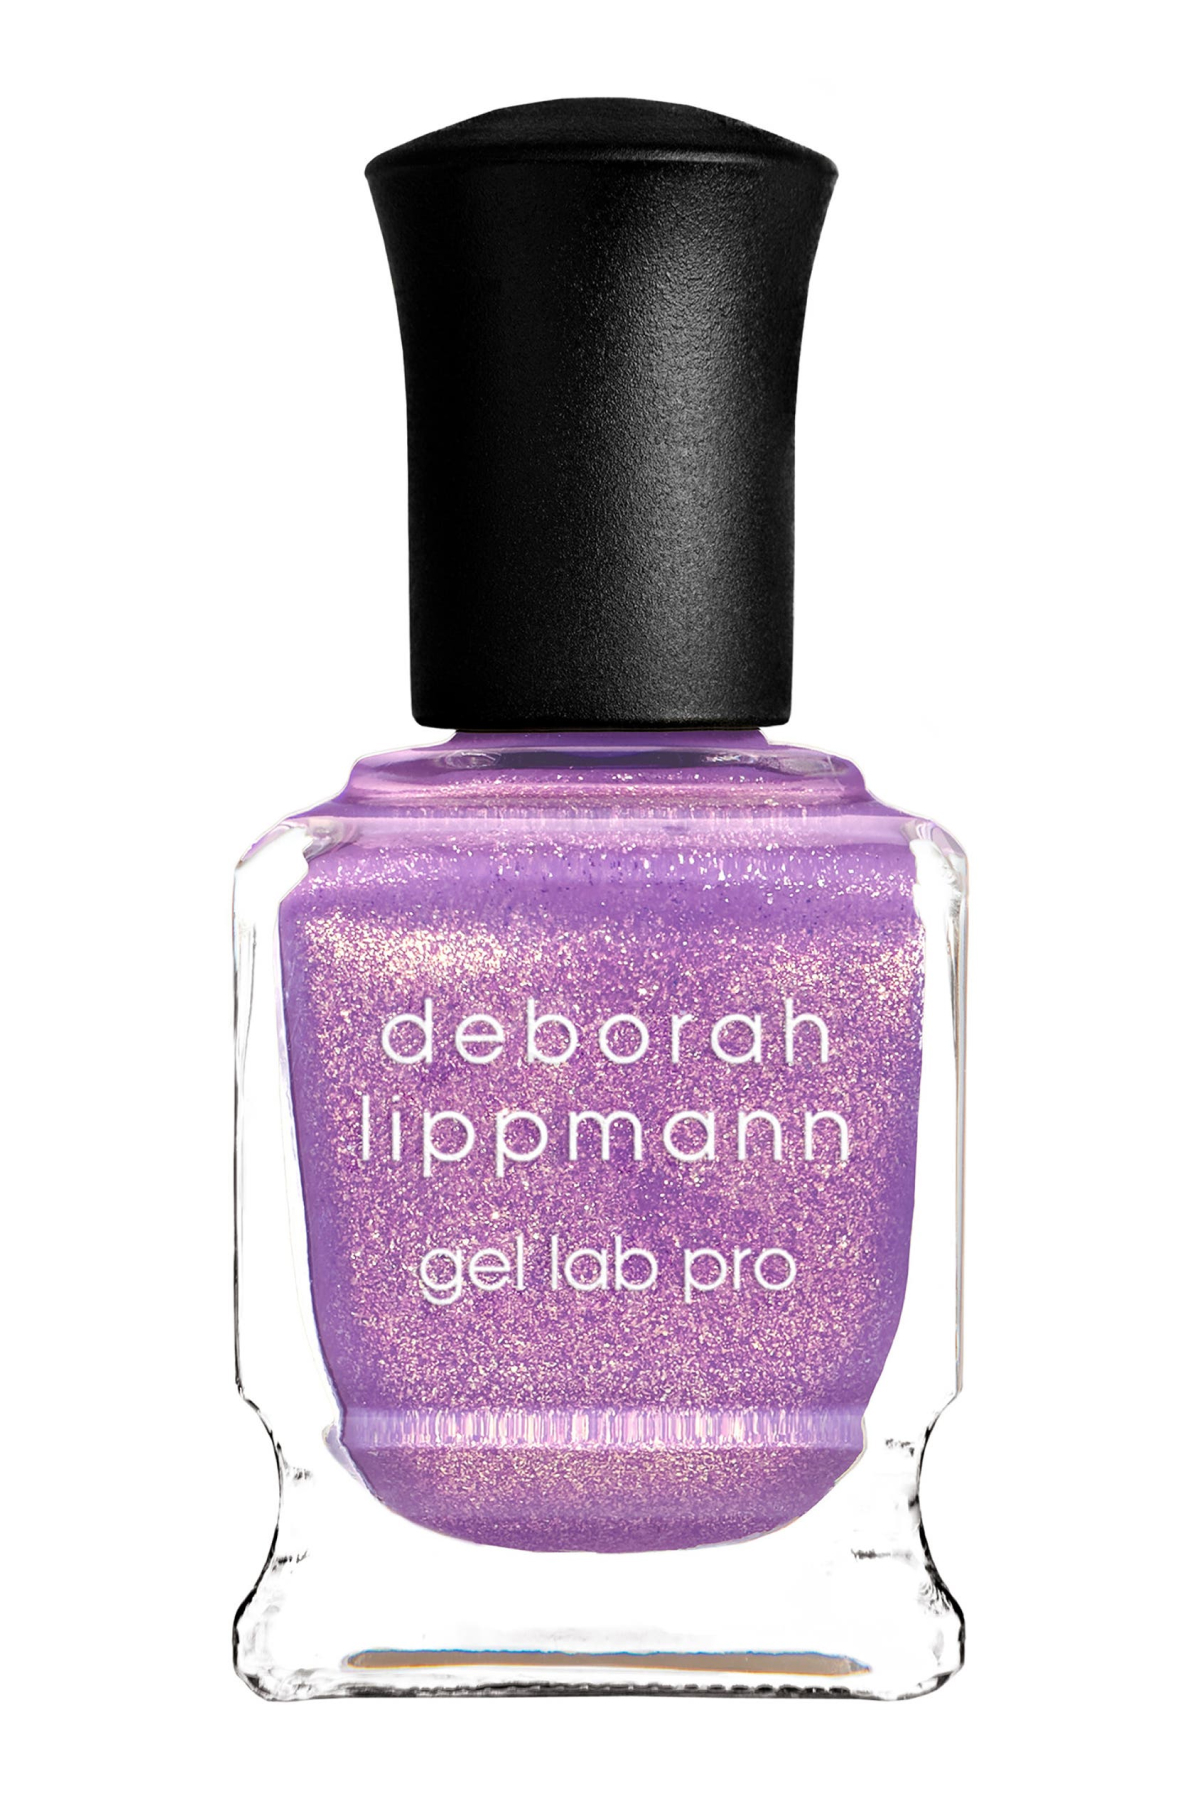
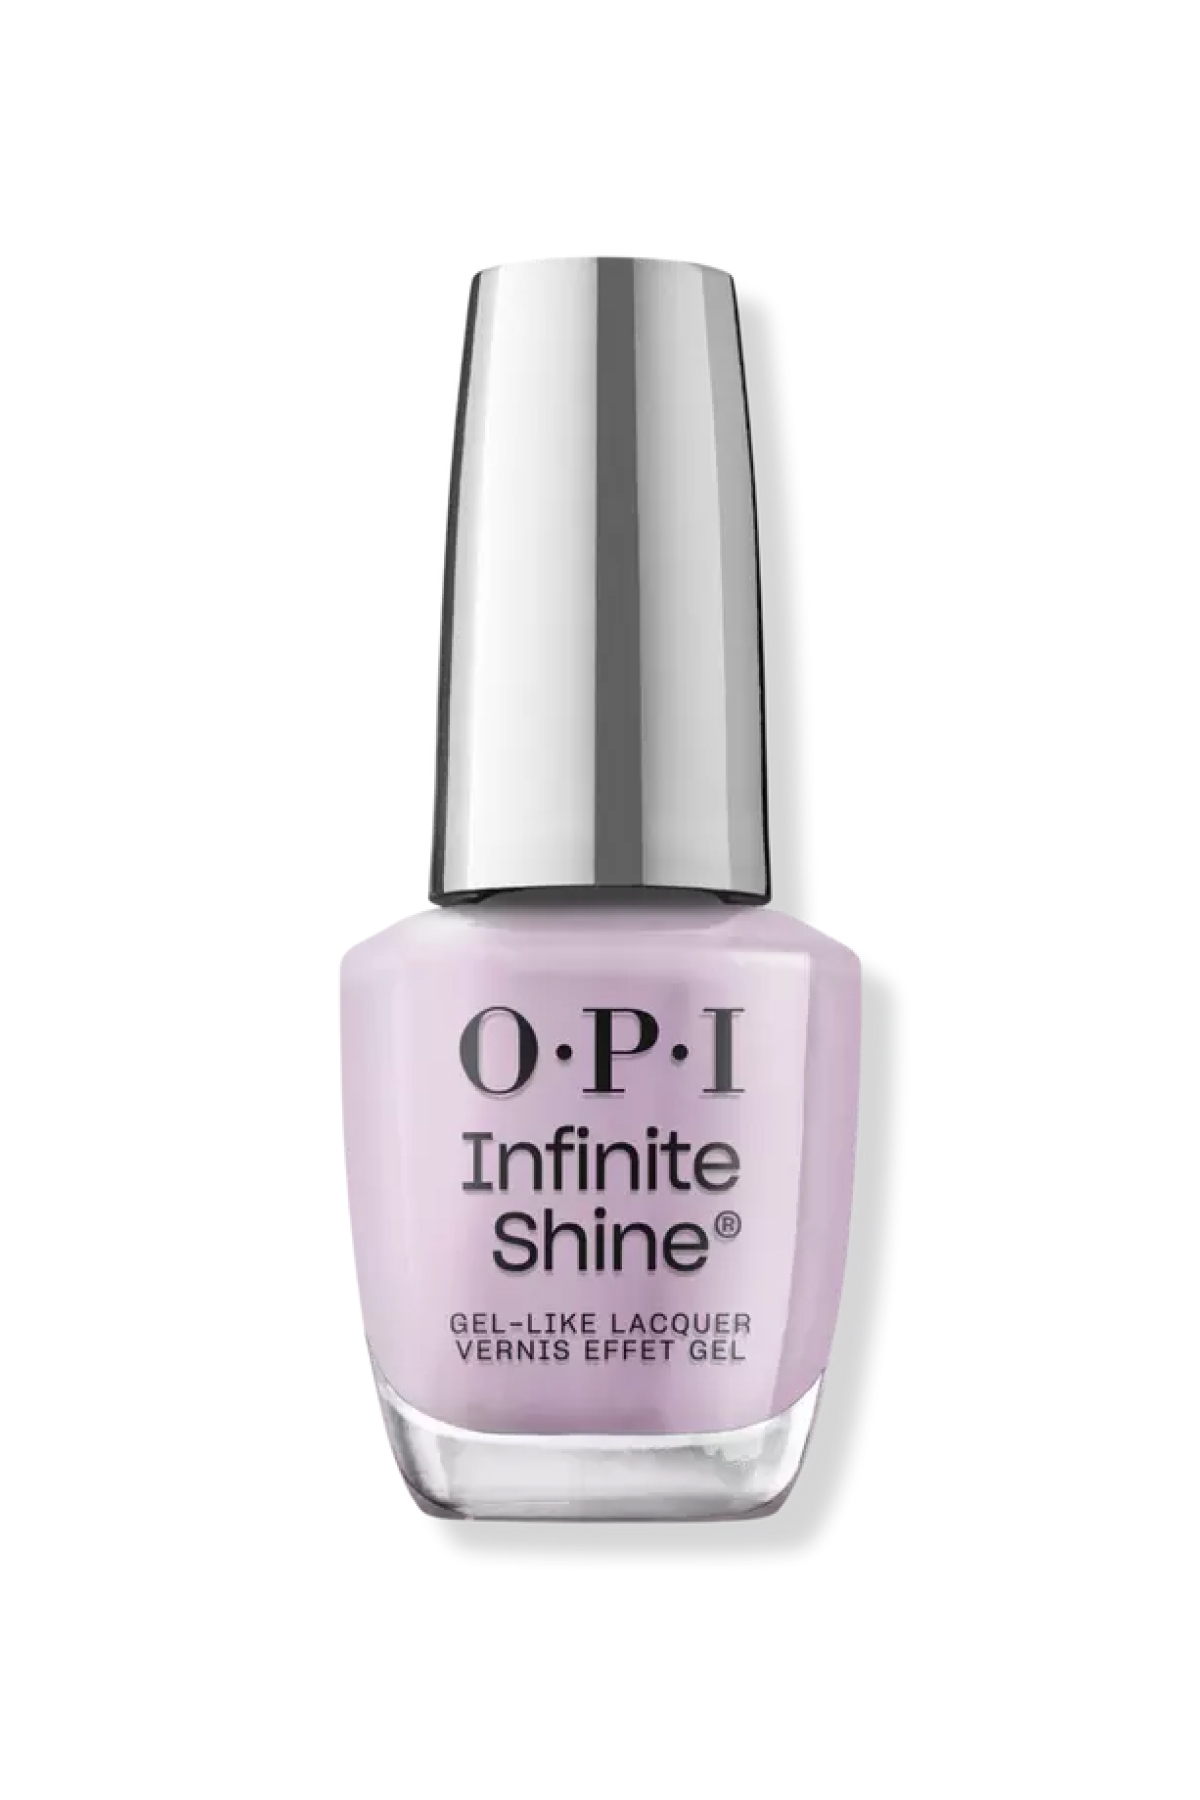
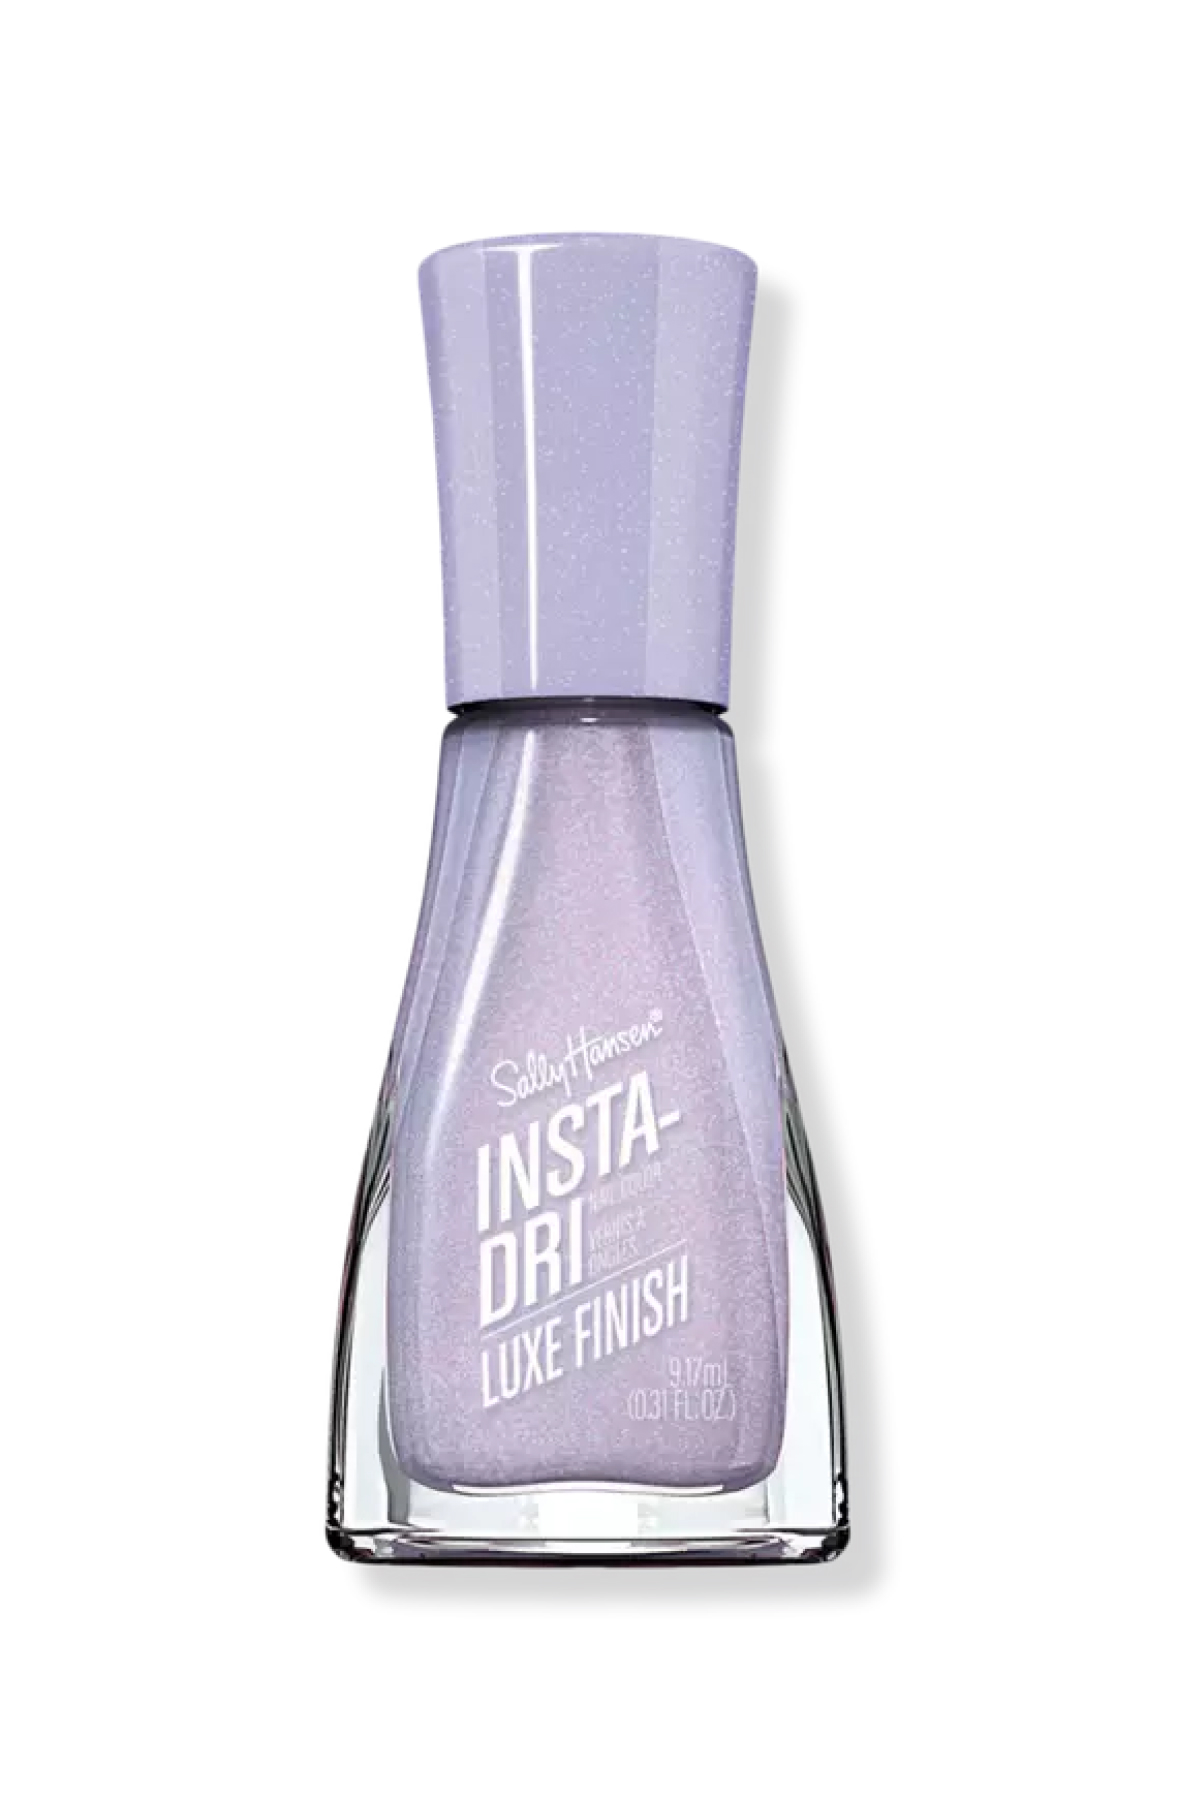
Maybe it’s because of the season’s blooming florals, but both Kandalec and Park agree that soft purple shades are making their return on nails for spring. “Light purples really are flattering on every skin tone, because lilac is a mix of cool (blue) and warm (pink),” explains Kandalec. The shade also works well with your spring wardrobe, says celebrity nail artist Chaun Legend. "It's soft and makes outfits look feminine and classy," he explains. For a shade that feels especially fresh for 2024, go with a metallic lilac, which the manicurist says “is in so many spring nail collections.”
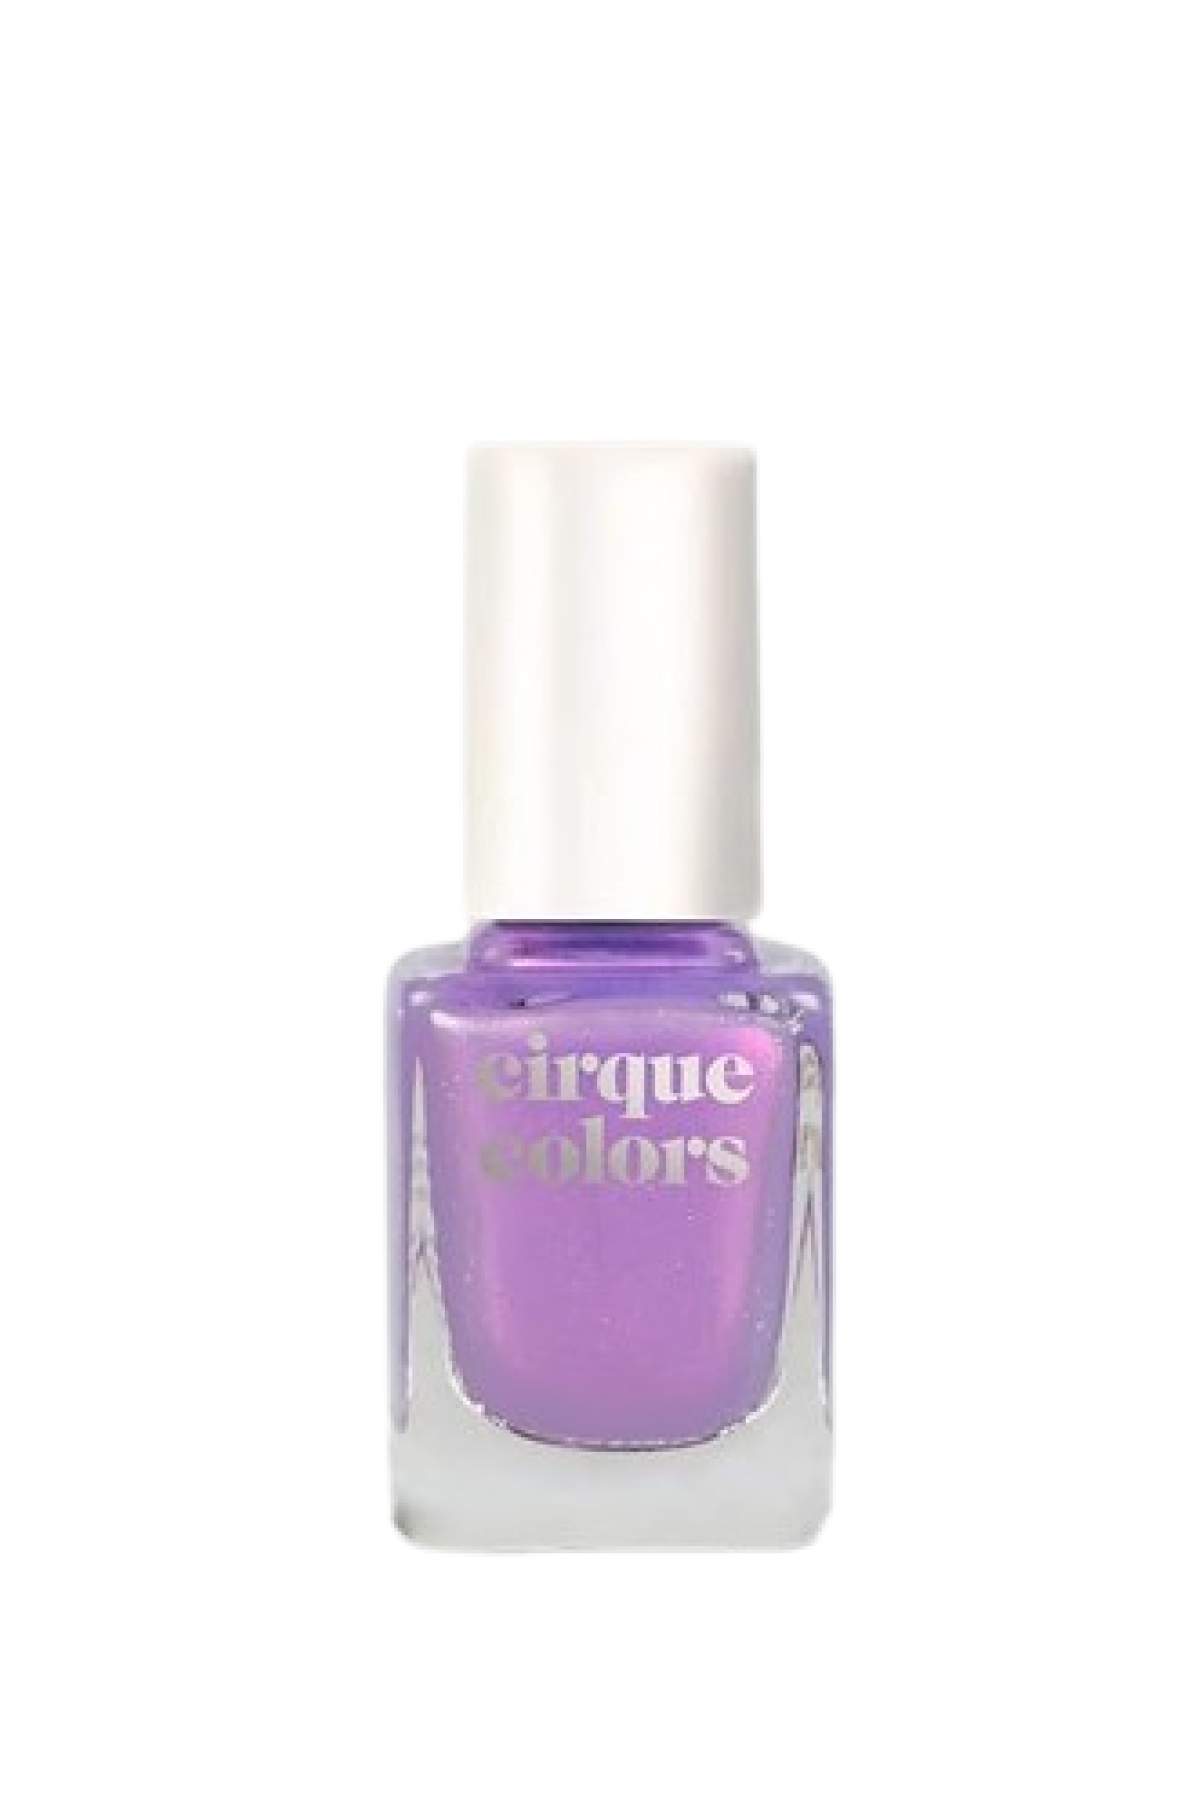
This shimmery purple polish has subtle holographic glitter for a cool multidimensional finish. Every time you move your fingers, you'll get a flash of pretty pink shimmers, too. Apply two to three coats for an opaque color, or throw it atop a pastel shade for a more vibrant look.
Jolly Rancher Jellies
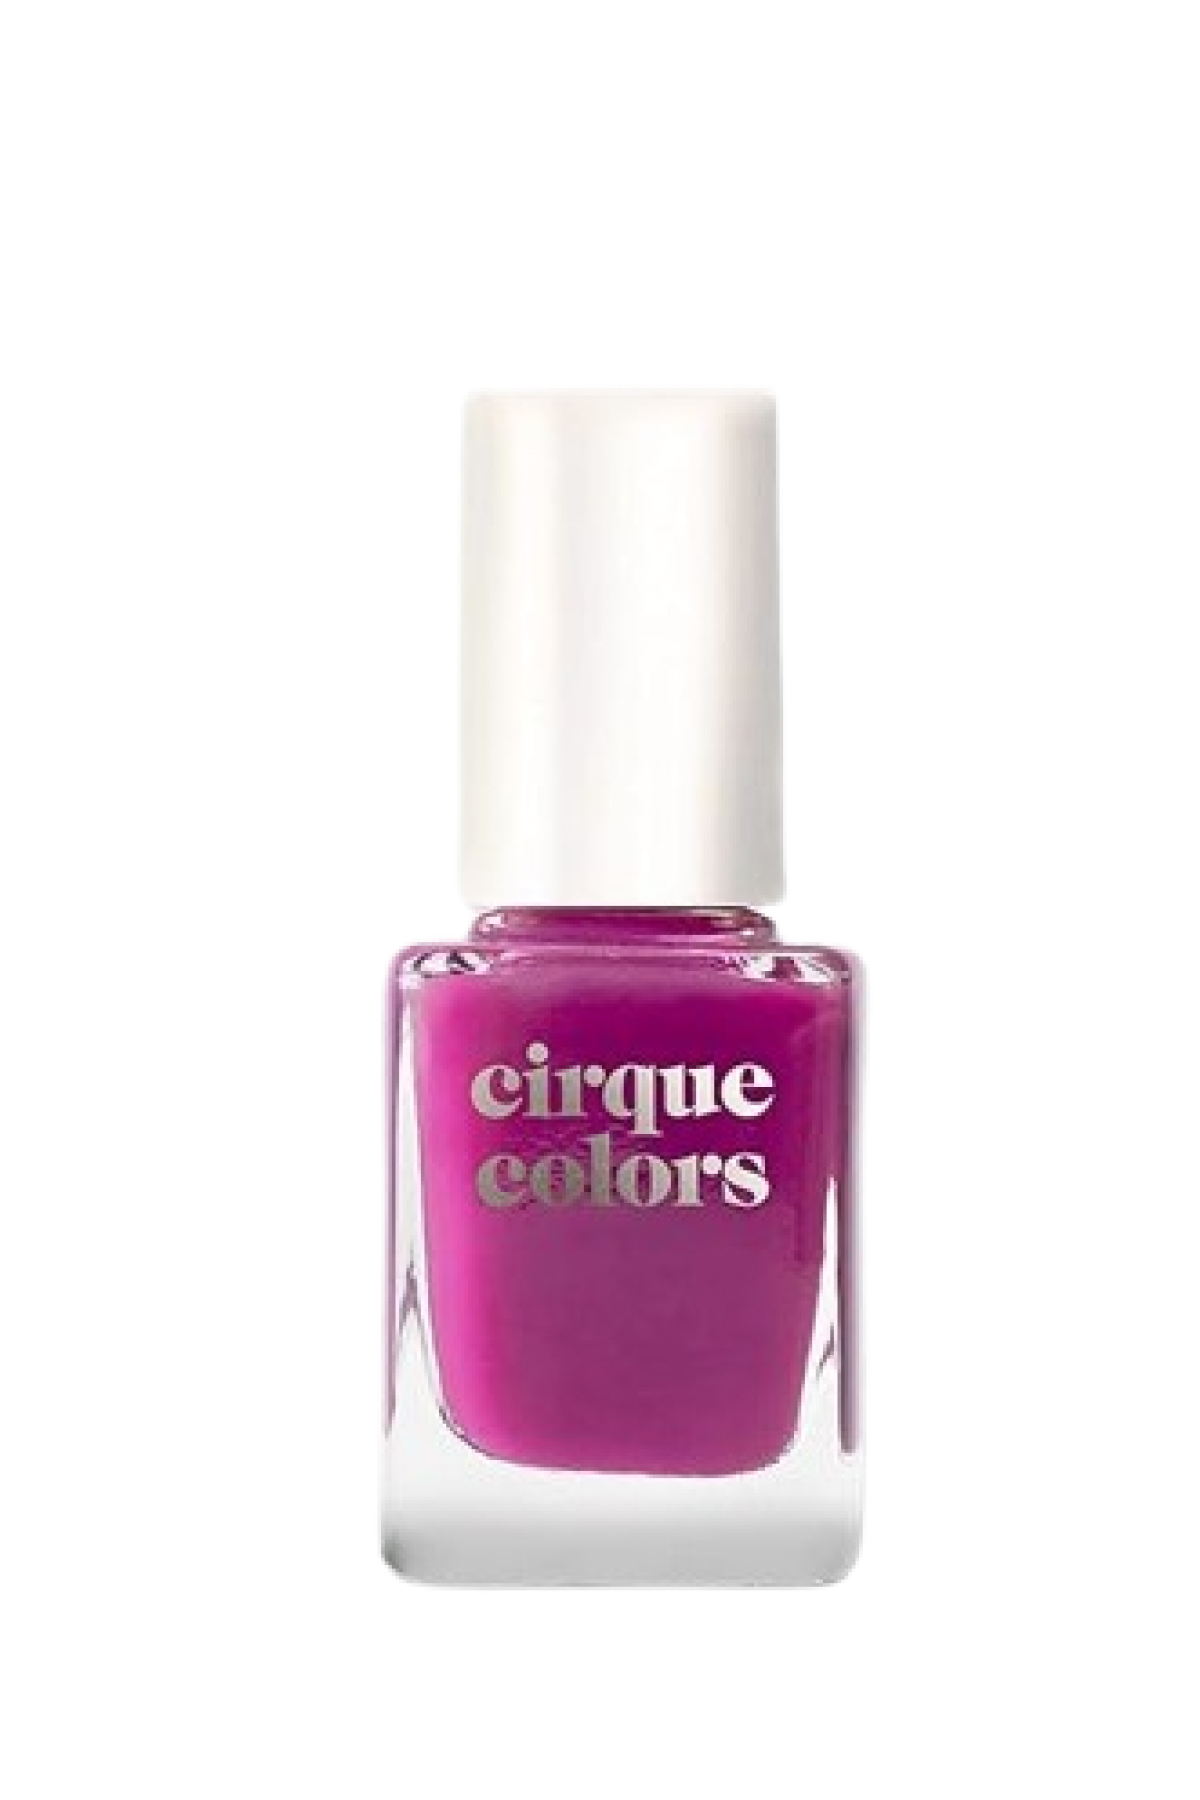
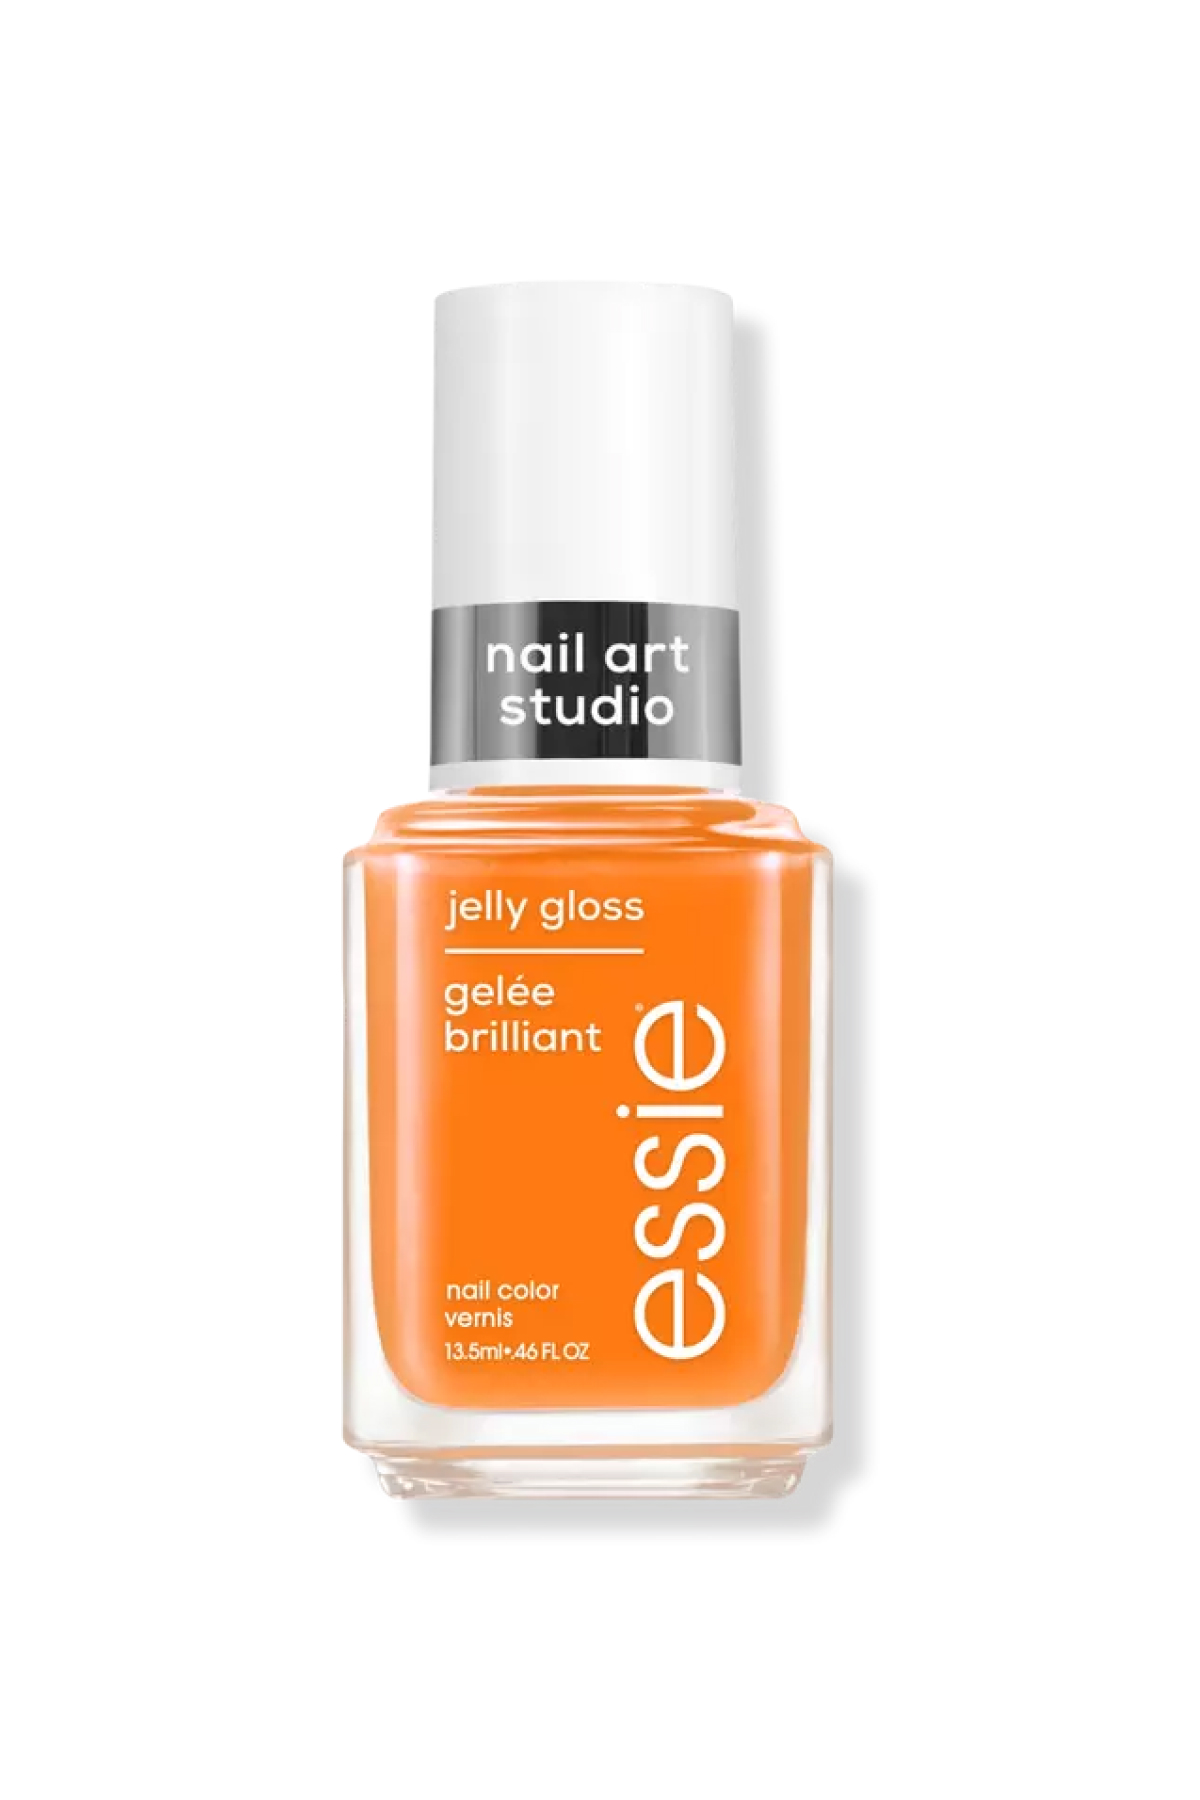
For the uninitiated, jelly nail polish is essentially ultra-glossy, with semi-sheer washes of color, and the shades are already making waves overseas. "This trend came from Seoul which I visited last spring, and I interviewed a top nail artist there,” says Kandalec. “The color [looks] more subtle when the cuticle area is more gradual and delicate versus a crisp line of color as it grows out.” Try it out in shades like purple, orange, and red for a candy-hued manicure.
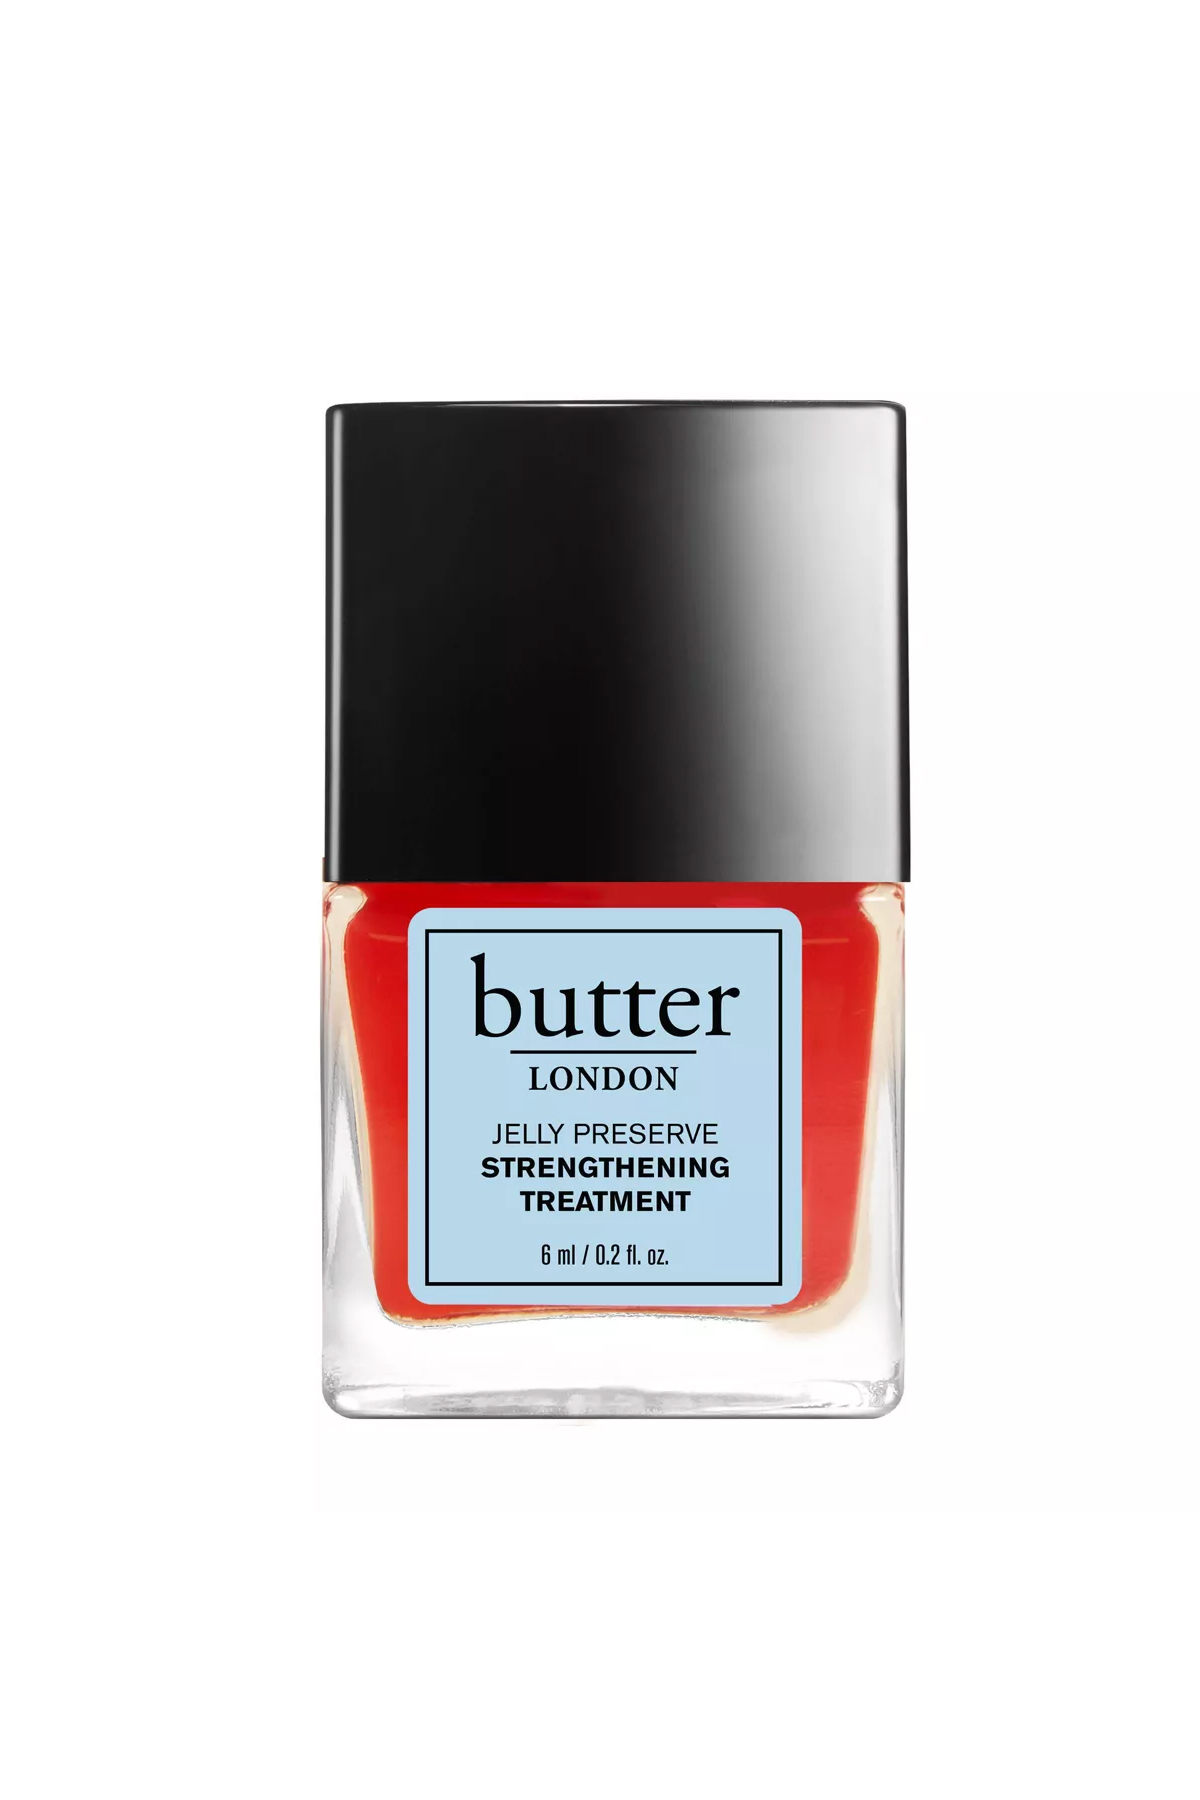
Give your nails a well-deserved break after gel manicures with this 2-in-1 polish. Not only does it serve as a conditioning and strengthening treatment, but it also delivers a fun pop of strawberry color. Like skincare for your nails, this polish is definitely one to keep in your collection.
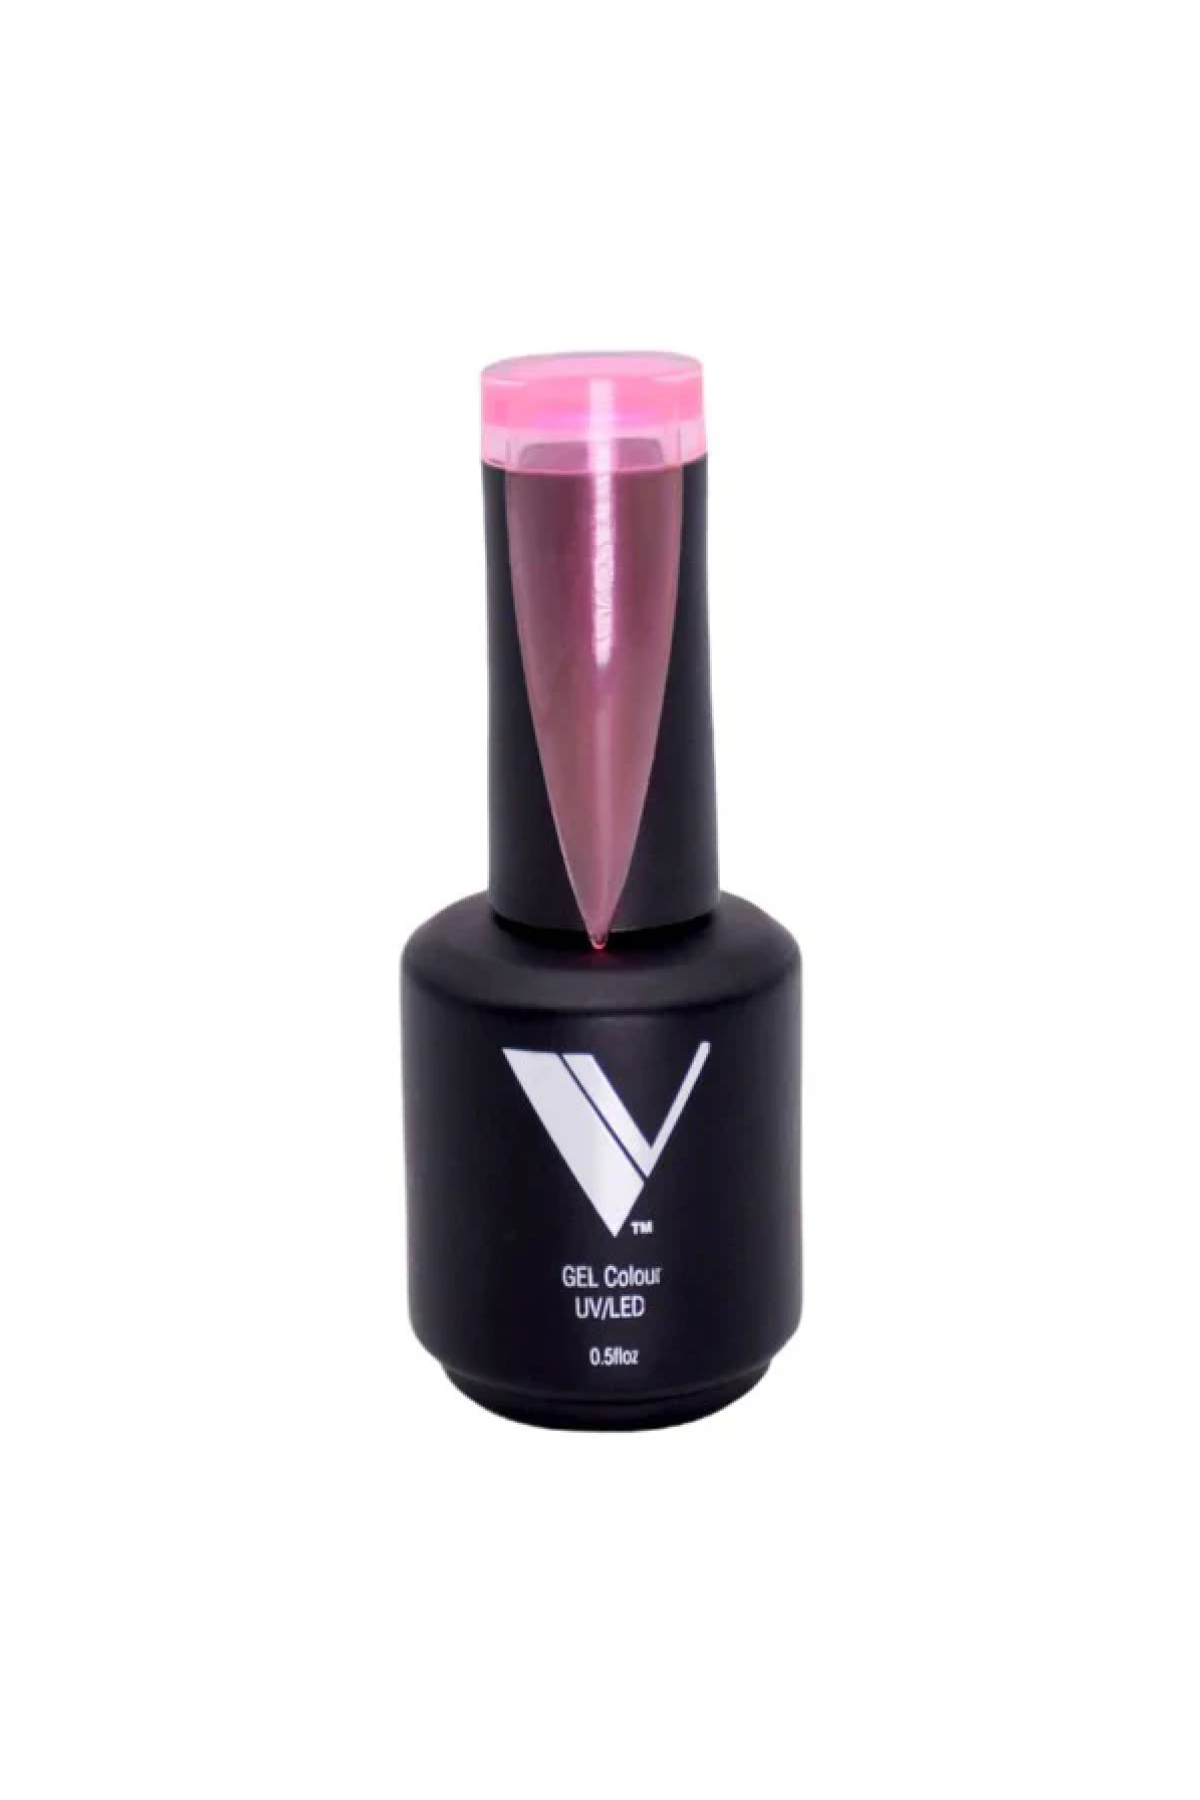
Celebrity Nail Artist, Elle Gerstein, says pastel pink has been a mainstay nail color for everyday wear and special occasions since 2015. However, the pro recommends this trending jelly shade to breathe some fresh life into the staple color. "It pairs great if you go to the office and takes the guesswork out of what will this pair with," she adds.
Reigning Red
Maybe you’ve noticed how much red has been dominating as of late. The red color trend is everywhere in fashion from clothes, bags, and shoes to the 2024 Emmy’s red carpet and now it’s major in the beauty world as well. With Mob Wife makeup blowing up on TikTok, the trend is translating through nails with red nail polish, which goes to show the shade has serious staying power. Kandalec, Legend, and Gerstein all agree: the shade's a classic, whether you go with a poppy hue or a more traditional color.
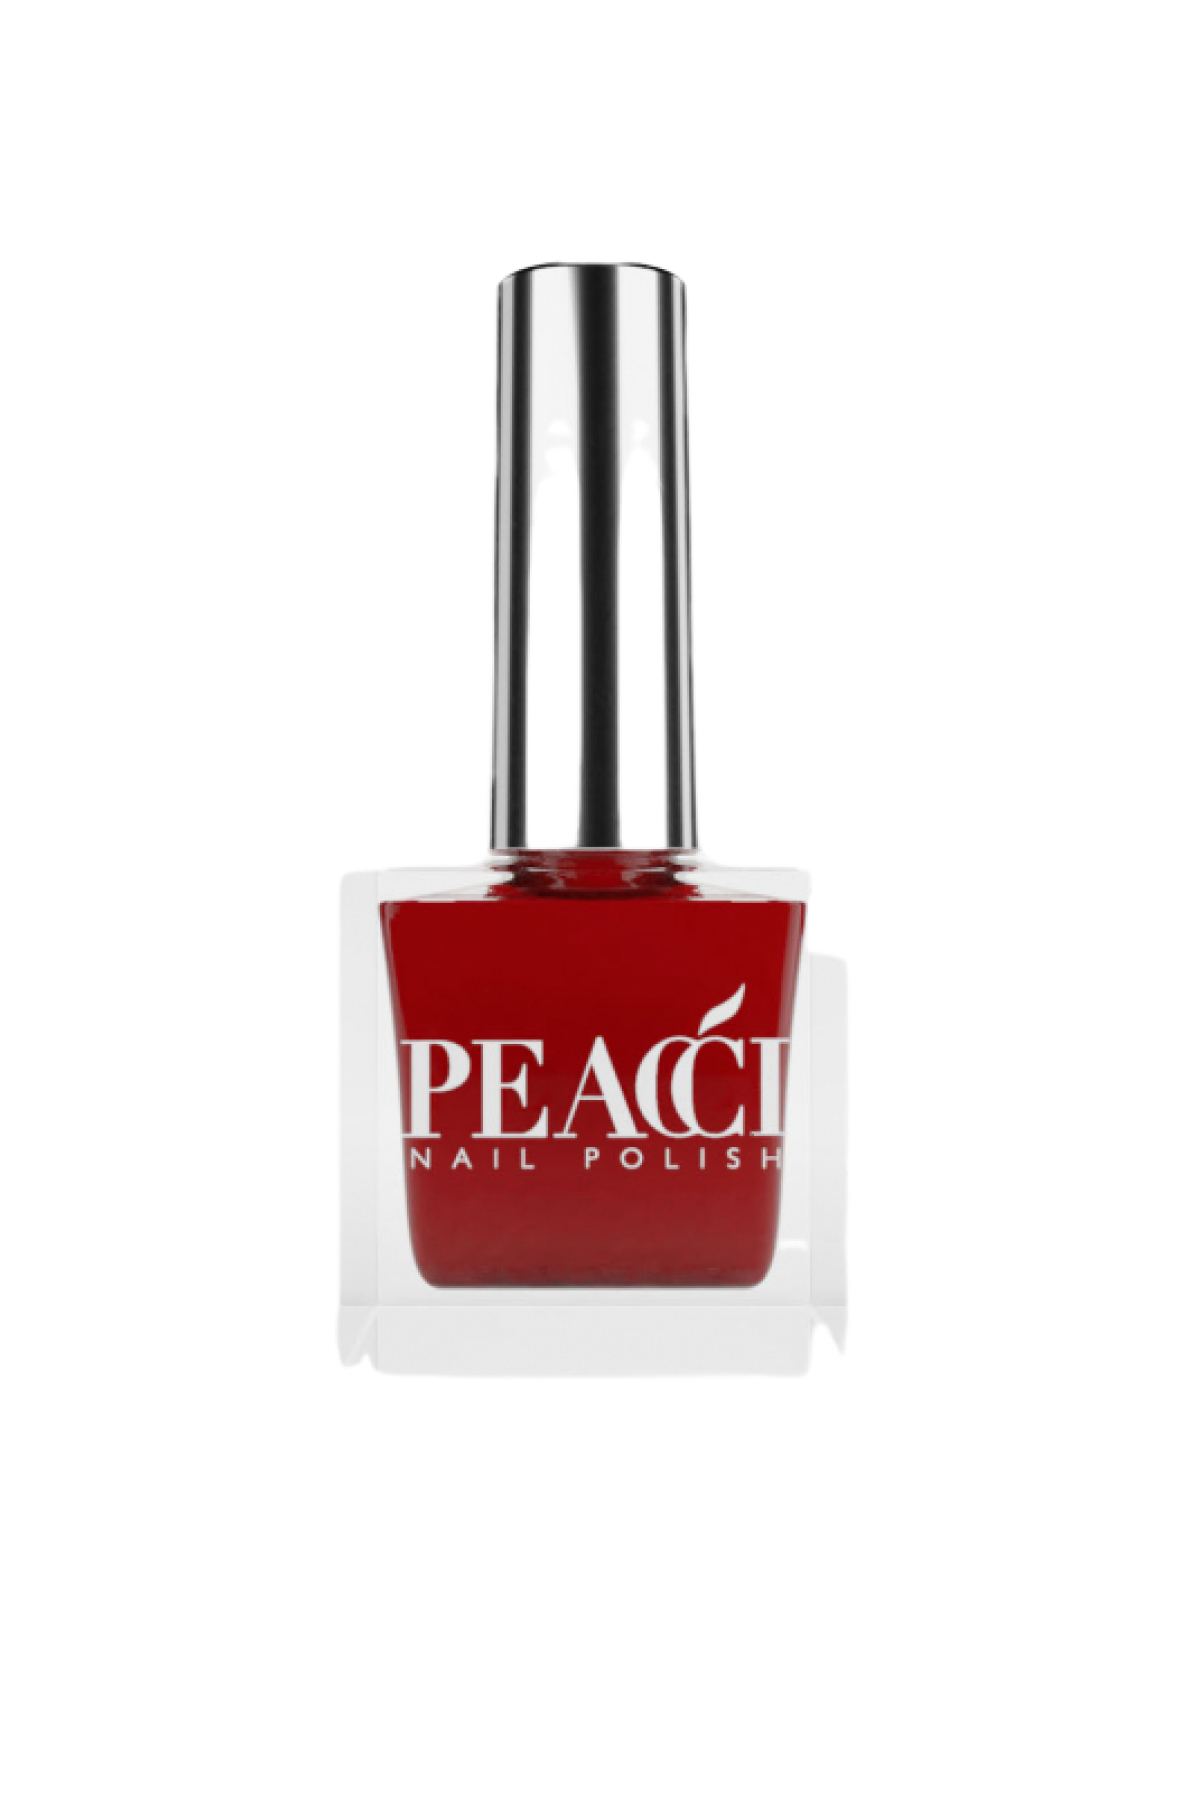
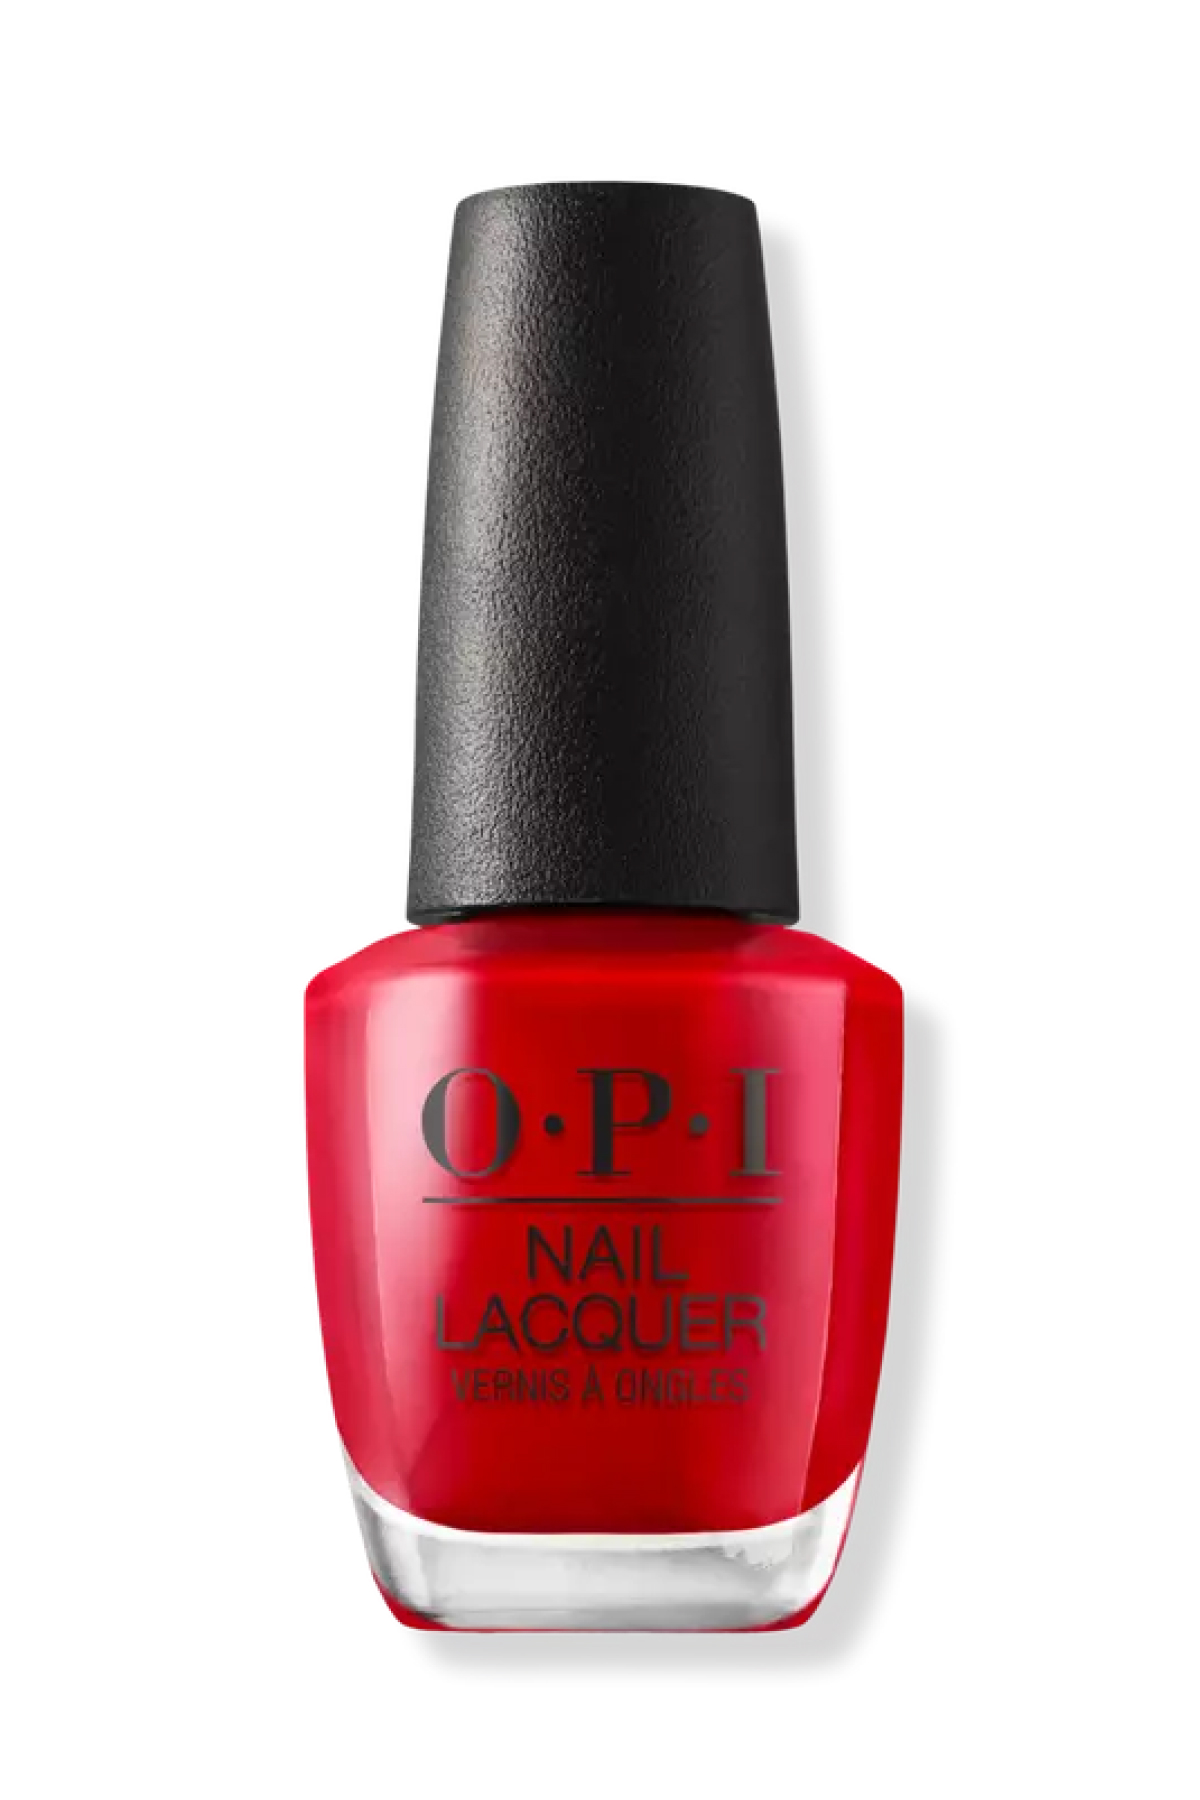
For spring, Kandalec is loving this aptly-named bright red shade. "It's bright—you can't miss it and it screams 'look at me,'" she says. "I love that the warm undertone makes it beautiful for most skin tones." Don't let the deceptively dark bottle fool you—this shade is a true bright red when applied.
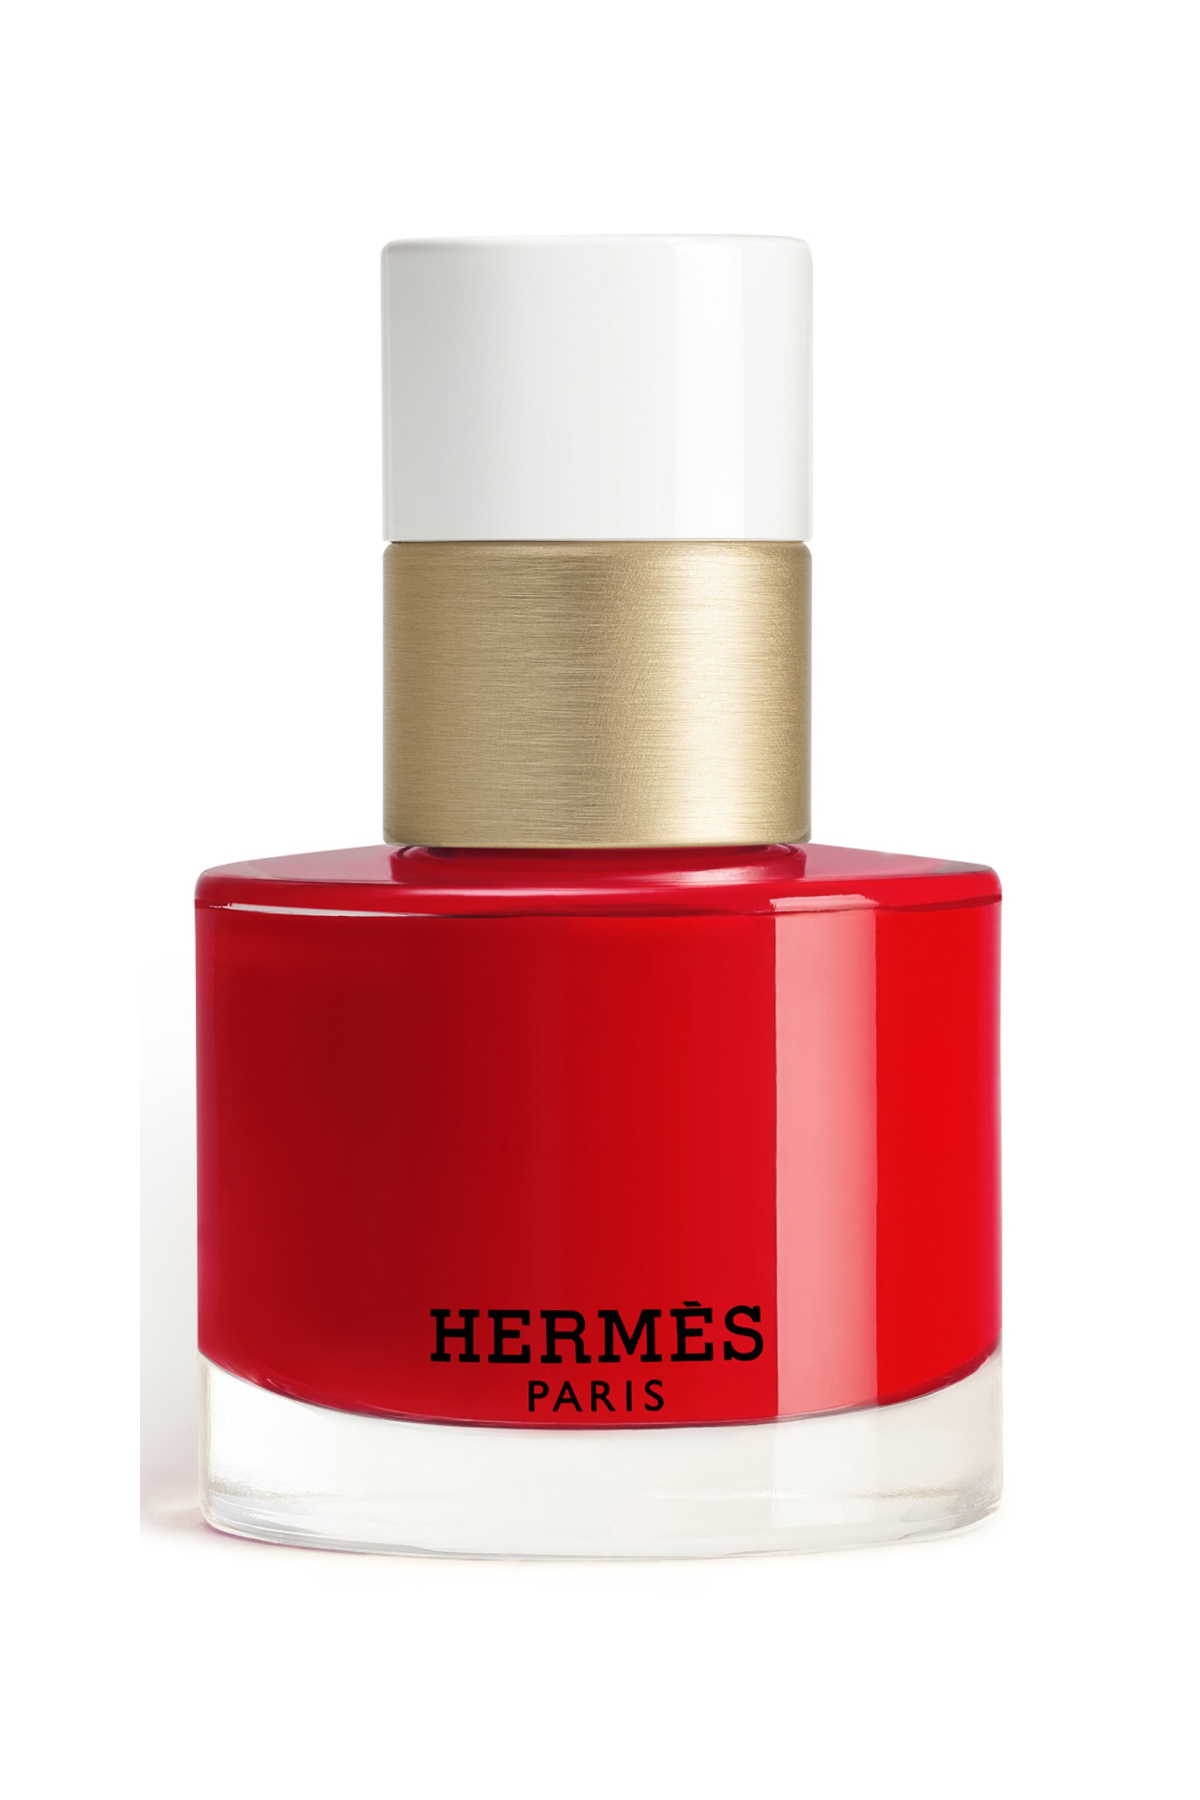
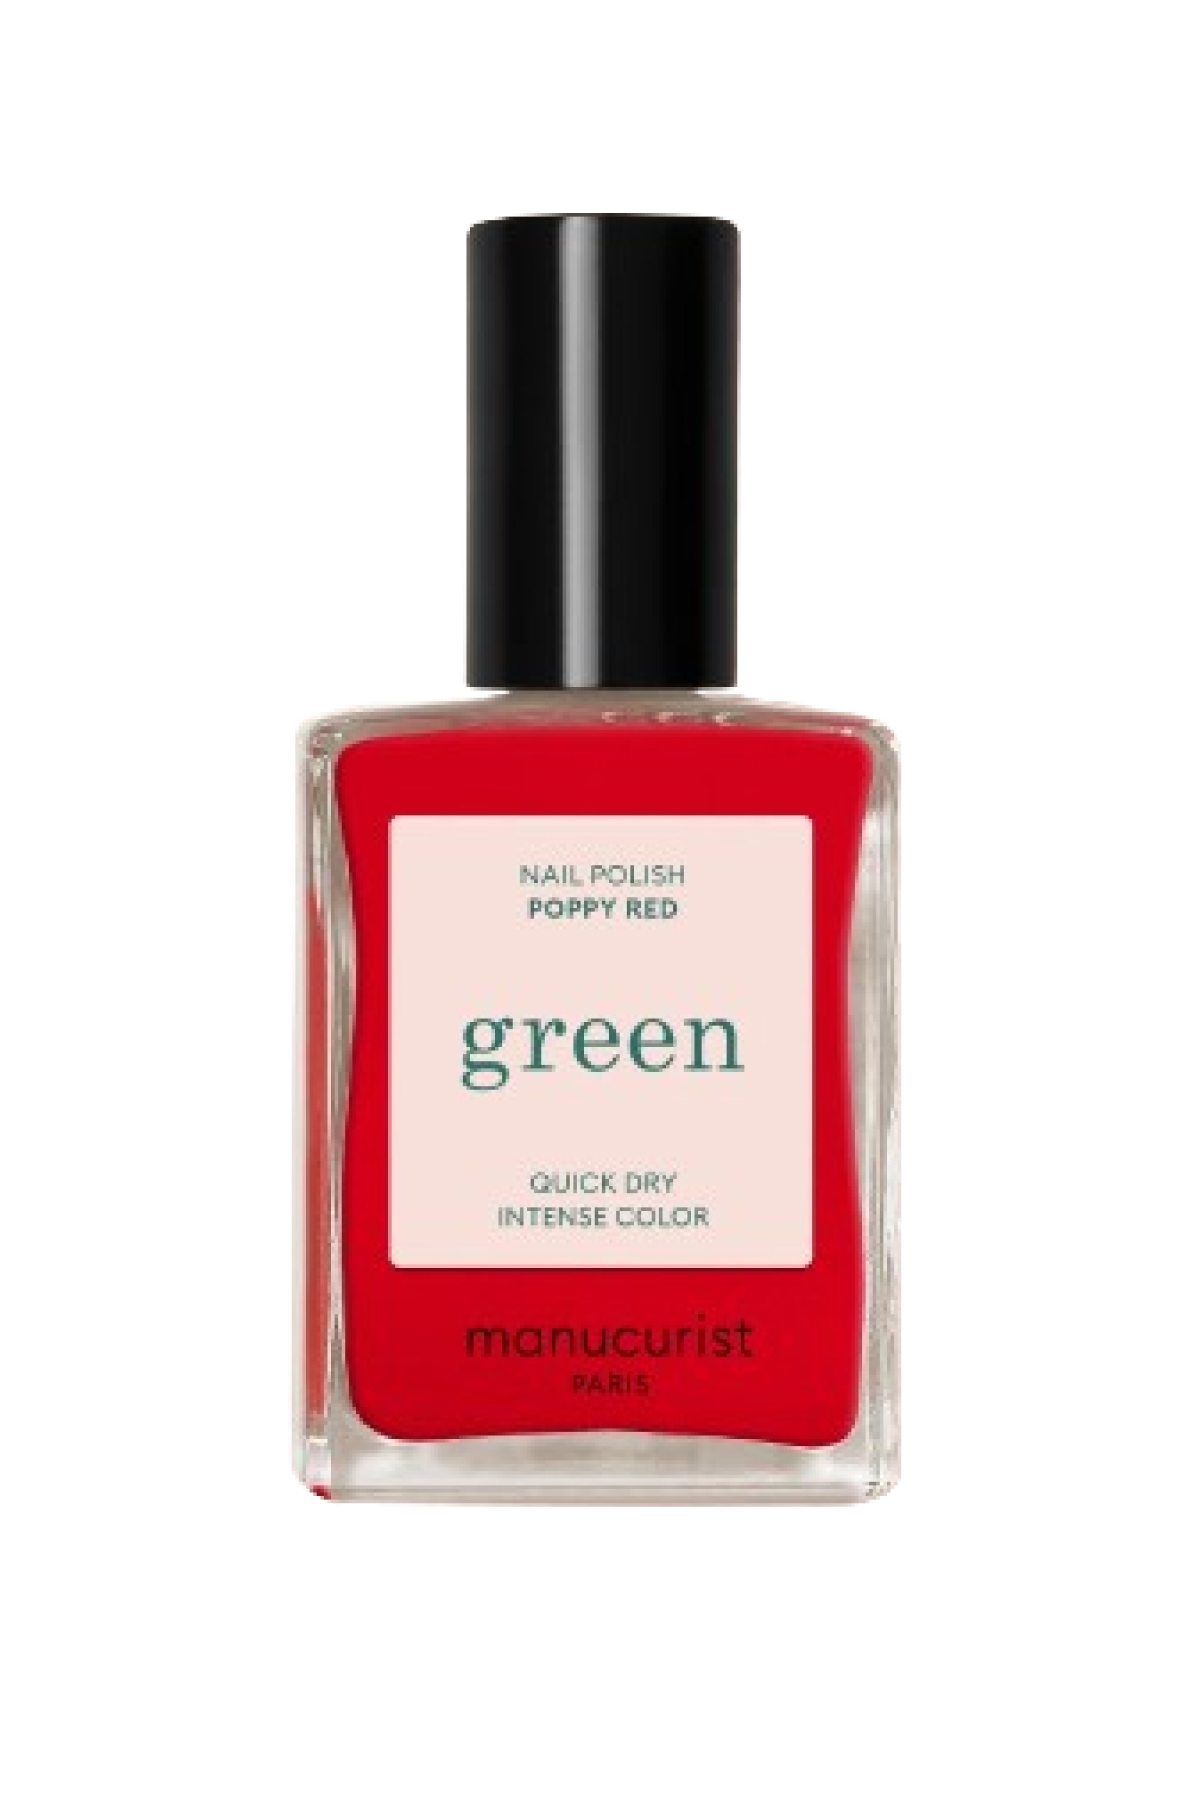
If you're looking for a more accessible entry into luxury beauty, nail polish is a great way to start. With beautiful packaging, this nail polish is long-lasting, leaves an ultra-shiny finish, and delivers high-impact color. Trust me, this is a polish you'll want to display on your vanity.
Glittering Golds
Metallic shades have already had their spotlight as a 2023 winter nail trend, and while the mirror-like colors aren’t going anywhere in 2024, Kandalec says microglitters are where it’s at for spring. In fact, she recently used a shimmery rose gold shade (The Gel Bottle Rose Gold, to be exact) on Emily Blunt for her 2024 Golden Globes red carpet manicure. “A micro glitter is a bit more fun than a metallic but stays elevated with its tiny flecks of shimmer,” she adds.
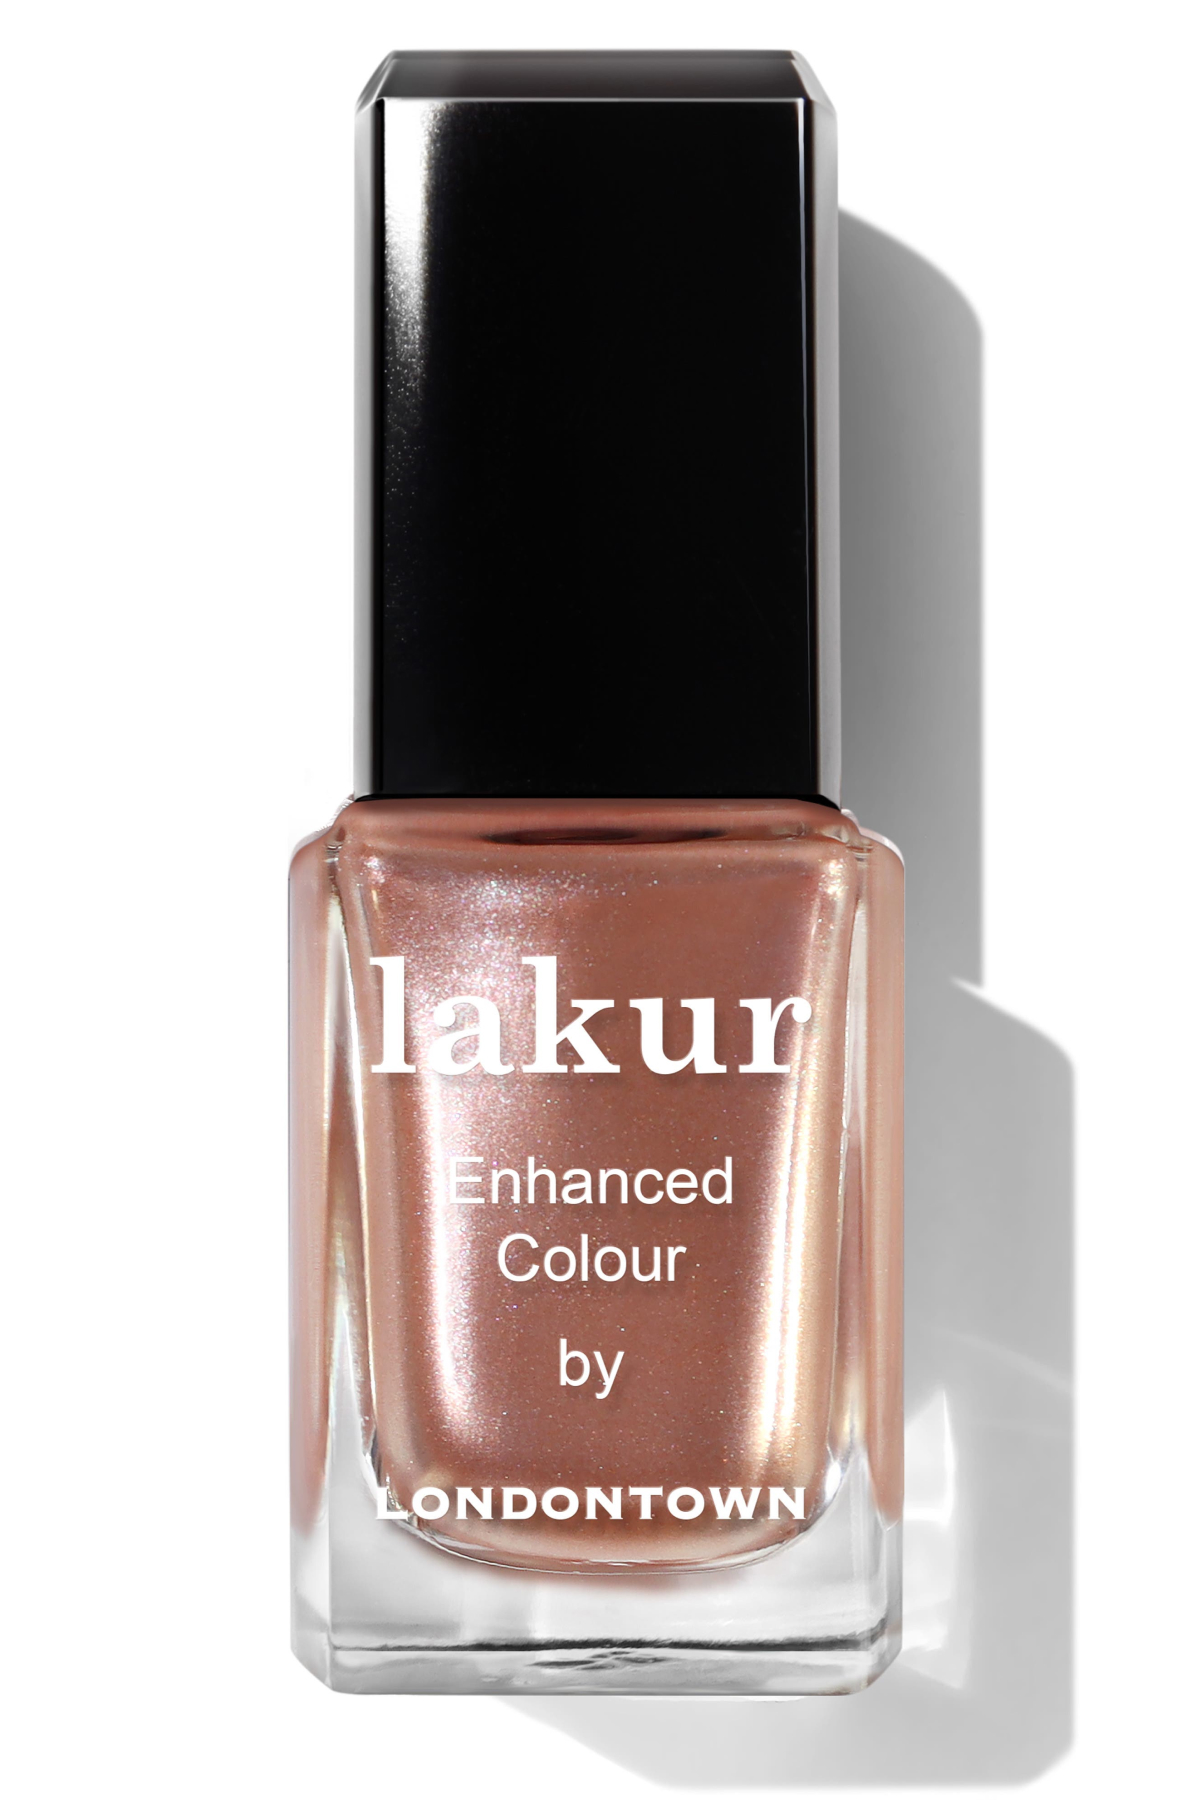
While this glimmering shade leans more rose-toned, it's just as eye-catching as a traditional gold hue. This formula provides strength and moisture to nails, with one Nordstrom reviewer writing, "It actually delivers on its promise to protect and harden your nails."
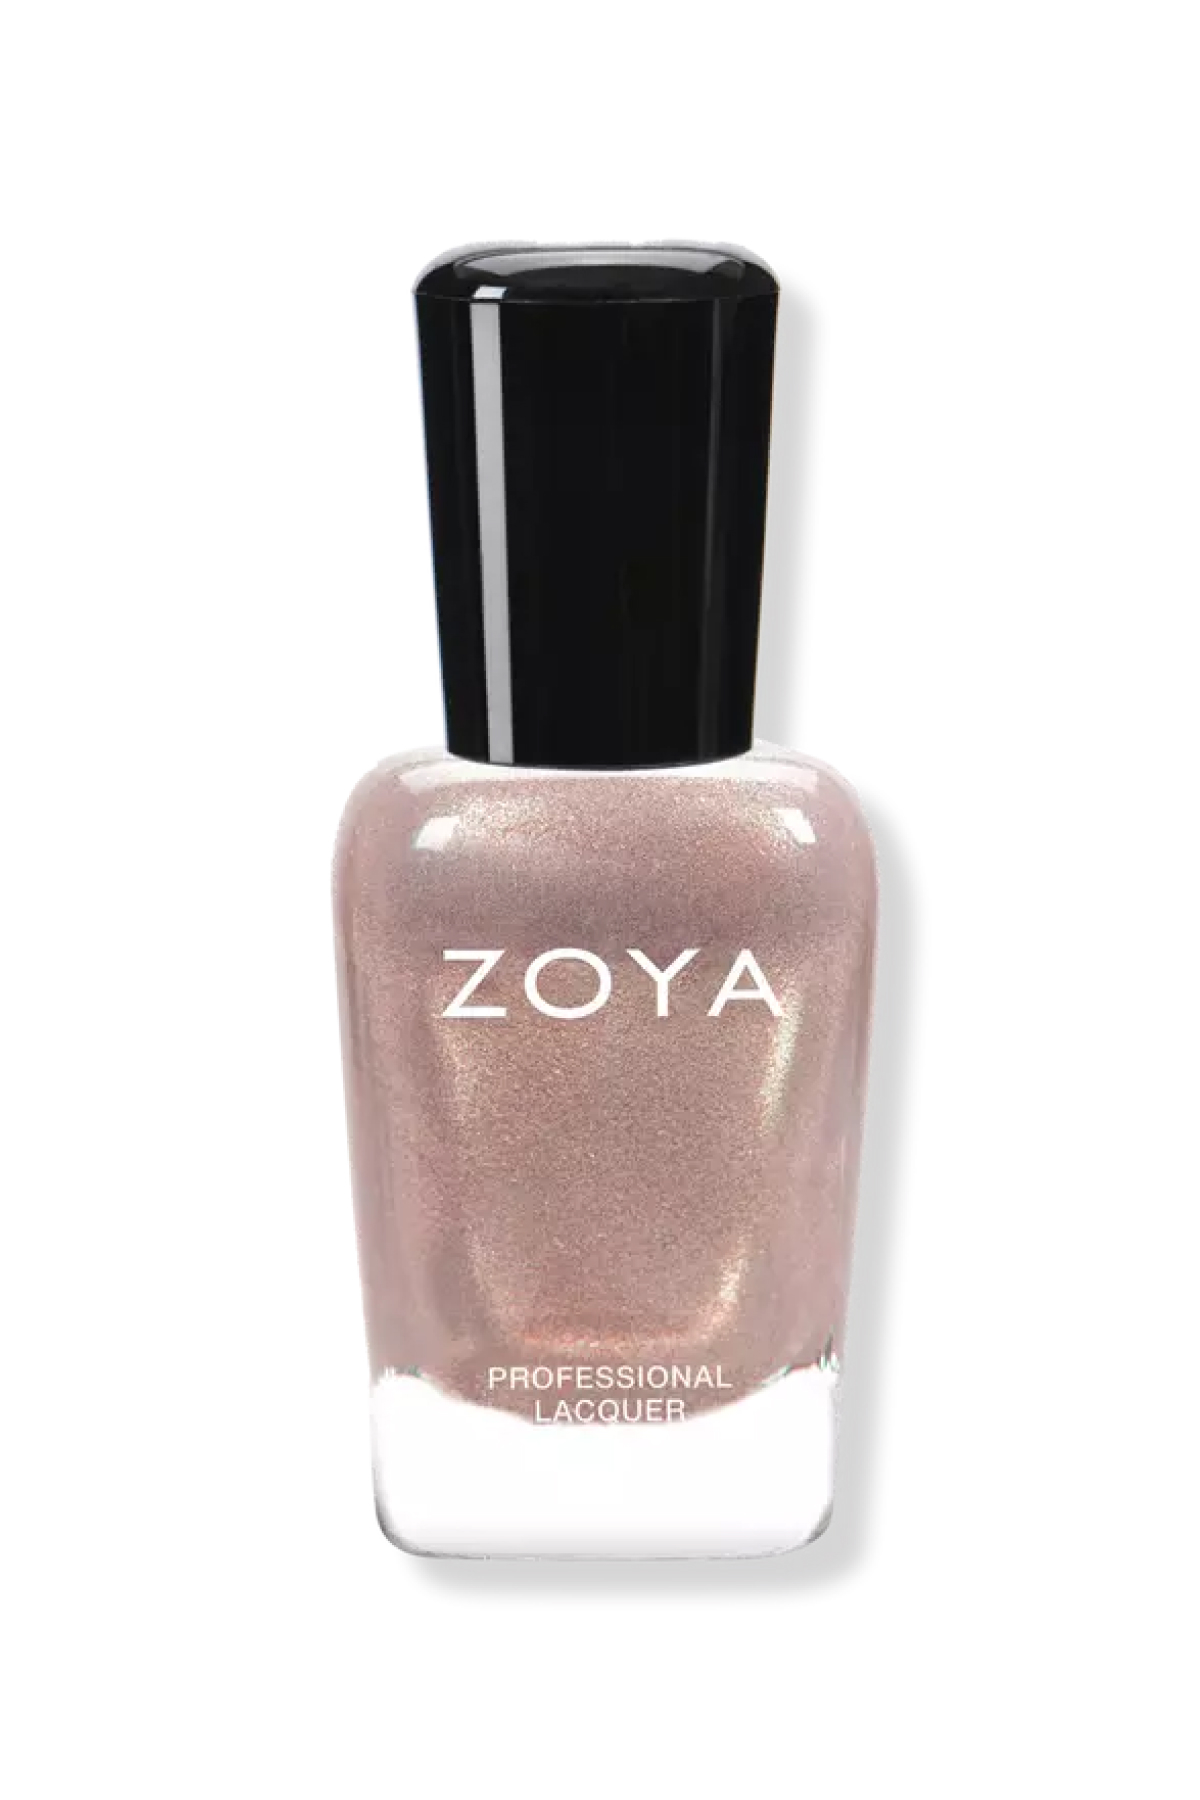
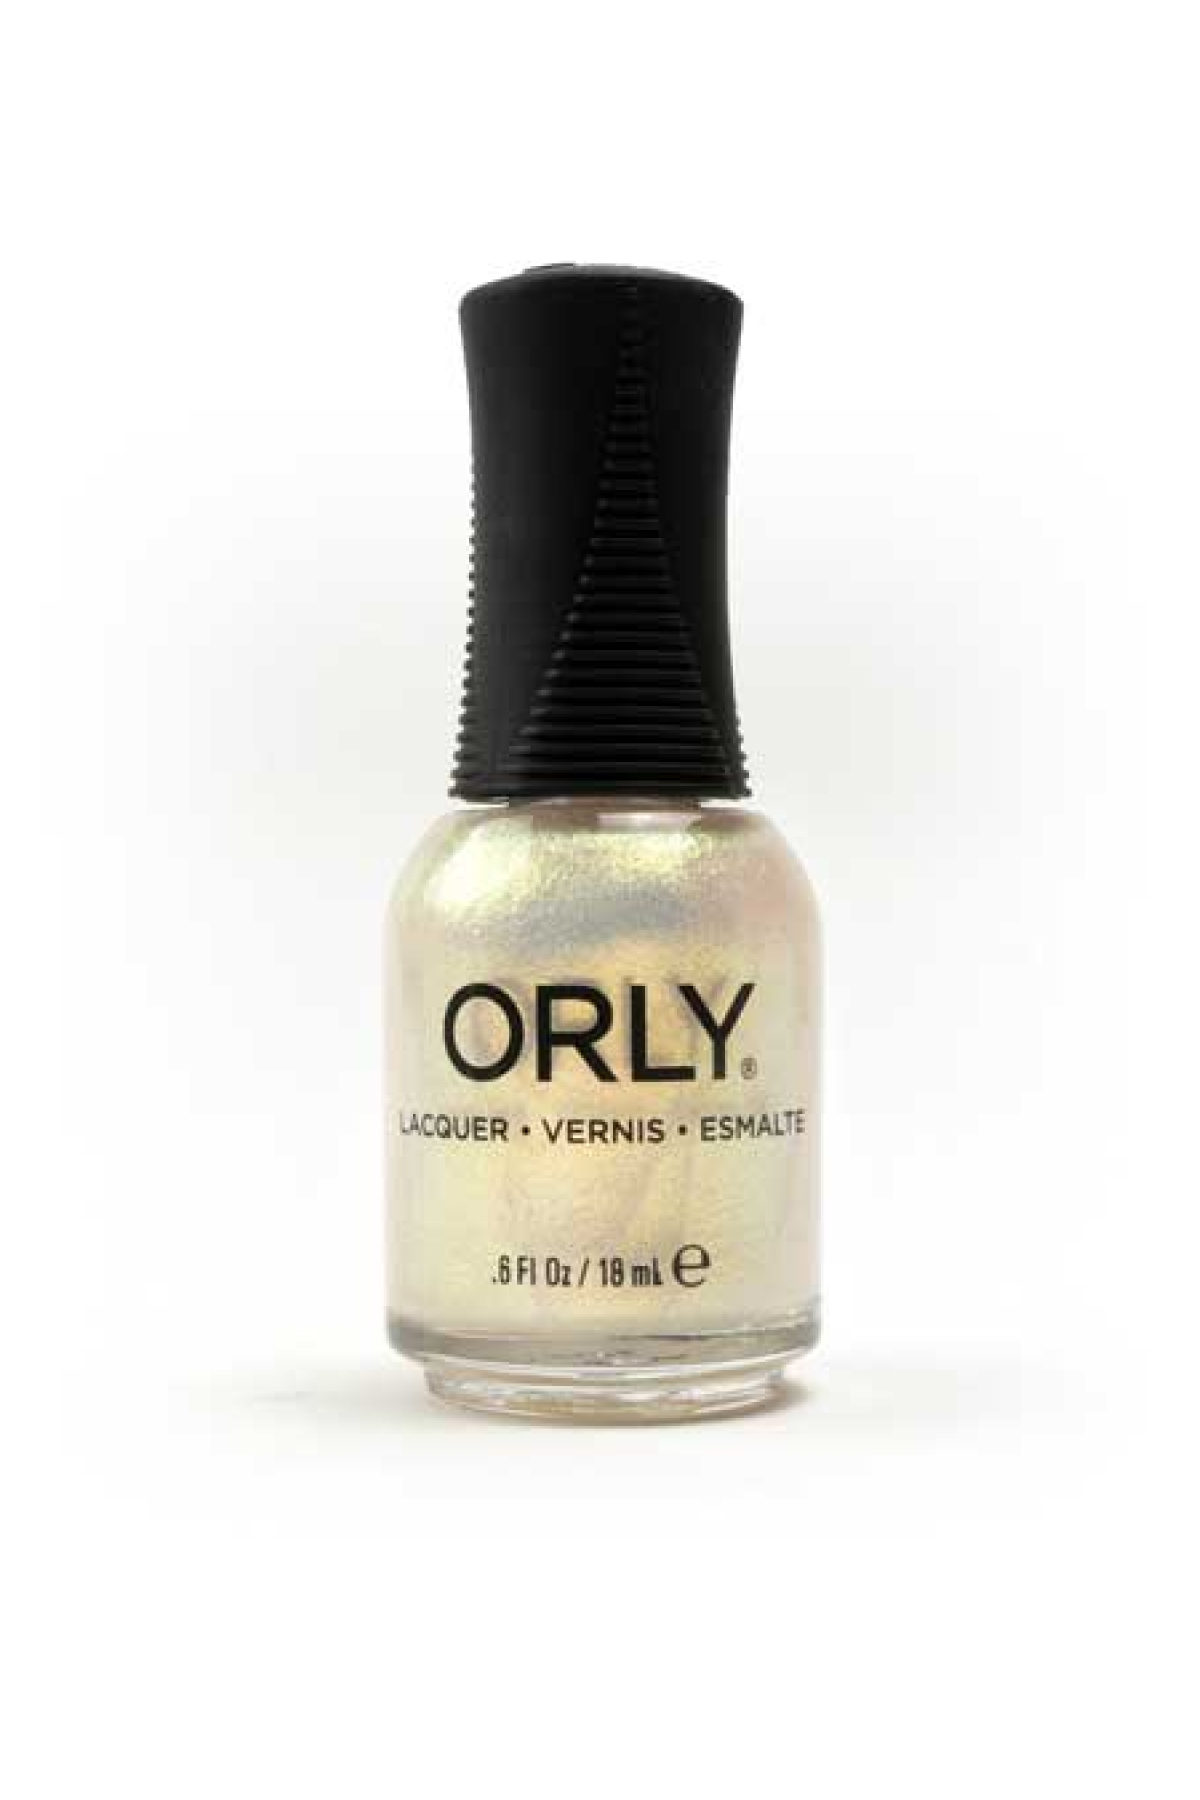
If you're not one for statement-making nails, that's ok—you can still get in on this trend with a more muted shade like this pick." It's a true metallic champagne hue, but it doesn't feel so "in your face" like other metallics can. Another bonus? It's free from 10 of the most common chemicals found in nail polish.
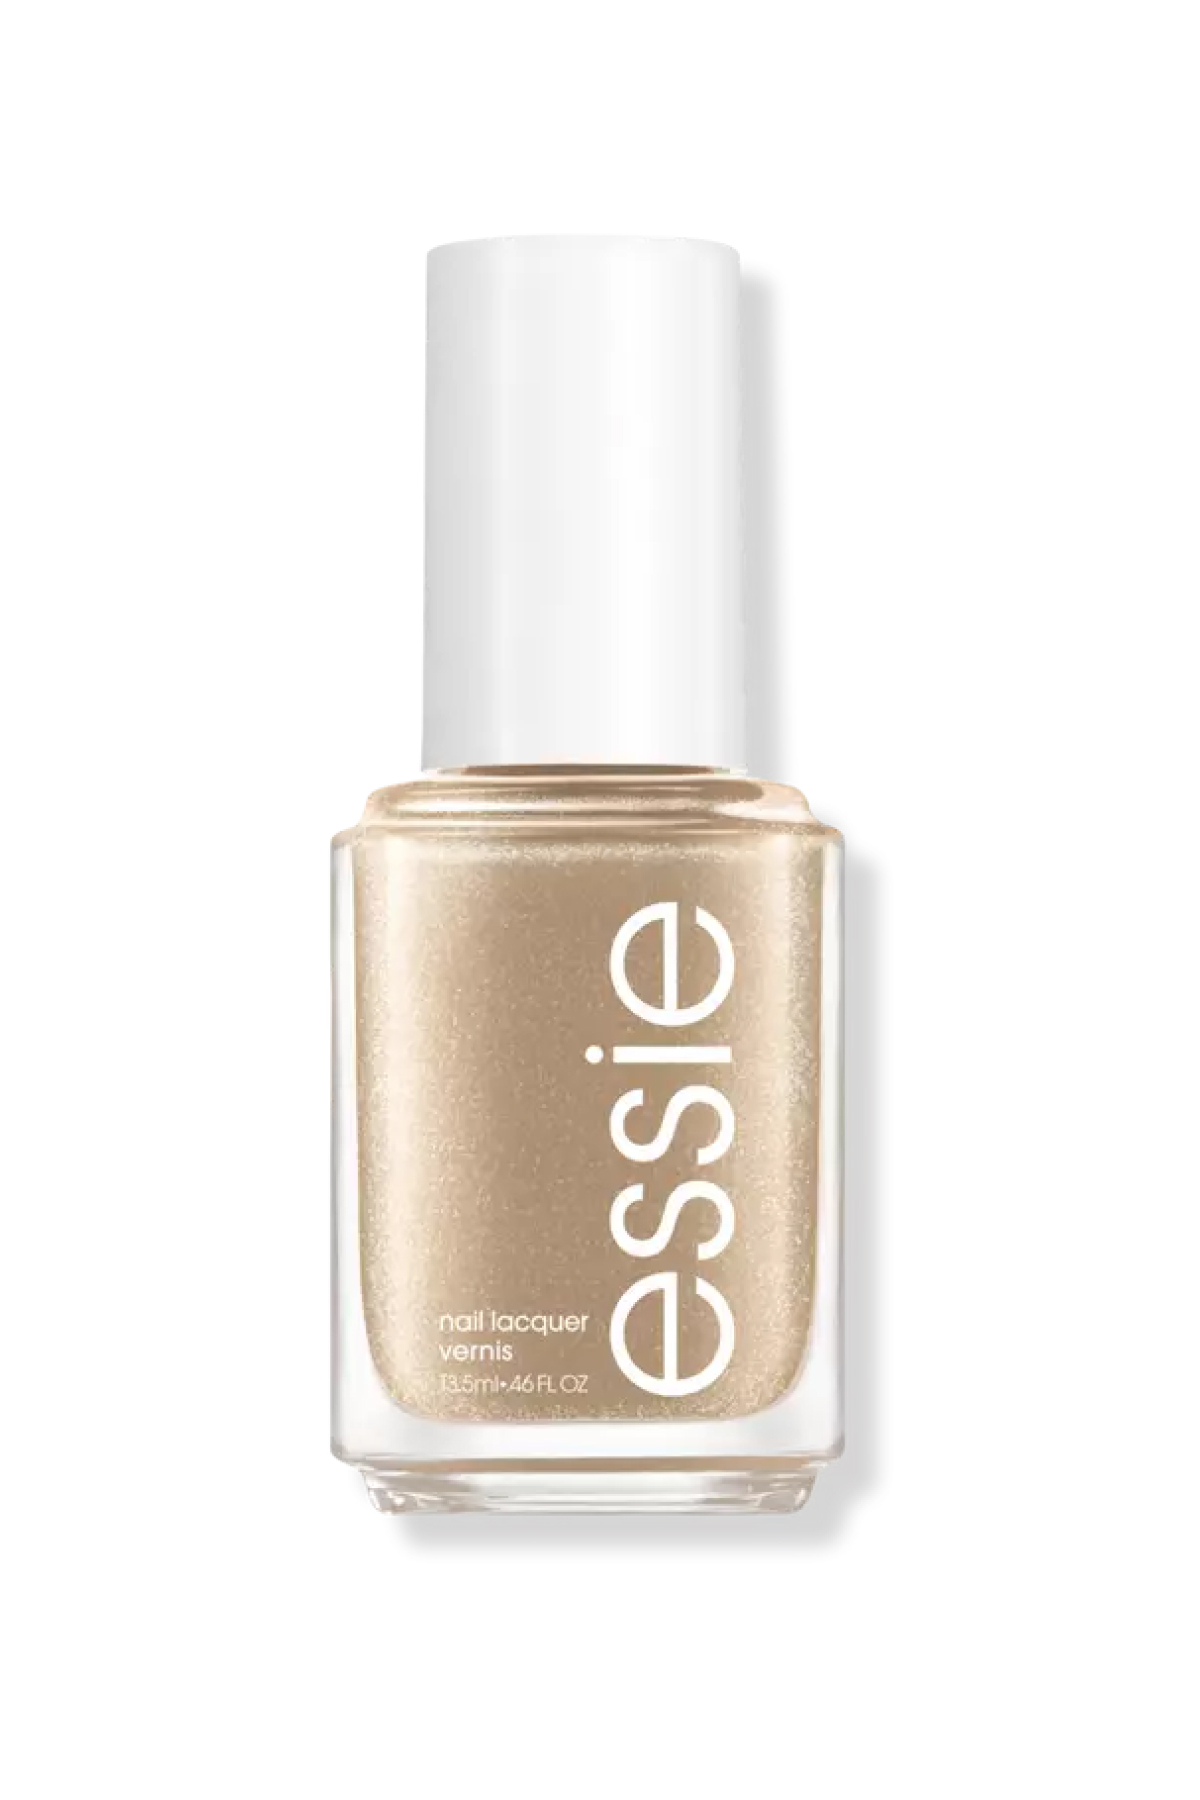
While Emily Blunt's exact Golden Globes manicure shade is only available for professionals, you can get a similar look for just $10 with this Essie polish. It's a true gold metallic that's perfect for any special occasion on your agenda. Think of it as added bling for your nails.
Canary Yellow
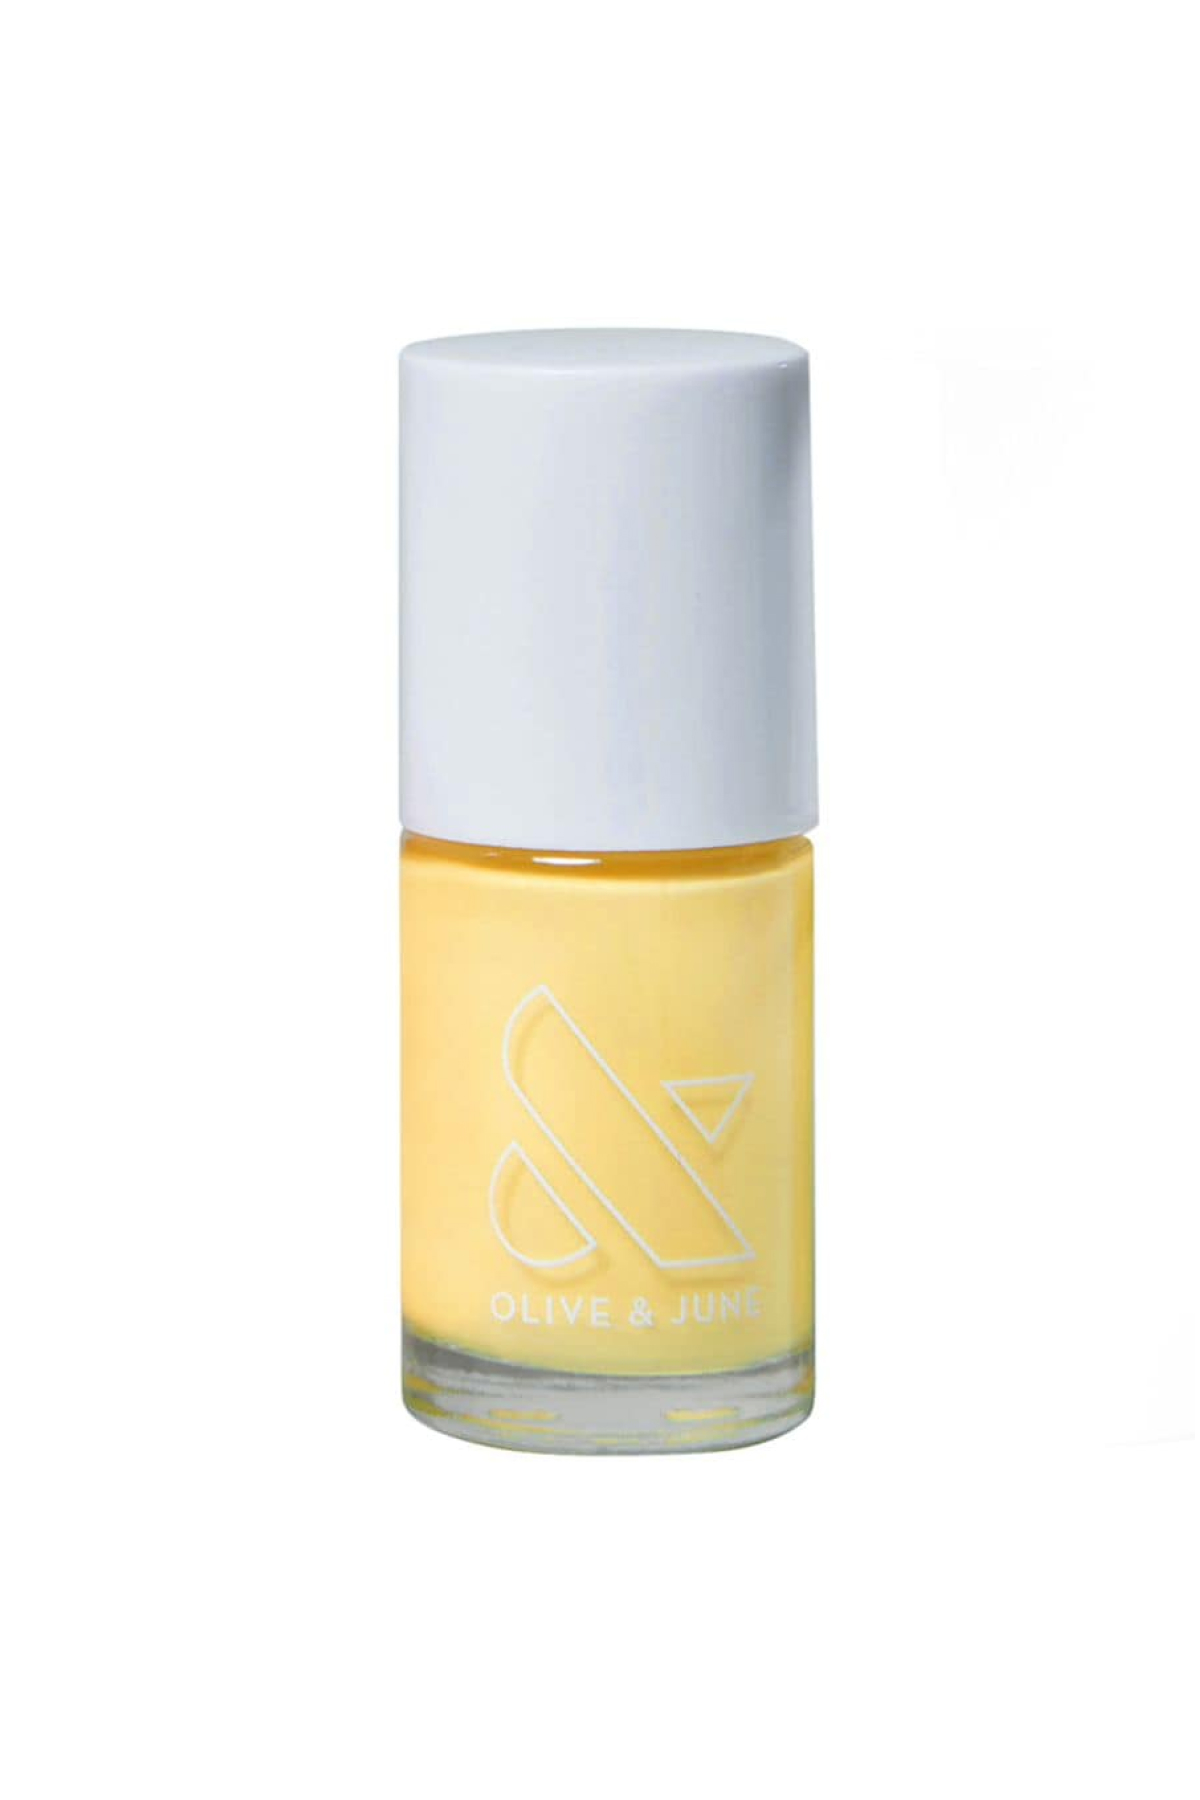
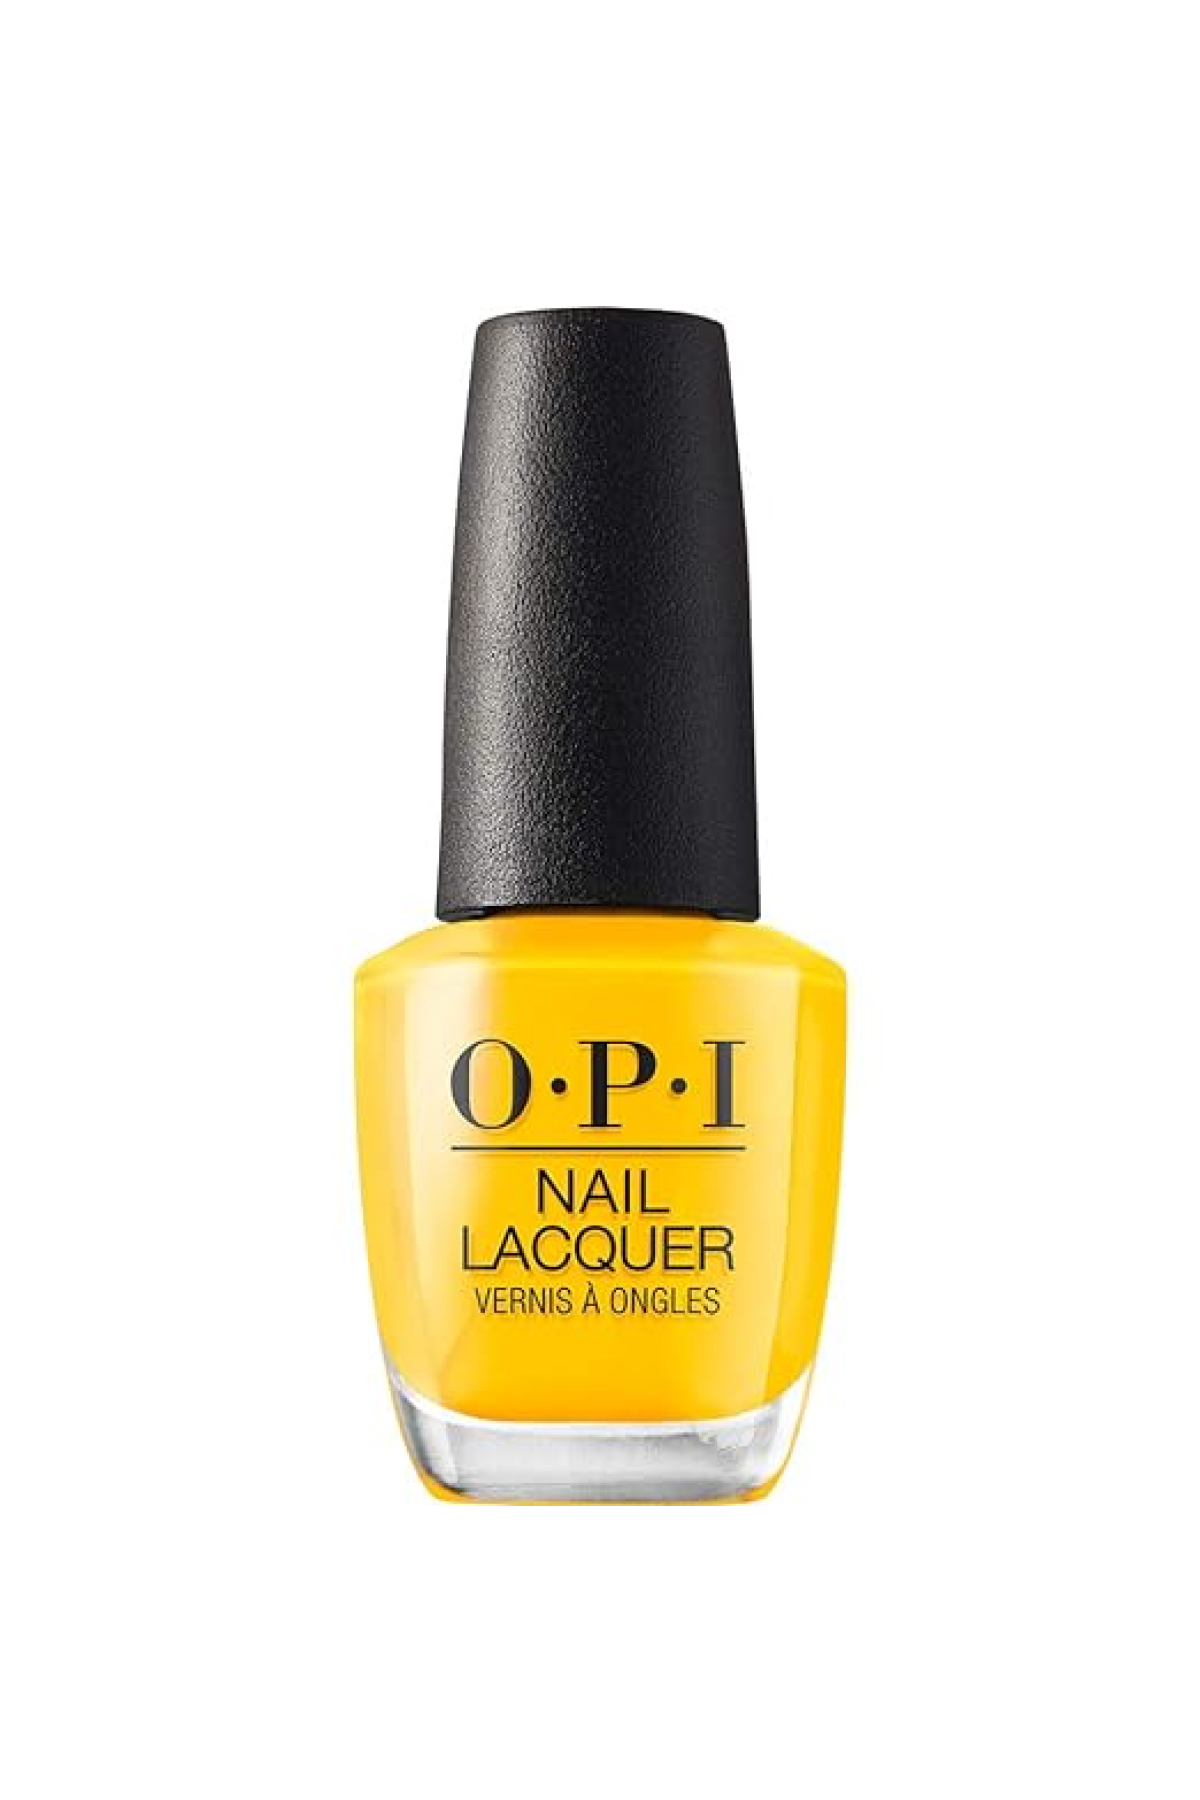
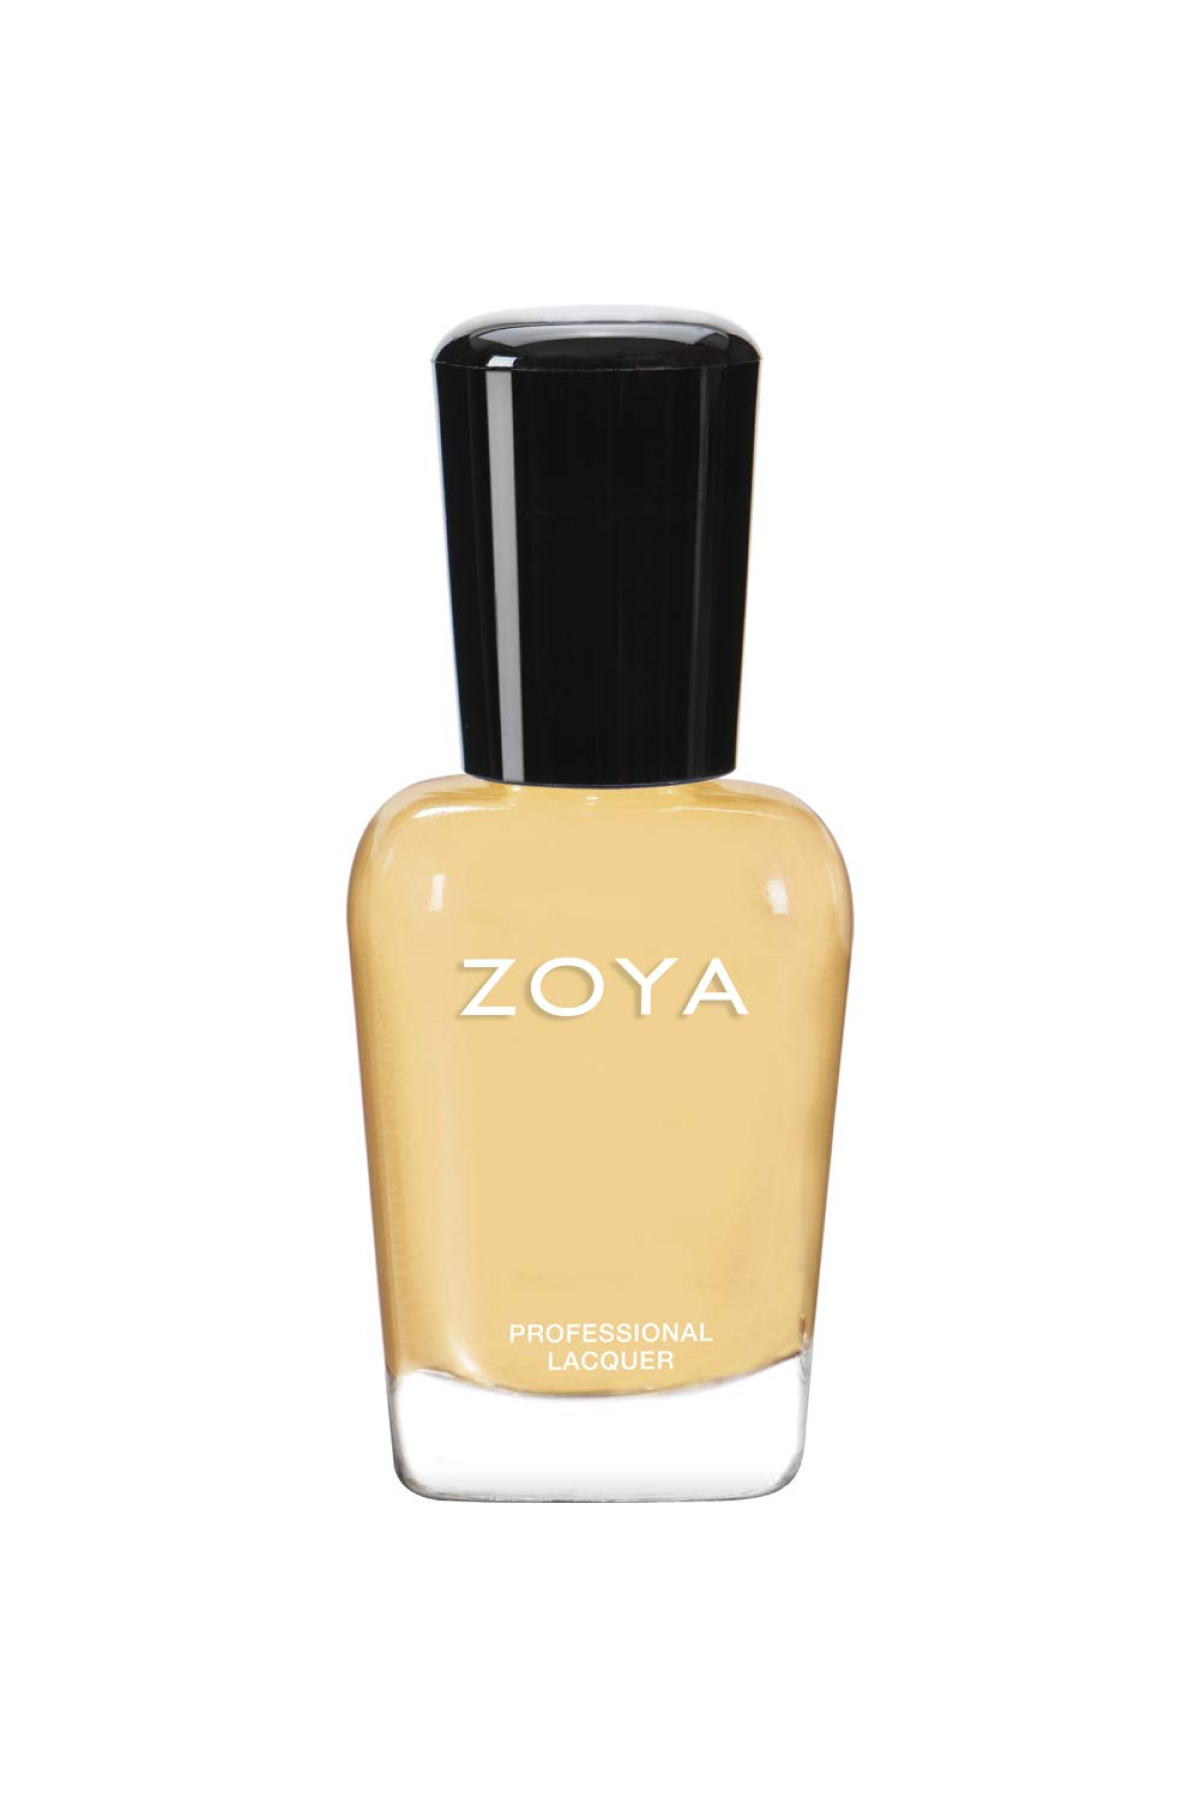
Butter yellow may be a trending spring color in fashion, but both Legend and Gerstein predict the shade is getting a bolder take on nails—think a brighter, canary-like hue. Gerstein says the shade can act as an “instant mood booster,” while Legend similarly says it’s “full of energy and joy.” It’s just as wearable on an accent nail or across all of your nails, adds Gerstein, but either way it’s sure to leave a happy impression.
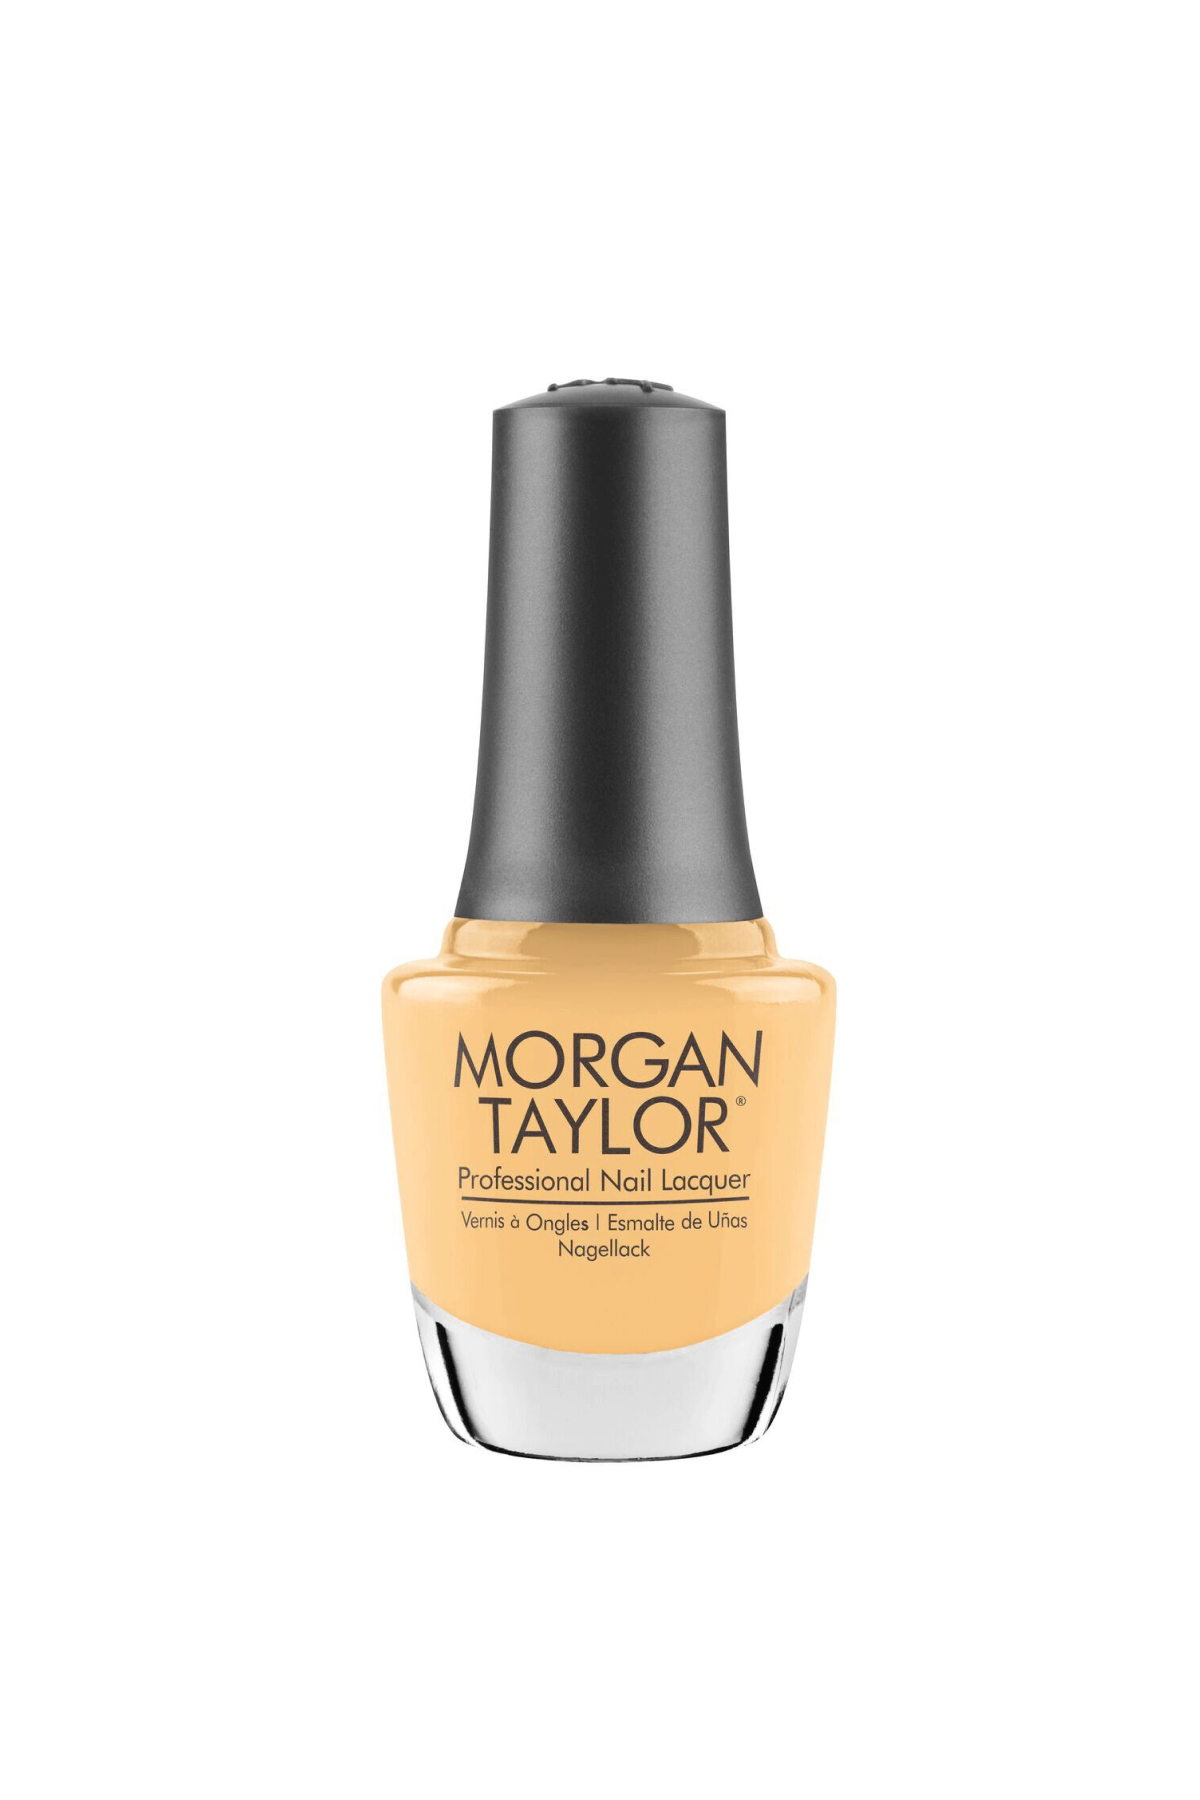
This favorite polish of Gerstein's was just launched in time to make your spring happier. It has a curved, cuticle-friendly brush designed to make application easier and comes with a color so saturated, you could get away with just one coat if you wanted to.
Leafy Greens
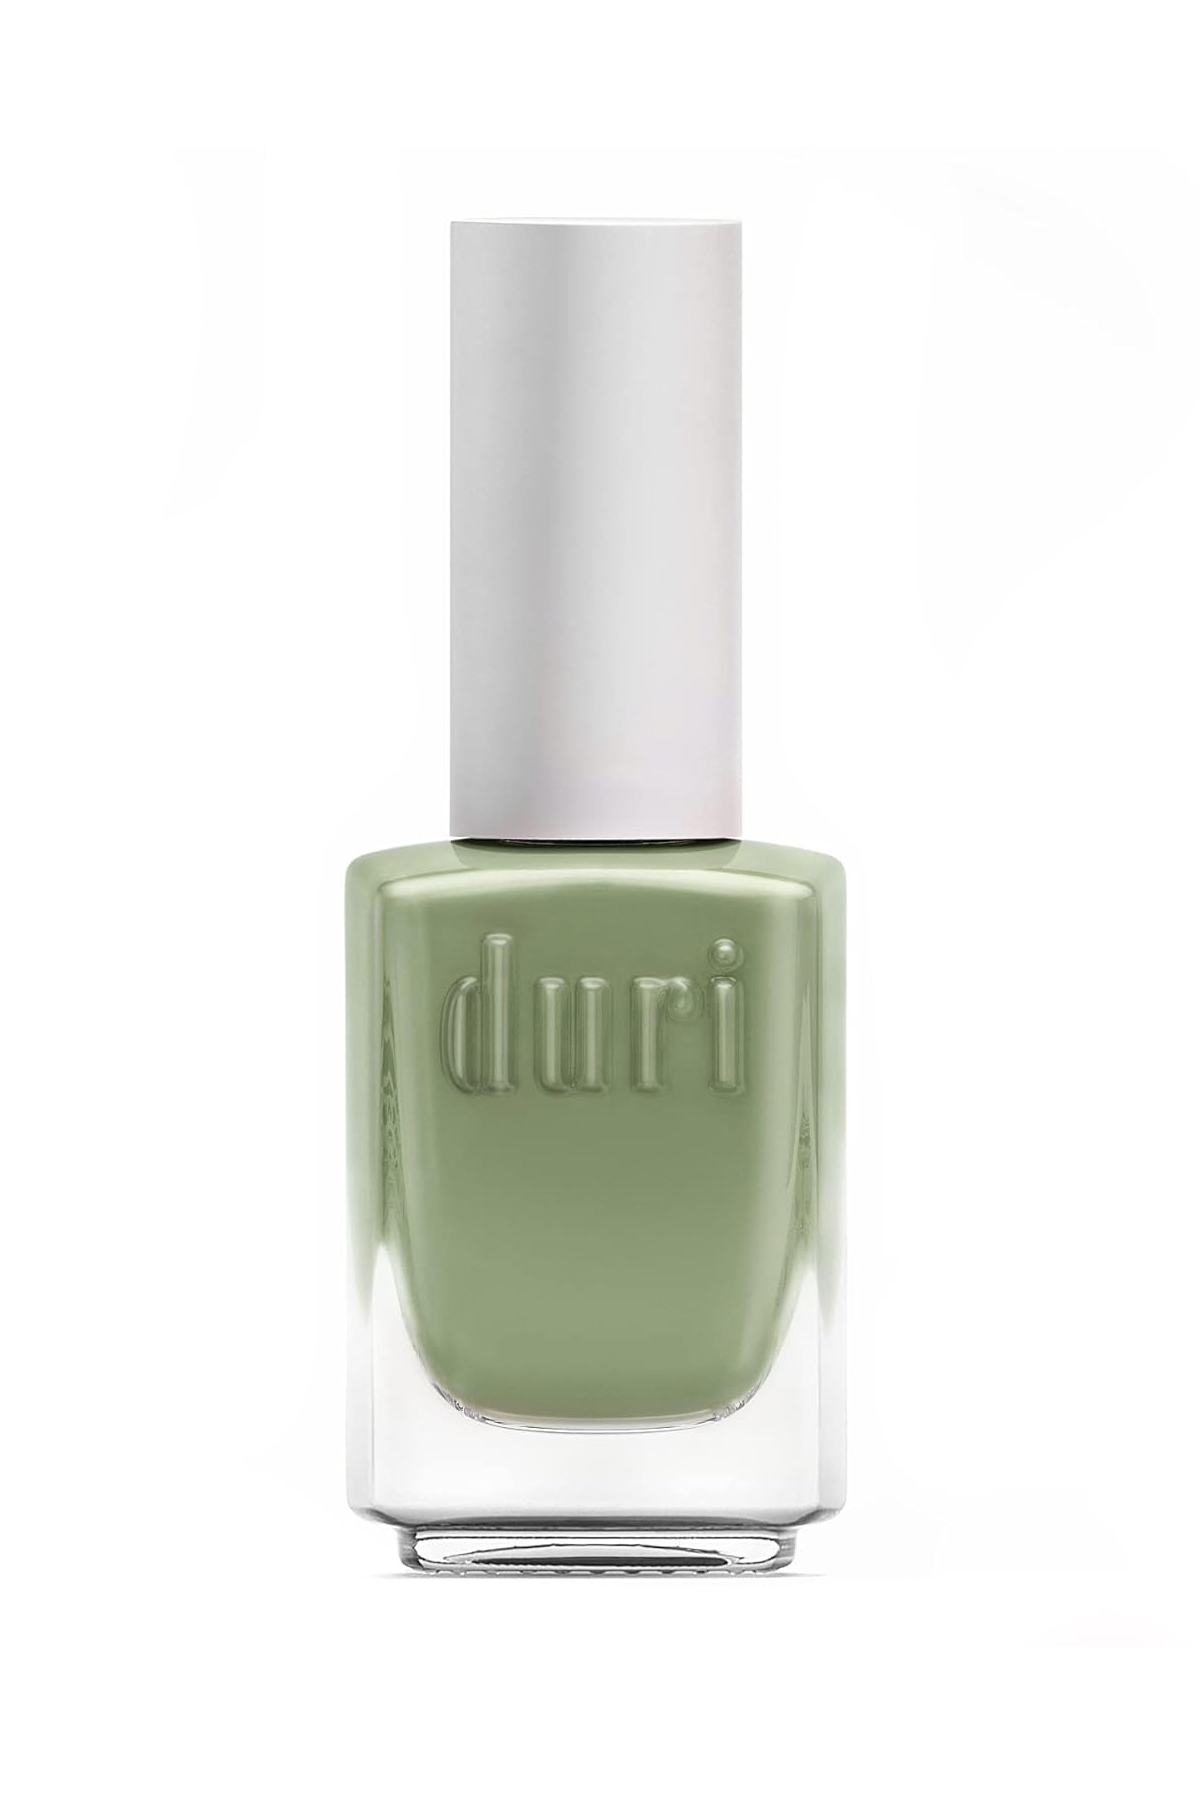
Gerstein and Legend agree: Where yellow feels uplifting and energetic, sage green and its lighter counterpart, pistachio, feel calming and neutral. Gerstein calls the shade a “natural neutral,” adding that it’s always been a favorite of hers to work with in the spring. “It grounds so many colors because it pairs with pastels, oranges, peaches, and purples,” she explains. The next time you’re tempted to reach for another nude nail polish, opt for one of these green shades instead for a new take on neutrals.
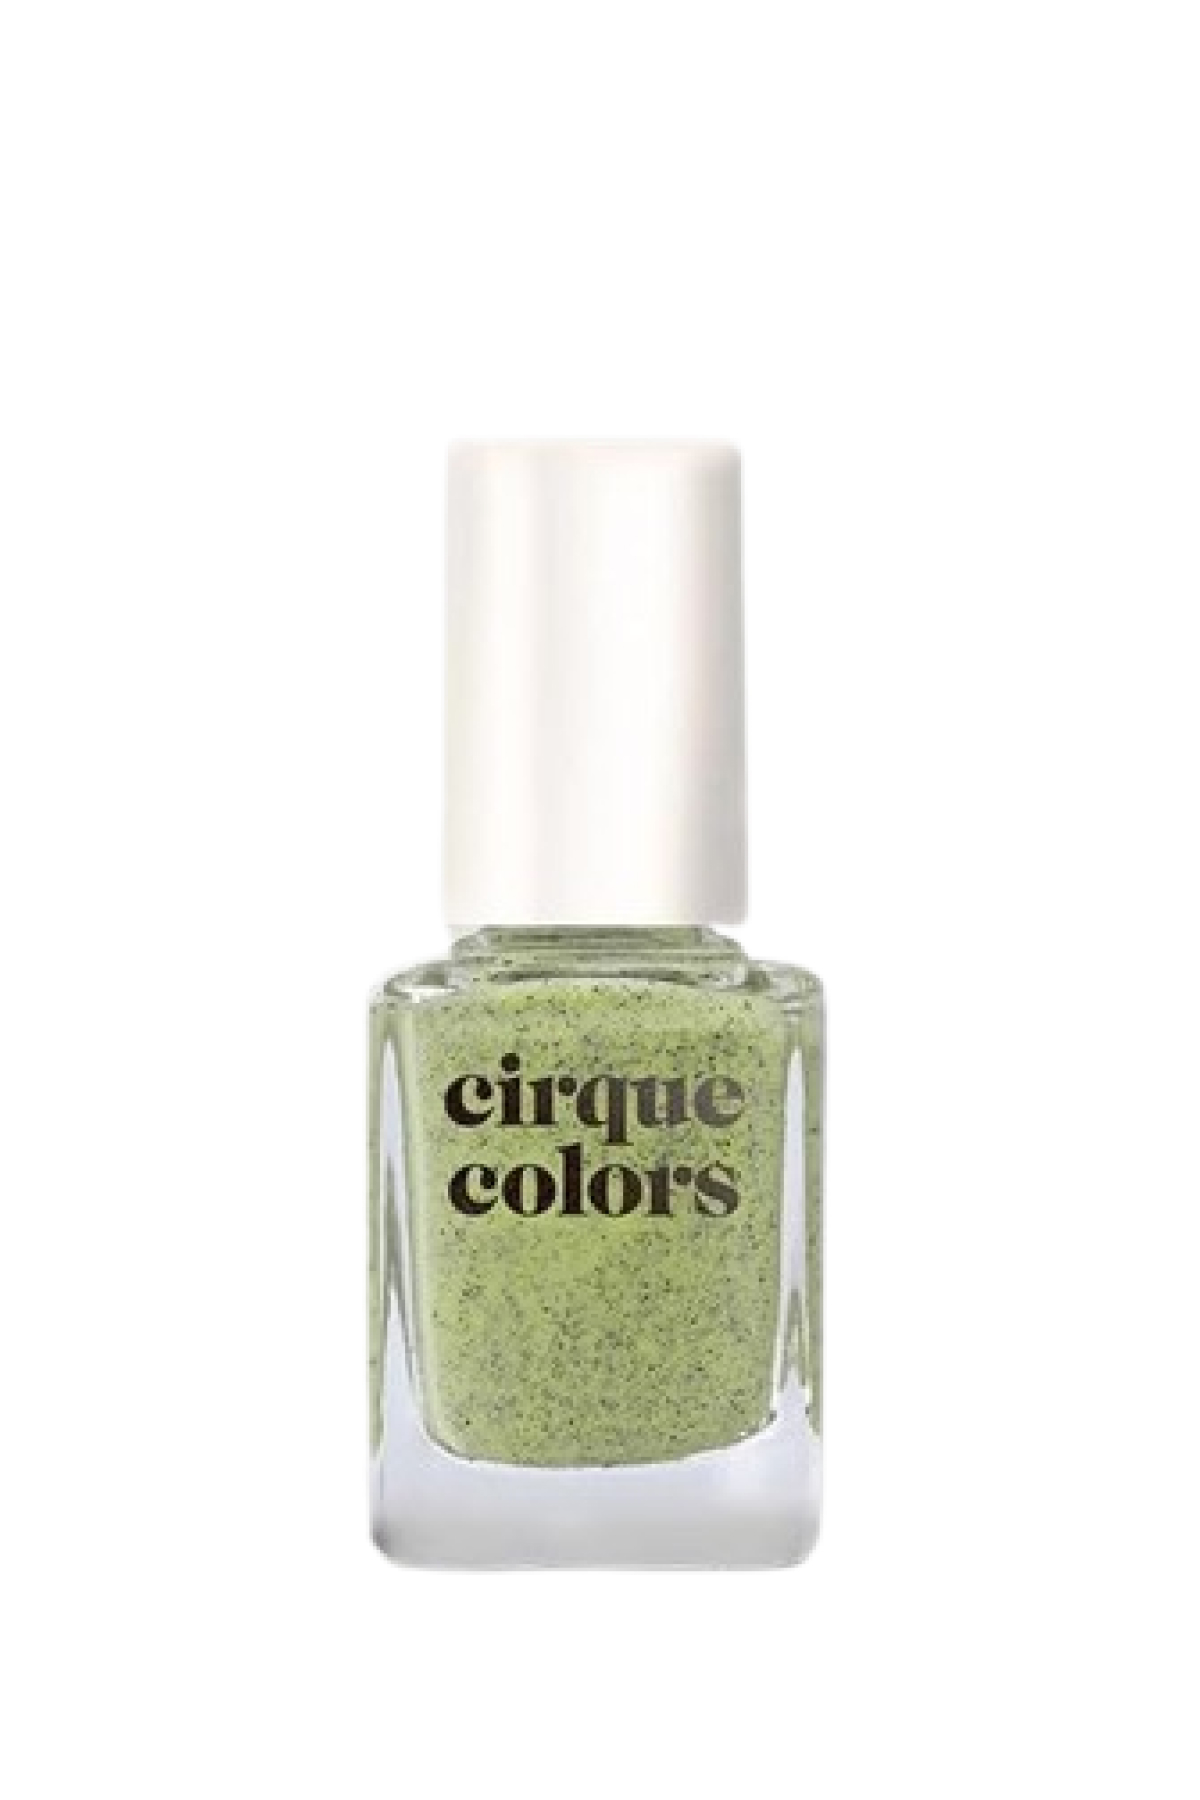
For a more literal take on pistachio nails, there's this polish. With black flecks in a delicate green shade, Cirque Colors hit the nail on the head. One Amazon reviewer said the black flecks even help to make this polish more forgiving, writing, "I don't feel like my application has to be professional-grade perfect."
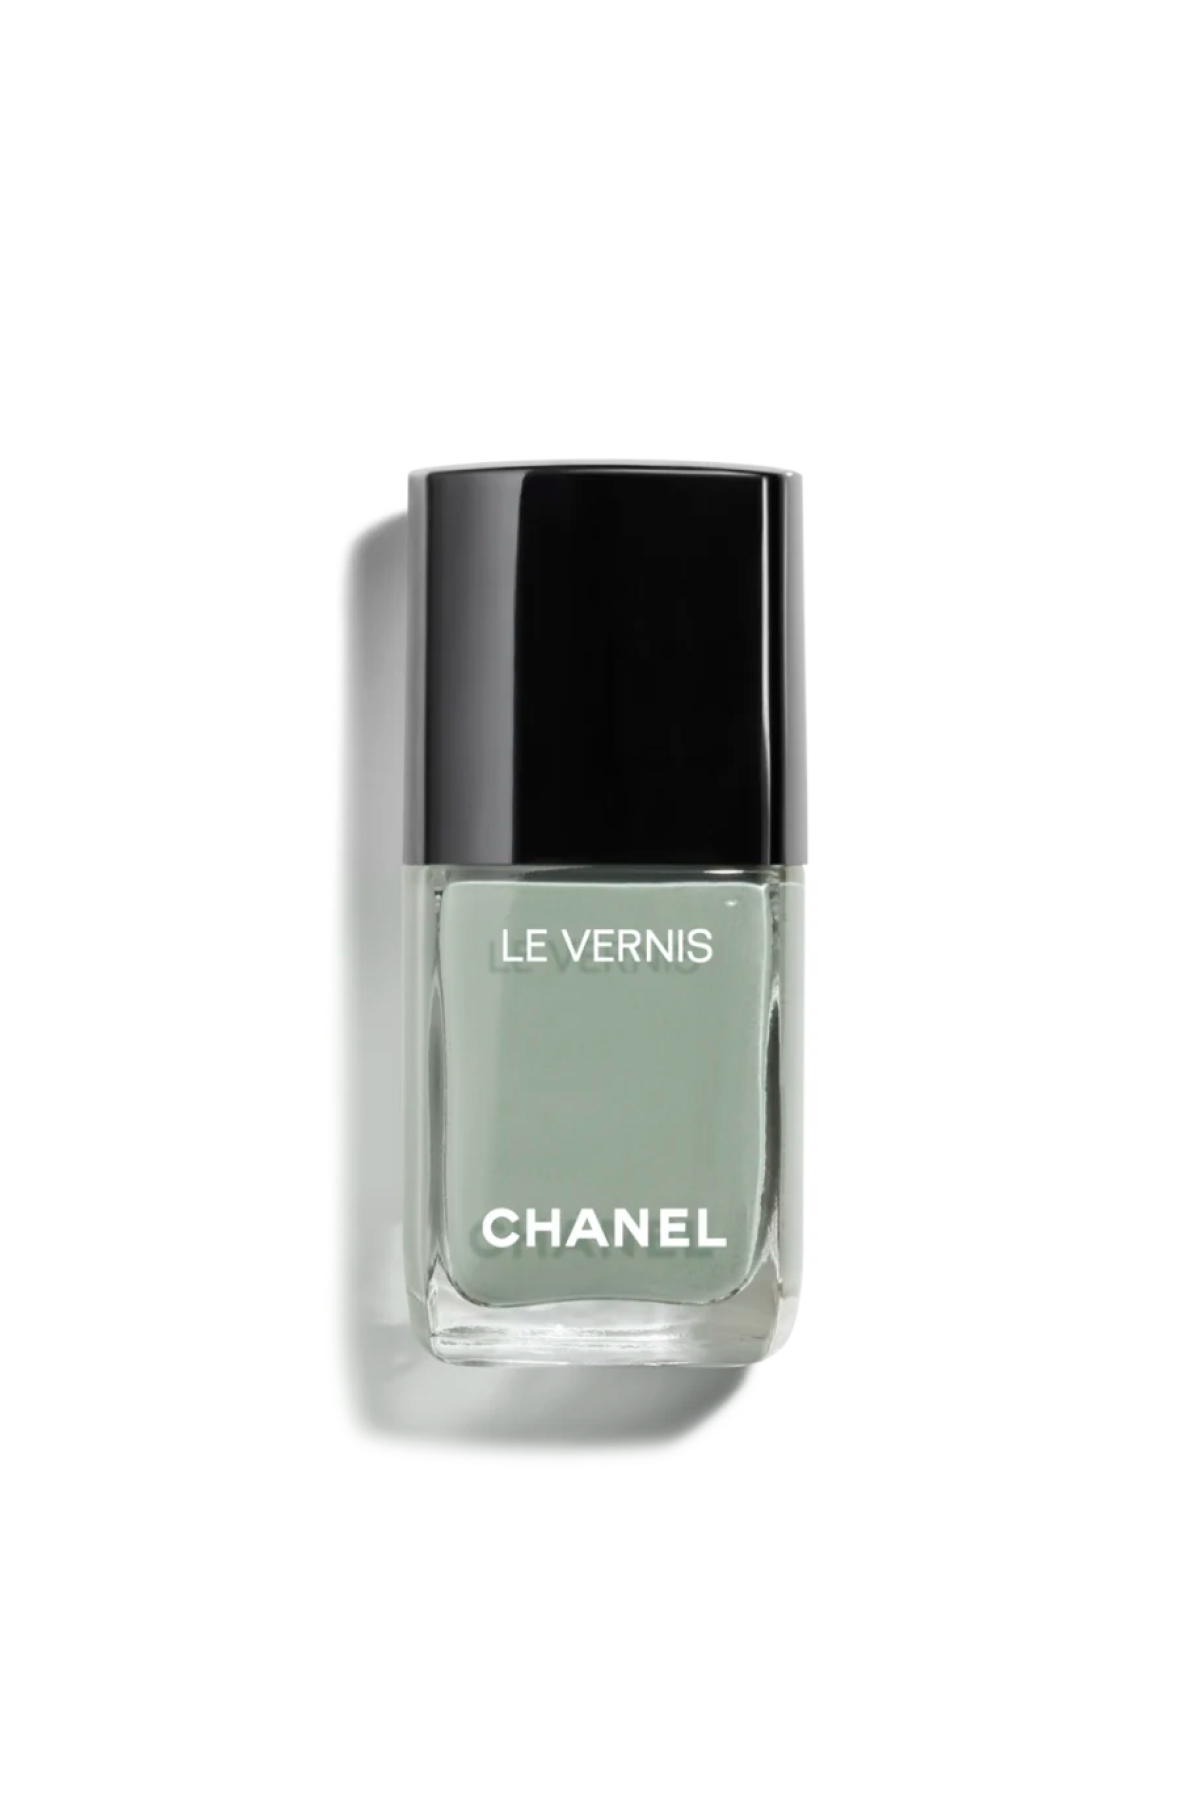
For a neutral shade you'll fall in love with, Chanel's nail polishes are seriously good. Shoppers say they last longer than the average drugstore brand, dry quickly, and have a great color payoff. Pick up this luxurious grey-green shade for a more subtle pop of color.
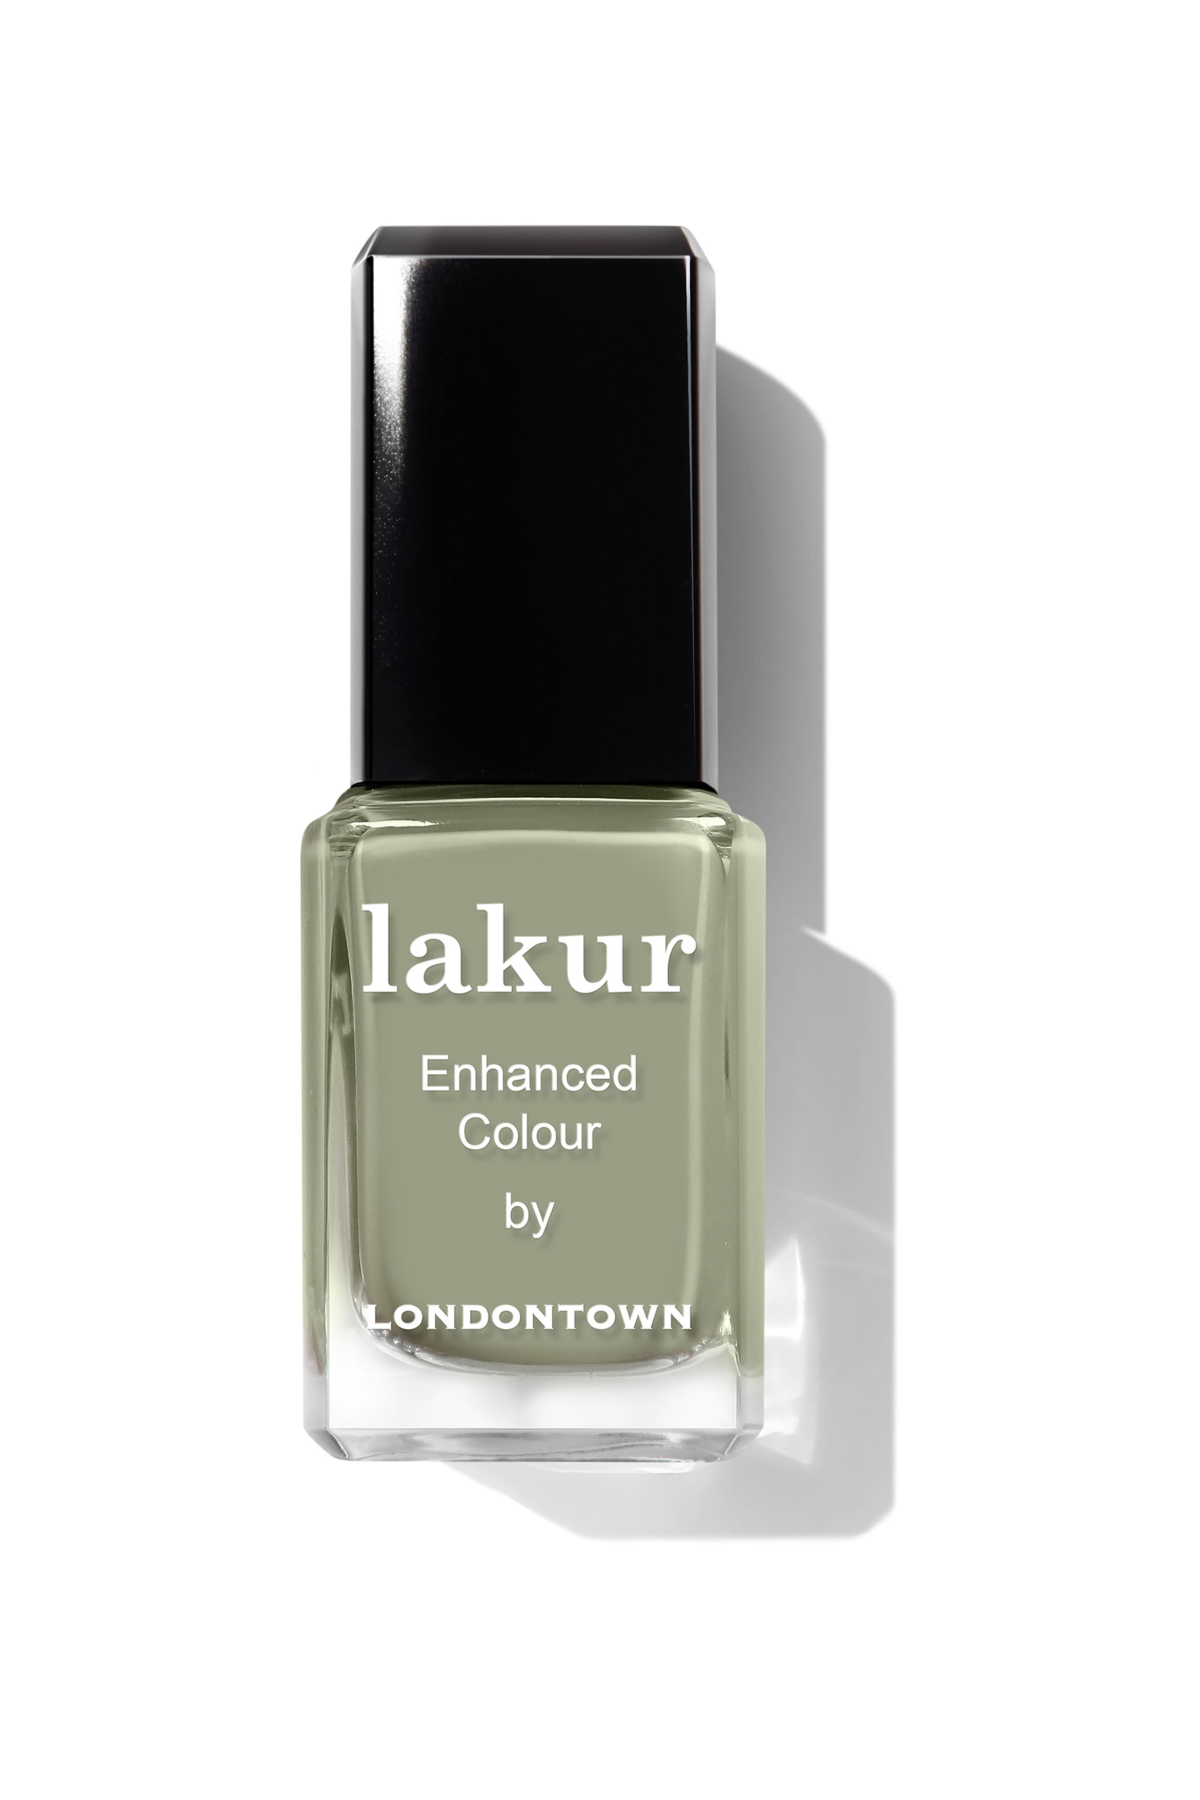
Do yourself a favor, and take a look at how gorgeous this sage green shade looks on a variety of skin tones on Nordstrom's website. Not only is it so pretty, but this formula uses a blend of natural botanical extracts and restorative plant oils to keep you nails strong and healthy.
Meet the Nail Pros

From the young age of 12, Julie Kandalec knew her future was in nails. "When I grow up, I want to be a manicurist," she wrote in English class. Finishing beauty school at the top of her class at 17 was just the beginning of a prosperous career.
To Julie, nail care is far beyond just polish. Always the artist, she is also trained in painting, drawing, color, and dance. Known for her gentle touch, calm demeanor, and precise attention to detail, Julie's specialties vary from a clean, natural nail to elaborate, custom-designed nails. Julie's work can now be seen in major publications, beauty campaigns, and regularly on the fingertips of Jessica Chastain, Emily Blunt, Rose Byrne, and many more.

Eunice is a licensed nail tech and Brand Director of Aprés Nail. She has enjoyed working alongside the brand to develop some of the most innovative products on the market and sharing the brand’s mission with professional nail techs across the country. Aprés Nail is the pioneer in soft gel nail extension technology and creator of Gel-X®.

A natural born nail artist, Elle opened her own business at age 17, with over 80 clients per week. Now one of the industry's top artists, Elle is world renowned for her cutting-edge nail shaping, and her understanding of color, texture and trends. For Elle, nail styling means creating the ultimate glamour. Her celebrity clientele includes Lindsay Lohan, Blake Lively, and Kelly Ripa.

Celebrity nail artist, Chaun Legend, is one of Hollywood’s most sought after creatives. His precision to detail and unique perspective on shape keep him at the forefront of the nail industry. His bold yet intricate designs set the trends season after season.
He works with icons including Kendall Jenner, Kylie Jenner, Cardi B, Khloe Kardashian, H.E.R., among many others. His work has been featured on the cover of Essence magazine, in multiple Kylie Cosmetics campaigns as well as SKIMS campaigns. Chaun’s work can be seen on many red carpets such as the Met Gala, on stars including Kendall Jenner, Kylie Jenner, and Hailey Bieber. In addition to campaigns and red carpets, his work can be seen on the cover of Harper’s Bazaar US, Harper’s Bazaar Arabia, and Essence.
Get exclusive access to fashion and beauty trends, hot-off-the-press celebrity news, and more.

Brooke Knappenberger is the Associate Commerce Editor at Marie Claire, where she specializes in crafting shopping stories—from sales content to buying guides that span every vertical on the site. She also oversees holiday coverage with an emphasis on gifting guides as well as Power Pick, our monthly column on the items that power the lives of MC’s editors. She also tackled shopping content as Marie Claire's Editorial Fellow prior to her role as Associate Commerce Editor.
She has over three years of experience writing on fashion, beauty, and entertainment and her work has appeared on Looper, NickiSwift, The Sun US, and Vox Magazine of Columbia, Missouri. Brooke obtained her Bachelor's Degree in Journalism from the University of Missouri’s School of Journalism with an emphasis on Magazine Editing and has a minor in Textile and Apparel Management.
