How to Do an At-Home Pedicure in 4 Easy Steps
Treat yourself to some well-deserved self-care.

We all like to have perfectly polished fingers and toes in the summer—but even in the dead of winter, there's something so luxurious about a manicure or pedicure. Even outside of the satisfaction of having pretty, shiny nails, there are so many advantages to a great pedicure—like removing dead skin, shaping your nails, and, oh, the sheer relaxation and self-care-ness of it all.
But if you can't make it to your local salon—or just want to save a few bucks by treating yourself to a DIY pedicure at home—don't worry: you can get a professional-looking pedicure without stepping one toe outside. To find out exactly how, we tapped Sherwin Hora, celebrity manicurist and owner of EGO Nails and Spa in Pompano Beach, Florida, for her best pedicure tips.
Step 1: Prep Your Feet
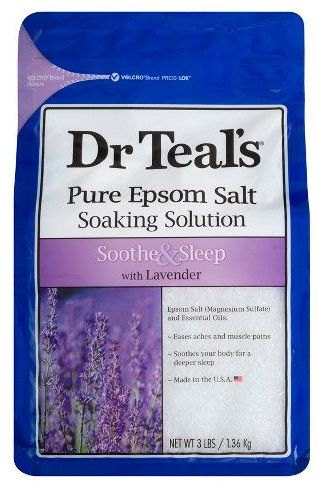
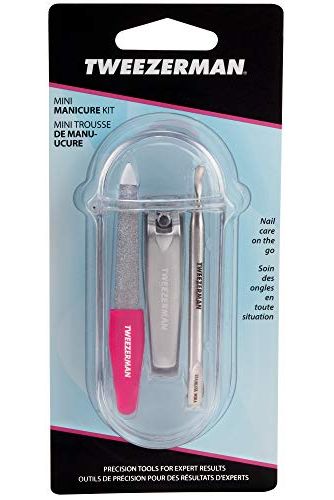
Start by filling a basin or bathtub with warm water and removing any leftover nail polish. "Add Epsom salt or your favorite essential oil and soak your feet in water for about five to 10 minutes," recommends Hora. "Next, use a toenail clipper to cut toenails to the desired length and a nail file to perfect your cut."
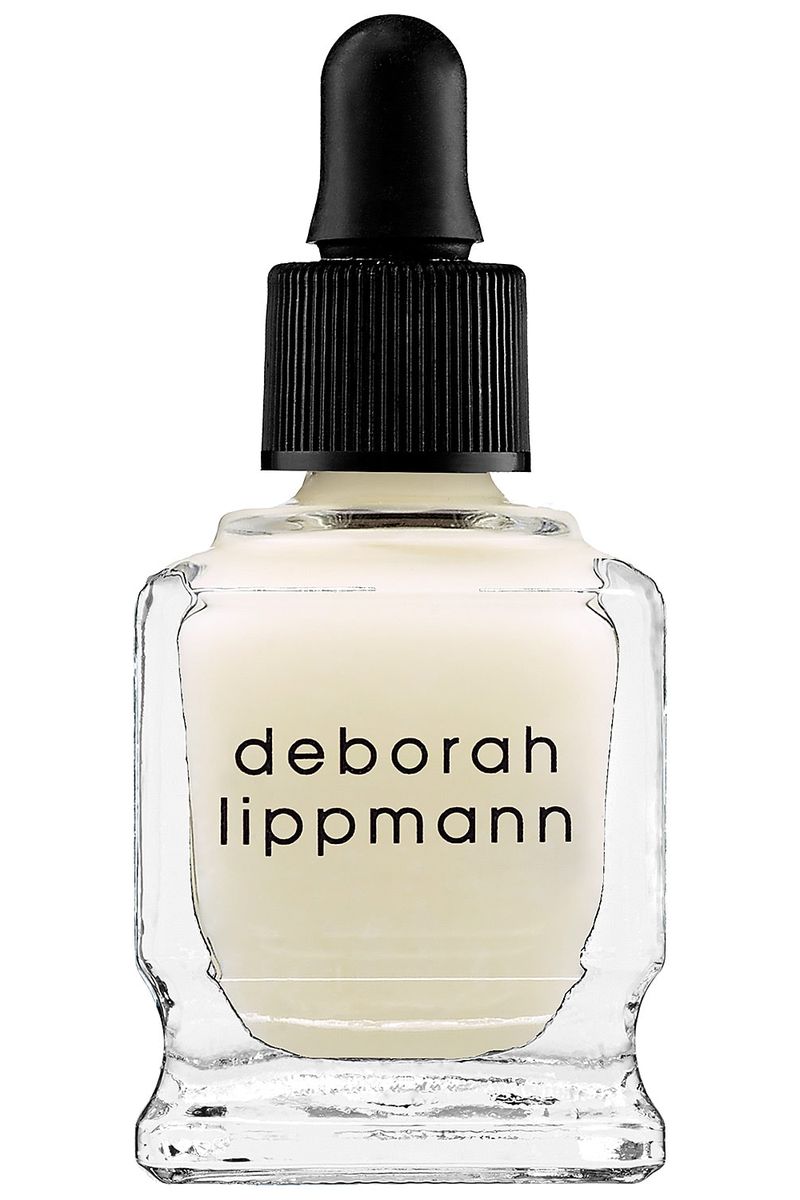
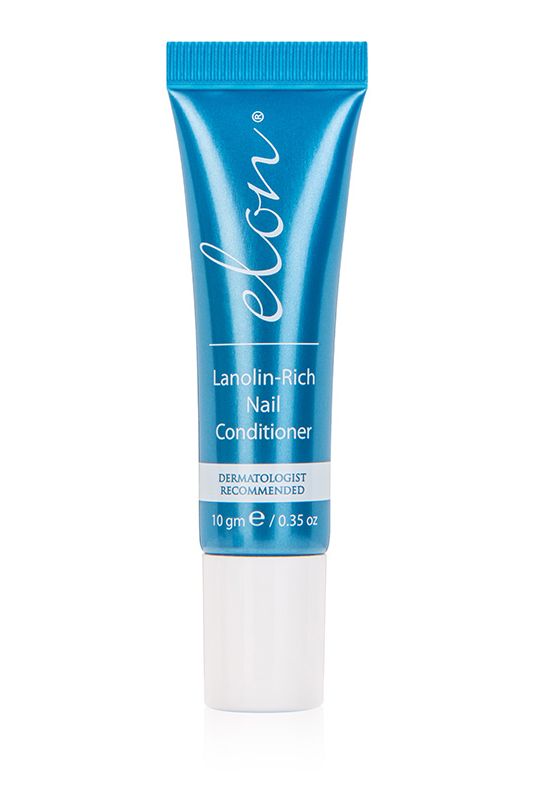
Hora recommends leaving cuticle care to the professionals, but adds: "If you decide to add it to your DIY pedicure, you can use a cuticle softener/remover and very gently with a cuticle pusher, push back cuticle to wipe away excess that may be on the nail."
Products to Prep Your Feet With
Step 2: Scrub and Hydrate Your Feet
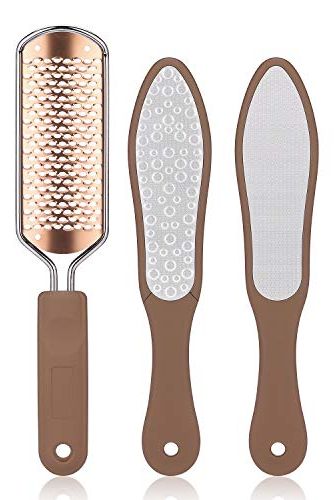
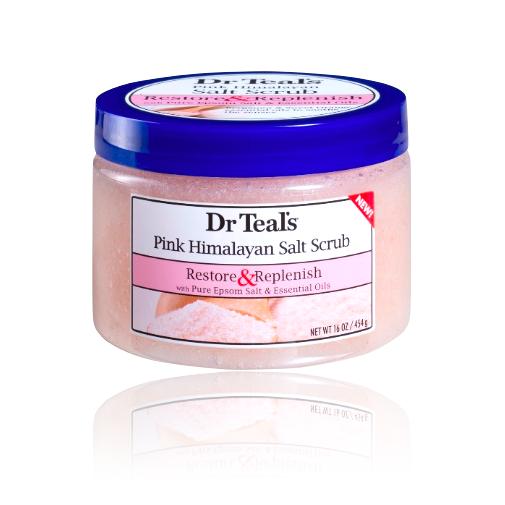
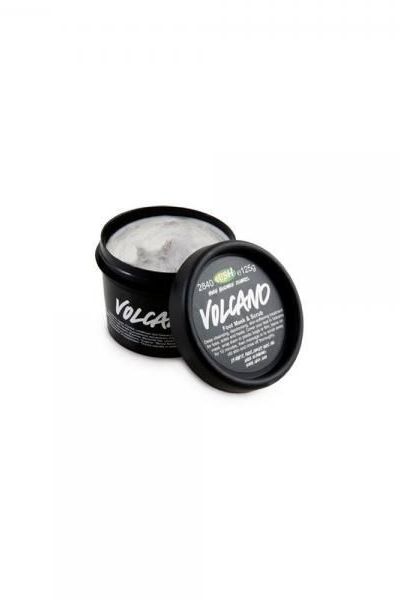
Then, it's time to exfoliate. "Use a sugar scrub to lightly exfoliate and polish the skin on the foot," recommends Hora, who says "you can use a foot file or pumice on the foot’s sole to help achieve smooth skin." Then, to clear away any dead skin, "rinse off your feet and dry them with a towel."
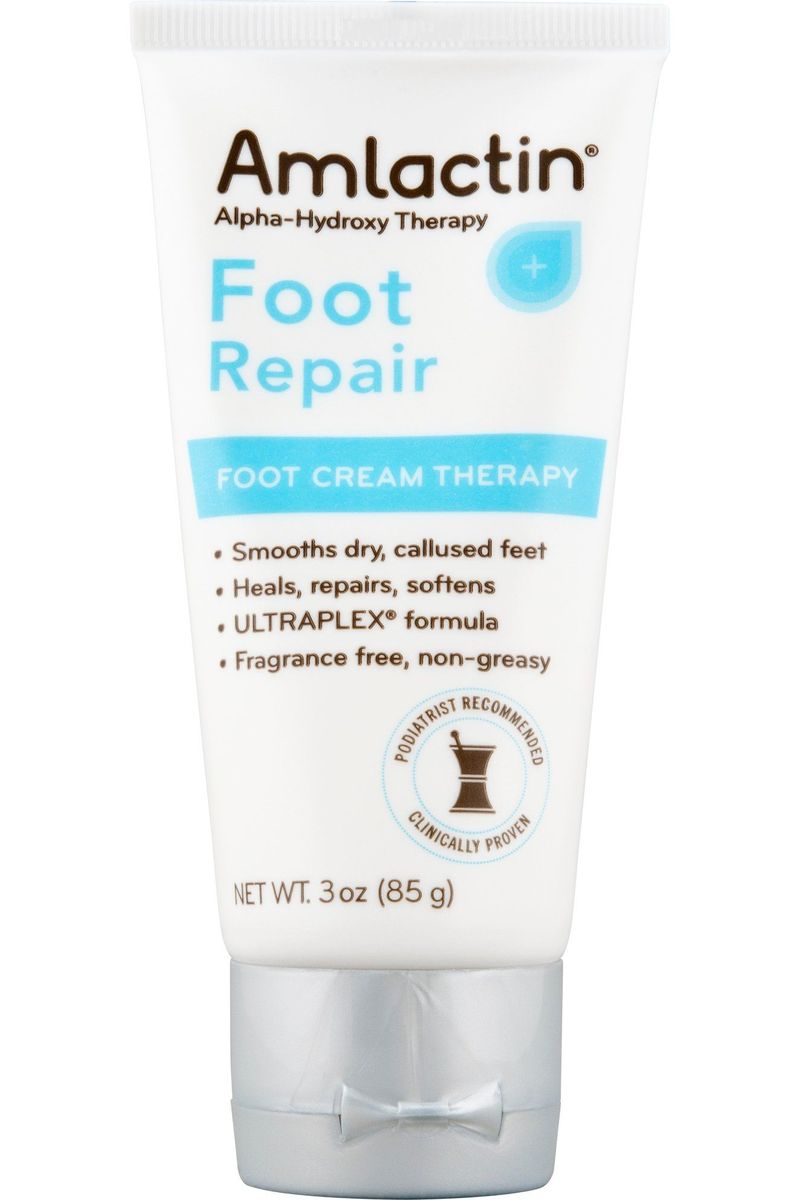
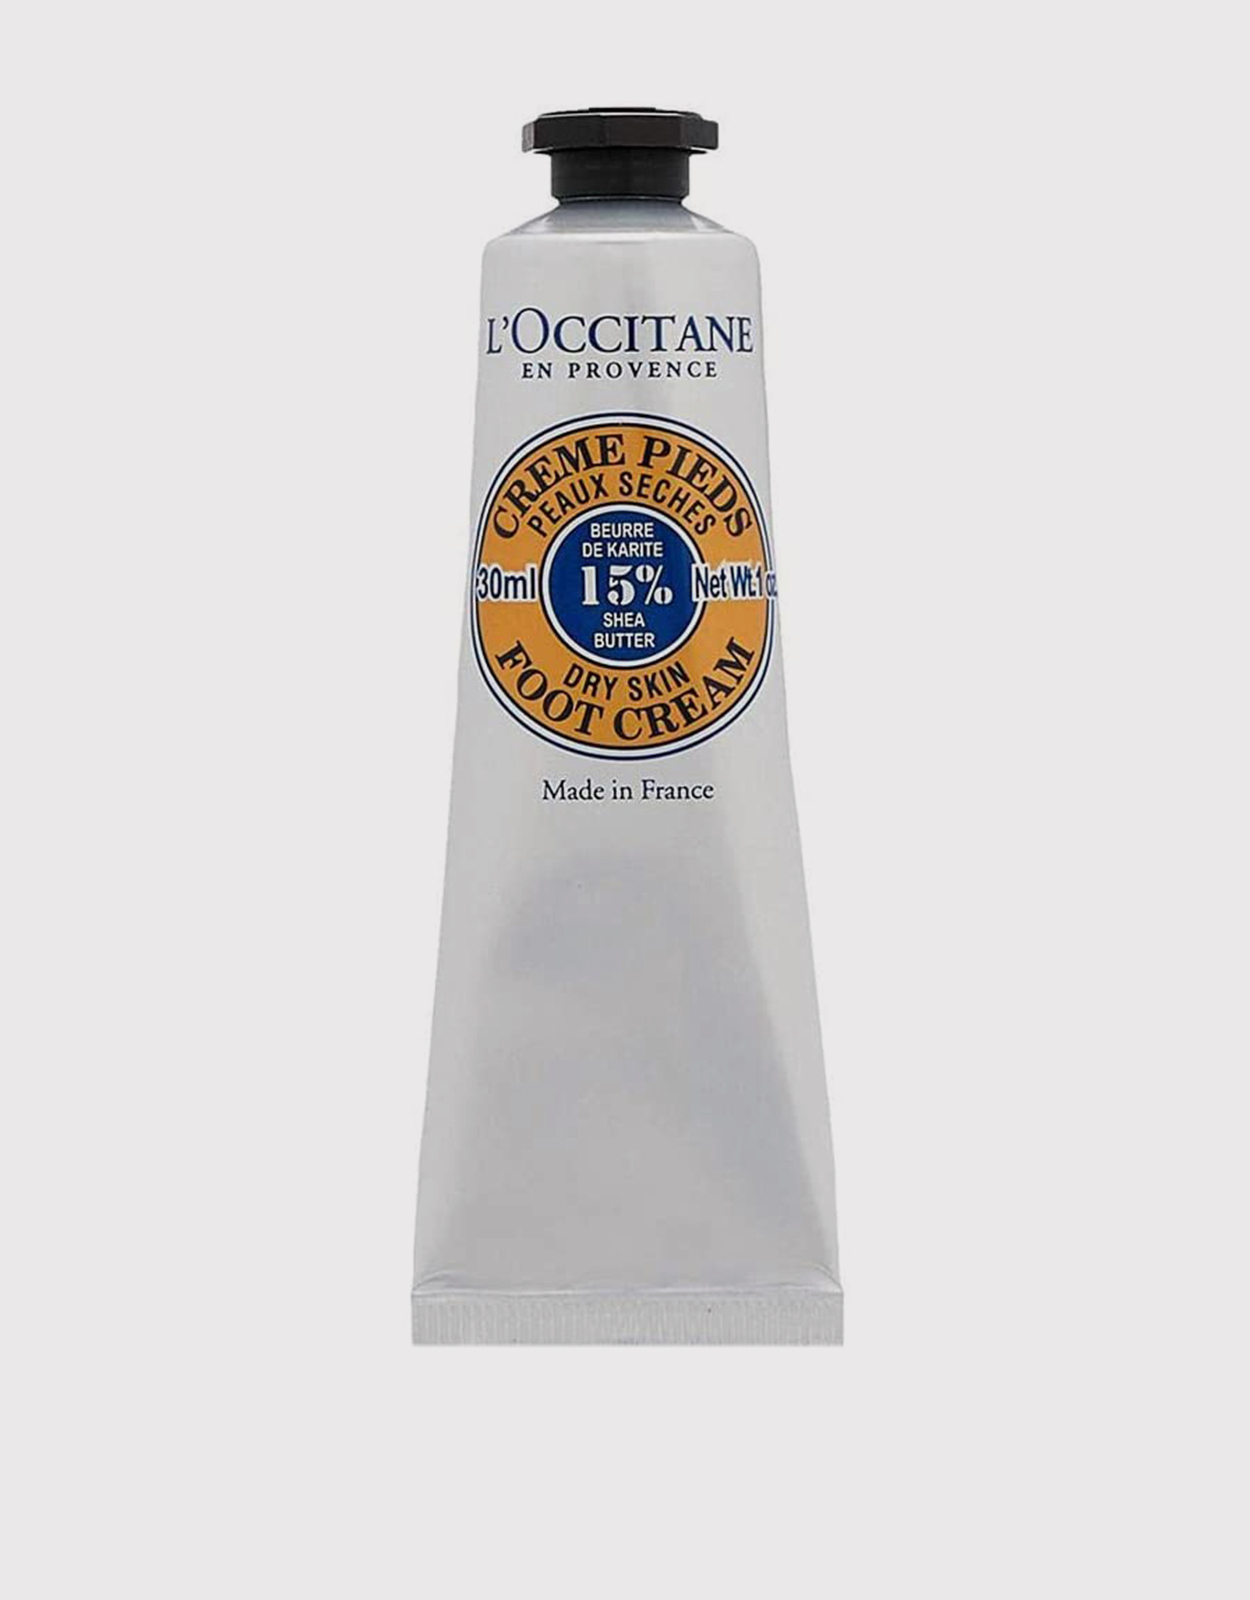
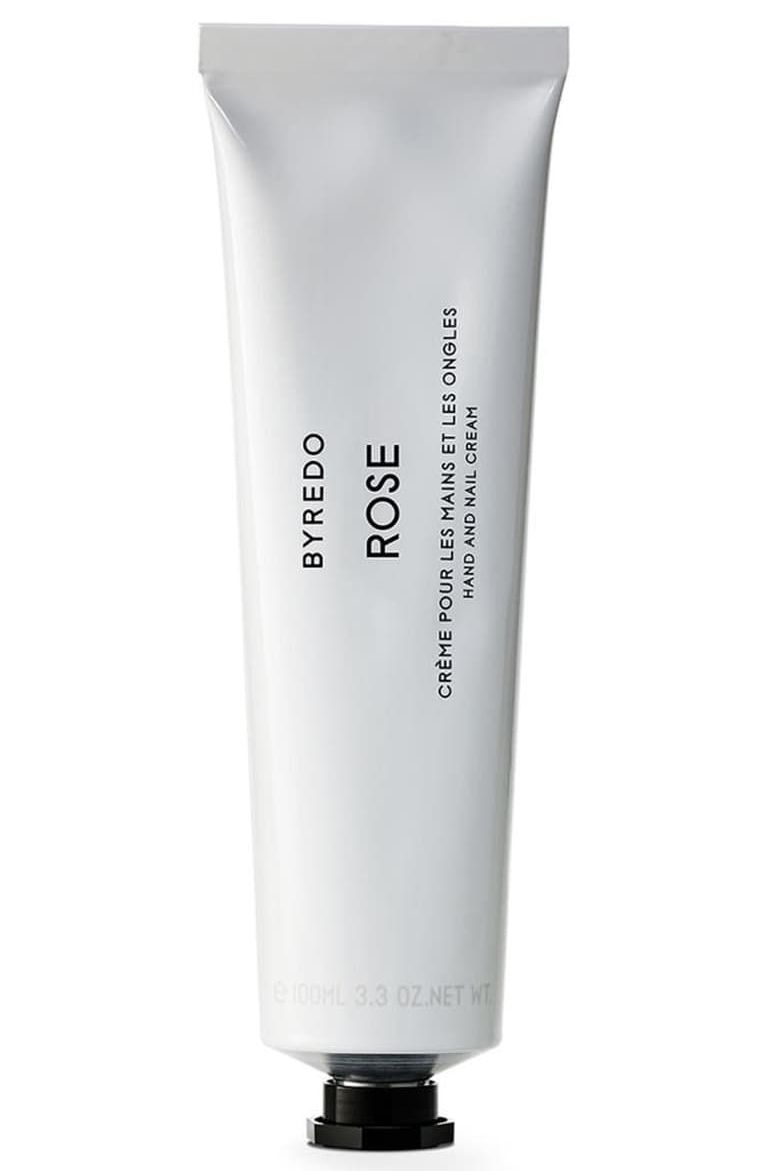
Once your feet are scrubbed and dry, it's time to moisturize. "Use your favorite foot cream or lotion to moisturize immediately after you have dried them," says Hora. Bonus points if you give yourself a little foot massage!
Products to Scrub and Hydrate With
Step 3: Pick Your Polish
Finally, it's time for polish! But first: "Using a lint-free wipe, wipe the oils from your moisturizer off of your toenails," advises Hora.
Get exclusive access to fashion and beauty trends, hot-off-the-press celebrity news, and more.
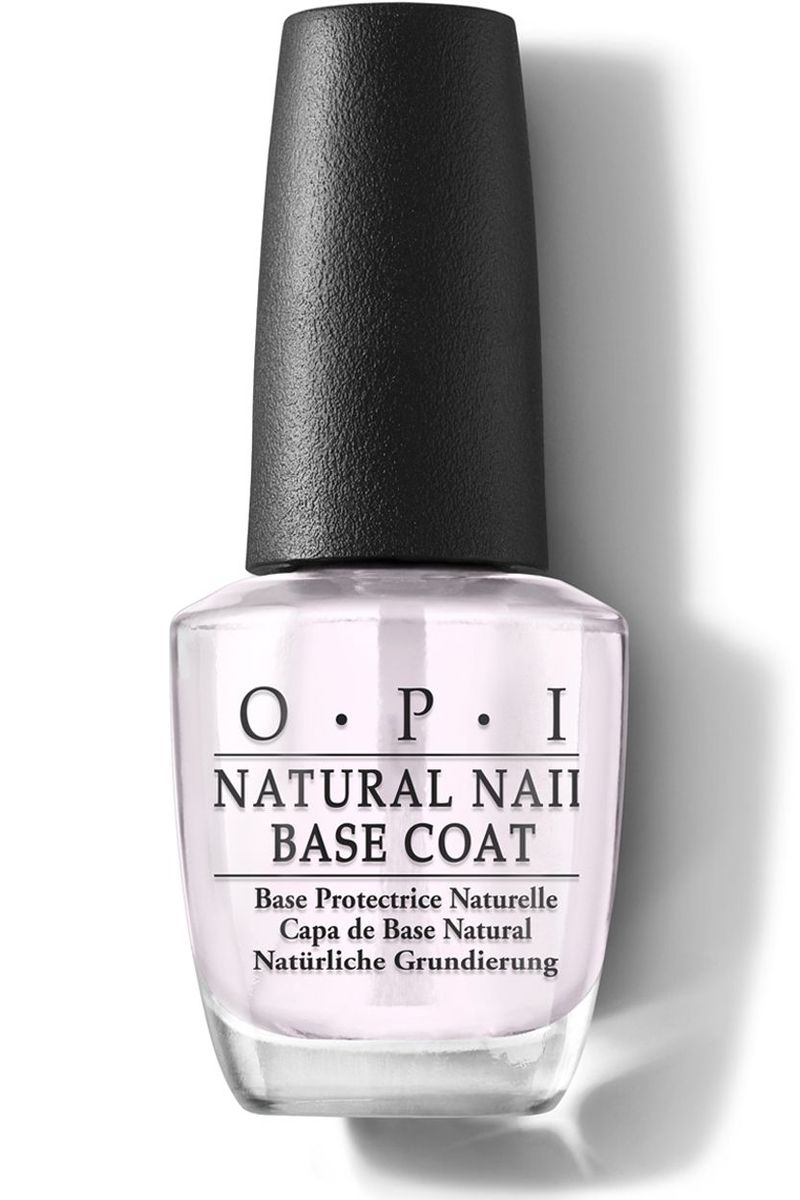
And don't forget to apply base coat, just like they do at the nail salon. Choosing a nice base coat is essential for preventing staining and making sure your color remains un-chipped with all the wear and tear our feet go through.
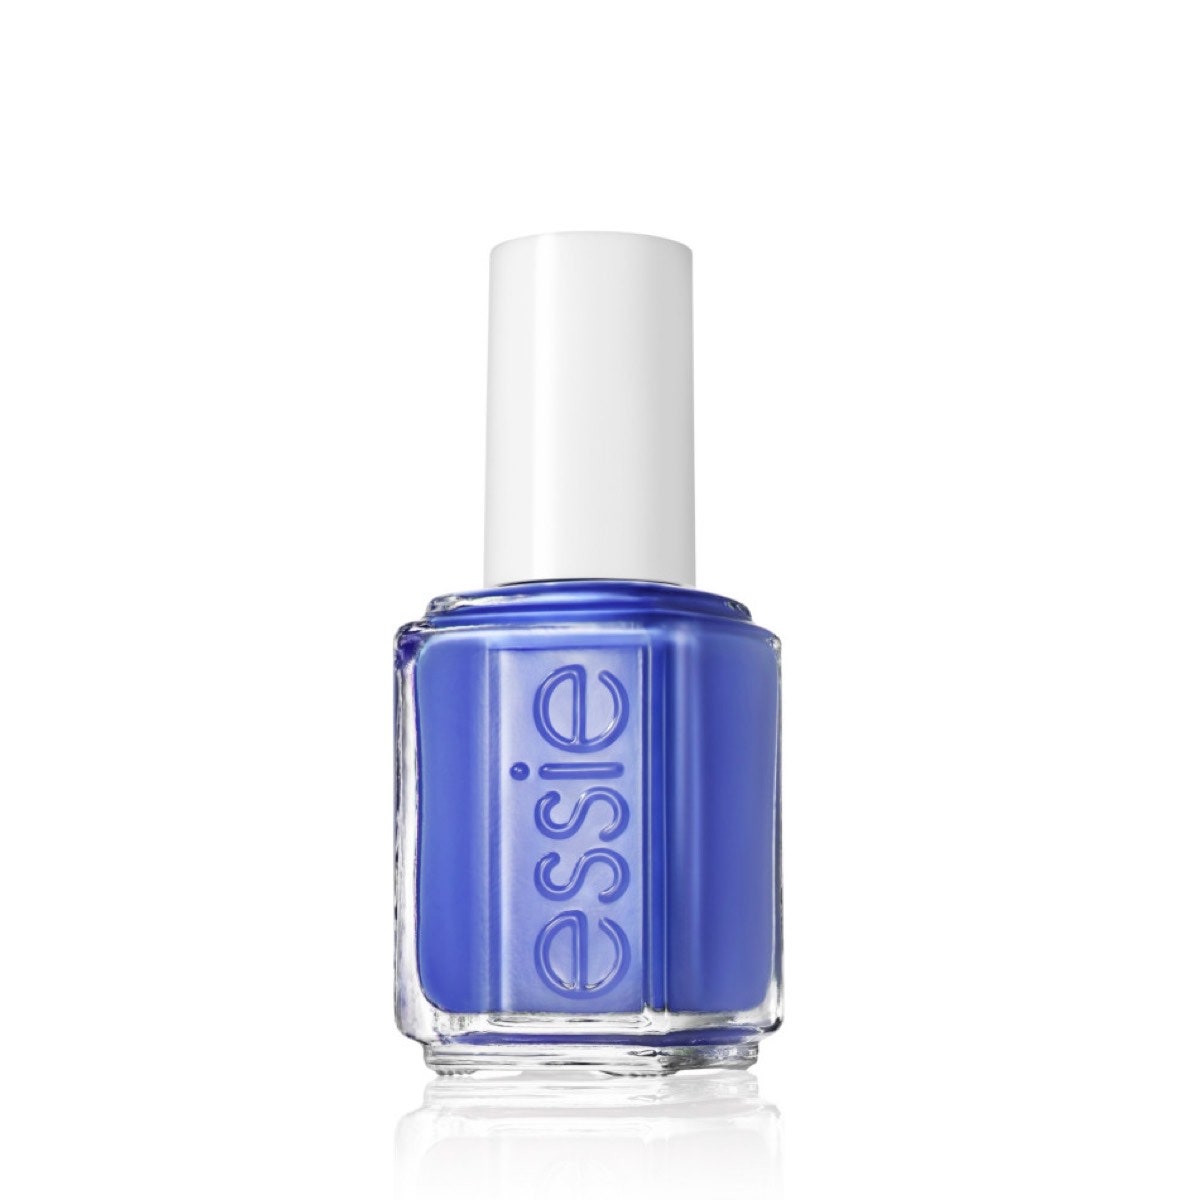
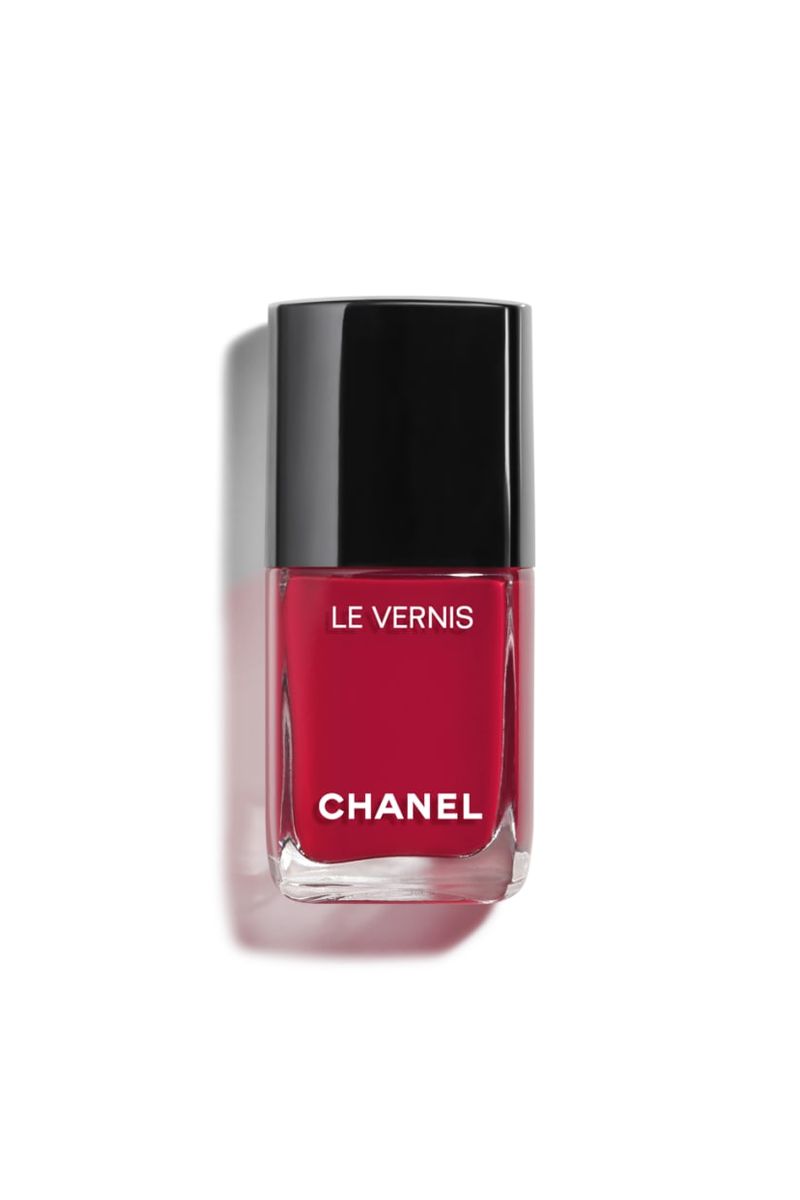
"Follow up with your favorite color, two coats for best coverage," says Hora, who recommends polishes from Essie. "After your color comes to a topcoat which will add shine and keep your manicure sealed for longer wear."
And if you prefer a polish-free look? "You can lightly buff the nails, apply your favorite cuticle oil and your pedi is complete!" says Hora.
Shop Nail Polishes
Step 4: Maintain Your Foot Health
The trick to making sure your feet are in the best shape? Constant care. Fortunately, there are a few low-maintenance ways to keep them healthy and ready for your next at-home pedicure adventure.
Go nail polish-free sometimes. Even after all your hard work, it's critical to remove nail polish to allow your toes to breathe every now and then. When you have a week of low toe-exposure, take off your nail polish (even clear polish!) and let your natural nails have their moment. Remember that when nails aren't properly oxygenated, they can stain yellowish and look less appealing—which is why it's important to remove all polish every now and then.
Spoil your feet with scrubs and treatments. Give your feet some extra love with scrubs, foot creams, foot peels, and a post-cleanse moisturizer—check out my picks below. If hand cream is all you've got, here's a hack: Slather on a hand cream, slip on some socks, and let your feet soak in hydration.
Our Favorite Foot Scrubs and Treatments
Tatjana Freund is a Beauty Commerce Writer, covering makeup, skincare, and haircare products and trends. She's a fan of vodka tonics and creepy Wikipedia pages.
