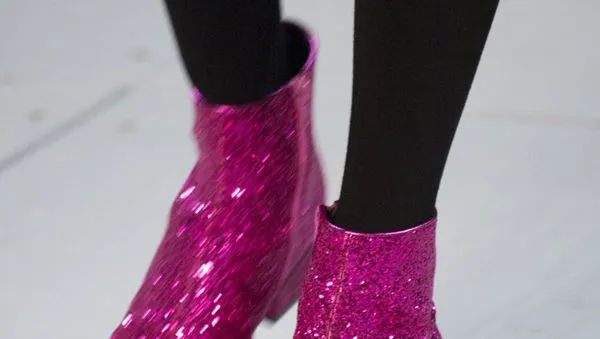

Ever since they adorned Natalie Westling's feet on the Fall 2014 runway, Saint Laurent's glitter boots have been on our mental Must Have at (Almost) Any Cost list. But when we found out they retail for $1,145, we 1) clutched our hearts and 2) turned to the Internet.
Below, we walk you through every step of DIYing your own pair with photos and a few helpful hints. Because if there's anything we believe in, it's easy-to-follow tutorials and sparkly footwear for all.
You'll need:
Article continues belowA pair of boots
Super-fine glitter
Matte Mod Podge
A brush
Painter's tape
Matte-finish clear acrylic spray
A container for mixing, preferably with a cover (plastic wrap also works!)
Step 1. Cover any areas you don't want drenched in glitter with painter's tape. Make sure to tape the soles, zippers, and as much of the insides as you think could be dripped on. Tip: Curves are easier to get around if you tear the tape into small pieces.
Step 2. Mix the Mod Podge with glitter. (We combined pink and purple for an iridescent effect.)
Step 3. Adjust the glue mixture until it's saturated with glitter but still liquid. Stir well so the particles stay suspended, and keep the mixing container covered in between coats.
Step 4. Paint! This is the one time thick coats won't adversely affect your product, so go crazy and slather it on. Don't be horrified if your boots look like you've dipped them in Elmer's Glue—the adhesive will dry quickly, and it will dry clear.
Step 5. Add more layers of glitter glue. Repeat until shoes are to your liking. (Four was the magic number for us!)
Step 6. Once the boots are completely dry, stuff the openings with paper towels. Take them to a well-ventilated area, and coat evenly with acrylic spray.
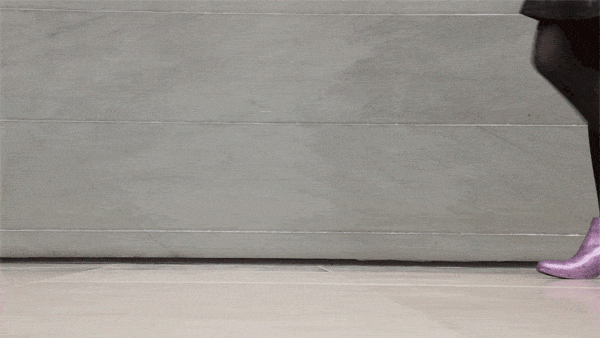
And that's it! Pair them with your most abbreviated skirt, something furry, and simply smile graciously when anyone asks if you raided Prince's closet.
Photographs by Kathryn Wirsing, design by Mike Stillwell