The Ultimate Guide to Hair Removal Methods
From shaving to laser treatments and everything in between.


I'm constantly on the hunt for baby soft, smooth skin. I want my bikini line, underarms, and legs free of stubble and ingrown hairs. To that end, I've tried all the major hair removal methods: waxing, shaving, sugaring, and laser hair removal. Of course every process has its pros and cons. Some are pricier or more painful than others but offer long-lasting results, while some are budget-friendly (justice for drugstore razors!) but require constant touchups.
With so many choices, it’s easy to feel overwhelmed. That’s why I've broken down the most popular methods—from tried-and-true shaving to long-lasting laser hair removal treatments—so you can determine which one's best for you.
To create this guide, I spoke with four board-certified dermatologists, the founder of a sugaring spa, and an eyebrow expert to gather all the must-know details before booking an appointment including each method's potential benefits and drawbacks, what to expect pain-wise, how long appointments will take, aftercare tips, and more.
Keep scrolling to dive in or jump to the specific hair removal methods you’re curious about below.
Shaving
Let's start with the basics. "Shaving is a common hair removal technique that involves using a razor or cutting tool to remove hair from the skin’s surface," explains board-certified dermatologist Alexandra Bowles, D.O. "It's a popular choice for areas that require frequent grooming, such as the face, legs, underarms, and bikini line."
Benefits
Shaving is the most popular hair removal method—and it's easy to see why. "It's a convenient and fast way to remove hair without going to a salon," says Dr. Bowles. "It's also more budget-friendly than other hair removal techniques and can be easily included in your daily routine."
Drawbacks
Shaving isn't always as simple as it seems. "Shaving may cause cuts, razor burn, or ingrown hairs, especially if not done correctly," Dr. Bowles warns. "Also, shaving only removes hair from the surface, so it grows back faster than methods that remove hair from the root."
Get exclusive access to fashion and beauty trends, hot-off-the-press celebrity news, and more.
How to Prep for Shaving
Preparation is crucial for a successful shave. "To avoid cuts, razor burn, and ingrown hairs, it's important to use a sharp razor, apply gentle pressure, use shaving cream or gel, and avoid exfoliating immediately before or after shaving," says Dr. Bowles.
What to Expect
Shaving is a quick and easy way to achieve smooth, hairless skin, but remember that the results are only temporary. Since hair is only cut at the surface, it grows back quickly (usually within a few days), meaning you'll need to stay on top of it to retain that silky-smooth finish. While shaving is simple, it might not be the best option for sensitive or thin skin that is prone to nicks, cuts, and scarring.
Aftercare
"To prevent post-shaving irritation, rinse your skin with cool water and apply a gentle moisturizer or aftershave balm," says Dr. Bowles. "Avoid tight clothing and sun exposure for a day or two to minimize the risk of irritation or ingrown hairs."
Cost
Razors range in price, from disposable options that cost about the same as a cup of coffee (or less) to reusable razors priced upwards of $30. Reusable razors require replaceable blades but are built to last.
Can You Shave at Home?
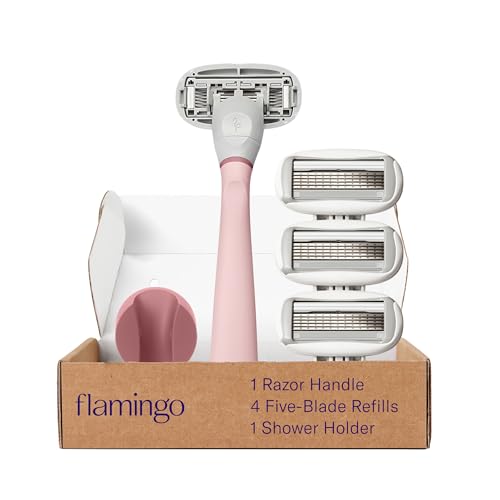
Shaving is inherently meant to be done at home with a razor. Below, we’ve included one of our favorite picks from our list of the best razors of 2024.
Waxing
"Waxing is a hair removal method that involves applying warm or cold wax to the skin and quickly pulling it off with a cloth or paper strip, removing hair from the root," says Dr. Bowles. "This technique typically results in longer-lasting smoothness than shaving, as hair may take several weeks to regrow." She adds that waxing is a great option for many areas, including the legs, arms, bikini line, eyebrows, and upper lip. It's particularly popular for larger areas and sensitive zones where precise hair removal is important, like the bikini area.
Benefits
"One of the main benefits of waxing is that it removes hair from the root, resulting in smoother skin for several weeks before it grows back," the pro continues. "Over time, repeated waxing can lead to finer and sparser hair, and it can also help exfoliate the skin by removing dead skin cells."
Drawbacks
Unlike shaving, "waxing can cause discomfort or pain during," adds Dr. Bowles. However, similar to shaving, it may lead to skin irritation, such as redness or bumps. There's also a risk of ingrown hairs and allergic reactions to the wax, especially for sensitive skin, she notes.
It's also important to note that you will have to let your hair grow out before every appointment.
How to Prep for Waxing
For the smoothest results, let your hair grow out a bit (about two to three weeks minimum), avoid waxing on sunburned skin, and have a soothing moisturizer or aloe vera ready. The latter is key for soothing your skin post-wax.
What to expect
"Waxing can be uncomfortable, but the pain usually subsides quickly," says Dr. Bowles. "Sessions typically last between 15 and 30 minutes, depending on the treated area, and many people enjoy smoother skin for three to six weeks."
Aftercare
Waxing aftercare is a bit more thorough than shaving. "After waxing, avoid hot showers, saunas, and sun exposure for at least 24 hours to minimize irritation," she explains. As mentioned, you'll want a quality moisturizer or aloe vera on standby. After a few days, Dr. Bowles suggests exfoliating to prevent ingrown hairs.
Cost
Waxing prices vary depending on what area of the body you’re targeting, the salon you choose, and where you’re located. Expect to pay more in big cities or for luxury salons compared to smaller towns or budget-friendly spots. While at-home kits are definitely more wallet-friendly in the long run, we still recommend leaving it to the pros for the best (and smoothest) results possible.
Can You Wax at Home?
You can wax at home, though the technique is likely not the most intuitive and may require practice and caution to avoid irritation or ingrown hairs. Making an appointment with a professional is the safer alternative, but there are at-home waxing kits on the market that simplify the process. We've included one below.
Sugaring
Sugaring is a form of hair removal that uses 100% natural ingredients, literally just sugar, lemon juice, and water, says Courtney Claghorn, founder of Sugared + Bronzed, a nationwide sugaring spa. "The sugar paste is applied in the opposite direction of hair growth to remove the hair at the root, which ensures there's very little breakage and a much lower possibility of ingrown hairs." It’s a technique that’s been around for centuries, dating back to ancient Egypt.
Benefits
"Sugaring is the most gentle form of hair removal," Claghorn continues. "The paste is all-natural, hypoallergenic, and lukewarm at its hottest, so there’s no possibility of getting painful burns." She adds that it is extremely beneficial for anyone with sensitive skin or for someone who is prone to ingrown hairs as the gentler application and removal process reduce the risk of skin irritation and make pesky ingrowns few and far between. Unlike wax (which adheres to the skin), sugaring only adheres to the hair, so it's ideal for more sensitive skin.
Board-certified dermatologist Kristina Collins, M.D., confirms that sugaring is a gentler method of hair removal than waxing and causes overall less skin irritation.
Drawbacks
"Sugaring is more painful and a bit more costly than shaving," Claghorn admits, though she stresses that it's worth it. "It lasts for a month, while shaving only lasts for a day," she says.
How to Prep for Sugaring
Before your sugaring appointment, it's important to avoid all hair removal methods for two-to-three weeks prior to your appointment. "You’ll see the best results when your hair is about ⅛ inches long," says Claghorn, which is about the size of a grain of rice. Additionally, she suggests exfoliating the skin 48 hours before and avoiding any lotions the day of the appointment.
What to expect
"A client’s first sugaring session is often the same pain level as a typical waxing session, but if sugaring is done every month, most clients typically find sugaring to be less painful than waxing," Claghorn explains. "We try to make the process quick; our appointments are 20 minutes for a Brazilian."
Aftercare
Just like after waxing, "your pores will be open for about 24 hours post-treatment, so you’ll want to avoid any activities or products that might introduce bacteria to them," Claghorn advises. Try to wait a full 24 hours before doing any sweat-inducing workouts and avoid tanning, hot tubs, exfoliation, and cosmetic products for at least 48 hours to minimize irritation.
Cost
The cost of sugaring varies based on location and the area being treated. At Sugared + Bronzed, Claghorn charges anywhere from $19 to $119, depending on the area and amount of sugar paste needed for your session. "Our most popular service, a Brazilian, is $49 for members or $69 without a membership.”
Can You Sugar at Home?
“At-home sugaring is possible,” Claghorn explains, adding that the brand sells their paste on their website and offers YouTube videos as how-to guides. She notes that at-home sugaring gained popularity during the pandemic, but now “most clients prefer to come in, as it can be tricky to do it yourself.”
Dermaplaning
Dermaplaning is a minimally invasive cosmetic procedure that uses a sterile surgical scalpel to gently exfoliate the skin by removing the outermost layer of dead skin cells and fine vellus hair (often referred to as peach fuzz) says Dr. Bowles. "It's primarily performed on the face and is particularly effective on areas such as the forehead, cheeks, chin, and upper lip."
Benefits
"I often recommend dermaplaning for a variety of reasons," the pro continues. First, it helps your makeup apply more smoothly. With less texture, foundation and powder blends wand sit better on the skin.
Second, removing excess skin allows your skincare products to penetrate deeper, thereby improving their absorption. For this reason, it can also help boost the effectiveness of in-office procedures, like a professional chemical peel.
Finally, regularly sloughing off dead skin cells helps promote cell turnover. When the top layer of dead skin cells is removed, it encourages the skin to produce new cells to replace the lost ones, which is essential for maintaining healthy, glowing skin.
Drawbacks
DIY dermaplaning requires extra caution. "When not performed by an experienced professional, it is possible to damage or cut the skin, which could be a potential risk of infection," warns Dr. Bowles. If you're dermaplaning at home, it's important to use a high-quality blade and proceed slowly and carefully.
The same idea applies if you go to someone who isn’t experienced with this hair removal method. "Dermaplaning may cause skin sensitivity, redness, and a risk of cuts or abrasions if done improperly," Dr. Bowles continues. She adds that after dermaplaning, your skin may feel more sensitive to skin care products or the environment. You may also experience some redness immediately after the treatment, as the exfoliation from dermaplaning can cause mild irritation for some patients.
How to Prep for Dermaplaning
Prepping depends on whether you’re going pro or DIY. If you’re heading to a professional, arrive with a clean face and avoid wearing makeup or skincare products. To minimize irritation, refrain from using exfoliants or retinoids in the week leading up to the treatment, and try to limit sun exposure before and after treatment to reduce skin sensitivity. The same rules apply for at-home treatments, but consider using a prepping solution.
What to Expect
During dermaplaning, you can expect a painless scraping sensation and the immediate, visible, and oddly satisfying removal of peach fuzz, which leaves you with glowy, super-smooth skin.
Aftercare
"After dermaplaning, avoid direct sun exposure for 24 to 48 hours and apply broad-spectrum sunscreen," says Dr. Bowles. Skip any harsh skincare products and exfoliants. Keep your skin hydrated with a gentle moisturizer, and refrain from touching your face to minimize irritation and support healing.
Cost
Shopping for a dermaplaning tool is similar to buying a razor—there are disposable and reusable options. We recommend opting for a reusable stainless steel tool, which is easy to sanitize and a great long-term investment. Just make sure to purchase replacement blades to keep them sharp (and less likely to nick you).
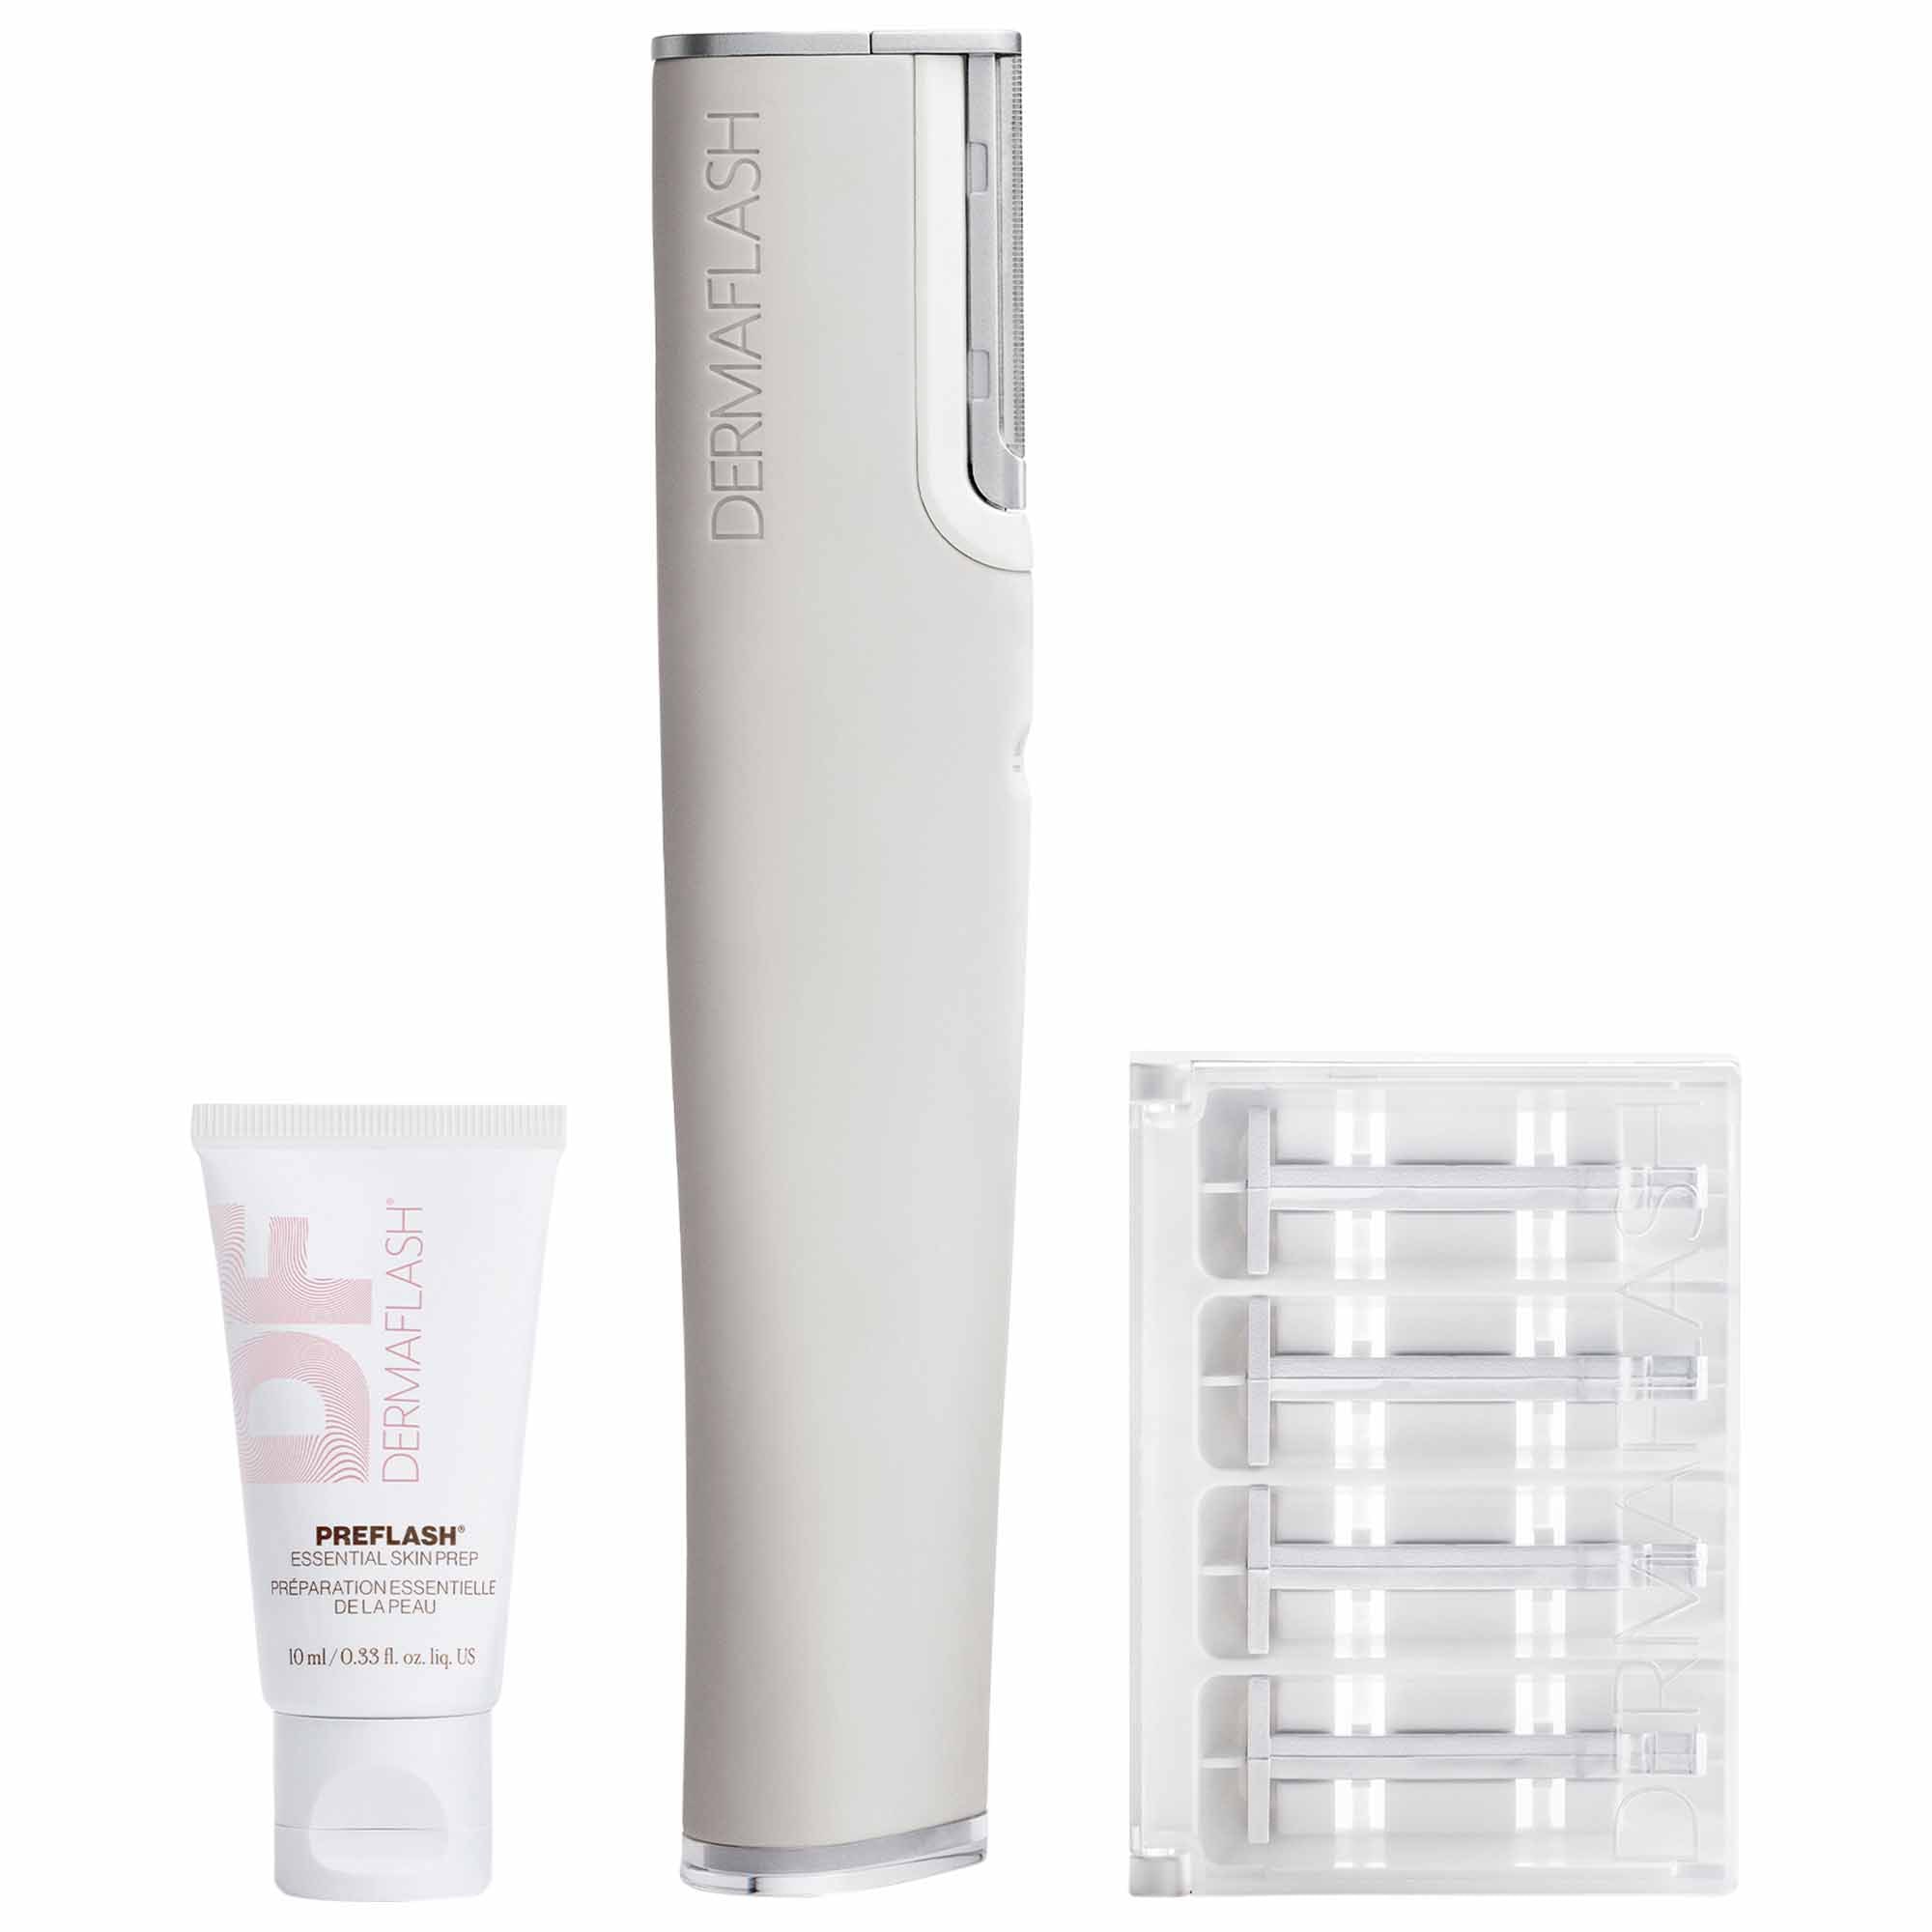
There are also high-tech options like the Dermaflash, which we love for its added safety measures, including an ergonomic handle, a blunt-yet-effective blade, and gentle vibrations that help it glide smoothly across your skin.
Can You Dermaplane at Home?
Yes, you can! However, since dermaplaning involves a sharp tool, it’s smart to do your research, watch tutorials, or consider having it done the first time professionally to learn the correct technique.
Threading
Threading is a popular hair removal method that originated in South Asia and the Middle East, but made its way to the States in the late '90s to early 2000s. "Unlike waxing, threading removes the hair and nothing else," Shobha Tummala, founder of Shobha hair removal salon in New York City, previously told Marie Claire. "You just roll a twisted piece of thread rapidly over the skin, and the thread lassos lines of hair and pulls them out from the root."
Benefits
Brows and the upper lip are one of the most common places people thread, says beauty and brow expert, Robin Evans. She also recommends it for those with extra-sensitive skin, particularly those with thinner skin. "This often happens with age and with women that are going through menopause or are post-menopausal," Evans continues. The skin thins due to a decrease in estrogen and collagen levels and can be very sensitive to wax, causing the wax to sometimes lift the skin. Using prescription products like Retin A and tretinoin can also thin the skin, making threading a good alternative to waxing.
Drawbacks
Evans admits that waxing and tweezing brows is often more precise than threading. "I can have more control with the wax and the tweezer to create the exact shape and vision I have, and there’s less room for error, especially when trying to create a perfect arch." She adds that the pain level is also a little bit higher with threading.
How to Prep for Threading
Since you’re likely visiting a professional, threading prep is pretty minimal. Just make sure your hair is long enough to be removed and your skin is clean and makeup-free. You should also skip exfoliating a few days before to avoid any potential irritation.
What to expect
Threading isn't exactly a walk in the park. As someone who used to get my eyebrows threaded regularly, it feels like repeated pinching that will probably make your eyes water and count down the seconds until it's over. But on the plus side, it's fast! My very thick eyebrows require just a few minutes flat to shape.
Aftercare
Every time I’ve had my brows threaded (read: for years), my technician asks if I want aloe to cool off any redness, and I always happily accept. After threading, your skin will be sensitive, so it’s best to avoid touching the area, sweating, or exfoliating—but don’t skip sunscreen.
Cost
Like waxing, the cost depends on the area, your location, and where you go. To give you an idea, my go-to threading spot back home in Rhode Island (shoutout Sukhy’s Threading) charges $10 for brows and more for larger treatment areas.
Can You Thread at Home?
While some super-talented people might pick up threading at home, I highly recommend leaving it to the pros. Unlike waxing or tweezing, threading takes a lot more technique and practice to get right.
Hair Removal Creams
"Hair removal cream is also known as depilatory cream, which contains chemicals that weaken the keratin to remove hair," says double-board certified dermatologist Jacquiline Habashy-Hakim, M.D. These products can be used anywhere on the body, including the face—think upper lip and sideburns—but you must do a patch test on a less visible area first. This will ensure you’re not sensitive or, even worse, allergic to the chemicals in the formula before fully committing.
Benefits
Hair removal creams offer several major benefits. According to Dr. Habashy-Hakim, they're painless, cost-effective, and easier to use than a razor. While they might give you a few extra days before regrowth compared to traditional shaving, one of the best things is that they eliminate the risk of nicks and cuts, taking the stress (and the work) out of your routine.
Drawbacks
If you’ve never used a hair removal cream, it’s worth noting that many have a chemical scent that might not sit well with those sensitive to strong smells. Dr. Habashy-Hakim confirms that it's a downside many patients dislike. Another important point is that if the cream is left too long, it can cause a chemical burn on the skin. Lastly, some patients with sensitive skin have reported allergic reactions.
How to Prep for a Hair Removal Cream
The best prep is to wash the area with water and soap, says the dermatologist. "Make sure the skin is dry, and then apply the hair removal cream." Always follow the product instructions closely to avoid irritation, as directions can vary depending on the formula.
What to Expect
Besides the scent, you may notice a slight tingling sensation while using hair removal cream (but if it starts to burn, rinse it off immediately). Depending on the product, you’ll typically leave it on for two to 10 minutes—just check the packaging to be sure. Dr. Habashy-Hakim recommends using a warm washcloth to wipe the cream off and then rinsing the area with warm water when the time is up.
Aftercare
Post-application aftercare is fairly simple. The key is to moisturize. Dr. Habashy-Hakim suggests using a fragrance-free moisturizer to soothe and hydrate, as your skin may be more sensitive after the hair removal process.
Cost
Hair removal cream is one of the most budget-friendly options available. Popular drugstore brands like Nair and Veet are Dr. Habashy-Hakim’s go-to recommendations for anyone looking to try it.
Can You Use Hair Removal Cream at Home?
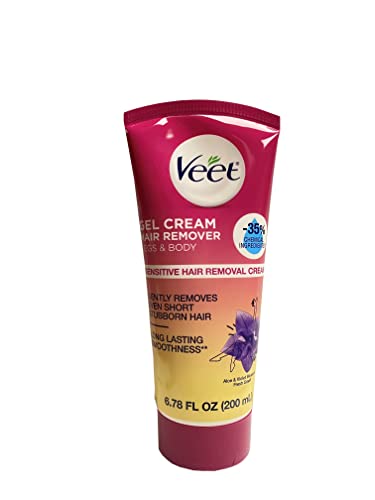
Absolutely! Unlike laser hair removal or electrolysis (which we'll cover shortly), hair removal creams are meant to be used at home, just like shaving. If you’re eager to try it, we’ve linked one of the internet's favorites below.
Epilate
An epilator is a device that pulls hair out of the root, says Dr. Habashy-Hakim. "This is ideal for more sensitive skin regions, including, but not limited to, face, bikini, or breasts." There are various types of epilators, such as ones with rotating discs that can be done at home or needle epilators—also known as electrolysis—which is done by a licensed professional.
Benefits
"Since an epilator involves removing hair from the root [like waxing], results can last longer than shaving," the derm explains. They’re also budget-friendly, portable, and effective on short hair, unlike waxing, which requires some regrowth.
Drawbacks
Dr. Habashy-Hakim warns that epilating may be mildly painful or cause the skin to become inflamed, and ultimately lead to scarring in rare cases. And as previously told to Marie Claire by Kenneth Howe, M.D., a board-dermatologist at UnionDerm in New York City, “some hair shafts may twist and/or shatter when they’re yanked by the epilator, [which] may result in ingrown hairs.”
How to Prep for Epilating
Similar to using a hair removal cream, Dr. Habashy-Hakim says, "The best prep is to wash the area with water and soap and make sure the skin is dry." Beyond physical prep, educating yourself on how to use an epilator properly is also important. “You use an epilator by moving it slowly along the skin surface in the direction of hair growth," explains Dr. Howe. "You should hold the device at a 90-degree angle to the skin."
What to Expect
Besides the pinching sensation that patients call mild pain, per Dr. Habashy-Hakim, your skin may be slightly inflamed immediately after epilating, but this typically resolves within 24 hours. It also will require more time than shaving, especially if you're new to the hair removal treatment.
Aftercare
"If your skin is inflamed afterward, using an over-the-counter cortisone cream can help calm the skin," says the derm. Just a moisturizing cream will do the trick for skin that responds well.
Cost
At-home epilators can range from budget-friendly options like $30 models that get the job done with basic functionality to high-end devices priced over $150 with features like waterproof use, multiple speed settings, and pain-reducing tech.
Can You Epilate at Home?
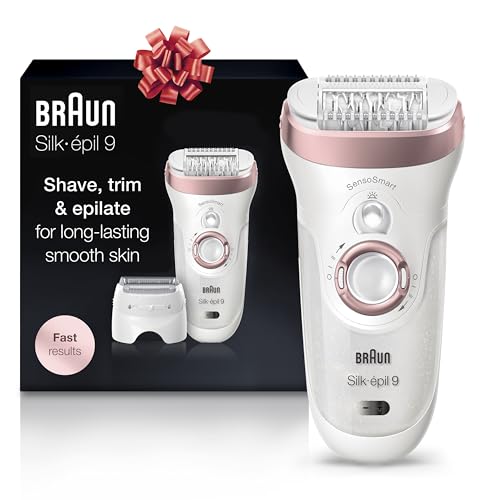
As noted by Dr. Habashy-Hakim, epilators were created for at-home use, with the exception of needle epilators. Below, we've linked one of the bestselling epilators on Amazon for you to consider adding to your cart.
Laser Hair Removal
You've probably heard of laser hair removal for its highly covetable semi-permanent benefits. (Editor's note: it's worth the hype.) "Laser hair removal is a medical procedure that uses focused light to eliminate unwanted hair by targeting hair follicles," explains Dr. Bowles. "The laser works by targeting the pigment, also known as melanin, in the hair follicle and destroying it."
Benefits
The main appeal of laser hair removal is its long-lasting results. Once you've completed the recommended session count from your provider, you can expect hair-free skin for months or even years. Plus, as Dr. Bowles explains, "The treatment is precise, targeting hair follicles without damaging the surrounding skin, which can result in smoother skin and fewer ingrown hairs."
Drawbacks
Before booking your laser hair removal appointment, one thing to keep in mind is that it’s not the most comfortable option. (Dr. Bowles describes it as feeling like a “snapping” sensation, and as someone who’s had it done, I can confirm.) You’ll also need to commit to multiple sessions—typically six to eight—for semi-permanent results.
"Additionally, laser hair removal is not effective on hair colors that lack melanin, such as red or blonde, as the laser targets the pigment in the hair," explains Dr. Bowles. She also notes that there is a potential for hyperpigmentation if the correct laser is not used on certain skin types, so she recommends doing a small test area first, especially for those with darker skin.
How to Prep for Laser Hair Removal
Preparation is everything when it comes to laser hair removal. Most importantly, avoid both real and sunless tans as they can increase the risk of burns. Be sure to shave the treatment area the day before your appointment—though if you miss any spots, your technician will likely have a razor on hand.
What to expect
I know the drill as someone who’s had laser hair removal on my bikini line and underarms. The session starts with putting on protective eyewear, and then my technician zaps the area with the laser in quick bursts. Each section only takes a few minutes (longer for larger areas), making the treatment fairly tolerable. Afterward, my technician applied aloe to soothe and cool the treated areas, which helped calm any irritation.
Aftercare
"To minimize irritation after treatment, avoid sun exposure, hot showers, and strenuous activities for at least 24 hours," says Dr. Bowles. Keeping the skin moisturized and applying a broad-spectrum sunscreen is vital for protecting the treated area. You should also plan to receive touch-up treatments every year or two after completing your initial series of sessions to maintain results.
Cost
Laser hair removal pricing depends on the treated area and where you’re getting the service, but it’s generally more expensive than waxing, threading, or dermaplaning (think: a minimum of $100 per session). Some providers even offer subscription services. For example, Mill City Laser in Minneapolis, where I go, costs $185/month for one to three small areas totaling 15 minutes. In New York City, Beauty Editor Samantha Holender paid $1,300 for an eight-session bundle for a Brazilian and under-arm treatment.
Can You Do Laser Hair Removal At Home?
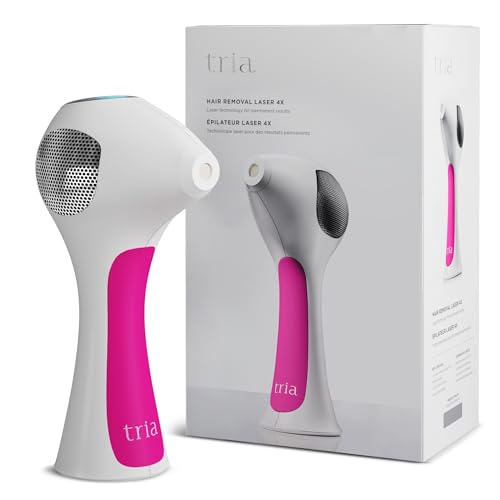
While at-home laser hair removal devices are an option, the results aren’t as fast or as effective as professional treatments. These devices are less powerful, requiring more sessions to see results. However, they can be a budget-friendly alternative for those looking to save in the long run. Check out one of our top picks from our guide to at-home laser hair removal devices below.
Electrolysis
Electrolysis is a permanent, FDA-approved hair removal method. It involves inserting a tiny probe into each hair follicle and using an electrical current to destroy it so the hair won’t grow back. "It can be used on all areas of the face and body, making it a useful tool for permanent hair removal," says double-board certified dermatologist Elizabeth Houshmand, M.D.
Benefits
Electrolysis is a great alternative for "blonde, white, and red hairs that cannot be treated with laser hair removal," Dr. Houshmand continues. And the biggest perk: Because electrolysis destroys the hair follicle, hair can never grow back. It’s effective for the greatest range of skin and hair types.
Drawbacks
Results this good come with a catch: It can be painful and tedious as the hair follicles must be destroyed one by one, says Dr. Houshmand. It is not like a laser that can cover a large surface area. The duration depends on the treated area. For example, an upper lip can take 15-30 minutes. As someone who's had electrolysis done on my upper lip, I can confirm that it can feel grueling, even with numbing cream.
How to Prep for Electrolysis
Many technicians offer numbing cream or other topical anesthetics to help ease the discomfort. It’s worth asking ahead of time—some provide it as part of the service, while others suggest applying your own about 30 minutes before your session to allow it to take effect.
What to expect
I applied numbing cream about 30 minutes beforehand. Once the session began, I was given protective eyewear, and my technician used a fine probe to target each hair follicle—a sensation that, in hindsight, feels surprisingly similar to the sting of Botox. While it felt like the process took forever, it was realistically around 15 minutes.
Aftercare
The aftercare for electrolysis is similar to that for other methods on our list: keep the area clean, moisturize, skip makeup and sun exposure, and apply SPF.
Cost
Electrolysis generally costs less than laser hair removal, but it typically requires more sessions—around eight to 12. I had it done as a teenager in the early 2000s, and it cost about $25 per session. These days, a single session likely costs a bit more but is still significantly less than laser hair removal. Of course, the price can vary depending on the treatment area, the duration of the session, and the provider you choose.
Can You Do Electrolysis at Home?
This is one treatment you definitely can’t DIY. "An experienced licensed professional should do it to avoid any scarring or skin damage," Dr. Houshmand warns, adding that the equipment needs to be professional-grade to be effective.

Marisa Petrarca is a writer and editor based in Saint Paul, Minnesota, specializing in beauty, wellness, fashion, and lifestyle. She previously served as the Senior Beauty and Fashion Editor at Grazia USA and Beauty and Style Editor at Us Weekly. Her expertise spans breaking beauty news, shopping roundups, product reviews, and explainer articles on popular topics in skin, makeup, and aesthetics. Her work has been featured in PS, Cosmopolitan, Allure, NewBeauty, InStyle, and The Zoe Report, among others. Marisa holds a bachelor's degree in English literature from Wagner College. Follow her on Instagram @Marisa Petrarca.
