
-
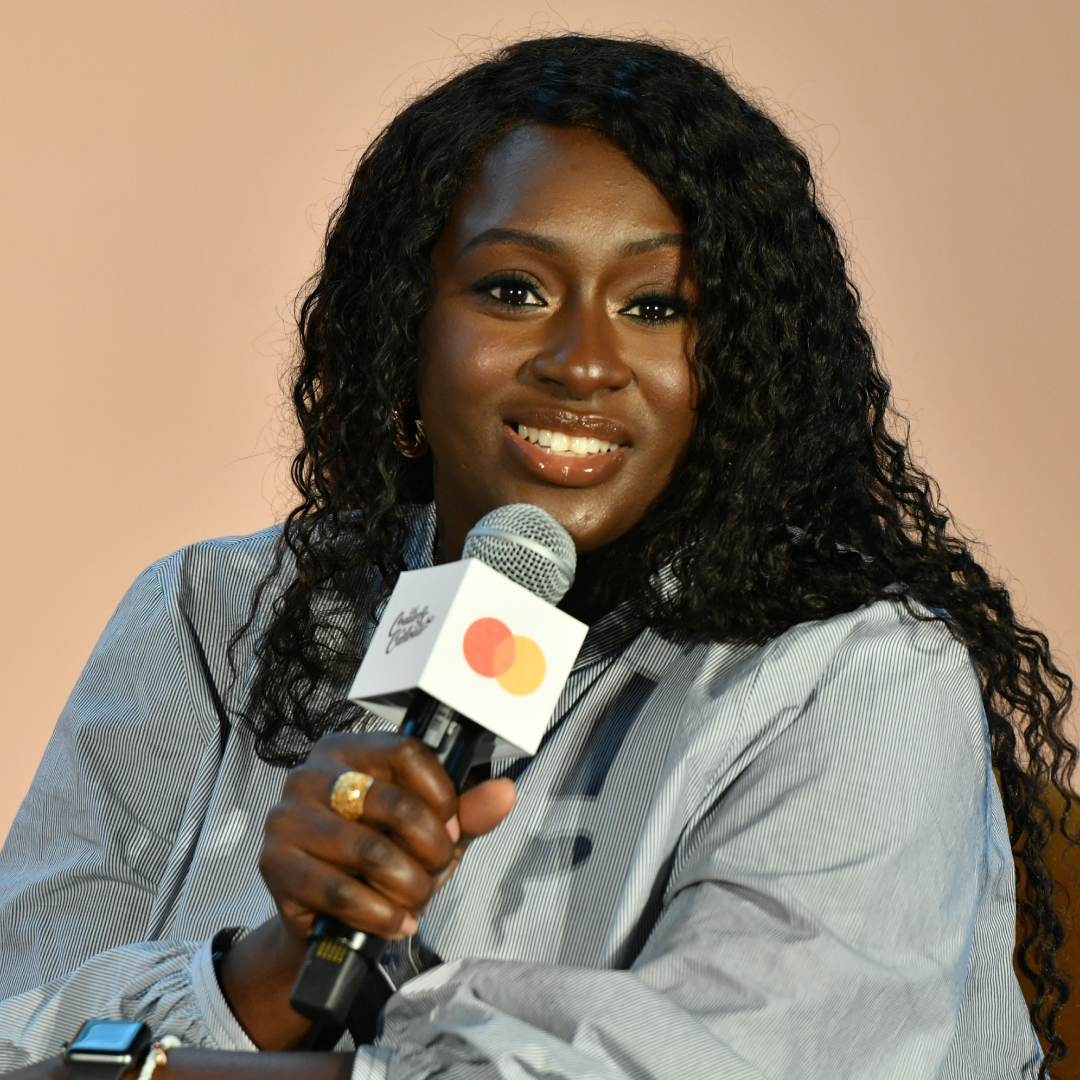
A Love Letter to Ami Colé Ahead of the Brand's Closure
Those lip oils went on a generational run.
-
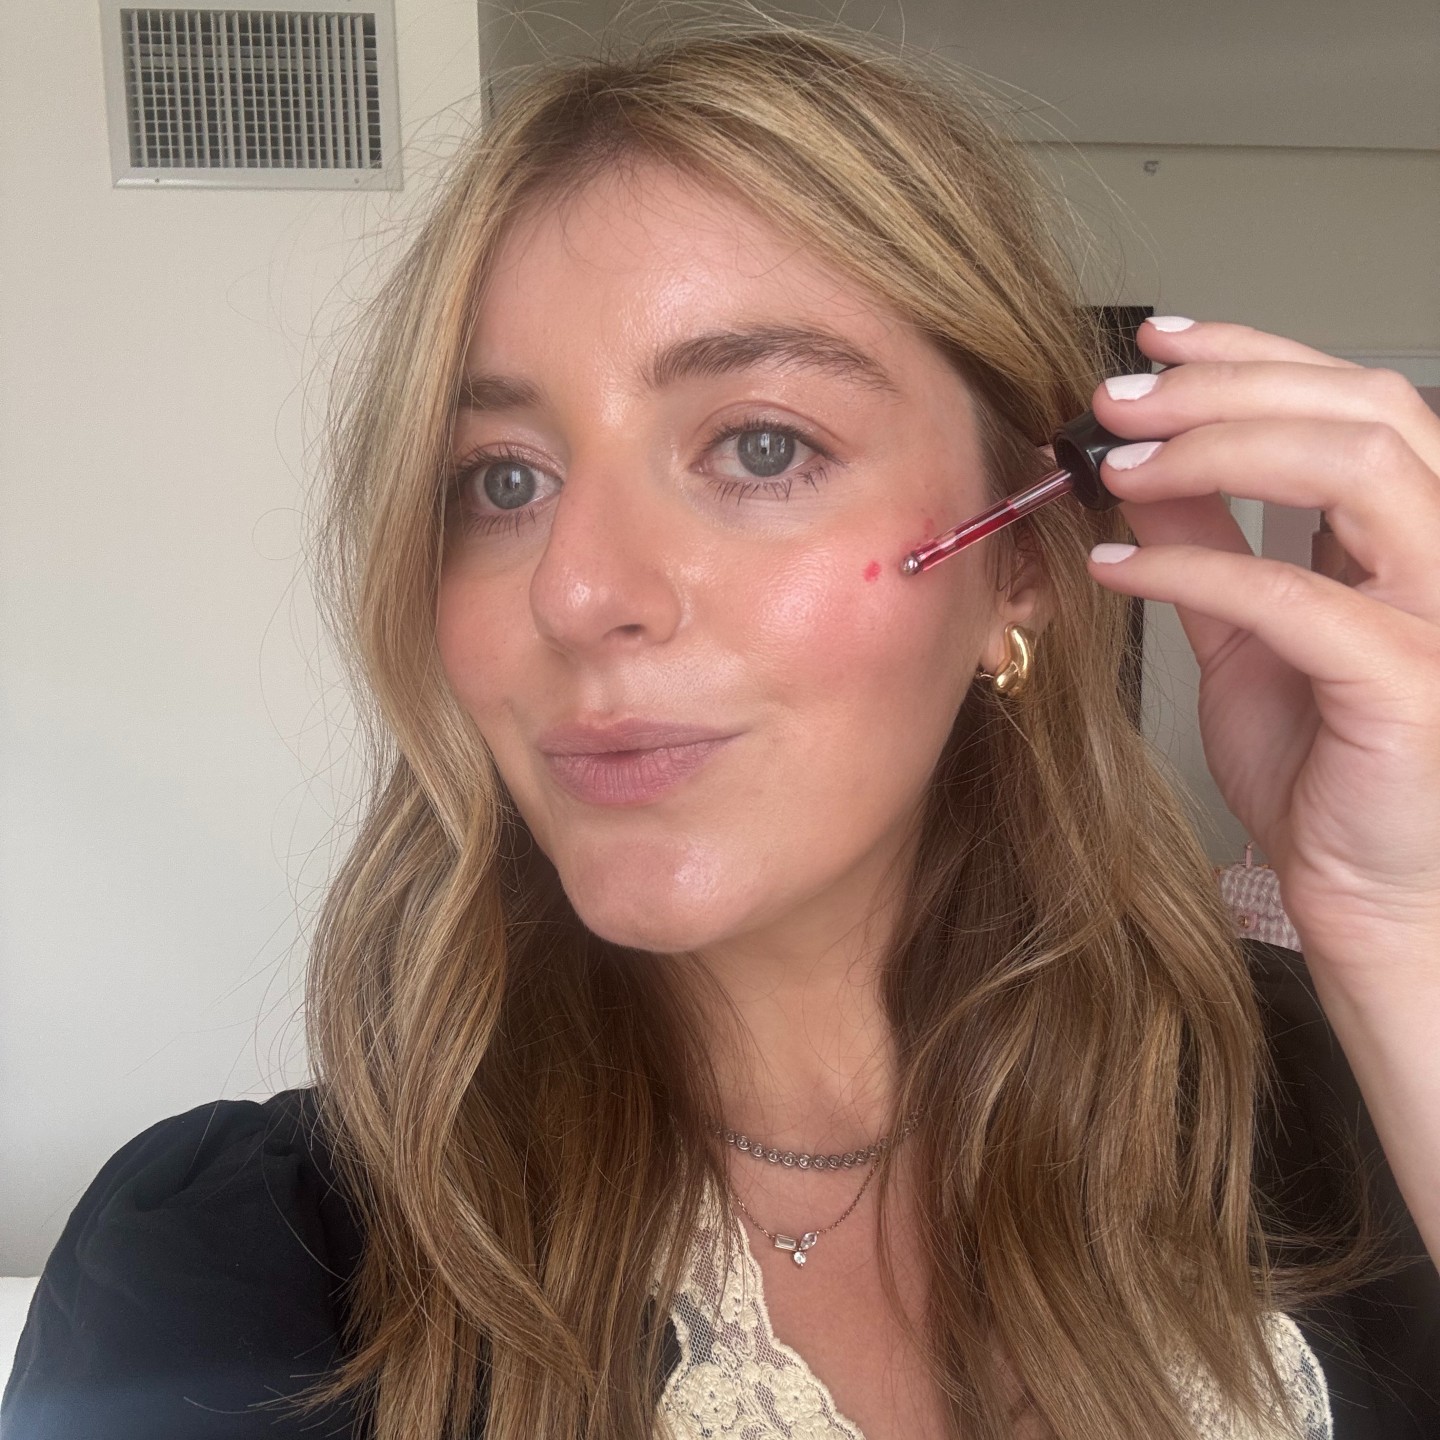
I Threw Every Blush I Own Into Storage After Trying Victoria Beckham Beauty’s New Colour Wash
10 out of 10.
-
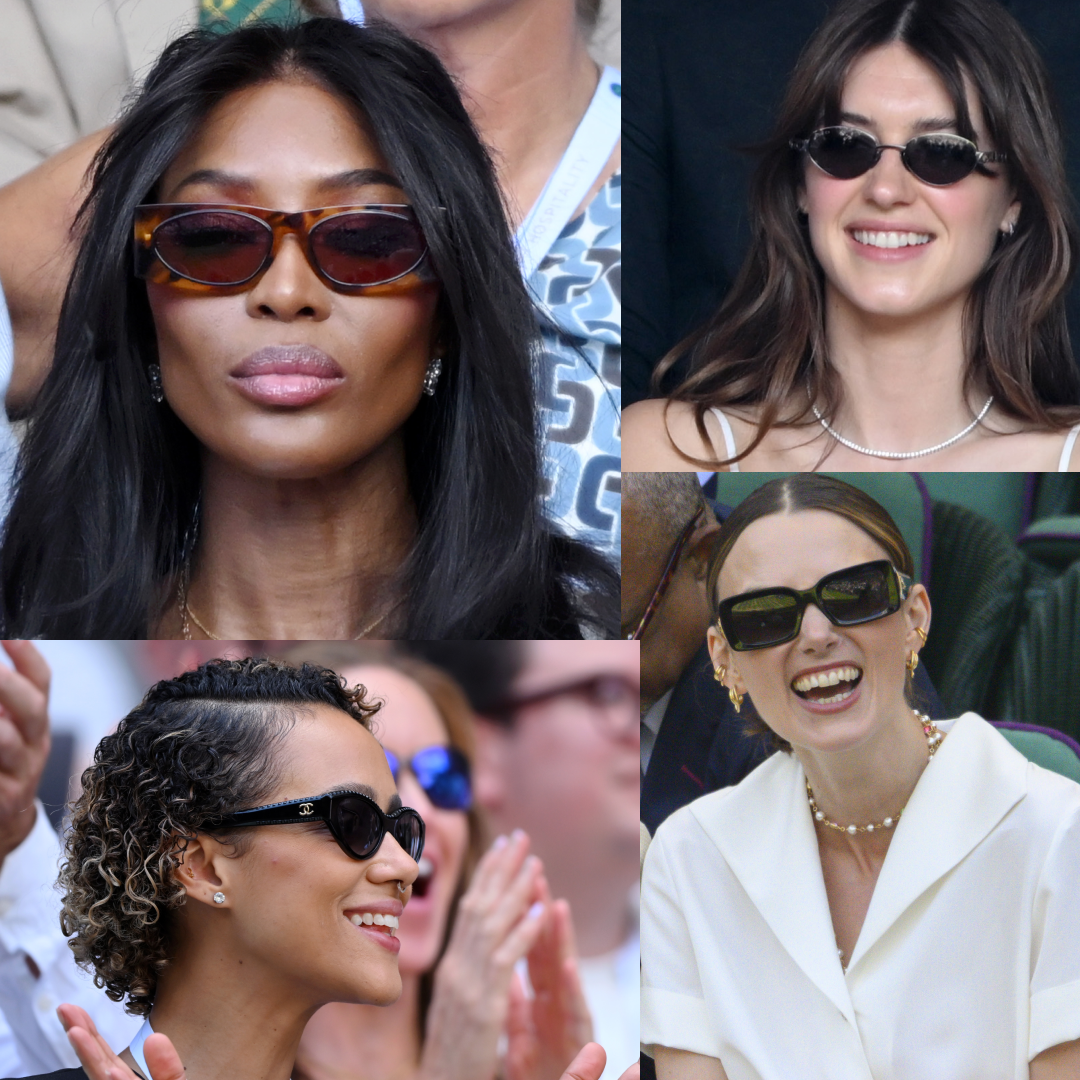
Wimbledon's Best Beauty Looks Serve Up a Refreshing Hint of Edge
Short black nails against summer whites? Game, set, match.
-
How to Shop the Nordstrom Sale Like a Beauty Director
Every luxury skincare, hair care, and makeup product I'm buying at a discount.
-
I'm Scooping Up Some Hermès, Valentino, Diptyque, La Mer, and More at the Nordstrom Sale
Beauty on a budget? Don't mind if I do.
-
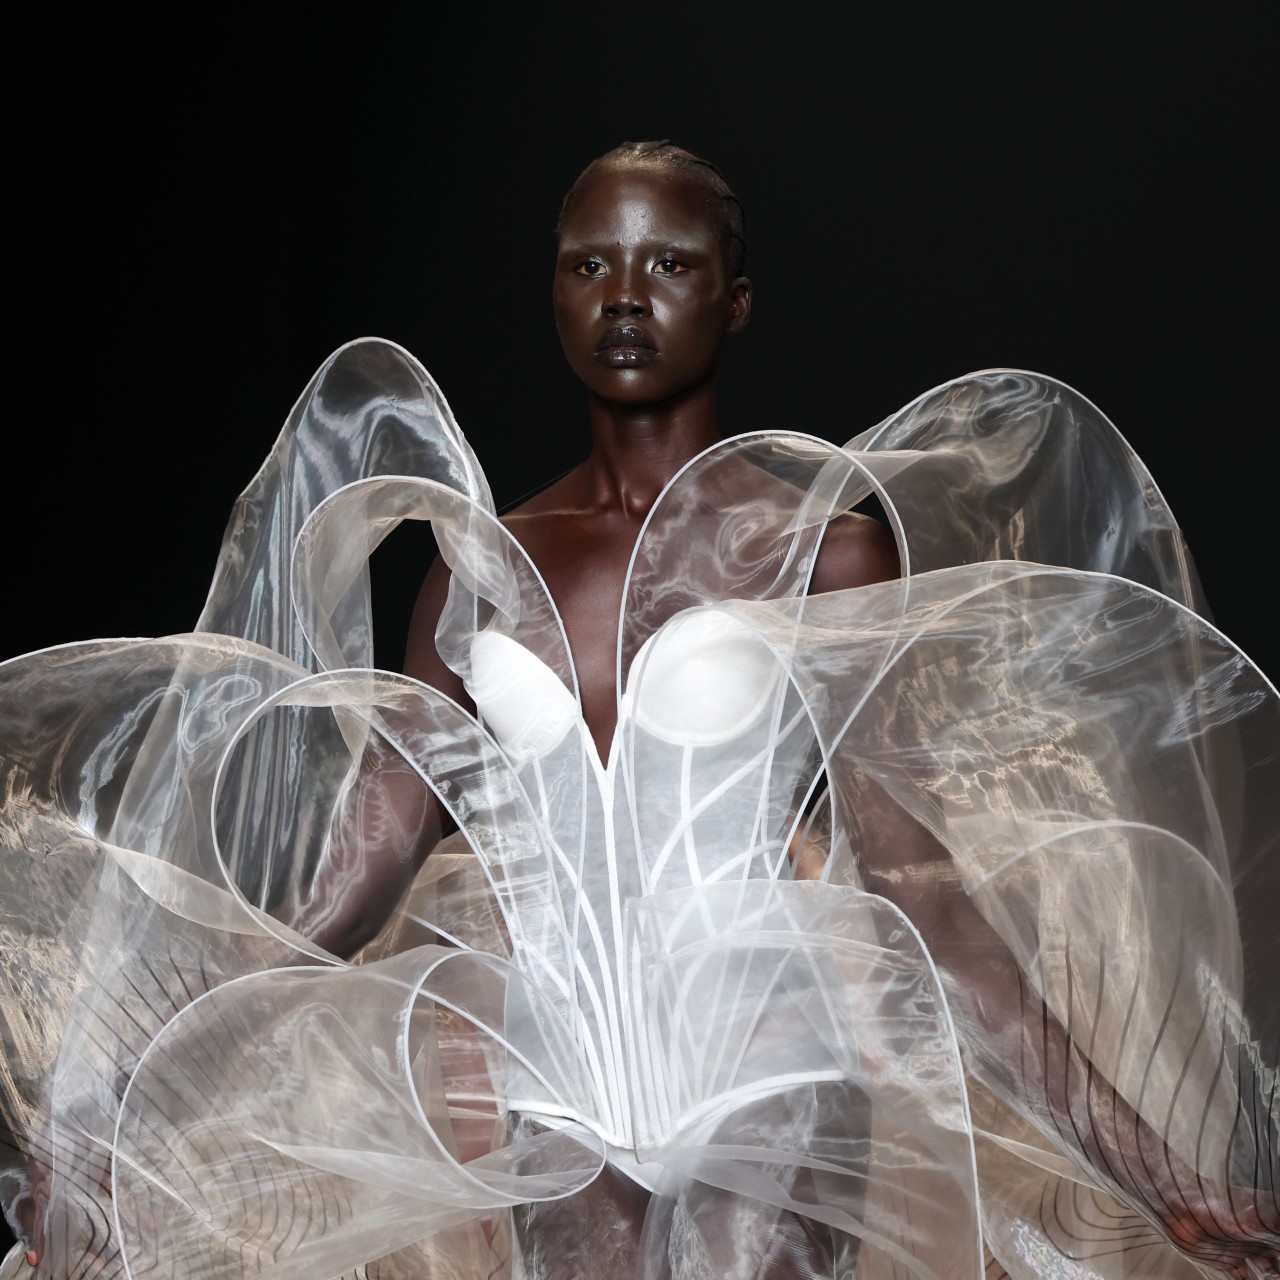
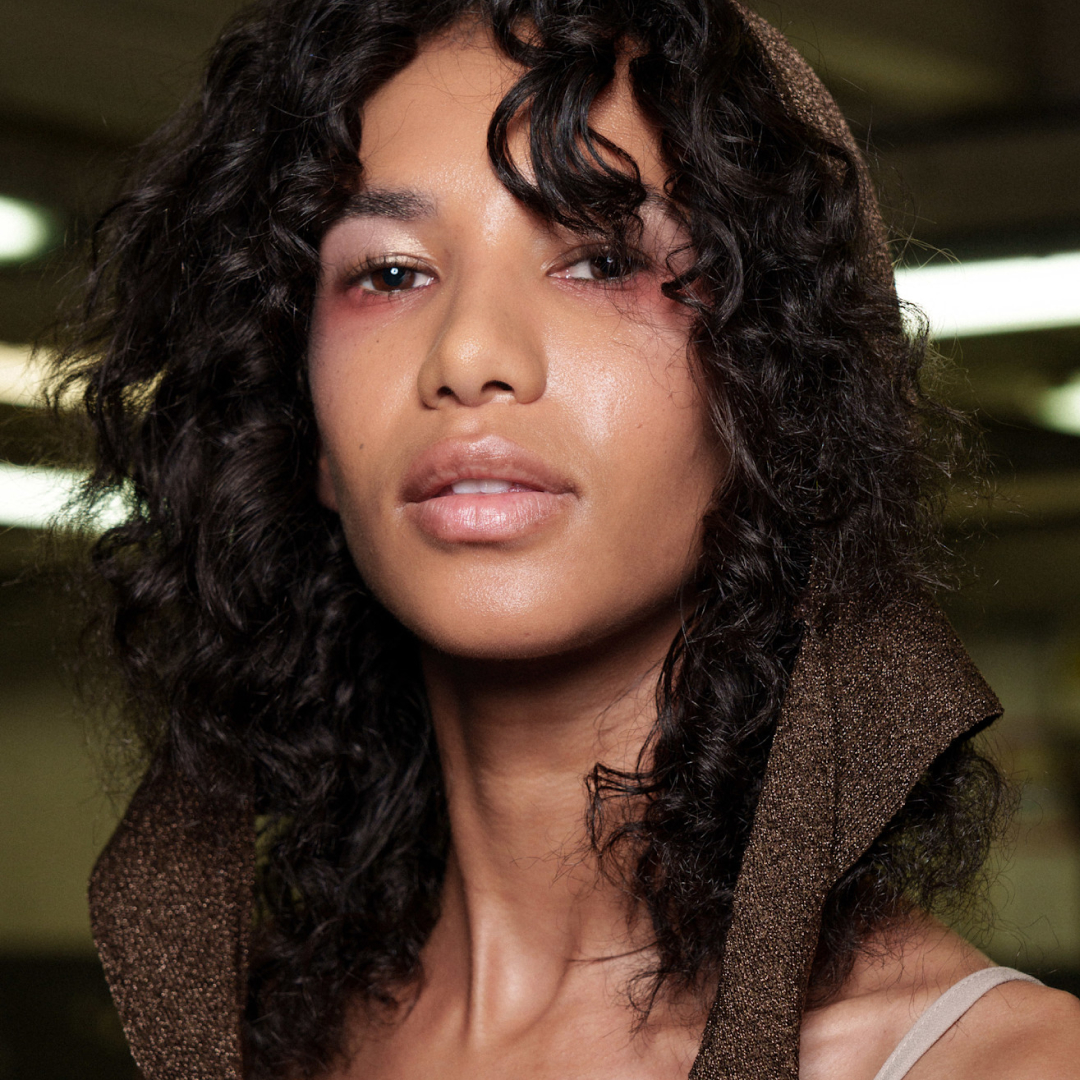
I'm Still Thinking About The Most Jaw-Dropping Beauty Moments From Paris Couture Week
The best hair and makeup looks were a mix of minimalist and maximalist glam.
-
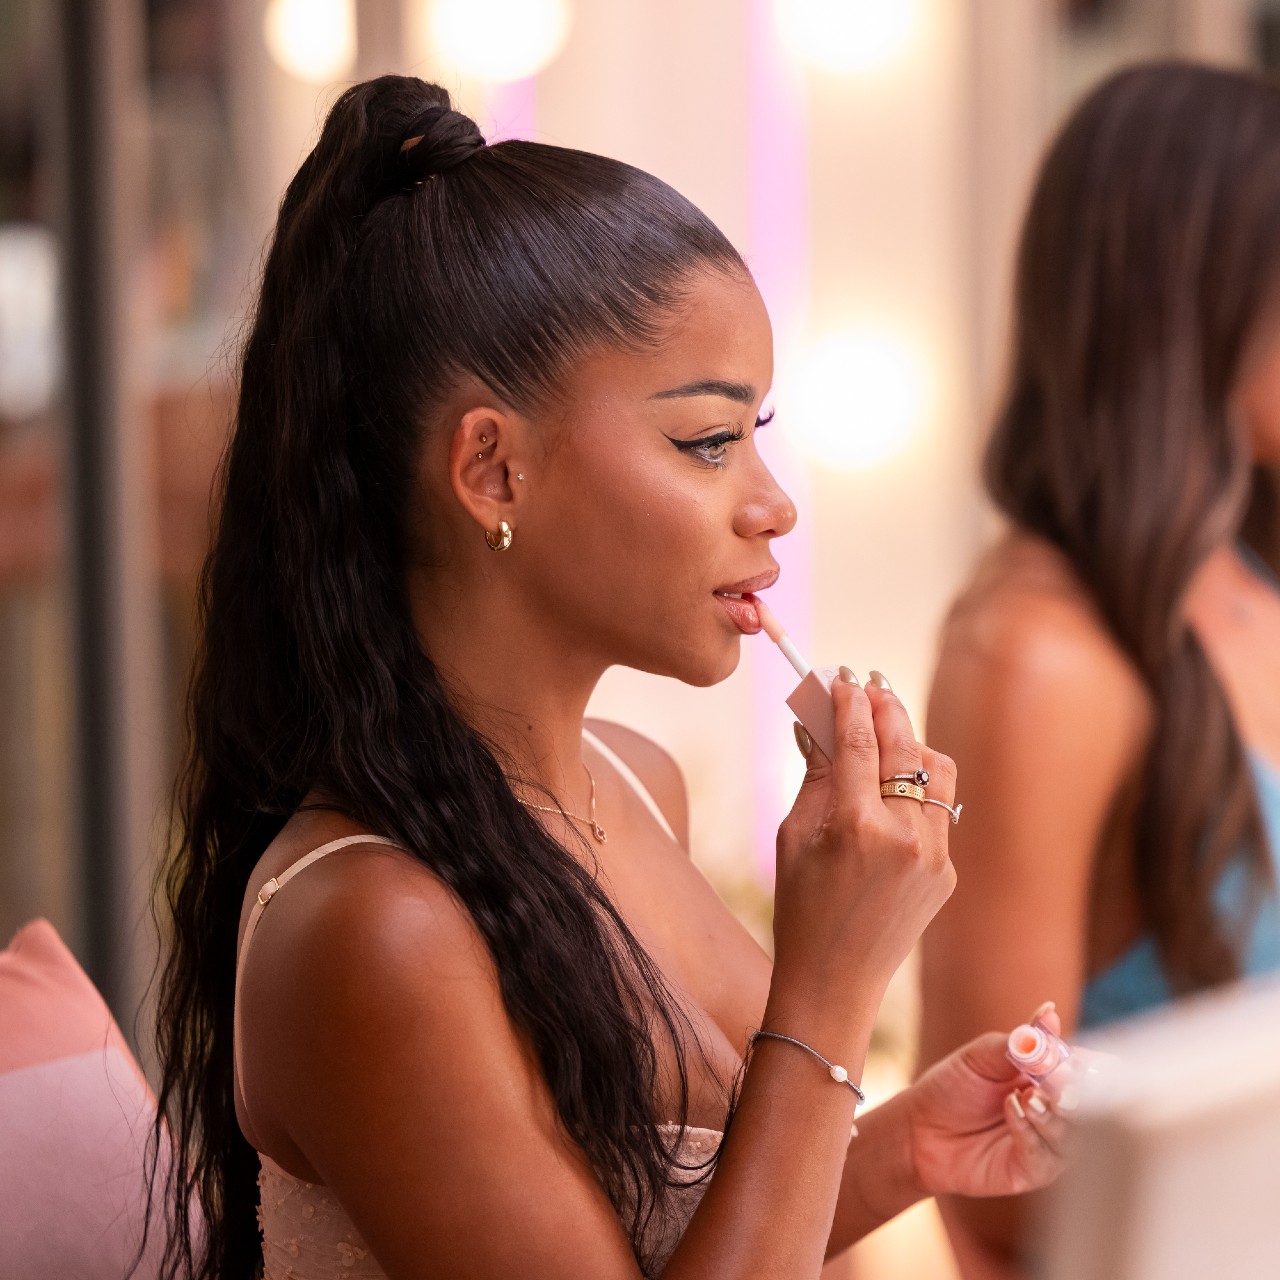
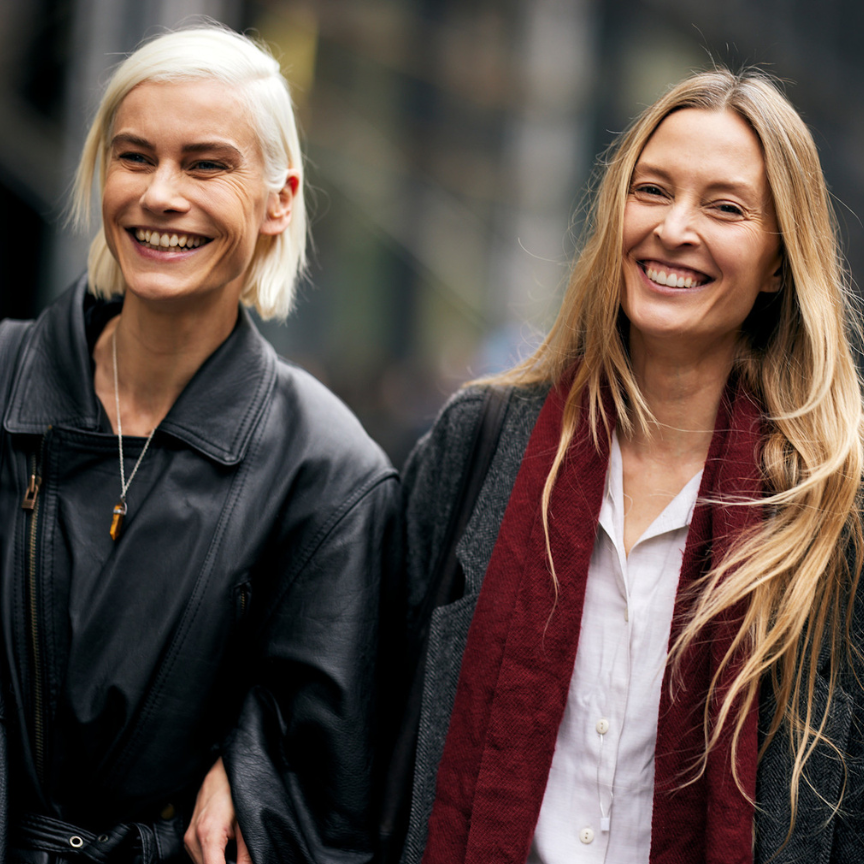
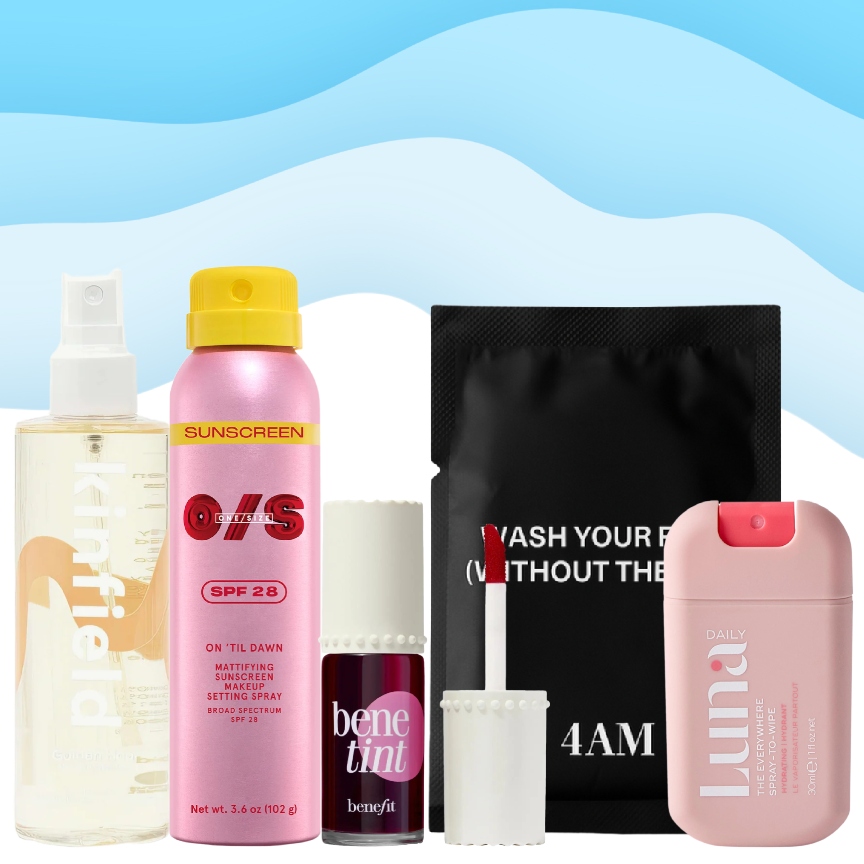
A Hot, New Bombshell Has Entered My Beauty Routine
The Love Island USA girls swear by these 10 products—now I do, too.
-
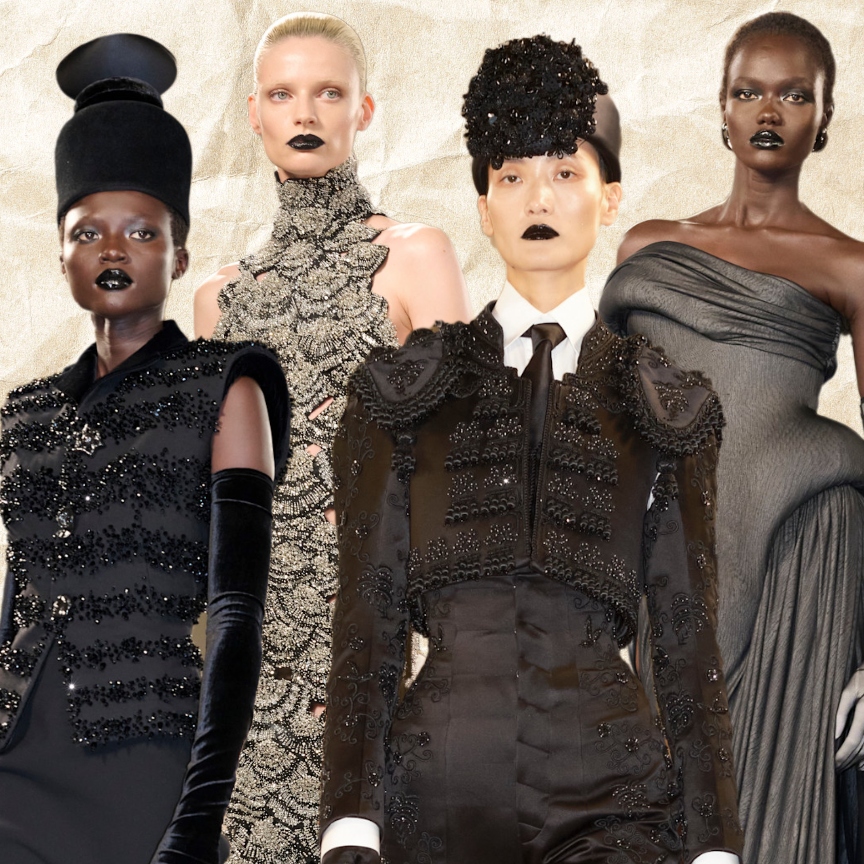
Goth Girl Makeup, But Make It Couture
Schiaparelli and Pat McGrath push the trend into high-fashion territory.
-
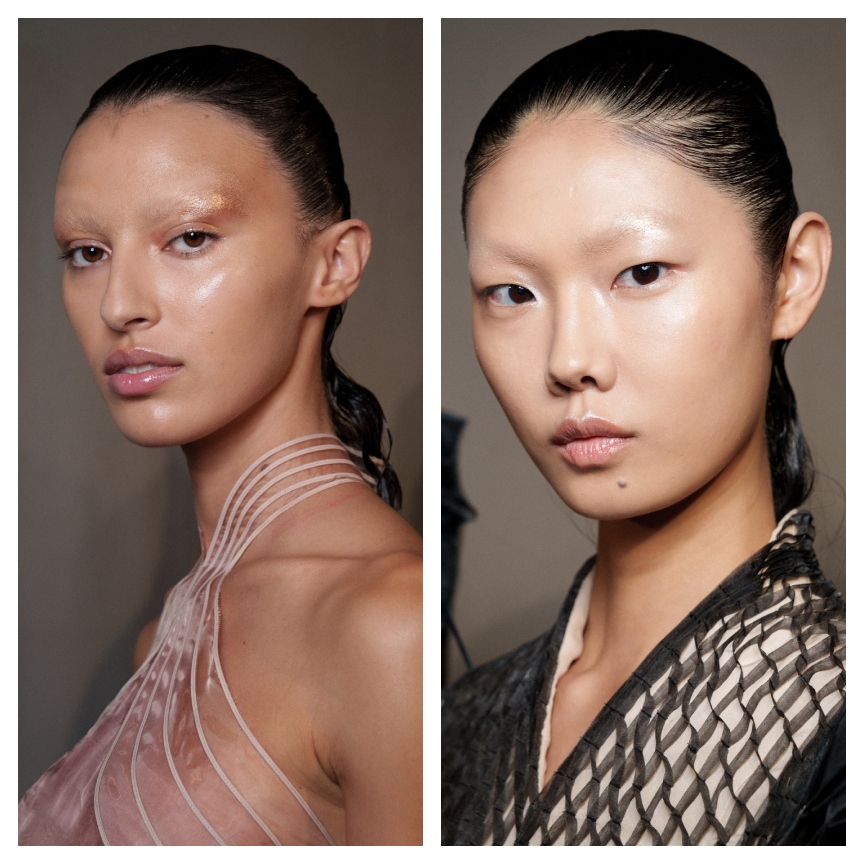
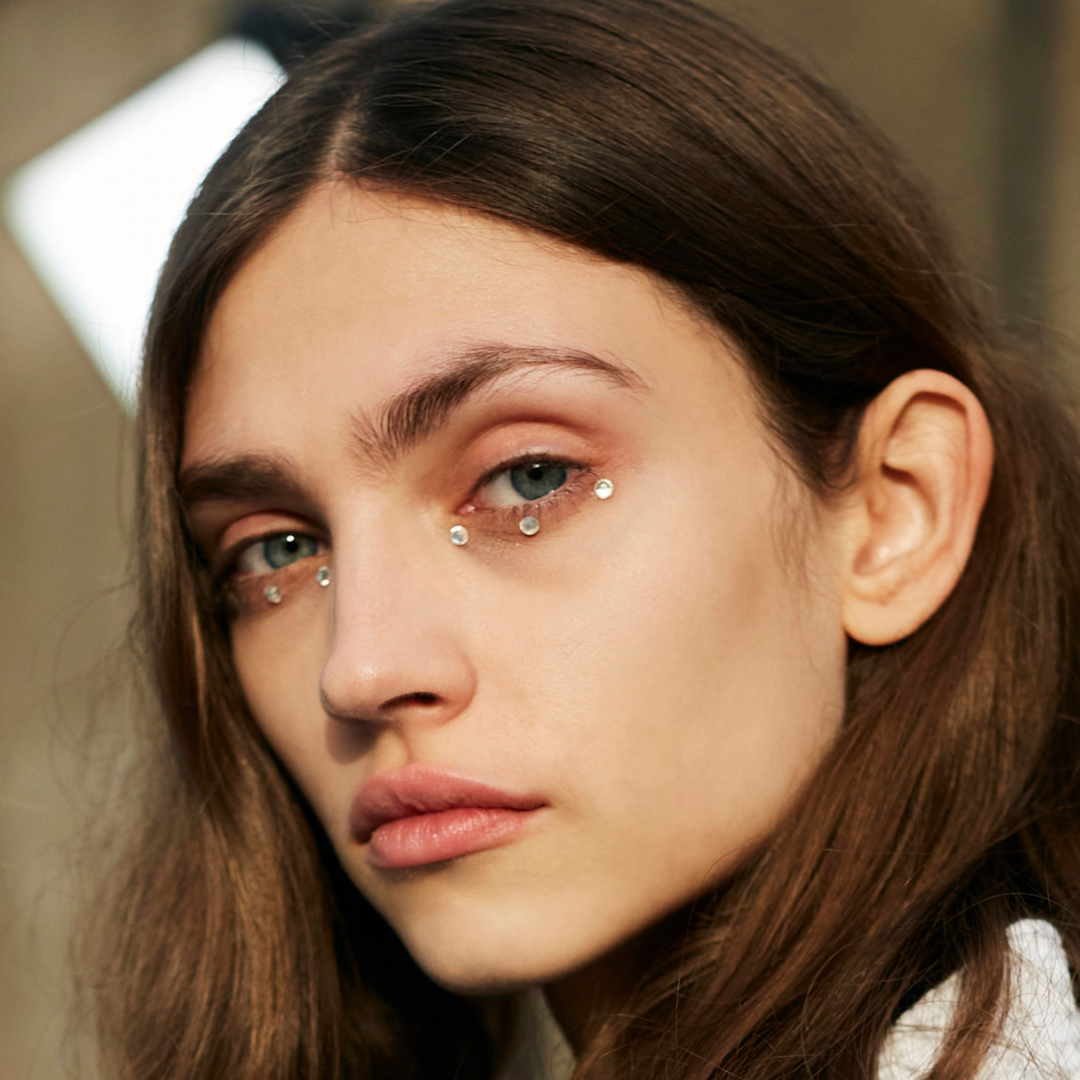
I'm Copying the Sea Nymph Highlighter at Couture Week ASAP
Long live the inner eye highlight.
-
My Go-To Eyeshadow Palette Is the Equivalent of Owning an Entire Wardrobe From The Row
Simple, elevated, and hits every time.
-
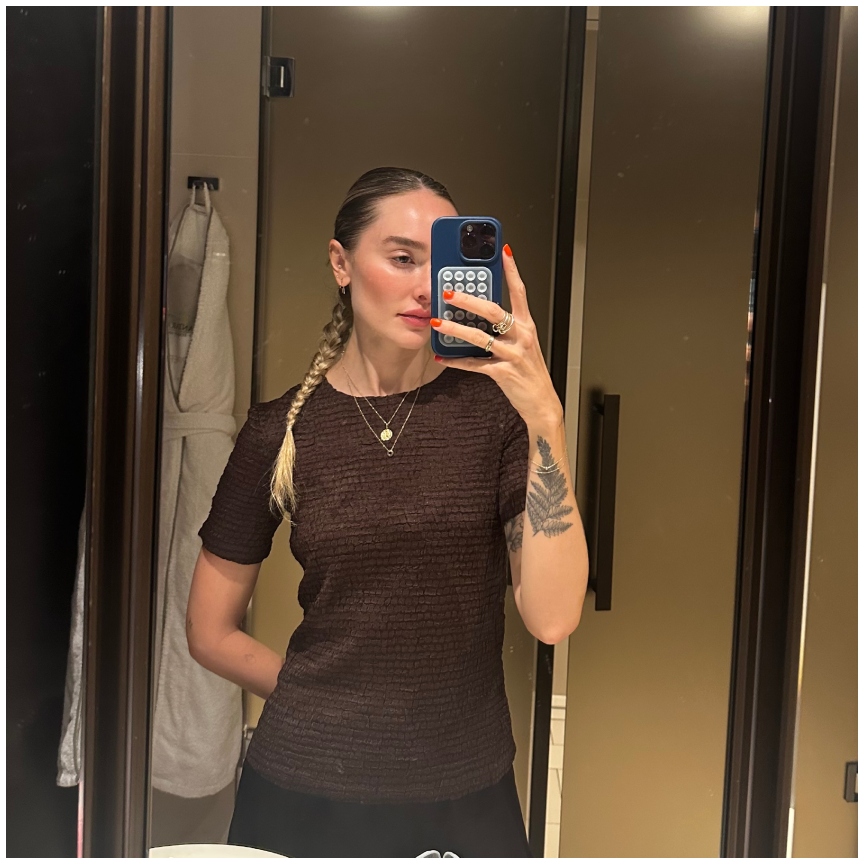
I Broke Up With My Blotting Sheets Because I’ve Perfected My Oily Skin Makeup Routine
This face has survived the 2025 New York City heatwave.
-

I'm Thrilled to Report That This TikTok-Viral Lip Stain Lives Up to the Hype
And it's nearly sold out.
-
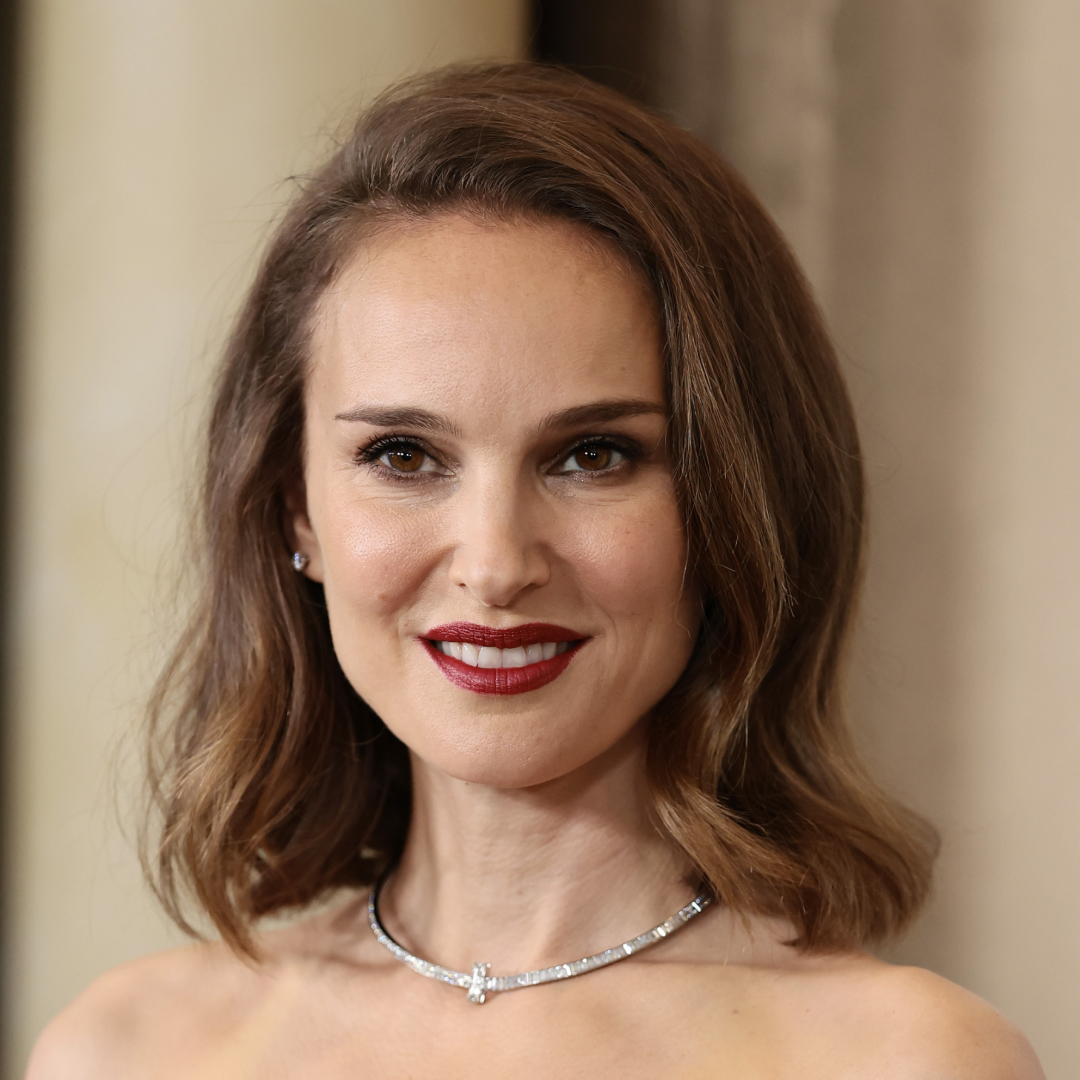
Natalie Portman Just Nailed the Monochromatic Beauty Aesthetic
It's my favorite type of easy summer glam.
-
PSA: A $22 Bug Spray That Smells Like Designer Perfume Exists
It's the MVP on my Fourth of July weekend packing list.
-
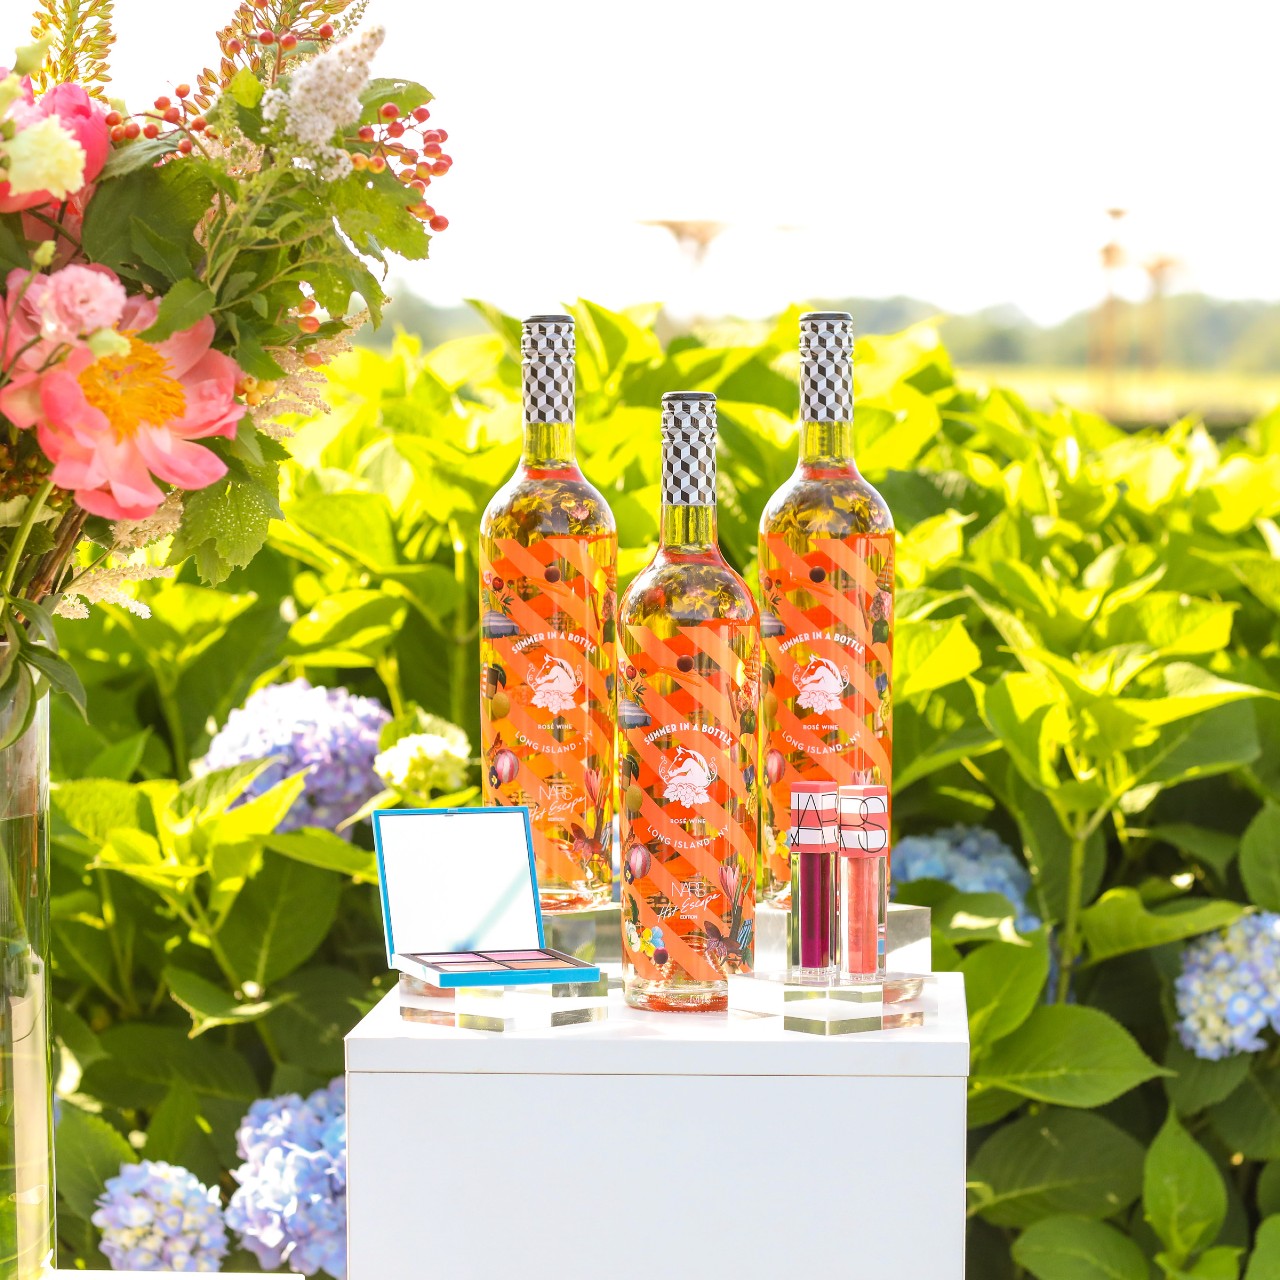
Meet the Beauty-Beverage Collab I’ve (Actually) Been Waiting For
NARS and Wölffer Estate have bottled summer energy.
-
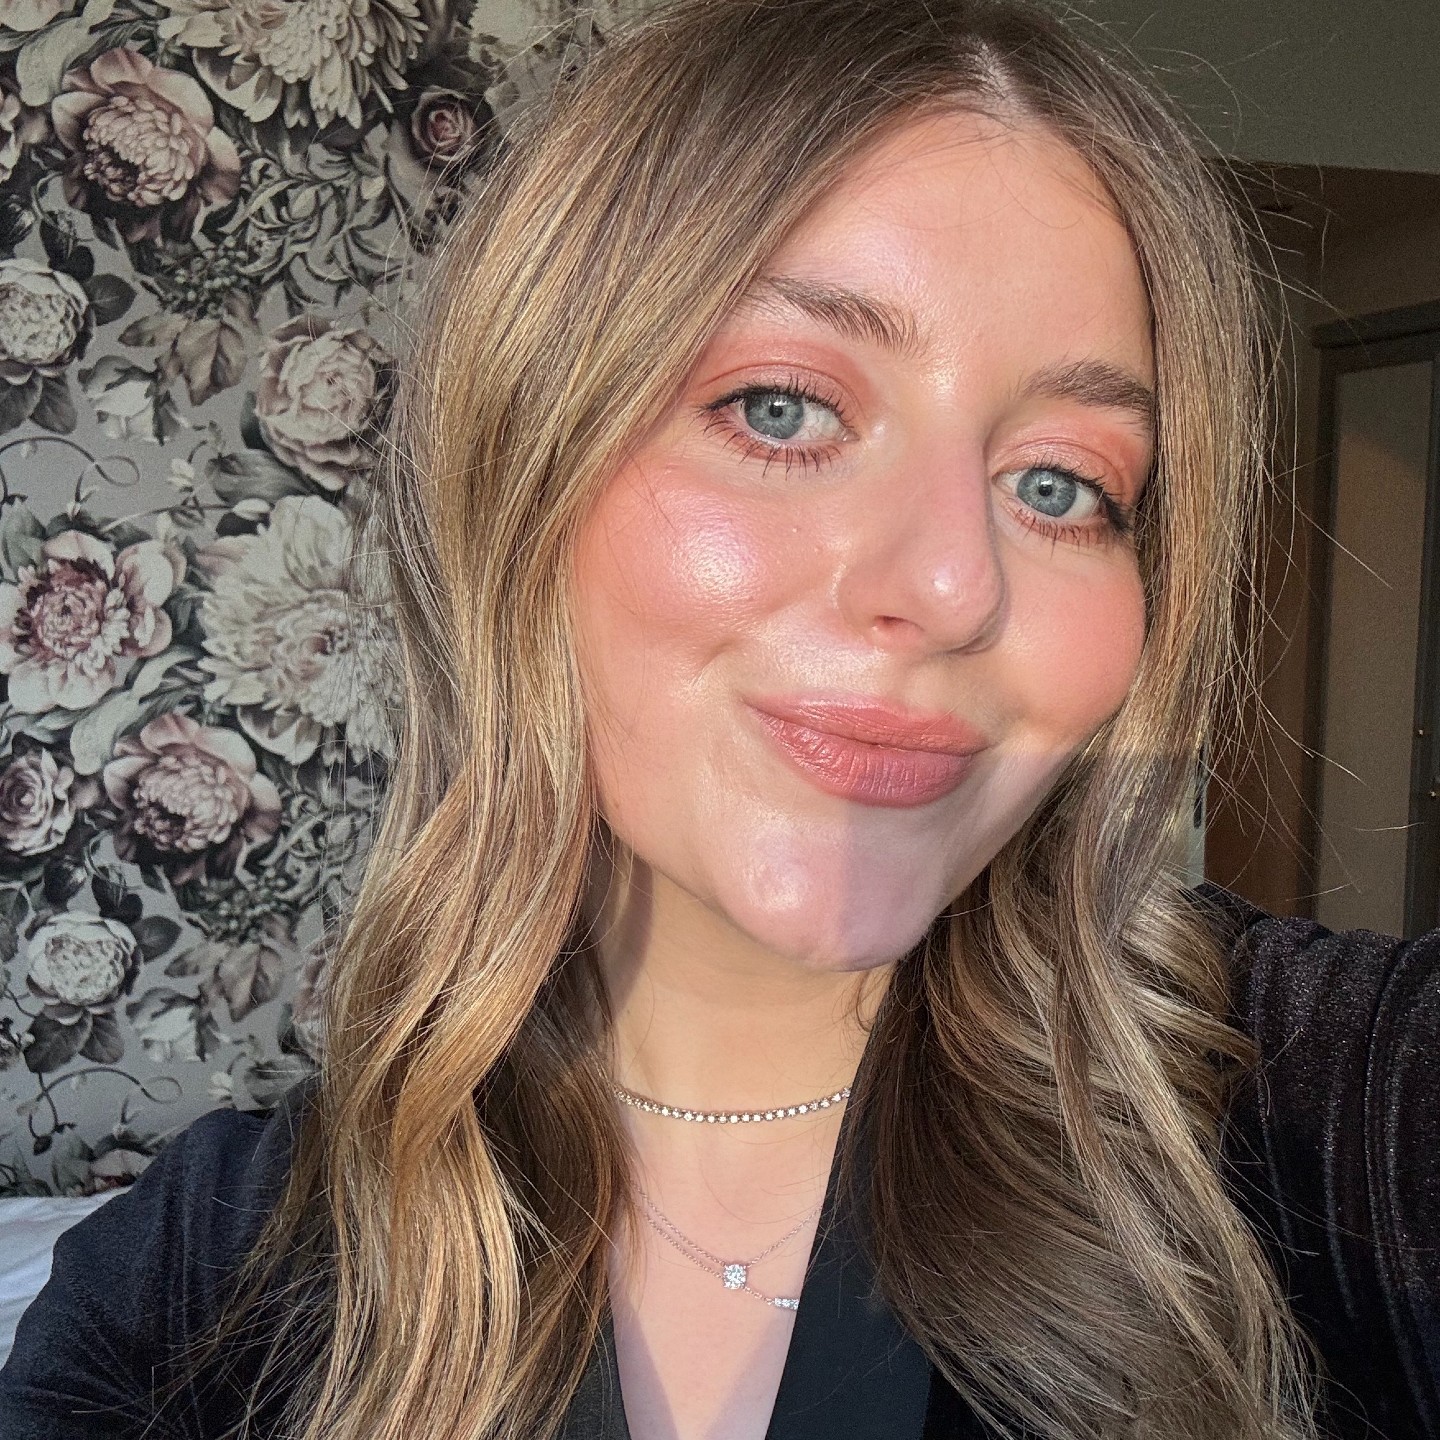
Why Spend $60 When a Drugstore Lip Combo Looks This Good?
I get stopped five times a day because of this lipstick and liner duo.
-
This $10 Product Is the Only Reason My Foundation Can Survive the Blistering Heat
It mattifies shine, blurs my under-eyes, and keeps my makeup pristine all day.
-
The Low-Maintenance Lipsticks I Can Throw On Anytime, Anywhere—Even In a Moving Car
Two swipes and I’m out the door.
-
My 56-Year-Old Mom and I Can’t Stop Fighting Over This Cushioning Lip Gloss
This texture is elite.
-

Your Perfect Peach Lipstick Exists—Here's How to Find it
The shade is notoriously tricky; these ones do it right.
-
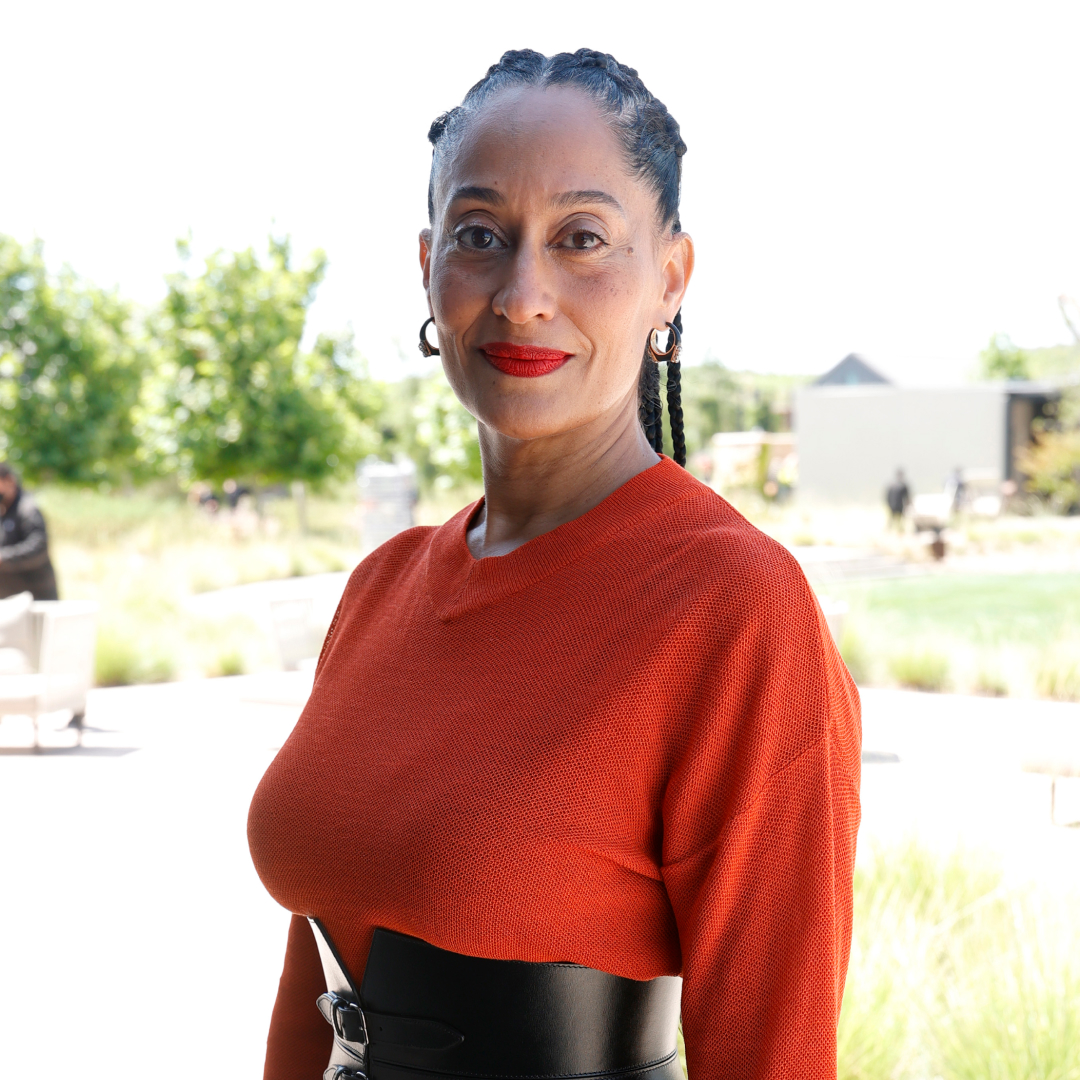
Tracee Ellis Ross Just Proved the Red Lip Theory Is Real
Running to grab my favorite rouge, stat.
-
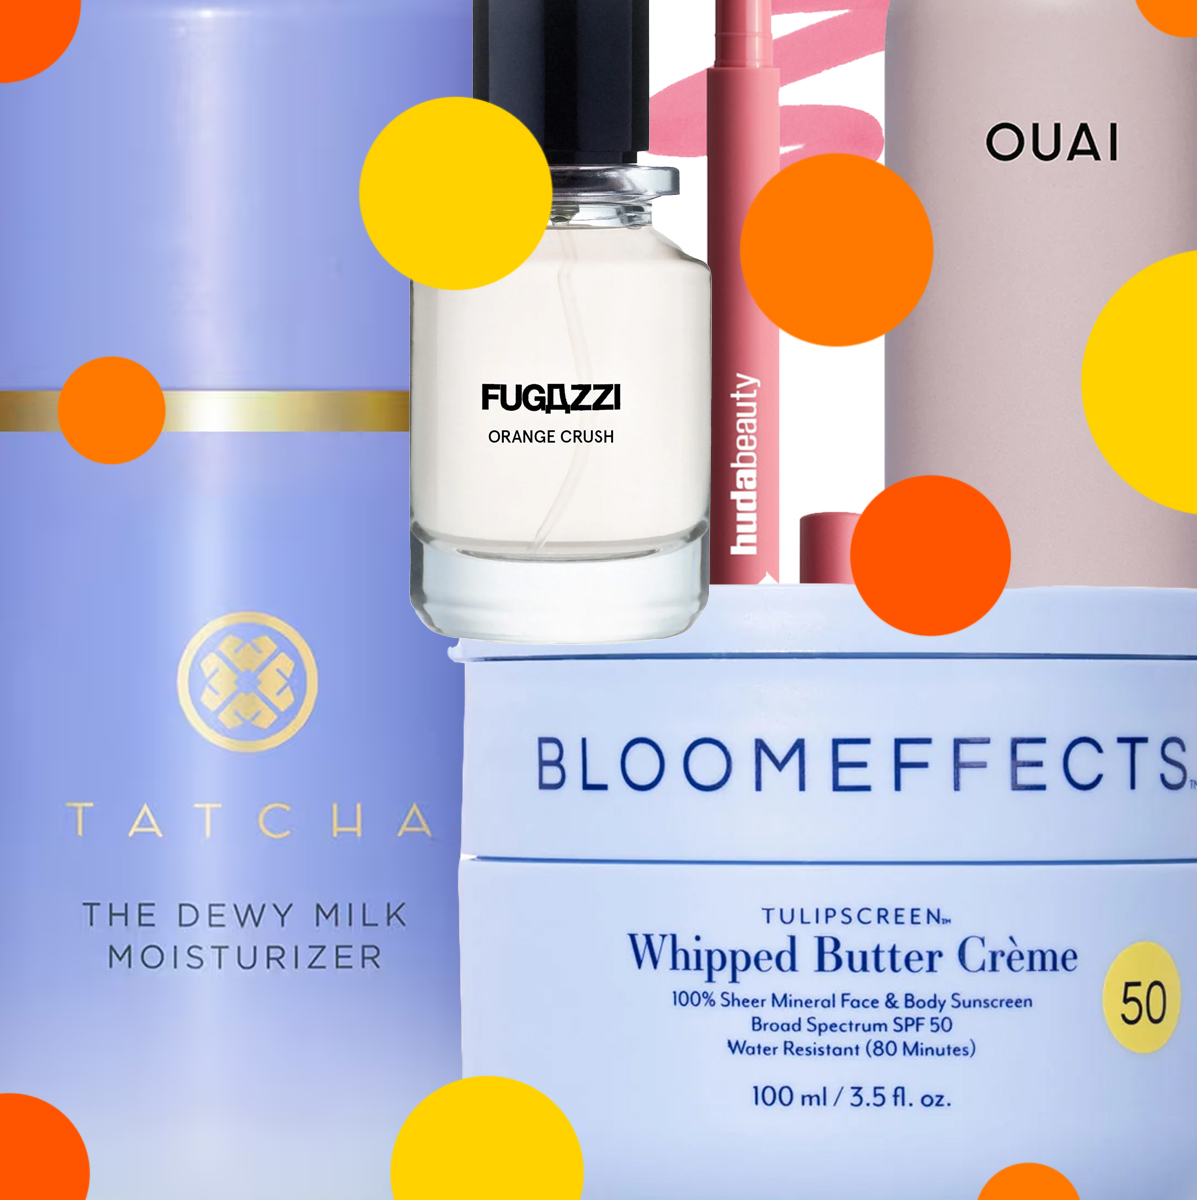
My Summer Fragrance Wardrobe Is Complete Thanks to June's Best New Beauty Launches
New scents from Phlur, Glossier, Fugazzi, and more have me smelling sweet through the heat.
-
I Ditched My Go-To Highlighter of the Last 15 Years for This Celeb-Favorite Formula
Shine without too much sparkle.
-
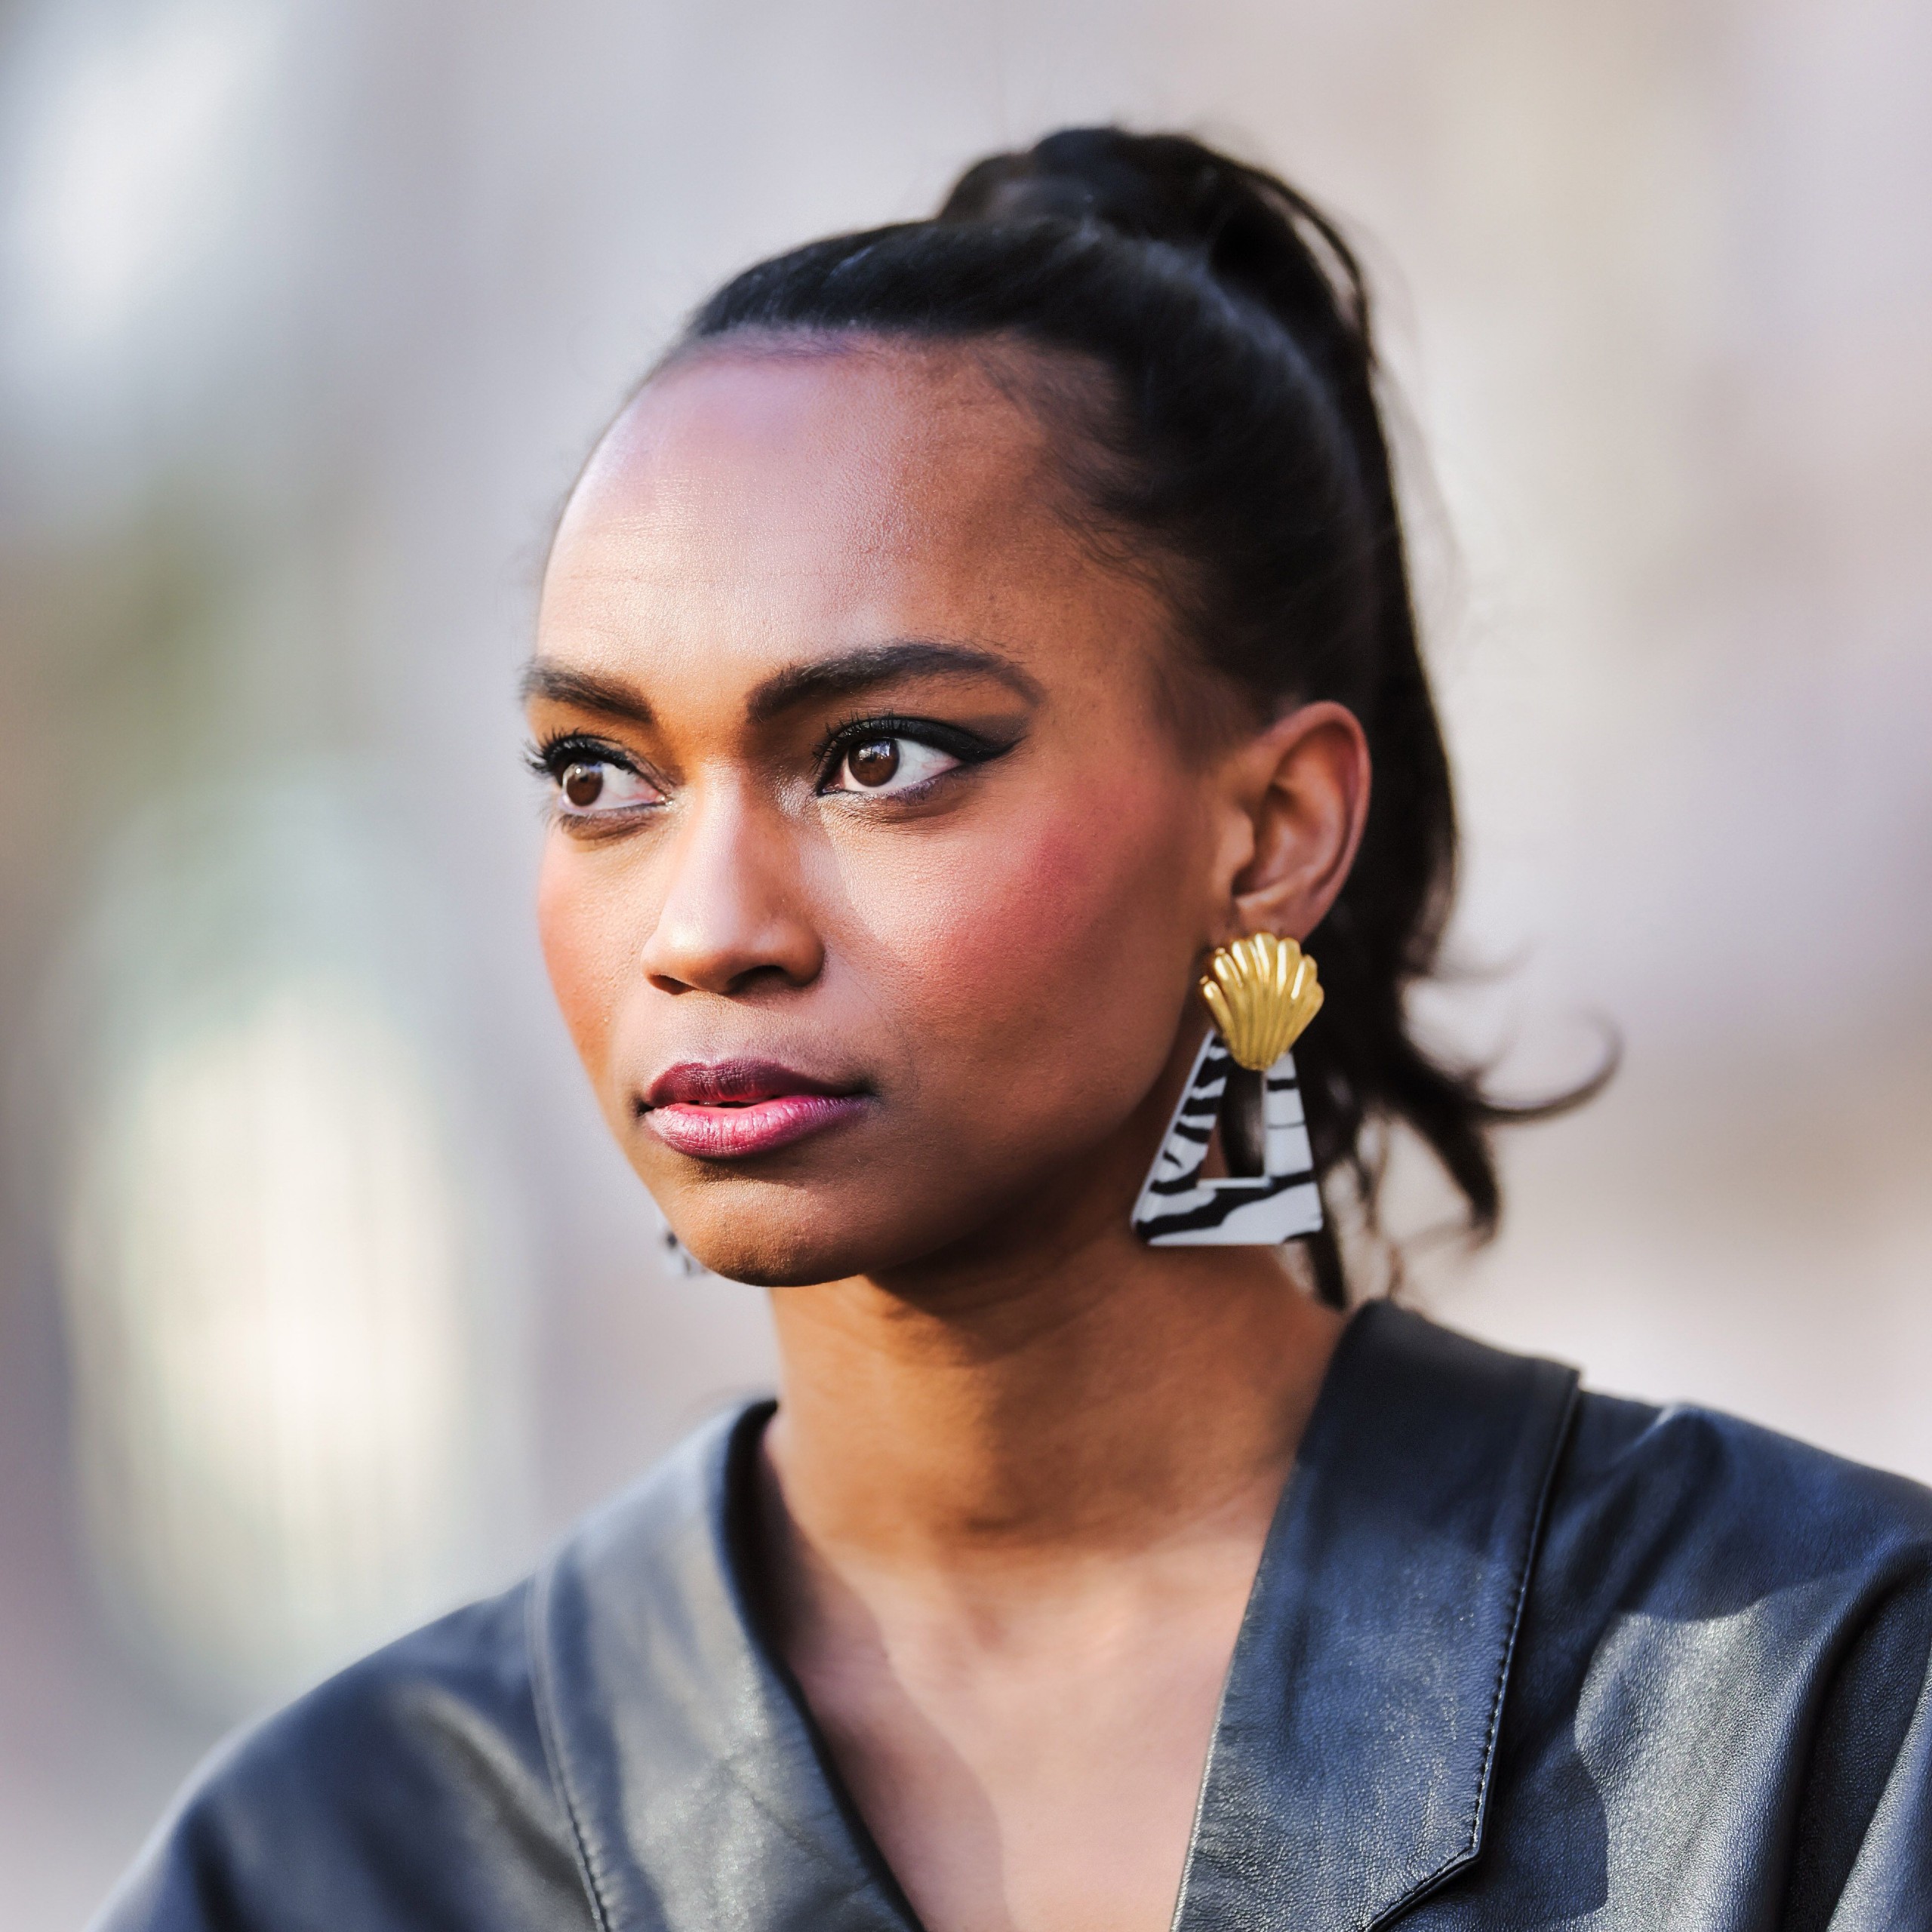
Designer Cheeks Are Now a Thing Thanks to My New Favorite Blush
A juicy flush just in time for summer.
-
This $13 Waterproof Mascara Survived a Heat Wave With Peak Humidity
And it still looked completely flawless.
-
I've Retired Every Foundation I Own for These Lightweight, Glowy Skin Tints
My summer staple.


