
-
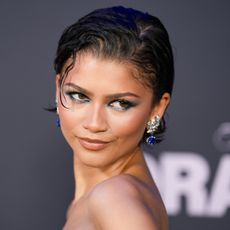
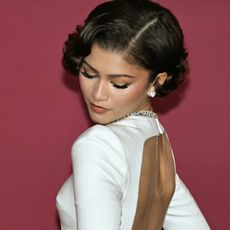
Zendaya's Something Blue? A Metallic Smokey Eye
I'm obsessed.
-
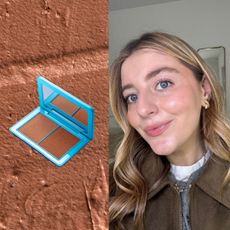
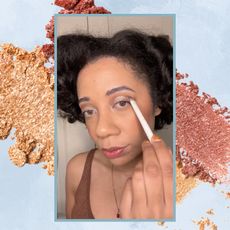
Dare I Say Westman Atelier’s New Bronzing Crème Is the Brand’s Best Launch Yet?
It gives definition and warmth.
-
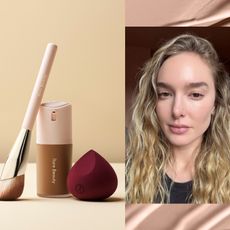
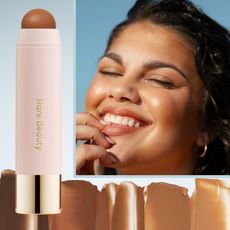
Rare Beauty Launched a New Matte Foundation—We Put It To the Test
Selena Gomez, do right by us.
-
Apologies to Your Beauty Budget, But Shopbop's Spring Sale Is *So* Good Right Now
Warm weather essentials, loading.
-
My Favorite Lip Stains Will Survive Both a Martini and a Make Out
They're basically life-proof.
-
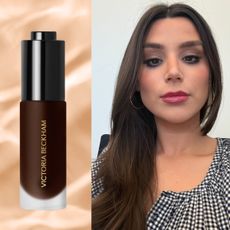
Victoria Beckham Just Turned Water Into Bronzer
A water stain that gives "weekend in the Bahamas."
-
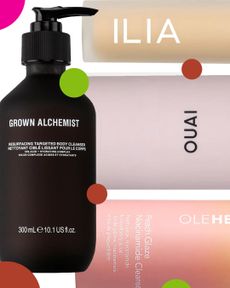
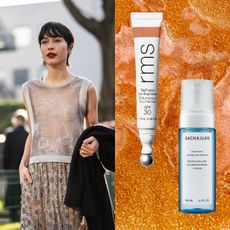
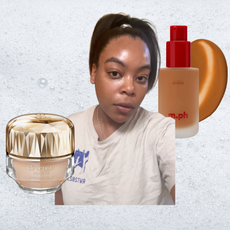
My Spring Glow Up Starts and Ends With March's Best New Beauty Products
A new season calls for new favorites.
-
I'm Updating My Spring Makeup Look With 5 Stunning New Blush Shades
Bring in the warmth and glow.
-
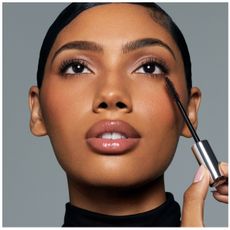
As a Self-Proclaimed Mascara Snob, Trust Me When I Say These Formulas Get Five Stars
Even Meghan Markle is a fan.
-
I've Tried Every Haus Labs Product—These 6 Are the Standouts
A hall of fame, if you will.
-
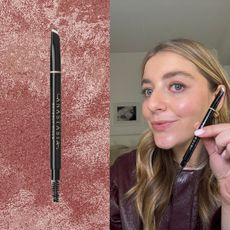
My Thinning Brows Are Eternally Grateful for Anastasia Beverly Hills’s Archibrow Pencil
These micro-fine strokes look so natural.
-
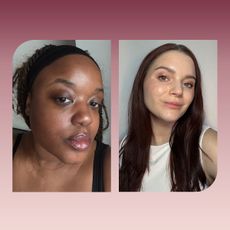
These Light Coverage Foundations Let My Freckles Live Their Best Life
Because sometimes I want coverage—just not that much.
-
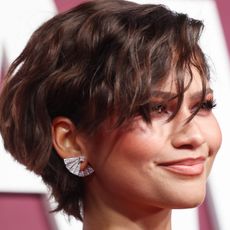
Zendaya's Wavy Bixie and Smokey Eye Are Serving Major Drama
I'm being convinced to chop my hair.
-
Not Eyeshadow, Not Bold Lips: The 3 Spring Makeup Looks Everyone's Wearing RN
Sponsor Content Created With SHEGLAM
The only trends you need to know.
-
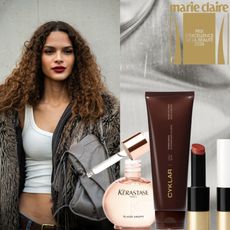
Presenting the 2026 Prix D'Excellence Awards
The year's best new beauty products are waiting for you.
-
Zendaya Is Bringing Back This 2022 Eyeliner Trend and I'm Fully Sat
Sultry chic.
-
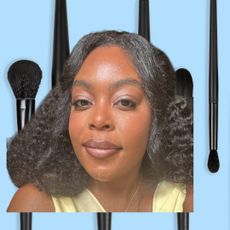
My Makeup Brush Game Is Elite Thanks to This 10-Piece Collection
Yes, that does look like a paintbrush.
-
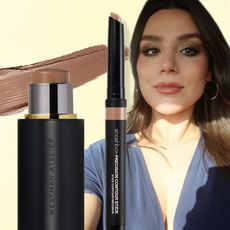
My Sharp Jawline Isn't Genetics—It's My Expert Contour Regimen
Read this to fake incredible bone structure.
-
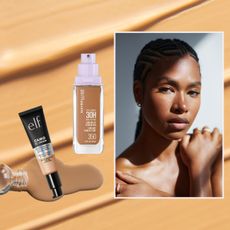
This $16 Drugstore Foundation Might Be the Best Formula I've Tried All Year
And, candidly, I try a lot.
-
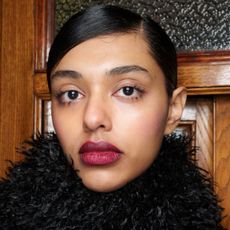
This “Scary” Blush Color Is About to Be Your New Go-To
Red is the new pink.
-
Sarah Michelle Gellar and Freddie Prinze Jr. Can’t Get Enough of This “Understated” Fragrance Brand
They have a whole bathroom display.
-
Can't Seem to Get Your Eyeshadow Right? It Might Be Time to Update Your Brushes
Start with my top 10 favorites.
-
Mirror Mirror on the Wall, Which One of You Perfects My Foundation Application the Most of All?
And is equipped with LED lights, magnification, and Bluetooth?
-
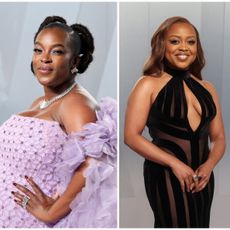
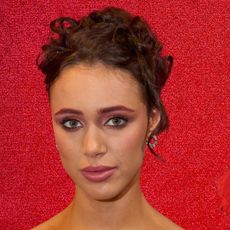
The 2026 'Vanity Fair' Oscar After-Party Brought Out Some Hall-of-Fame Beauty Moments
These looks didn't disappoint.
-
How to Do Your Makeup to Meet Rihanna
Ms. Fenty deserves your best face.
-
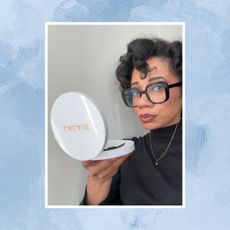
This $32 Cult-Favorite Bronzer Will Forever Be My Beauty Editor Hack to Dewy, Tanned Skin
Putting the best formulas on the market to the test.


