
-
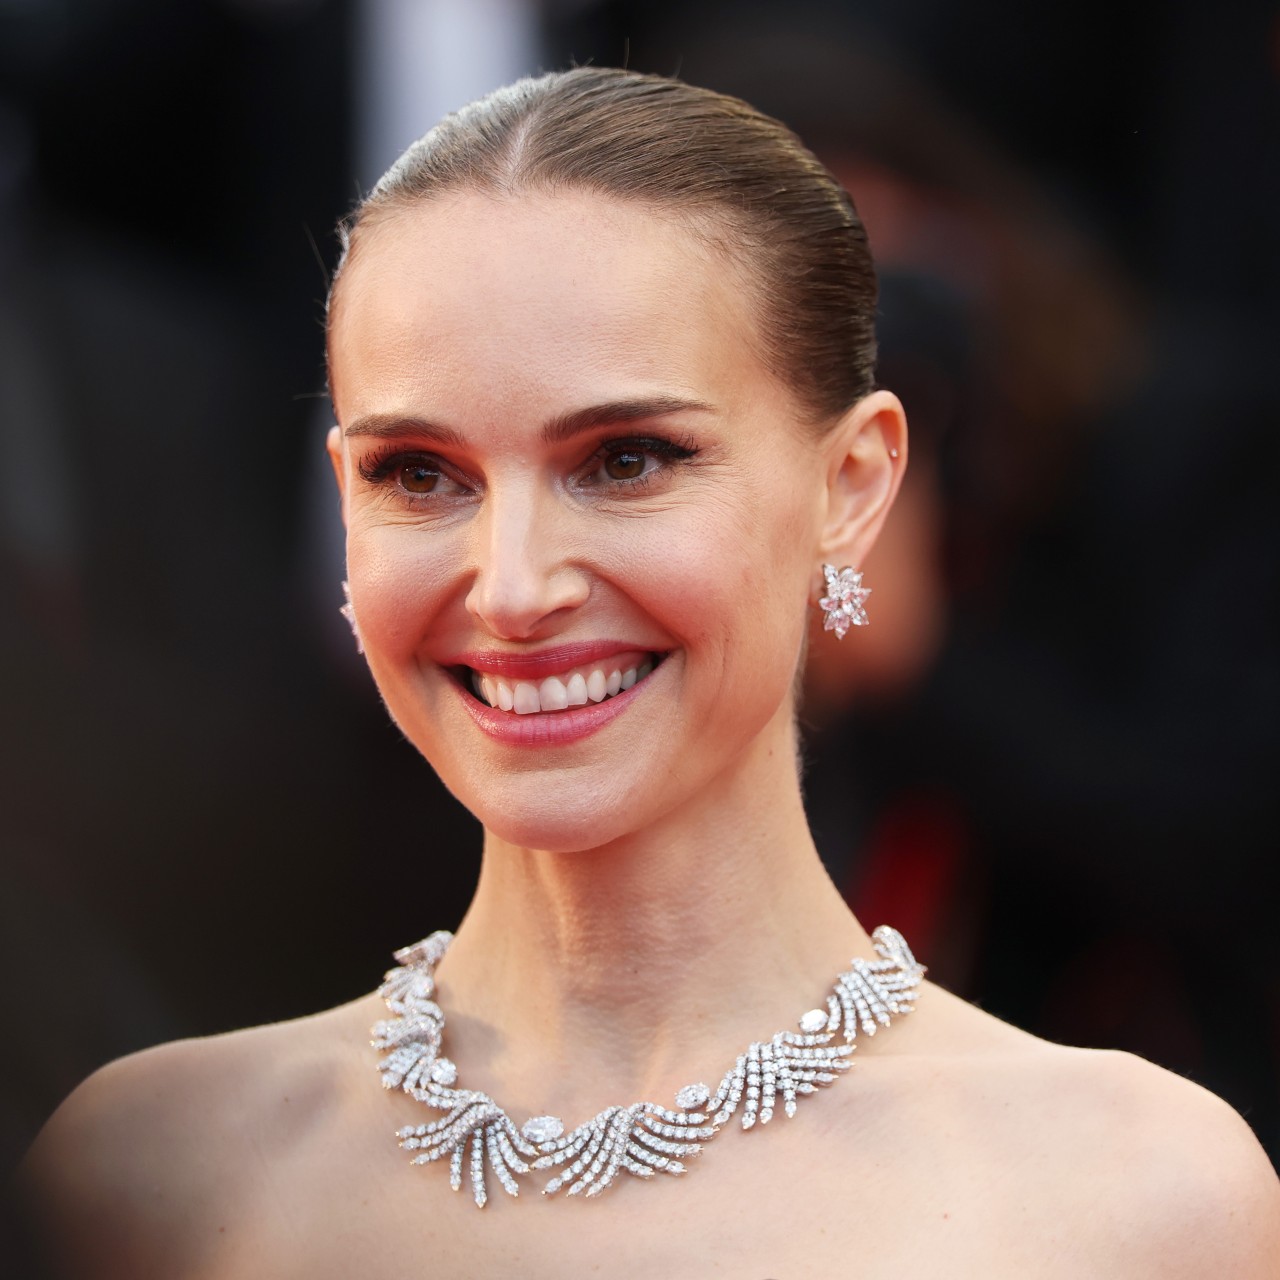
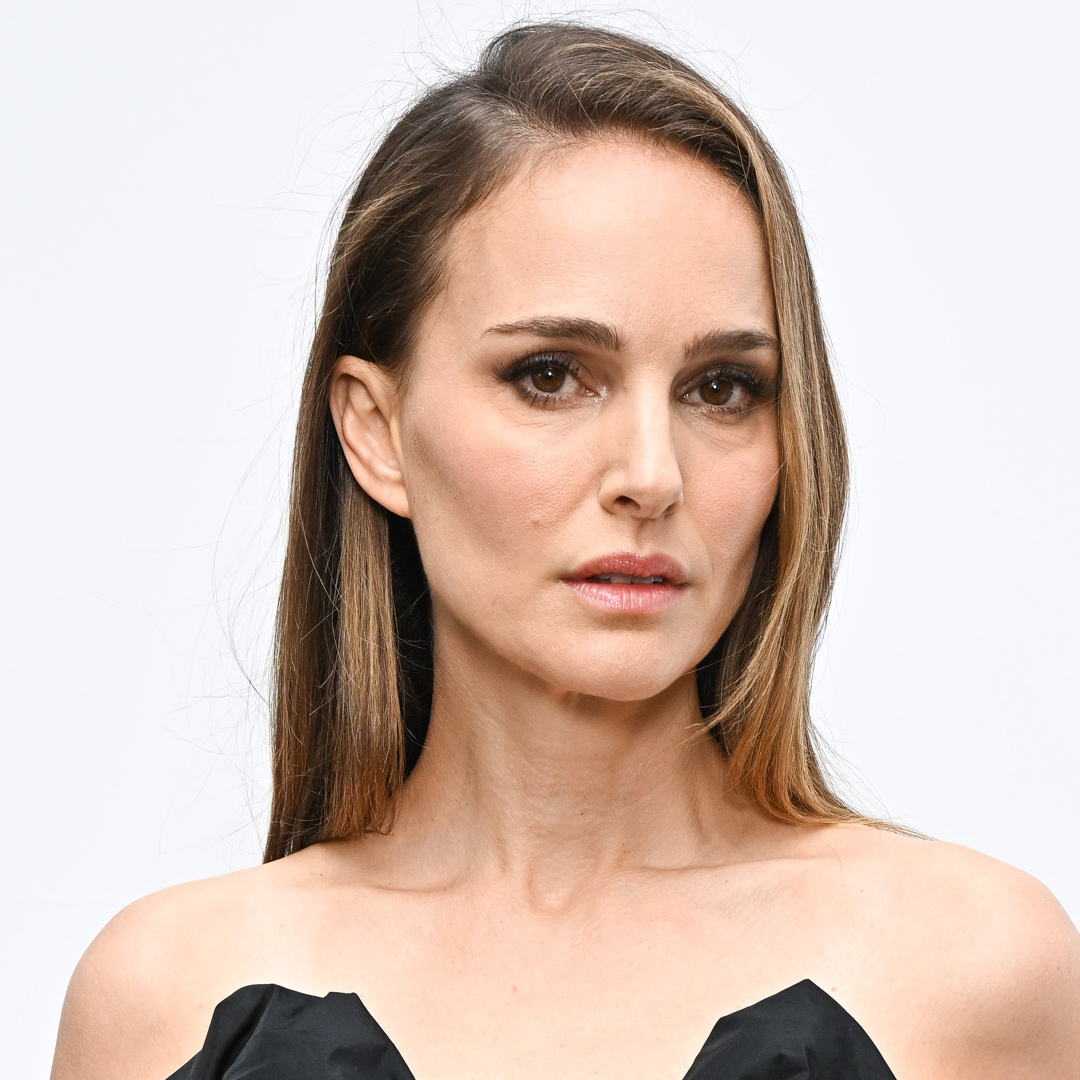
Natalie Portman Proved, Once Again, That She's a Loyal Middle Part Supporter
I know where she stands on the great debate.
-
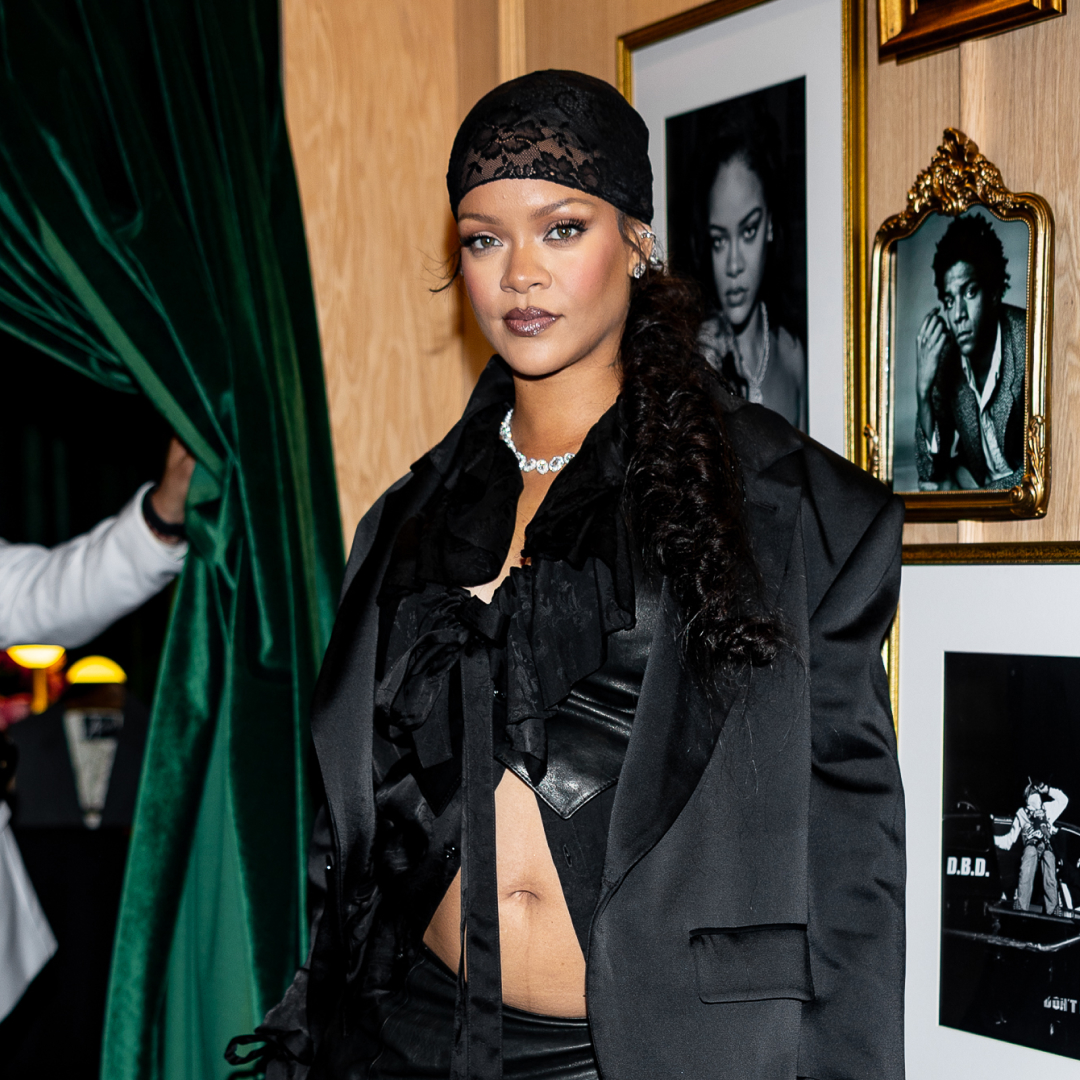
Rihanna Just Combined Three of Summer's Trendiest Hairstyles Into One Chic Updo
Icon behavior.
-
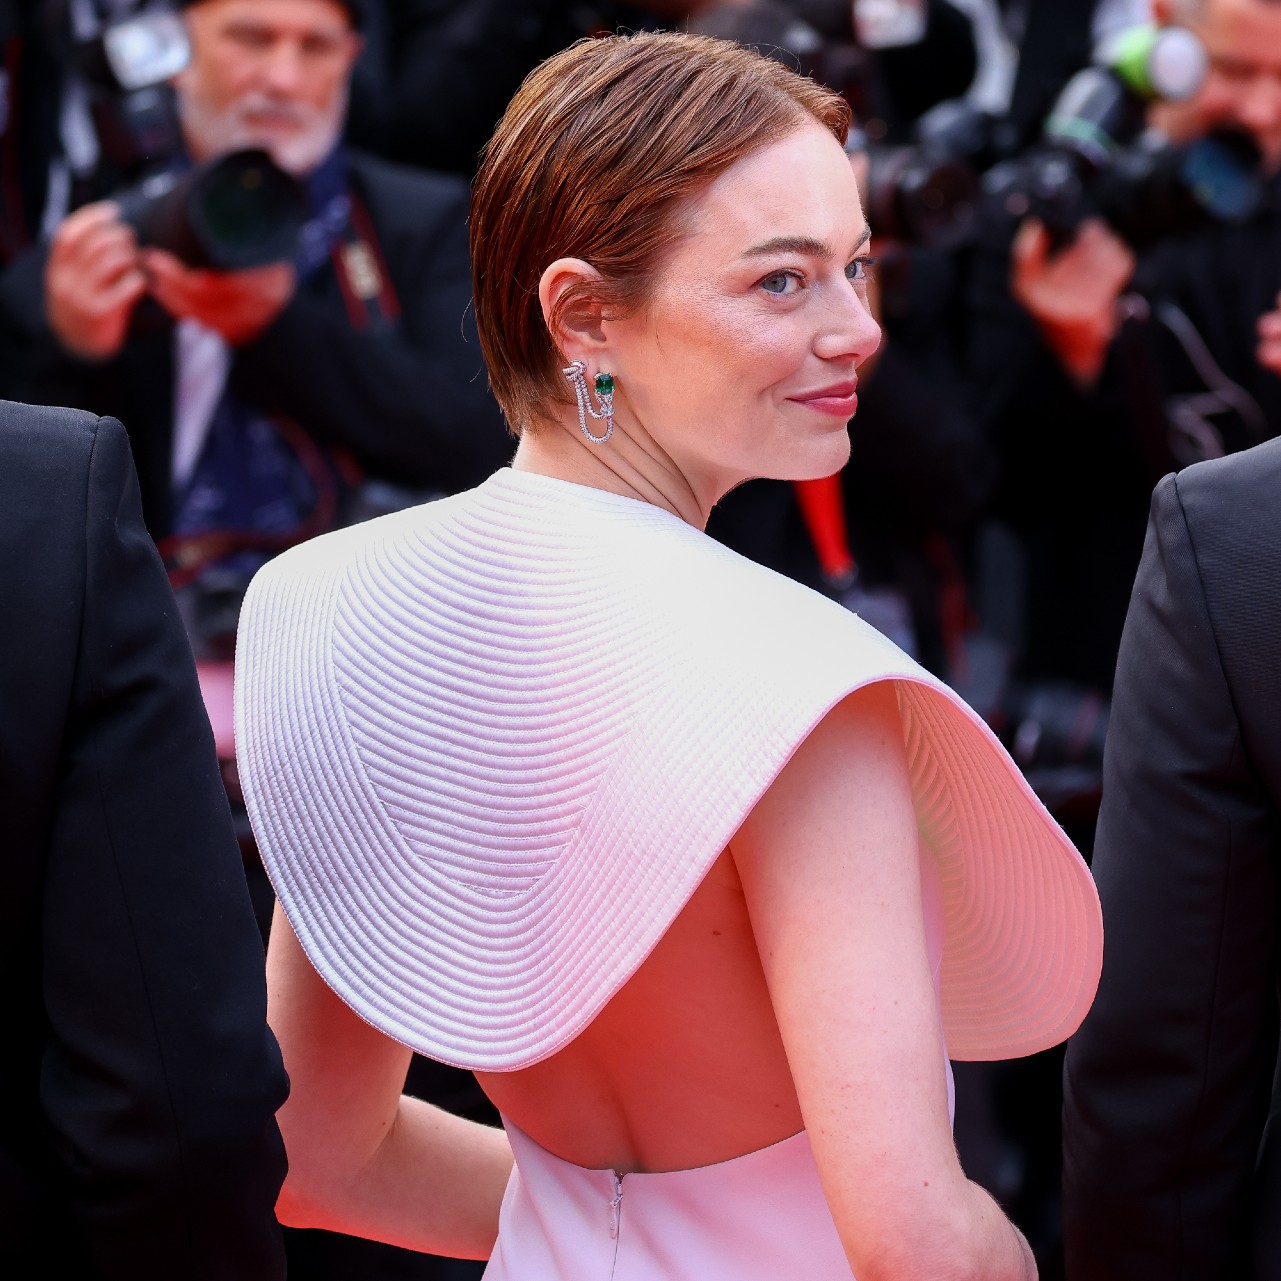
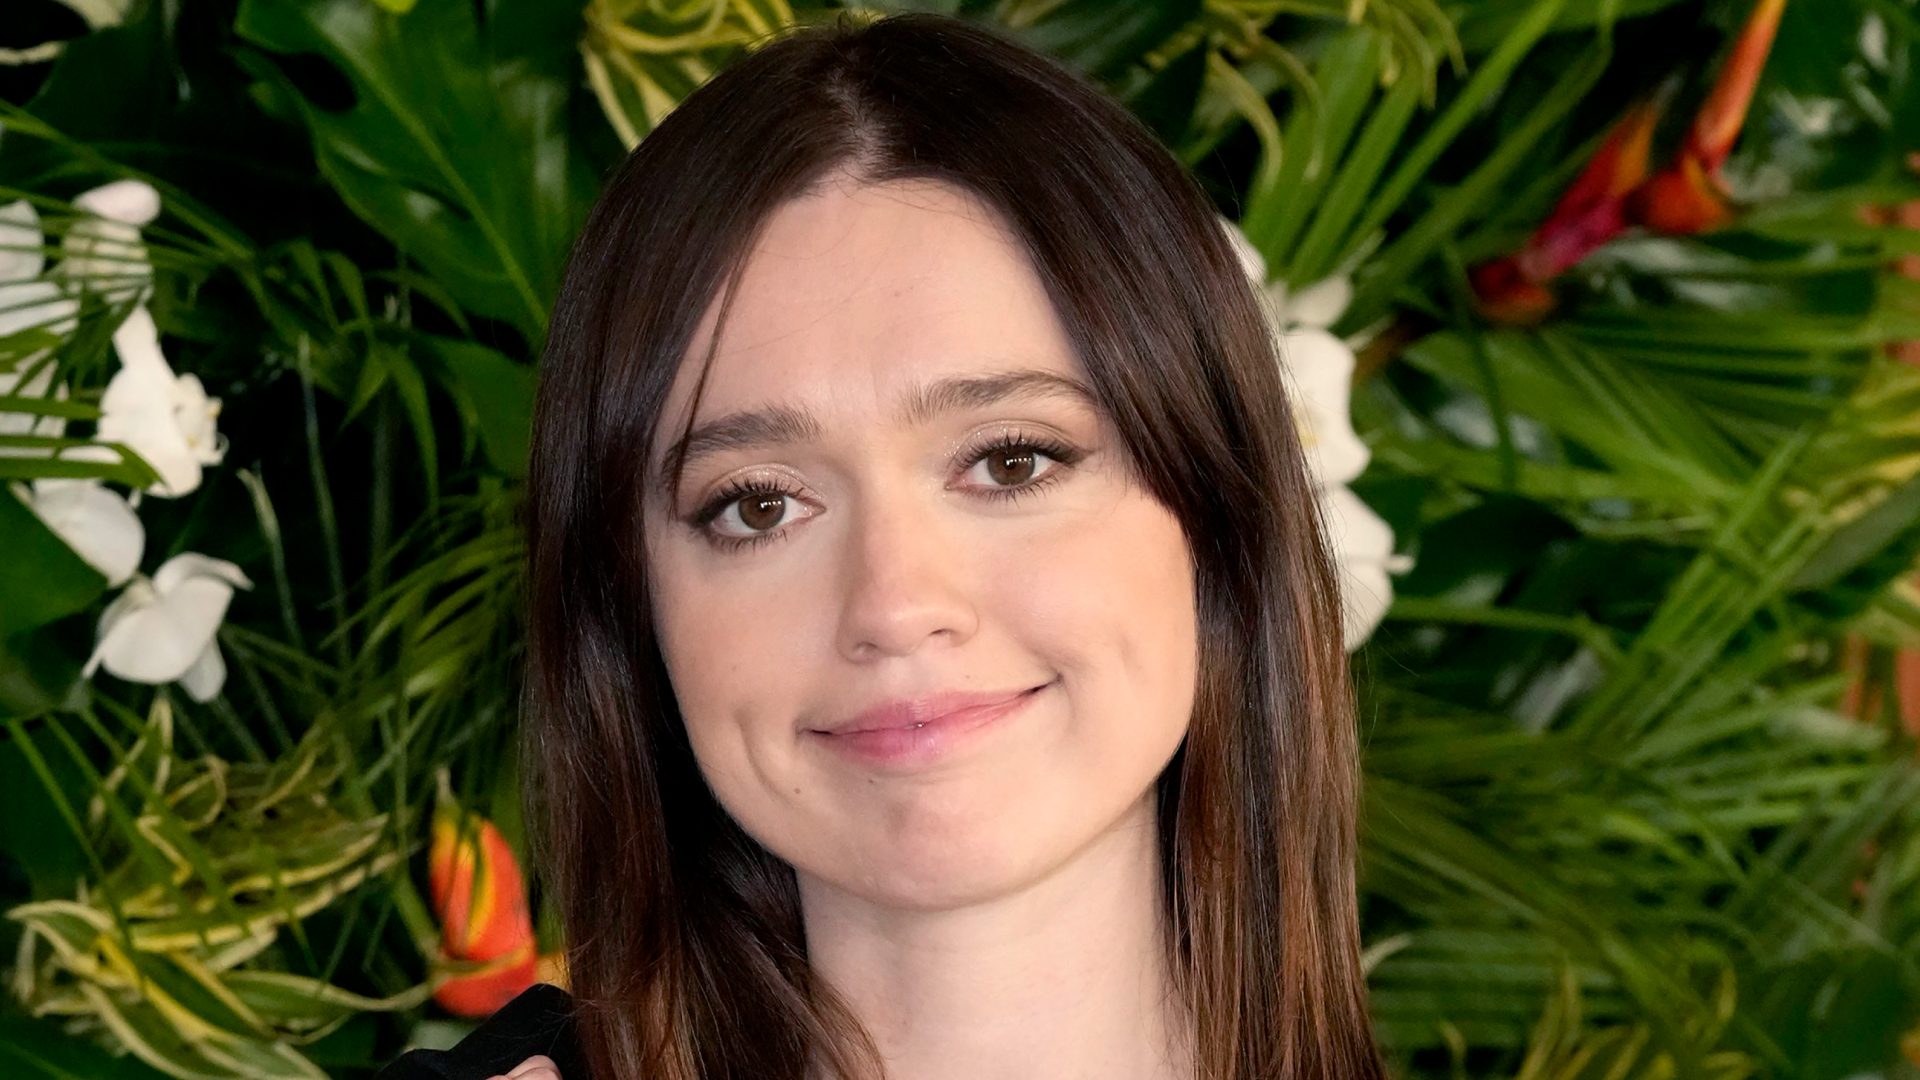
The "Whimsy Pixie" Is Here and Emma Stone Is Leading the Way
Summer trend alert.
-
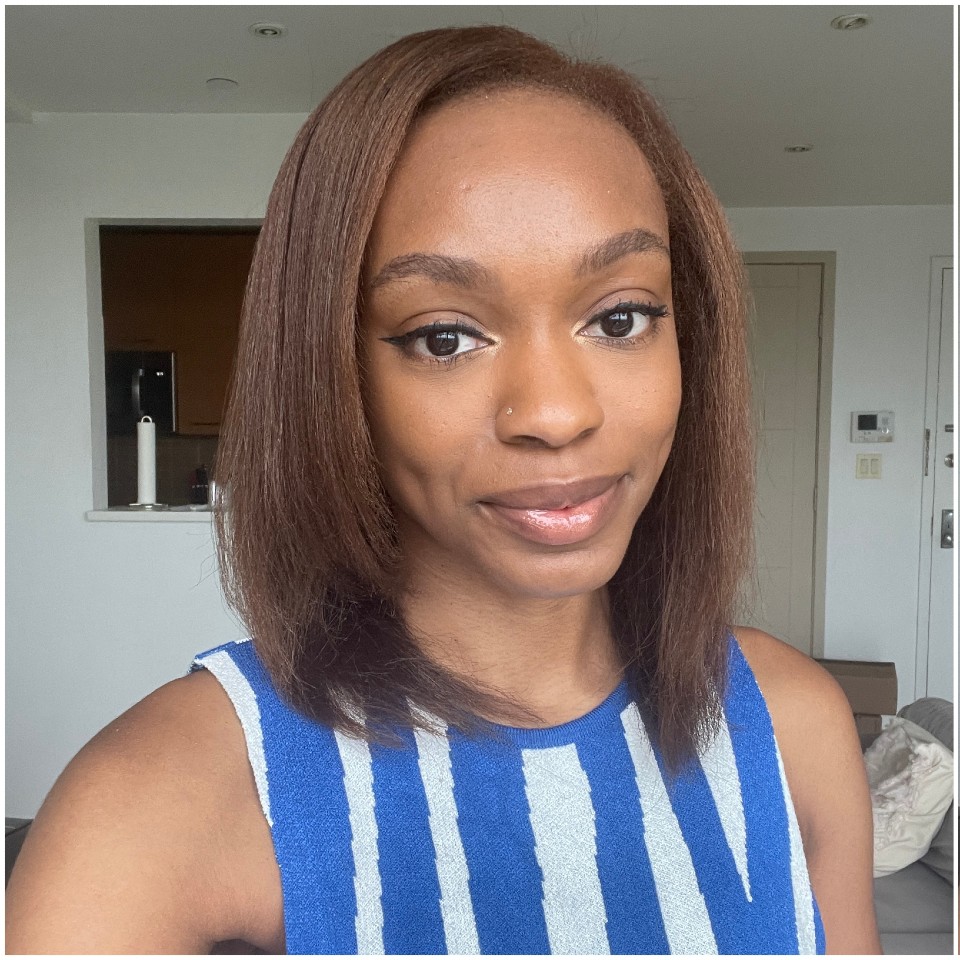
My Silk Press Is Officially Humidity-Proof Thanks to These 10 Hair Products
Frizz doesn't stand a chance.
-
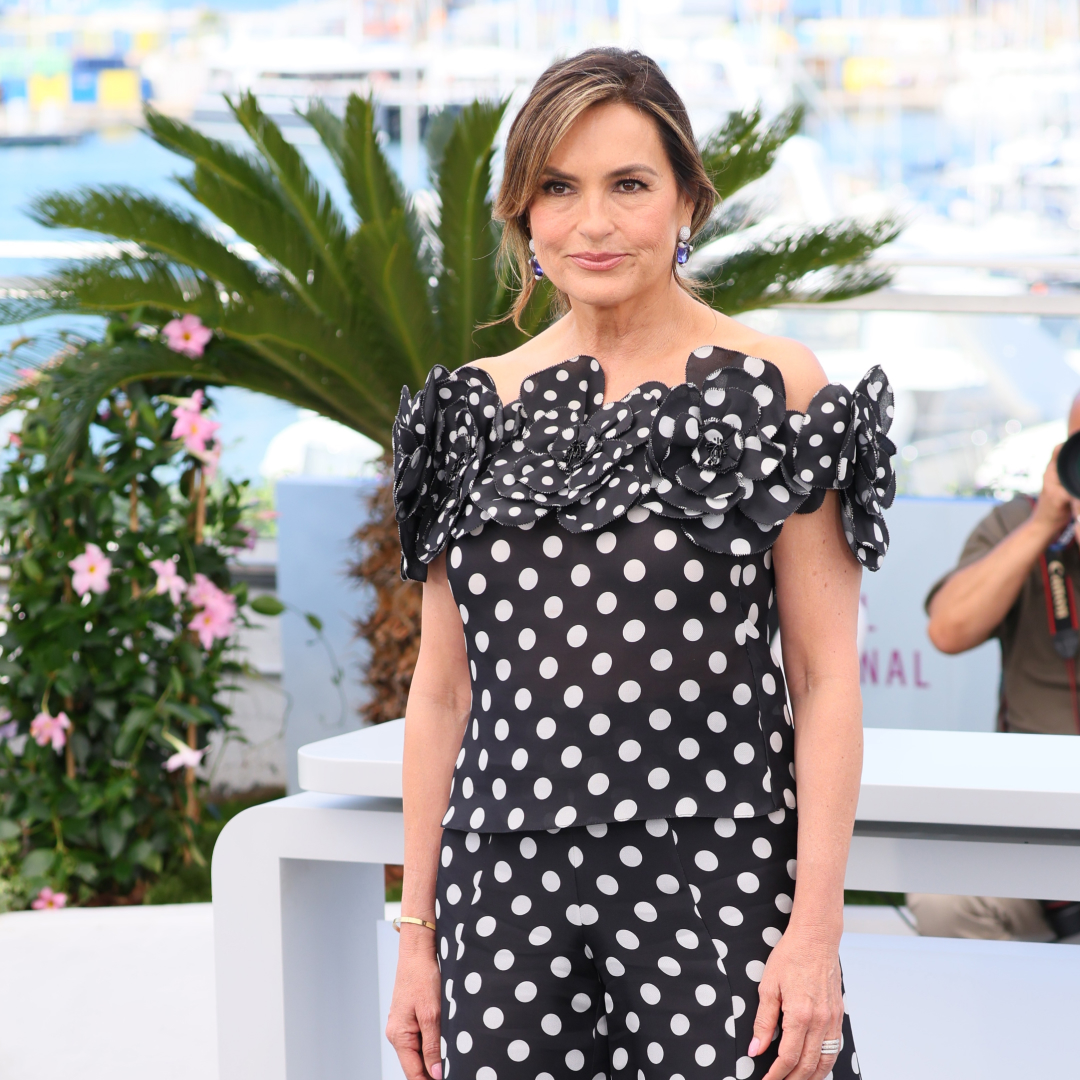
Case Closed: Mariska Hargitay's Curls Look Criminally Good
This just in.
-
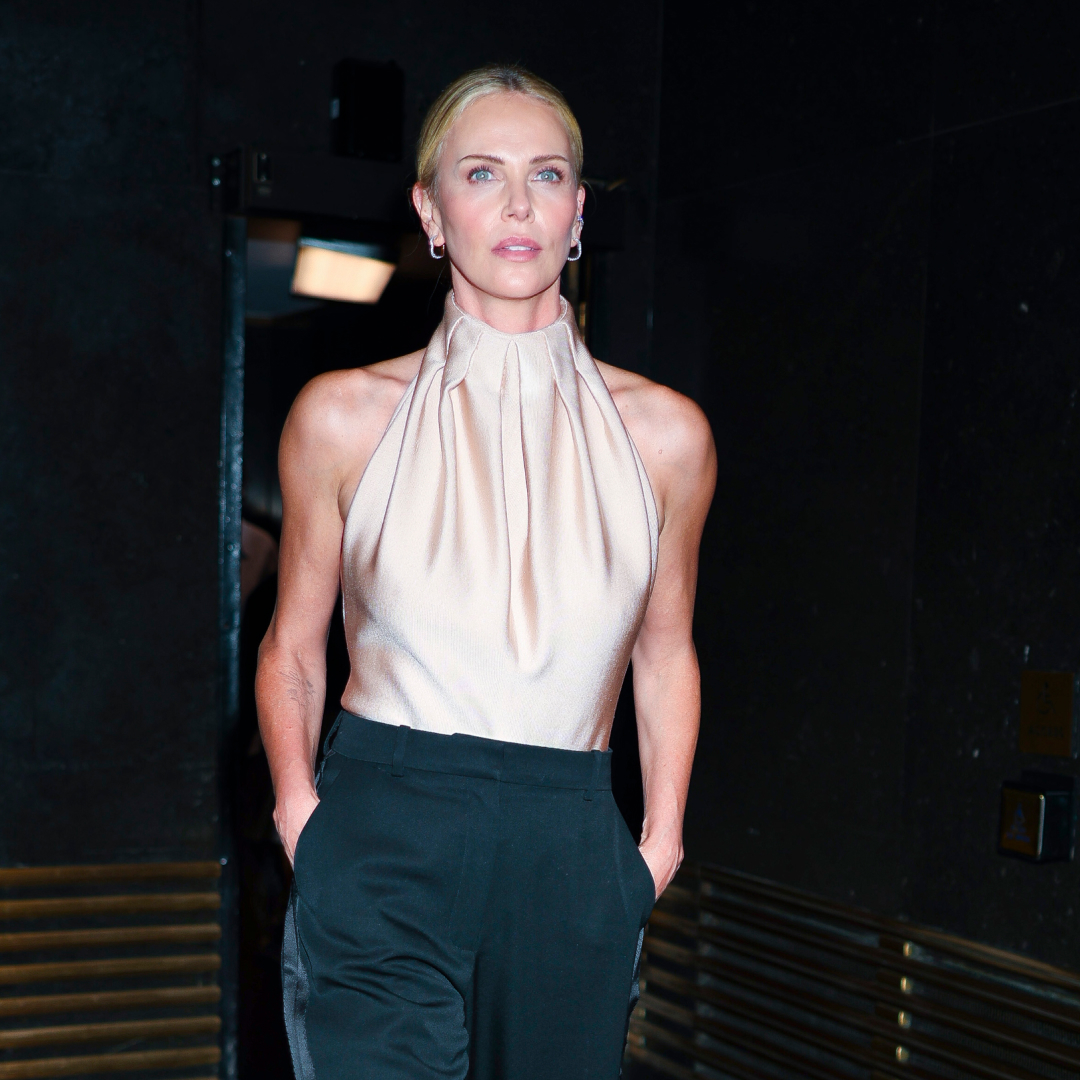
Charlize Theron Gave Her Signature Bob the '60s Treatment
Later that night, her hair did a full 180.
-

Scarlett Johansson Brought Barbie Dream Hair to the 'Jurassic World Rebirth' Red Carpet
Classic glam with a playful twist.
-
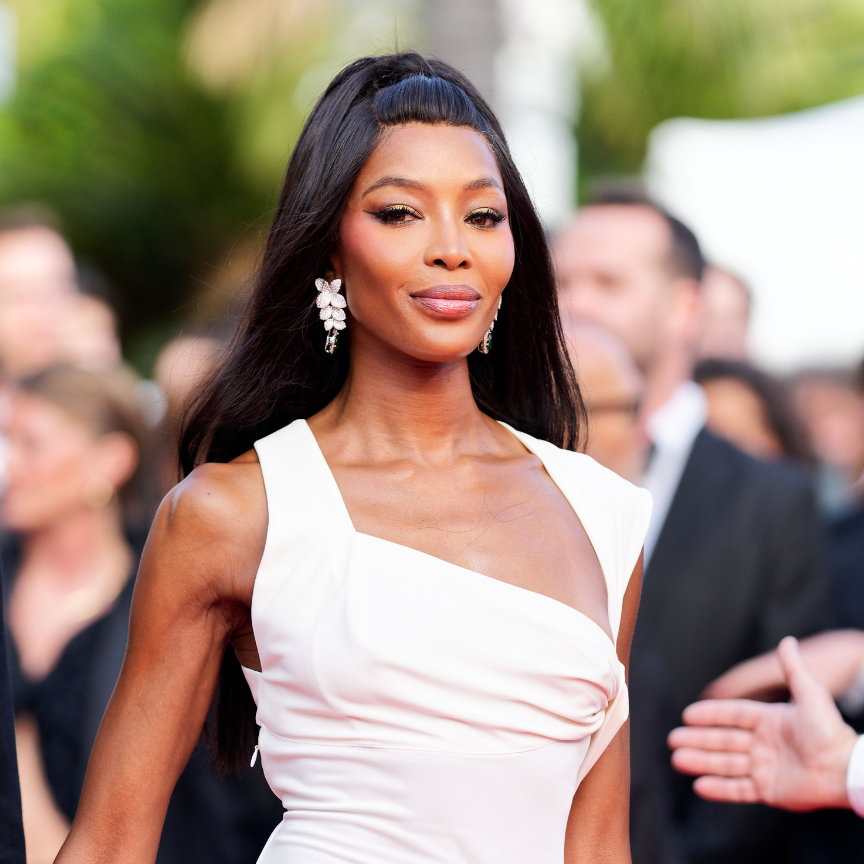
Naomi Campbell Couldn't Have Picked a Better Time to Go Blonde
It's really her perfect shade.
-
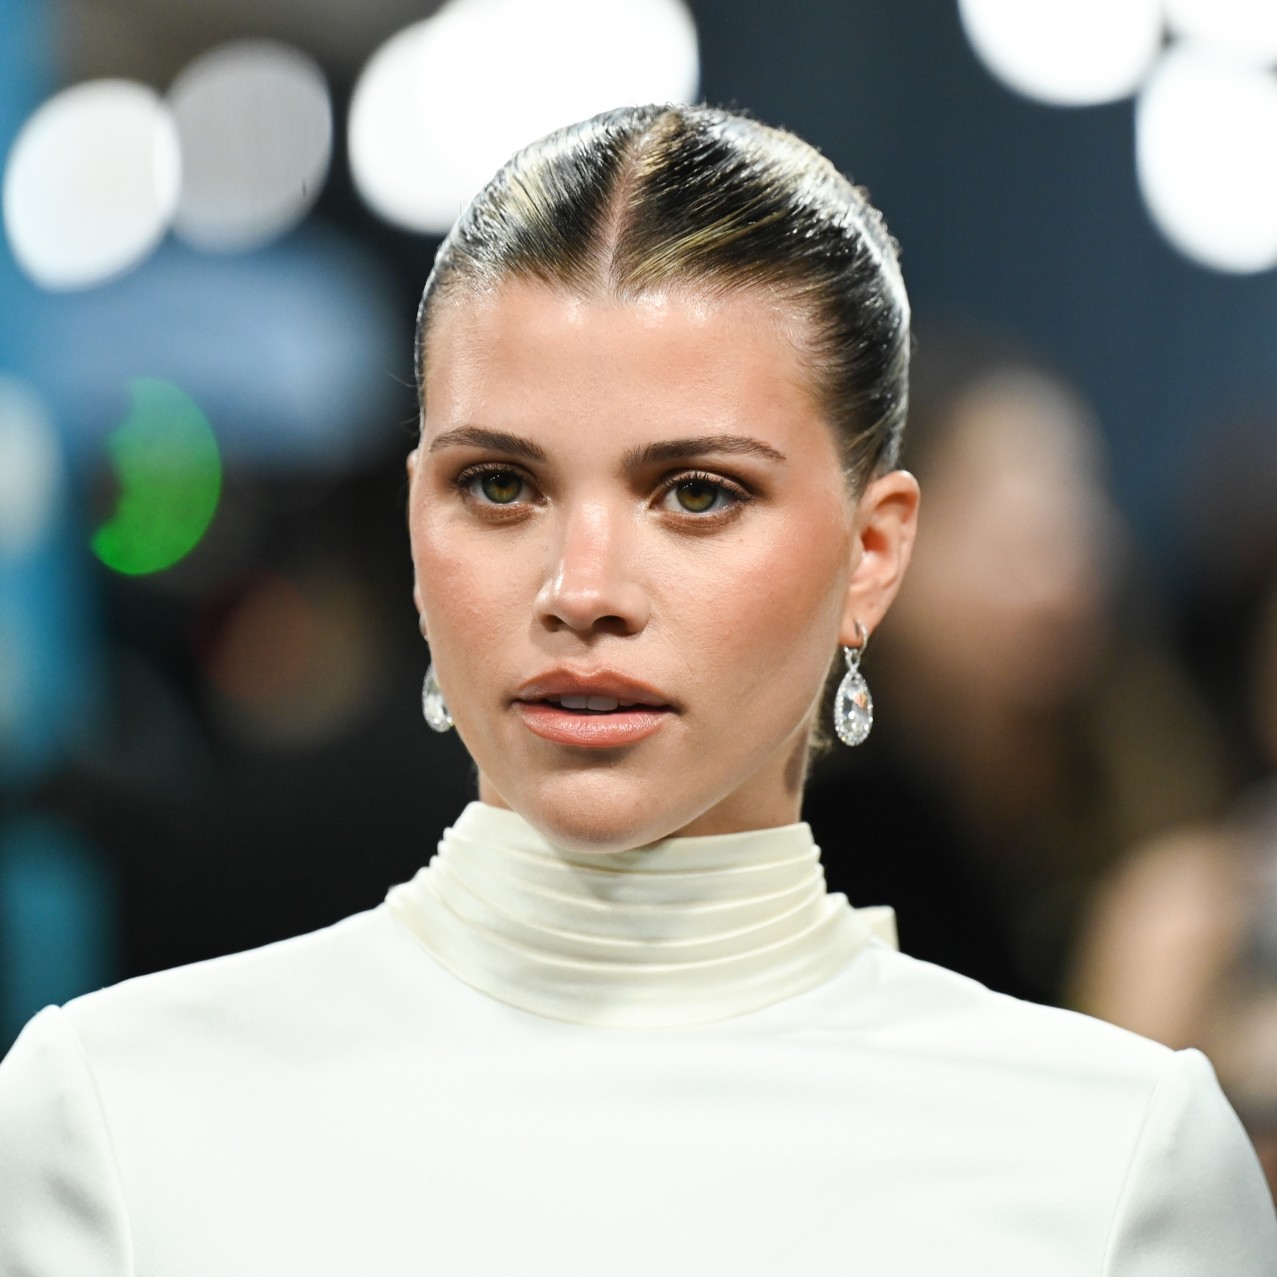
Not Even Sofia Richie Could Resist Cutting Her Hair into a Bob This Summer
The model just debuted her shortest haircut in years.
-

Selena Gomez Traded In Her Straight Lob for a Shaggy Wolf Haircut
The bangs are back.
-
This Nourishing Routine Saved My Curly, Color-Treated Hair from Dryness, Frizz, and Breakage
They're truly lifesavers.
-
After Trying This Under-$10 Air Dry Product, I Won't Even Look at a Hot Tool Again
Because I'd rather be at the beach than with my blow dryer.
-
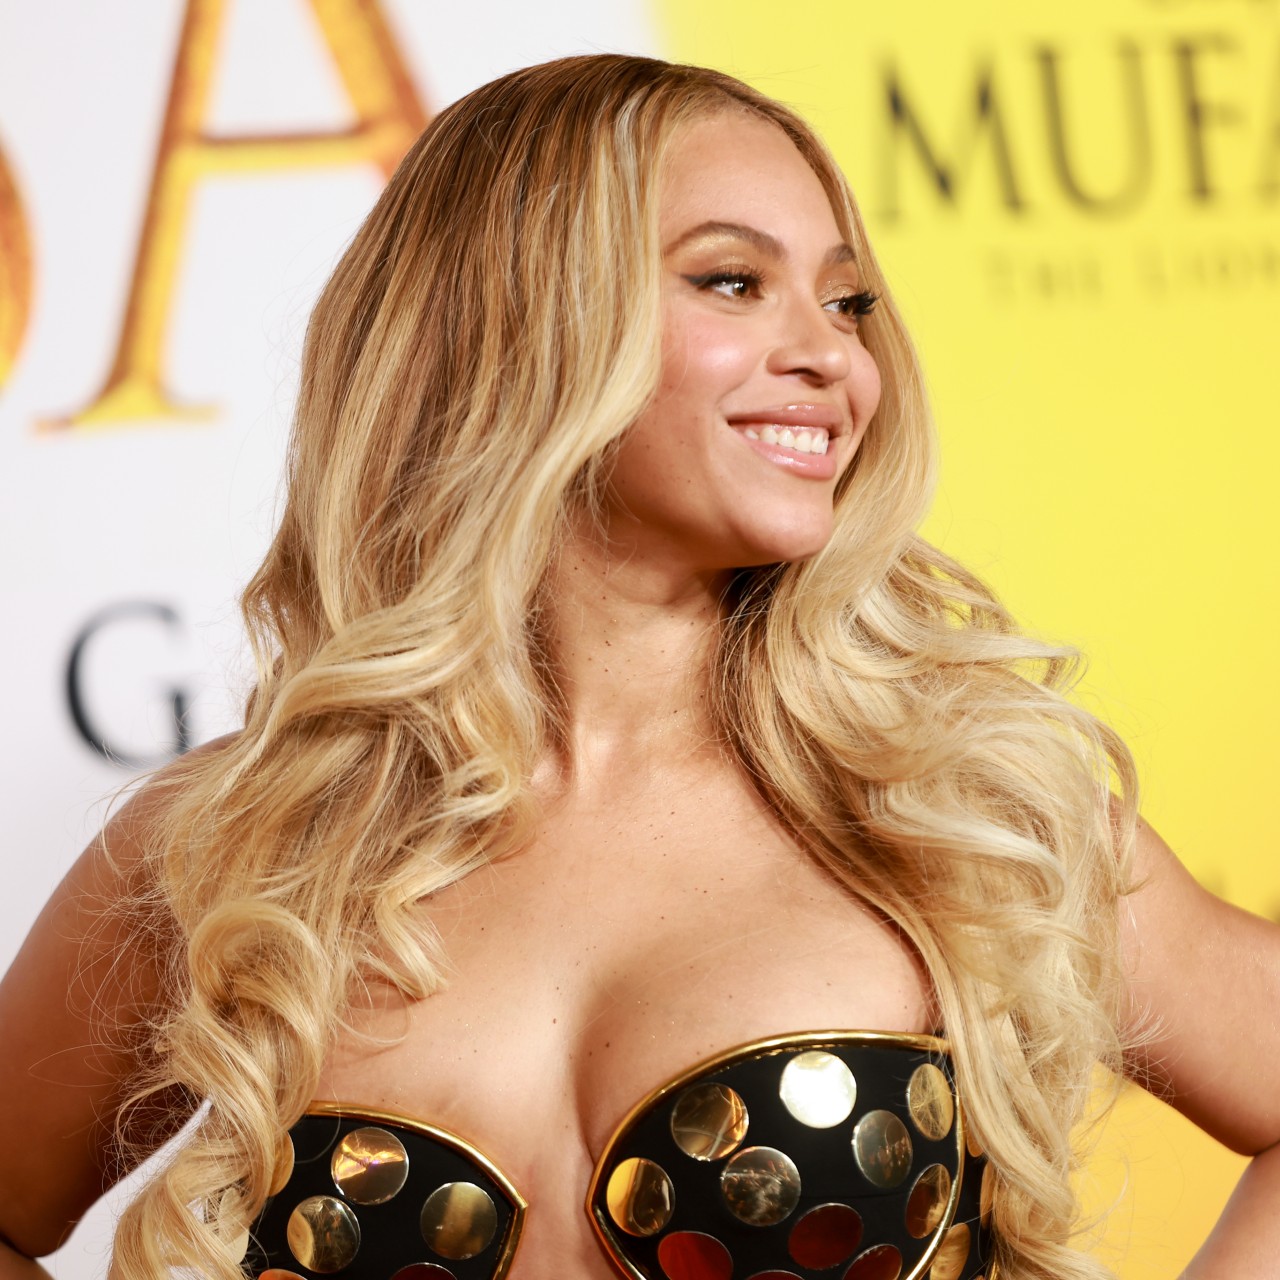
Beyoncé's Scalp Psoriasis Admission Is Making a Lot of People Feel Seen
"Me and Beyoncé having dry scalp issues is not something I anticipated."
-
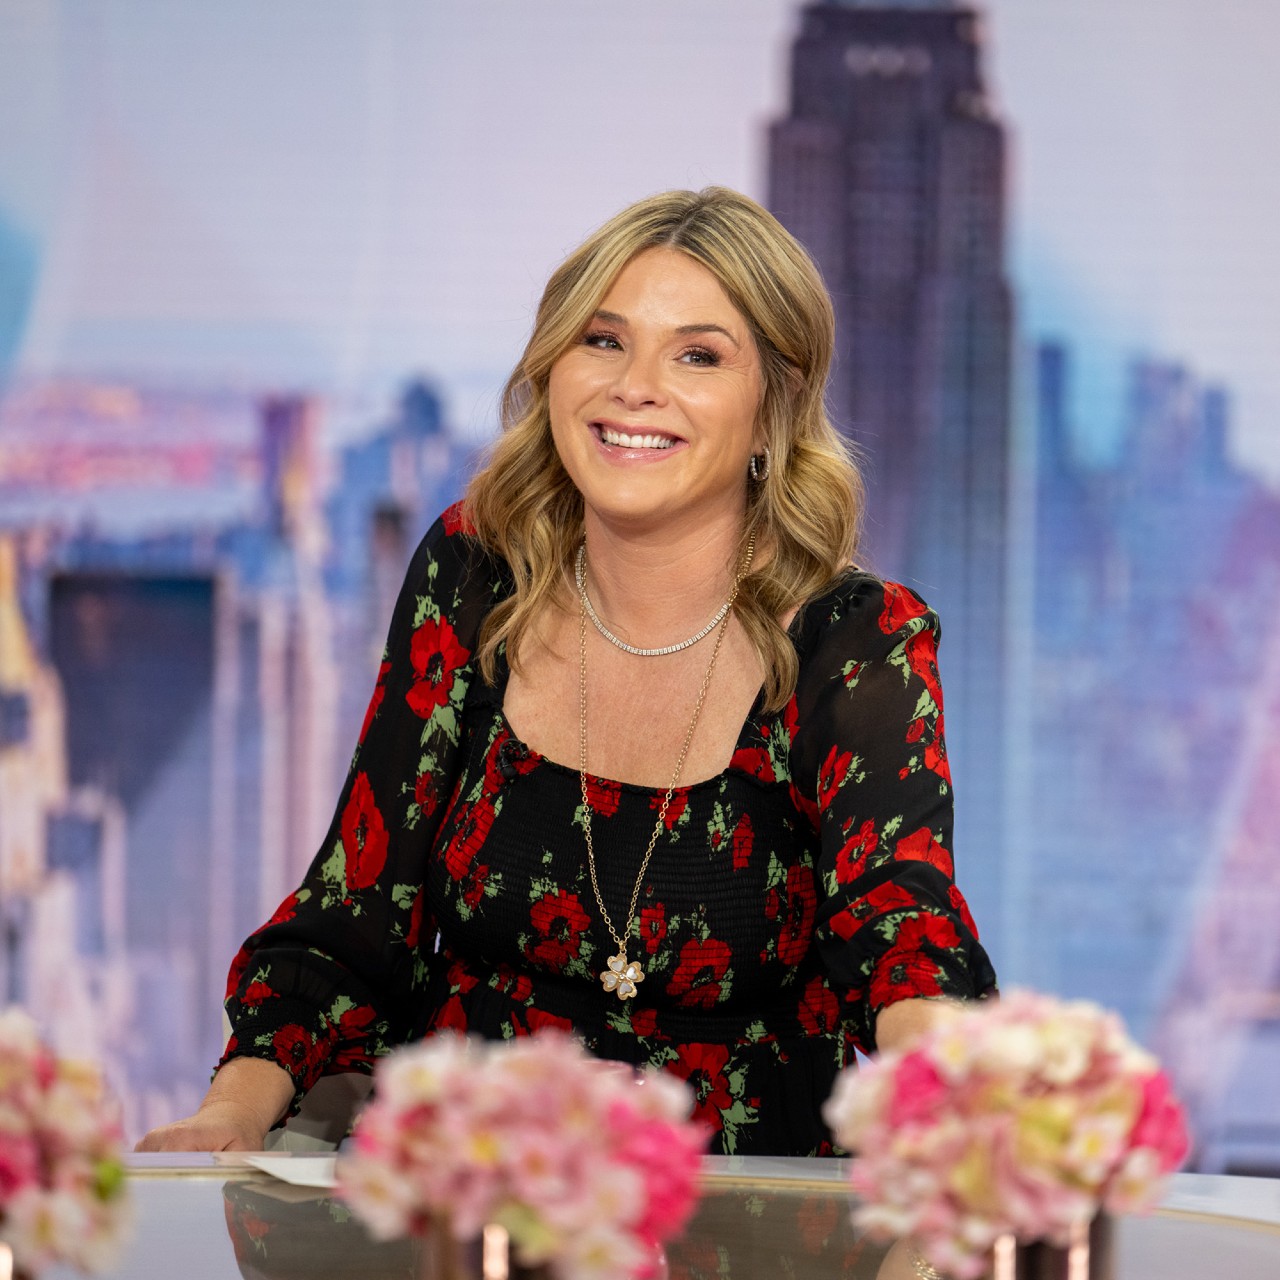
Jenna Bush Hager Is the Newest Member of the Cunty Little Bob Club
She even cut it live on air.
-
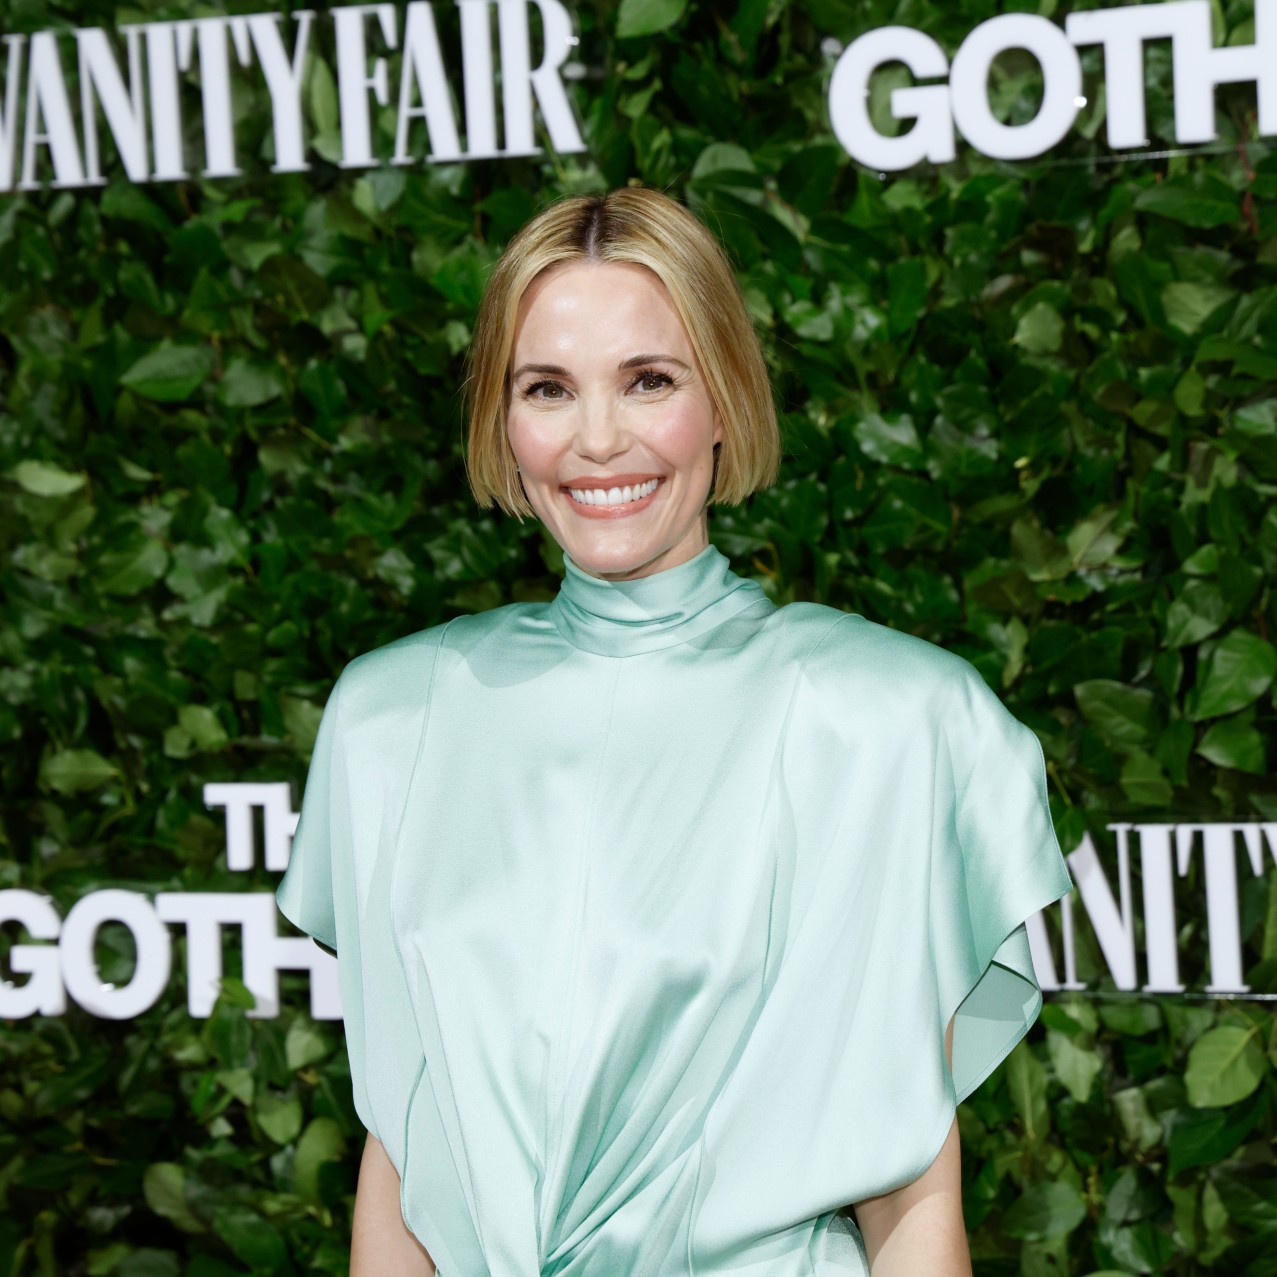
Leslie Bibb Gave Her Cunty Little Bob the Beach Wave Treatment
It's like vacation hair without the vacation.
-
New York City It Girls Are Lining Down the Block for This Face-Framing Haircut
Layers on layers.
-

My Camel Coat Blonde Never, Ever Looks Brassy With This Simple, Five-Step Routine
Camel-coat hair is my trademark.
-
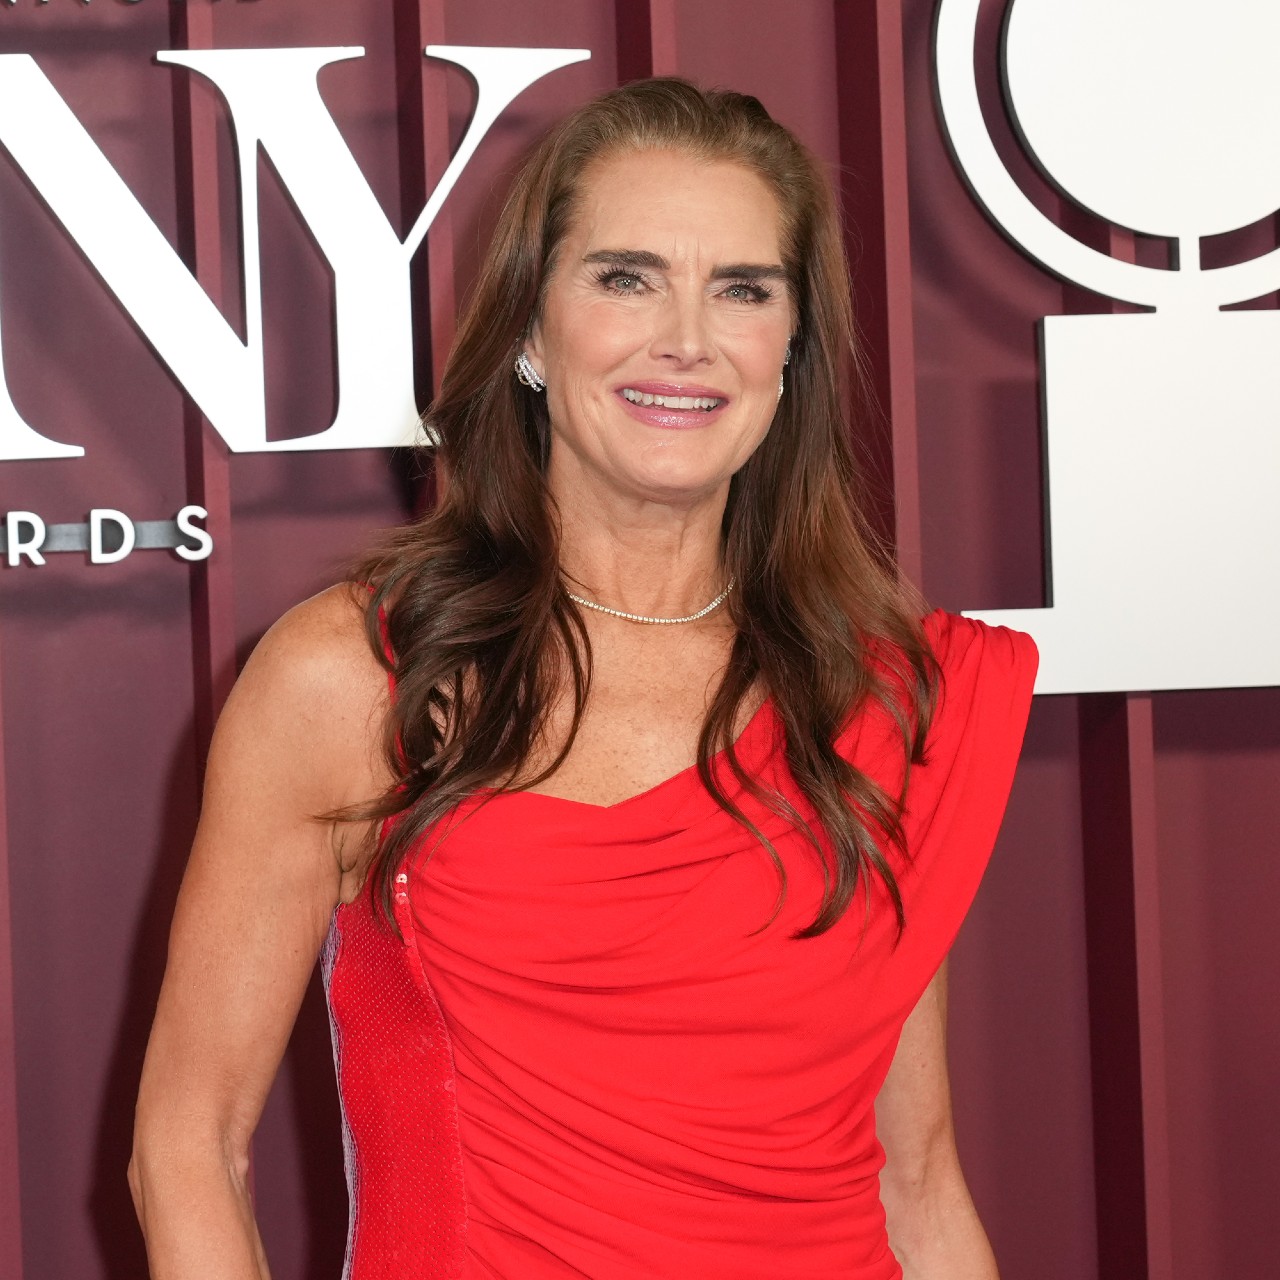
Brooke Shields's Latest Red Carpet Hairstyle Proves She's Still the Ultimate Cool Girl
She's giving hair inspiration for days.
-
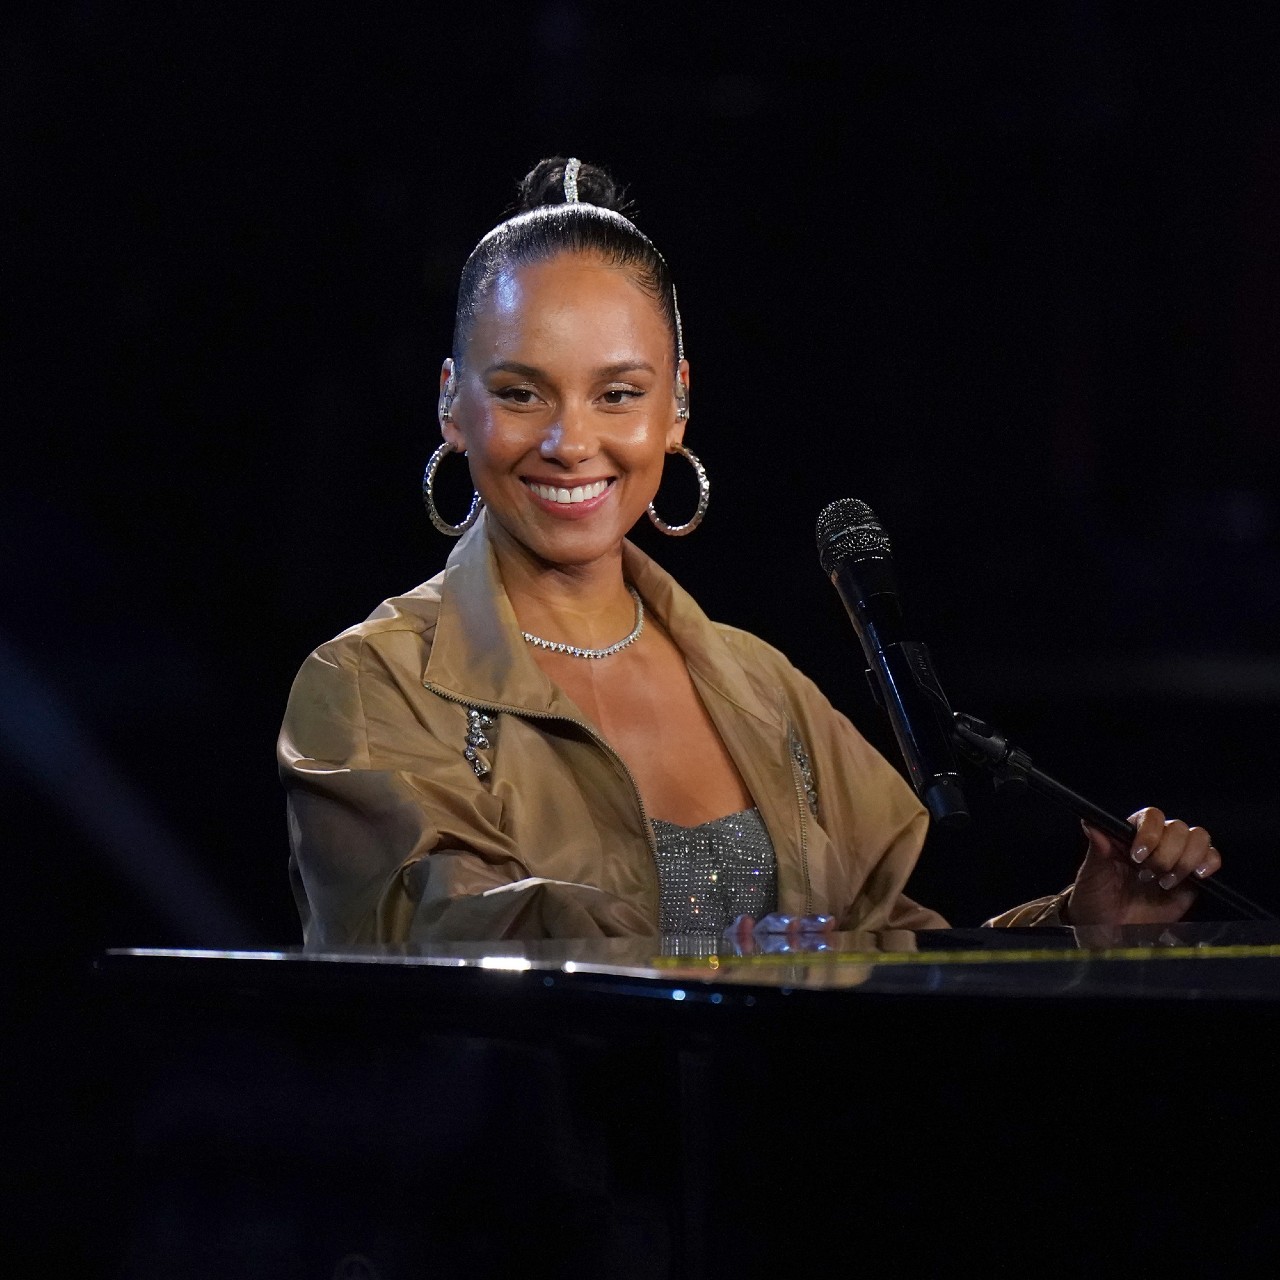
Alicia Keys Embellished Her Cornrows with the Most Perfect Summer Accessory
You can really never go wrong with hair jewelry.
-
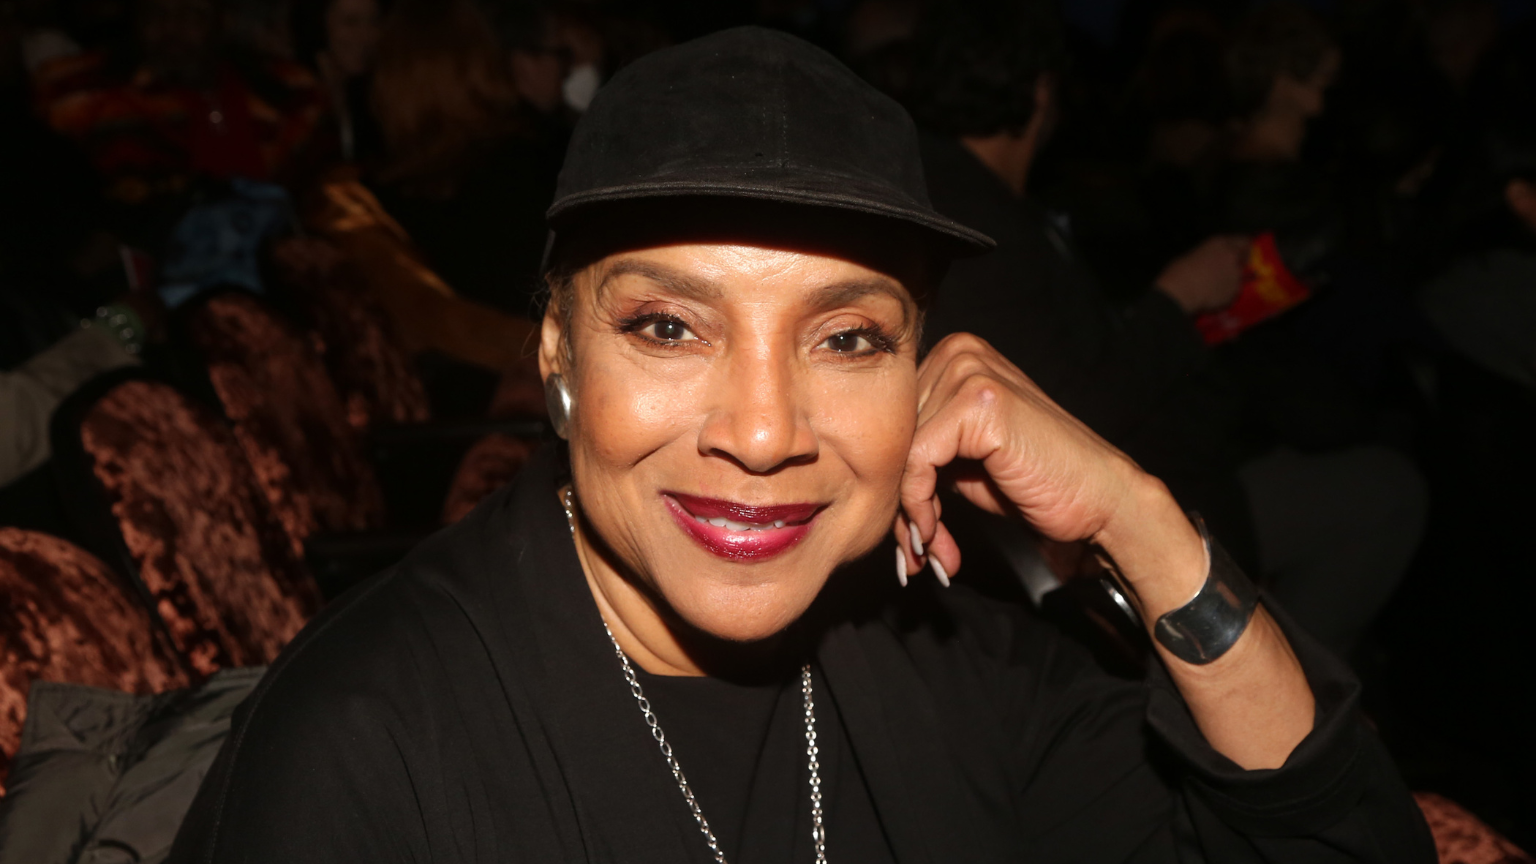
Phylicia Rashad Wore Silver Micro Braids, So Now I Want Silver Micro Braids
A true trendsetter.
-

Taylor Swift Blessed Us With the Ultimate Ponytail Hairstyle Hack
Plus, it can be done in minutes!
-
Aimee Lou Wood’s Low Bun Will Make You Rethink Going Short For Summer
Bobs, step aside—it's time for long hair to shine.
-
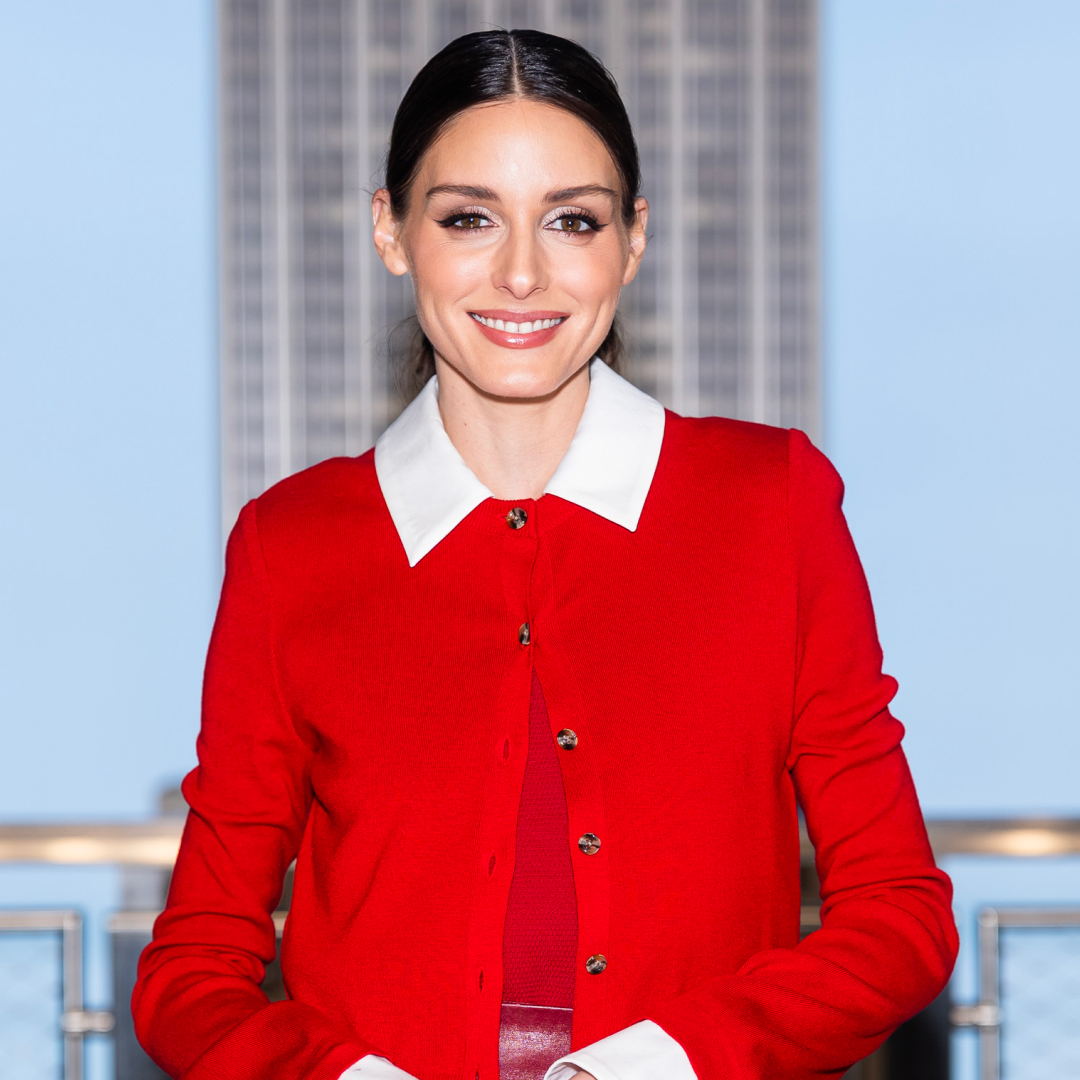
Who Needs a Blow Dryer? Olivia Palermo's Bob Says No Thanks
Wet hair, don't care.
-
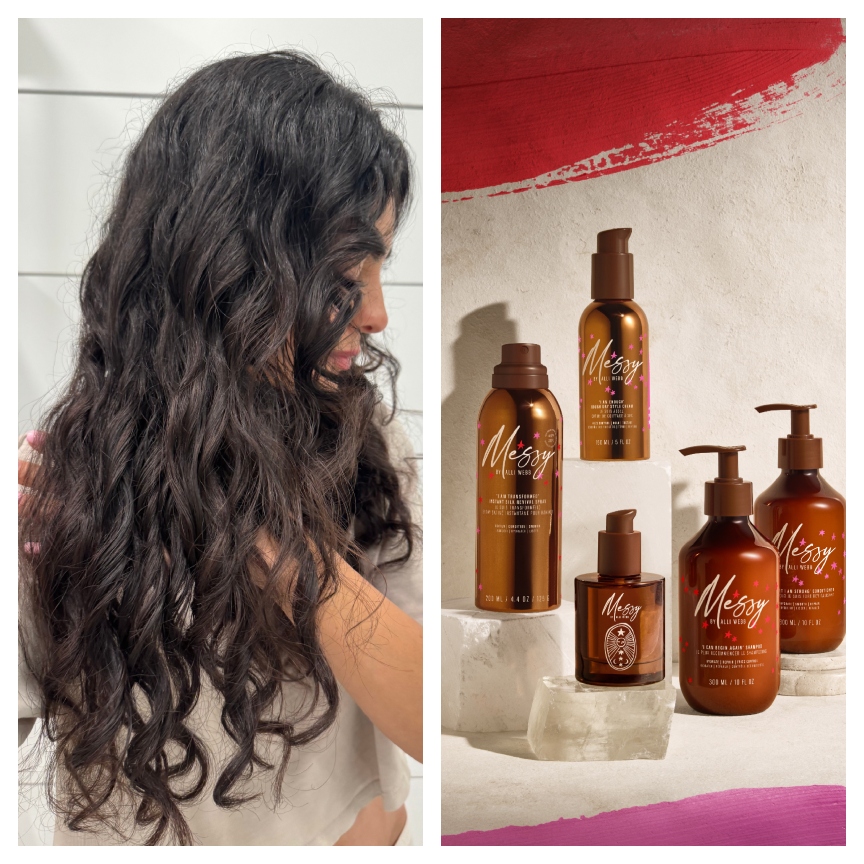
I Tossed My Entire Haircare Routine for the Messy Method and My Wavy Texture Has Never Looked Better
Alli Webb's new brand to the rescue.
-

Keke Palmer’s Bob Is Red Hot Ahead of the Summer
It's both blunt and bouncy.
-
Natalie Portman’s Lob Is Having the Best Euro Summer
If I were a hairstyle, I’d be this one.


