Applying Fake Eyelashes Is My Best Kept Secret for Professional-Looking Glam
The ultimate holiday party beauty hack.

Select the newsletters you’d like to receive. Then, add your email to sign up.
You are now subscribed
Your newsletter sign-up was successful
Want to add more newsletters?
Delivered daily
Marie Claire Daily
Get exclusive access to fashion and beauty trends, hot-off-the-press celebrity news, and more.

Sent weekly on Saturday
Marie Claire Self Checkout
Exclusive access to expert shopping and styling advice from Nikki Ogunnaike, Marie Claire's editor-in-chief.
Once a week
Maire Claire Face Forward
Insider tips and recommendations for skin, hair, makeup, nails and more from Hannah Baxter, Marie Claire's beauty director.

Once a week
Livingetc
Your shortcut to the now and the next in contemporary home decoration, from designing a fashion-forward kitchen to decoding color schemes, and the latest interiors trends.

Delivered Daily
Homes & Gardens
The ultimate interior design resource from the world's leading experts - discover inspiring decorating ideas, color scheming know-how, garden inspiration and shopping expertise.
Few beauty tricks deliver an instant transformation quite like a pair of fake lashes. They lift, open, and brighten my eyes, taking my look from regular-degular to professional-looking in a matter of minutes. But the question remains: Is applying false lashes actually easy?
Don't get me wrong; I've accidentally glued my lids together, walked out the door with my lashes pointing in different directions, and watched one of my falsies fall off my face in the middle of an event. The reality is that applying falsies is a skill, not a stroke of luck. (I would know. I've practiced plenty.)
A well-placed lash (alongside a great eyelash curler and volumizing mascara) can make your entire face look more awake, more polished, and, frankly, more expensive. So I called in two experts—celebrity makeup artists T. Cooper and Lauren D’Amelio—to break down everything you need to know to apply fake eyelashes like a pro.
Ahead, a step-by-step guide for every lash type (strip, cluster, individual, and magnetic), plus pro-approved tips for choosing the right style, applying them perfectly, and making the final result look seamless and natural.
What's the Best Type of Fake Eyelashes?
Not all falsies are created equal, and choosing the right type can completely change the final look. The best option for you depends on how dramatic you want the effect to be, how much time you’re willing to spend applying them, and how natural you want them to appear. Here’s how the pros break down the four main categories.
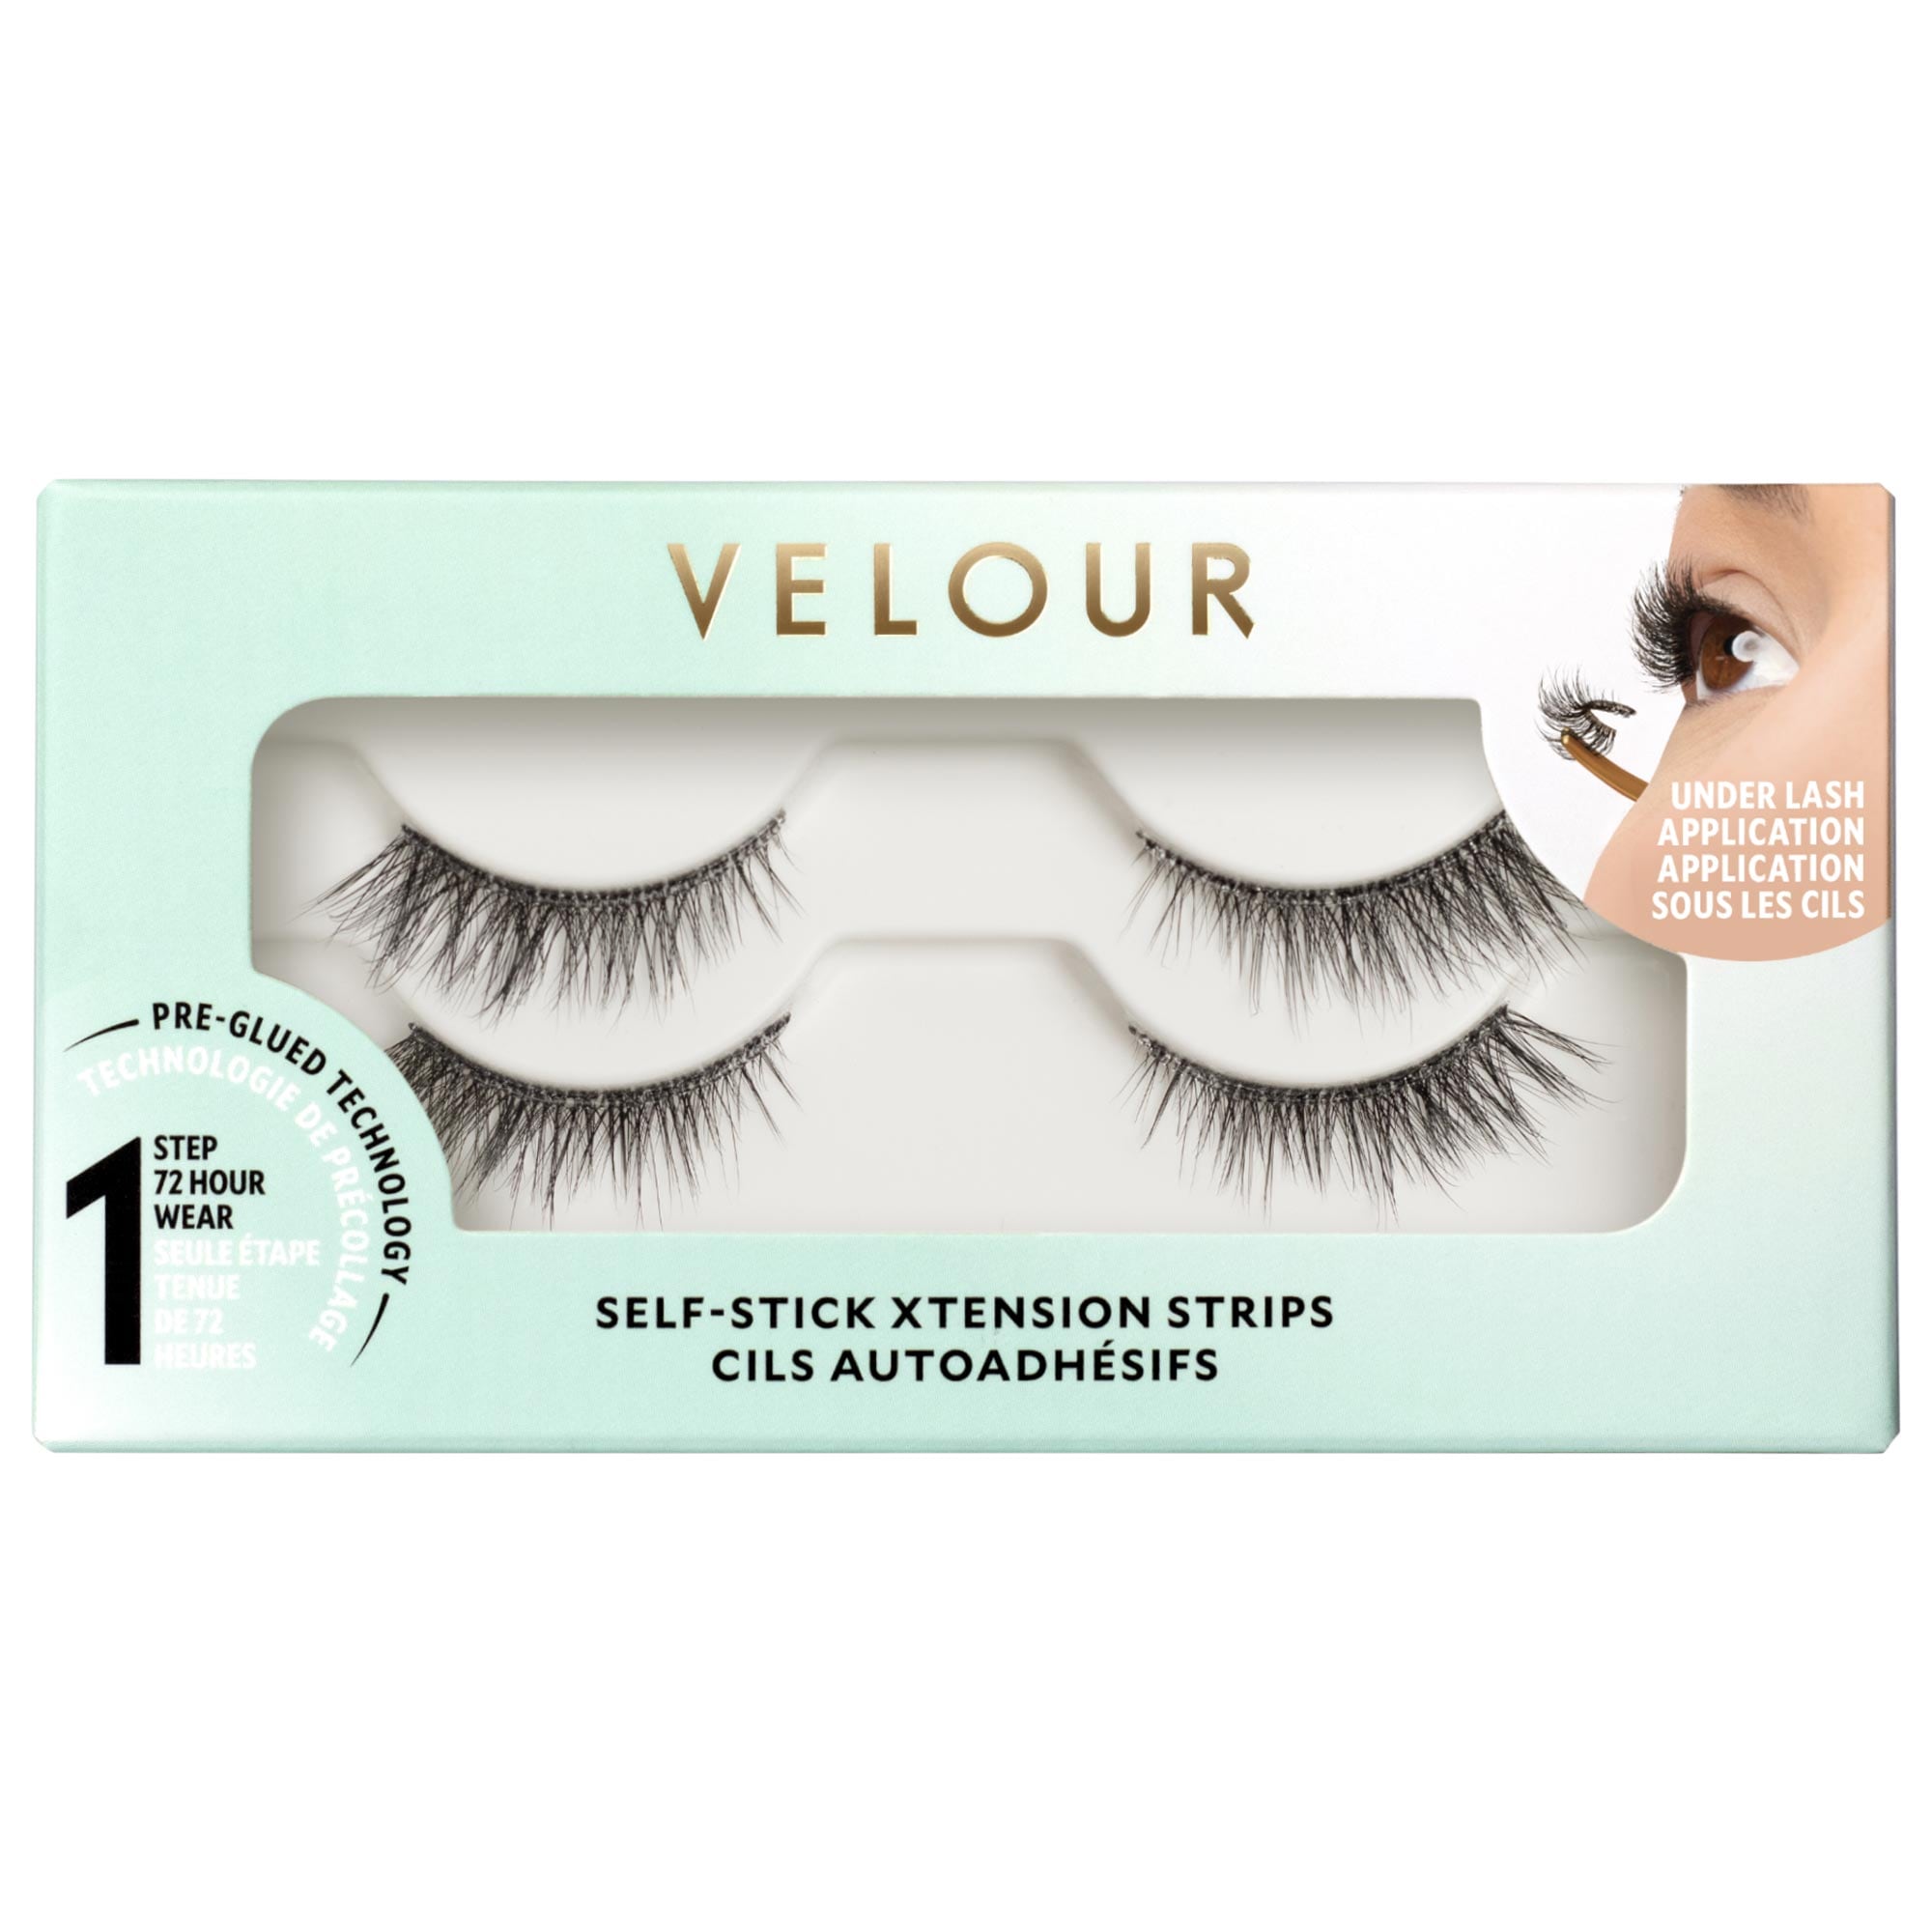
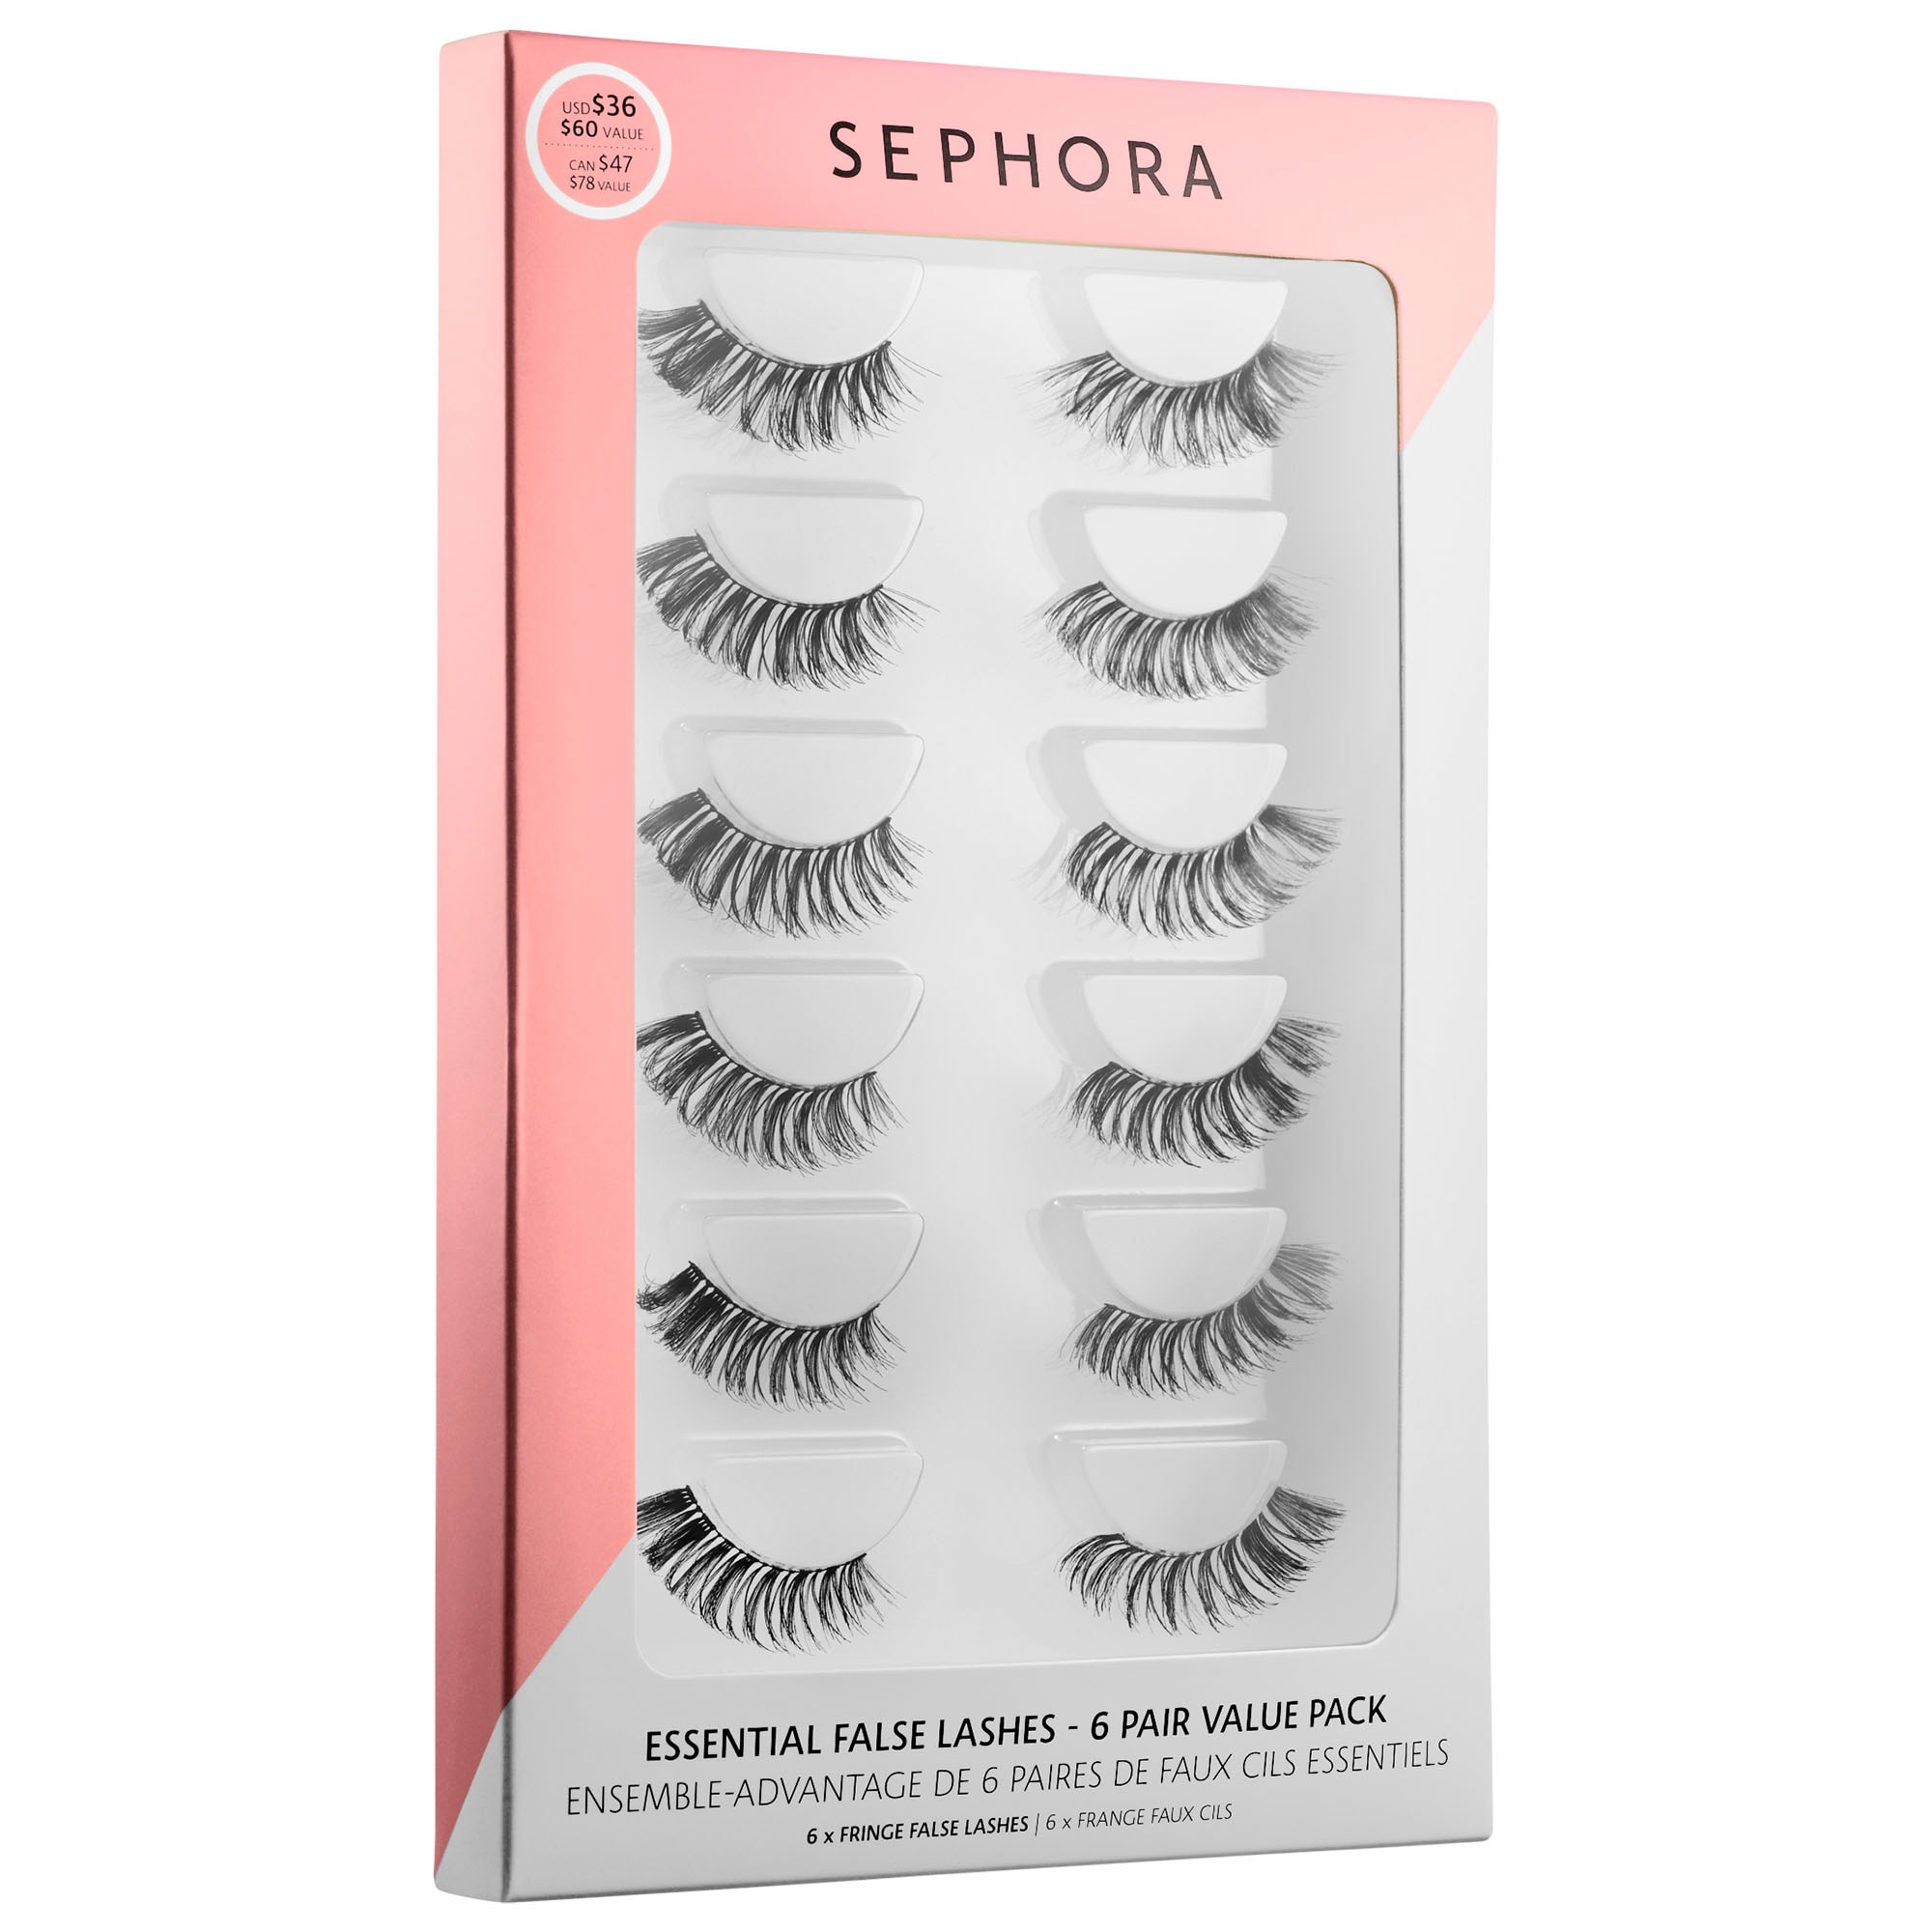
- Strip Lashes: Strip lashes give immediate impact and are great if you want drama with minimal effort. They’re ideal for those who want a more noticeable transformation and prefer a straightforward, one-and-done application.
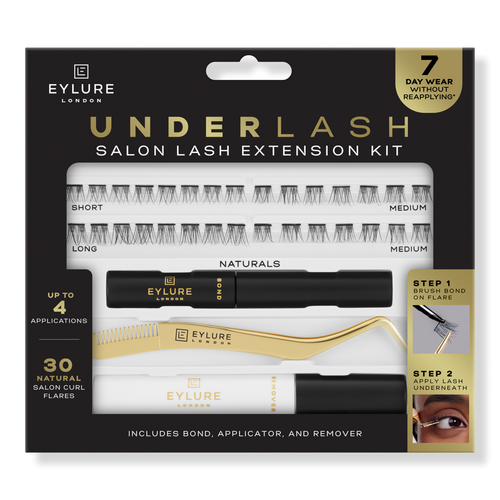
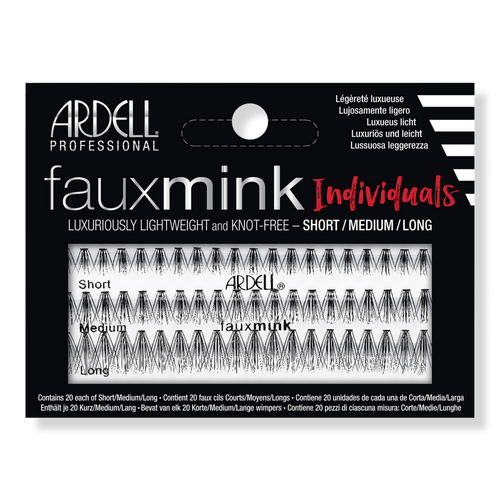
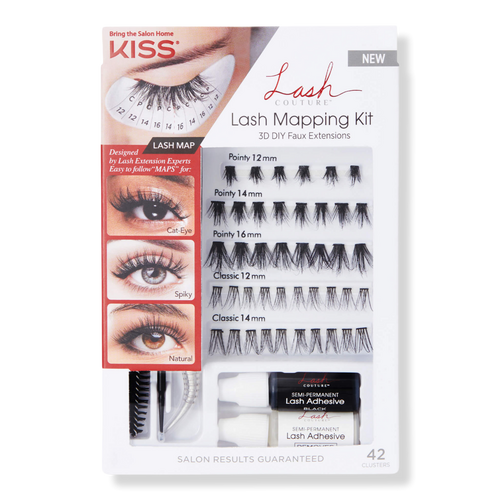
- Cluster Lashes: “Clusters are faster and give a softer fullness with more impact,” says Cooper. “They build glam quickly without looking heavy, especially when placed correctly.” She often uses them on bridal and celebrity clients because they photograph beautifully and create that polished, lifted look without the harshness of a full strip.
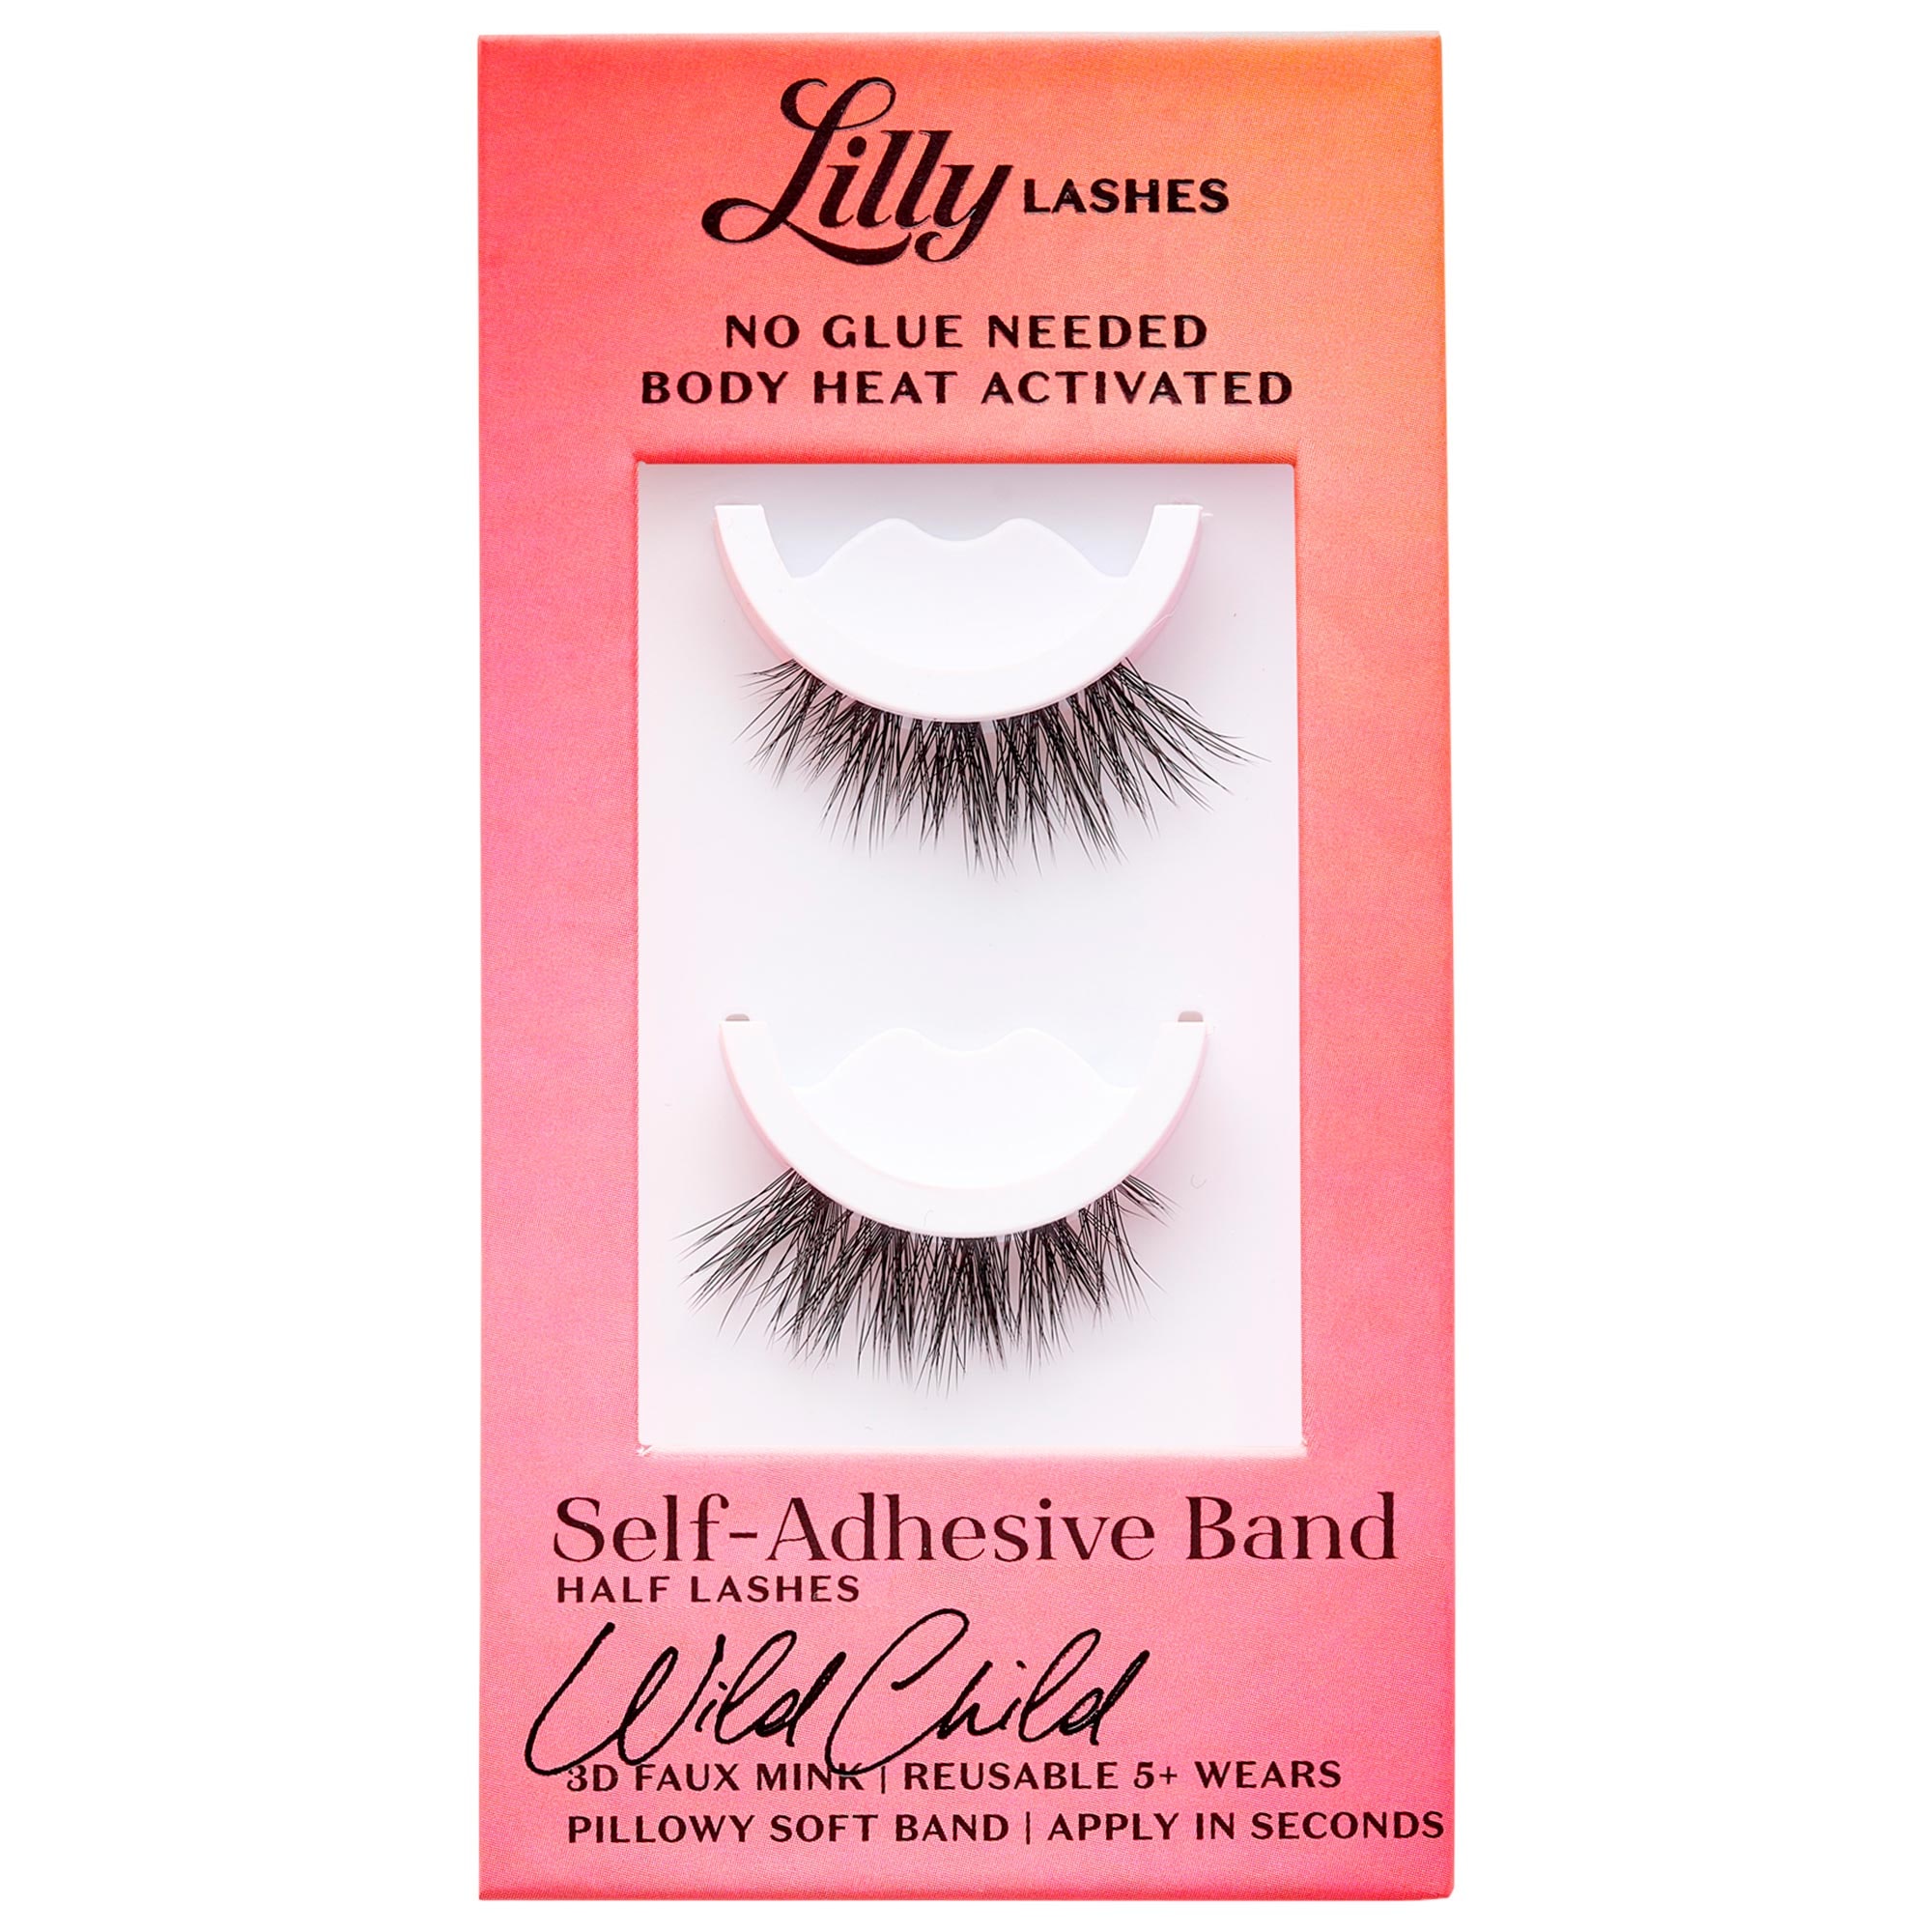
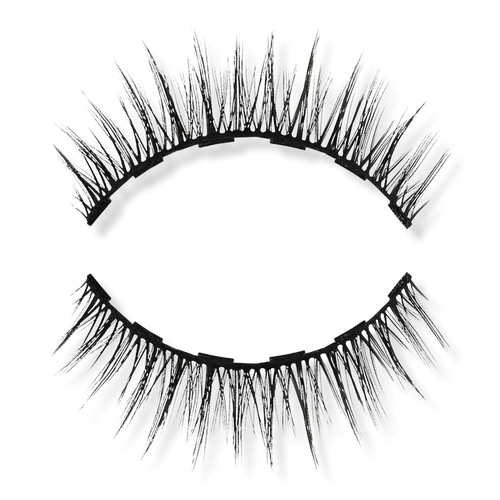
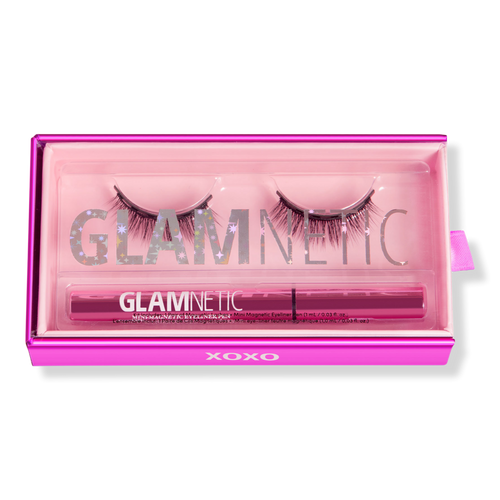
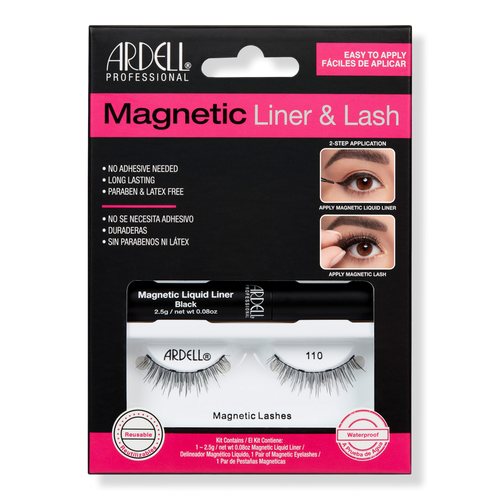
- Magnetic Lashes: Magnetic options are best for convenience and comfort. They’re ideal for anyone who finds glue intimidating, has sensitive eyes, or wants something quick and reusable without the learning curve of individuals
- Individual Lashes: These are the most customizable, but also the most time- and skill-intensive. “Individual lashes give me the most control and the most seamless, natural-looking finish,” says D’Amelio. “I can tailor every single lash to the client’s eye shape.” Most people won’t attempt true individuals at home, but they’re the best choice if you want subtle, ultra-natural enhancement.
How To Choose Your Lash Style
There’s no one-size-fits-all answer when it comes to choosing the right style of falsies. While many people default to eye shape (more on that below), pros say the decision is far more nuanced. “I don’t just go by eye shape,” says Cooper. “I look at the client’s overall face proportion, their natural eye size, and their personal style. Some people can wear a huge lash, and it looks totally natural on them, while others need even the tiniest baby lash trimmed down because it overwhelms their features.” The goal, she adds, is to match the lash to the look the person wants—whether that’s soft and subtle or full glam.
If you do want to use eye shape as a starting point, D’Amelio’s approach is simple: “It’s all about creating the illusion of symmetry, lift, and openness that looks effortless.” Here’s how she tailors placement:
Get exclusive access to fashion and beauty trends, hot-off-the-press celebrity news, and more.
- For Round Eyes: Taper the lash lengths so that the longest pieces sit on the outer third of the eye. This elongates and balances the shape without weighing it down.
- For Almond Eyes: Because this shape is naturally balanced, keep the lengths distributed more evenly across the lash line. Even spacing enhances the eye without altering its proportions.
- For Downturned Eyes: Avoid adding length at the very outer corner, which can pull the eye downward. Instead, place your longest cluster slightly inward, and finish the outer edge with shorter pieces to create a subtle lift.
What Tools Do I Need to Apply Fake Eyelashes?
How to Apply Strip Lashes
- Trim Your Lashes: While it may be tempting to take out your falsies and pop them right on your lash line, it’s important to pause for a second before application to ensure you’ve got the right fit. “Oversized lashes drag the eye down, and take away from the shape rather than enhancing it,” says D’Amelio. “Proper trimming, especially with strip lashes, is essential.” Hold the strip (before adding glue) up to your lid along your natural lash line to gauge the right length, then trim from the outer corner. Pro tip: Take off a tiny bit more than you think you need from each end. Slightly shorter strips are less likely to pop up at the inner or outer corners as the day goes on.
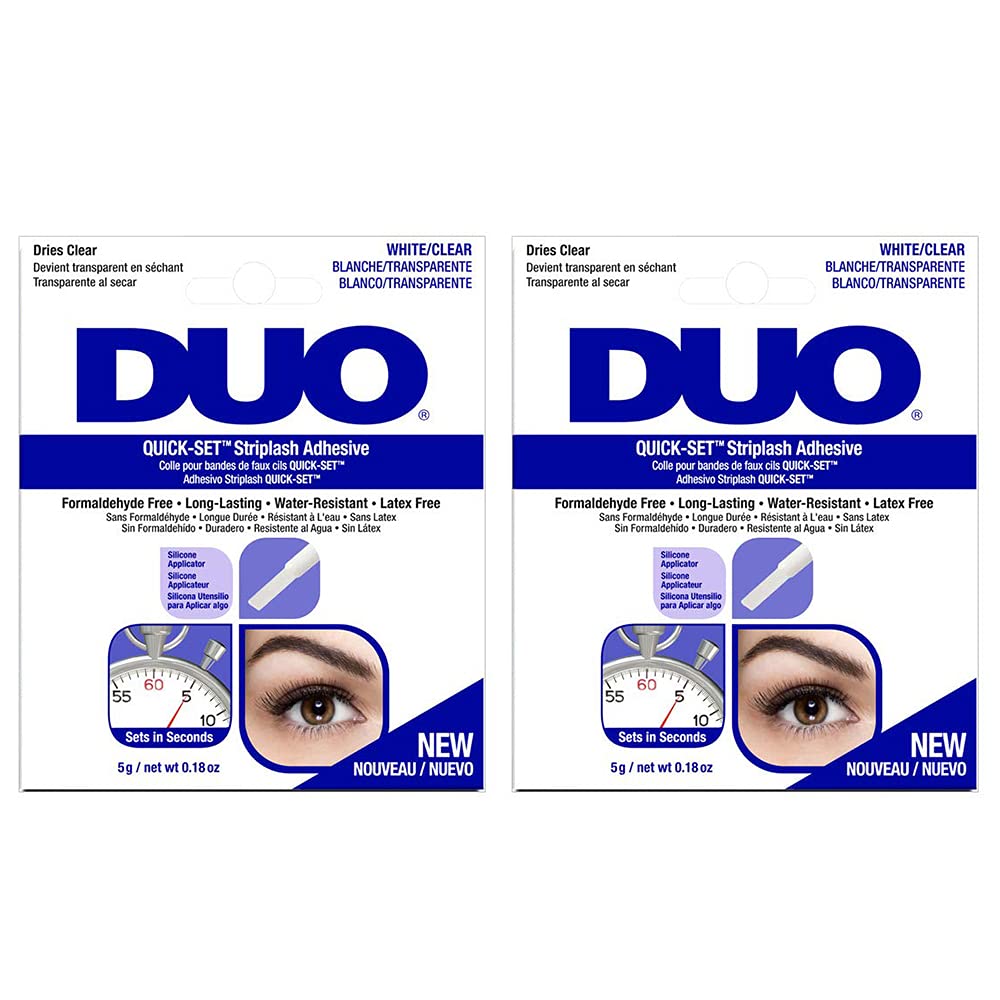
- Apply a Thin Line of Clear Glue and Wait 30 Seconds: Though some people prefer to use black lash glue because it makes the final product appear fuller, Cooper recommends sticking with clear formulas—especially if you’re a beginner. “If you blink or sneeze or move at the wrong second, it will ruin the whole look,” says Cooper. “With clear glue, if the lash shifts, it’s no big deal—you’ll never even see it.” And remember: When it comes to lash glue, less is more, and patience is key. Artists recommend using as little as possible, applying a very thin line to the lash band (never to the lid itself) and waiting for it to get tacky—30-ish seconds should do the trick. “This prevents the lash from slipping around, and keeps the application clean,” says D’Amelio.
- Place the Strip Close to Your Lash Line: To make your falsies look like the real thing, you’ll want to stick them as close to your natural lashes as possible. “If the glue is visible or the lash sits on the lid, it will look messy and feel uncomfortable,” says D’Amelio. The trick, experts say, is to look down into the mirror while you apply. Looking down (instead of straight ahead) flattens your lid, which gives you a clearer view of your lash line and creates the space you need to anchor the strip right where your natural lashes grow.
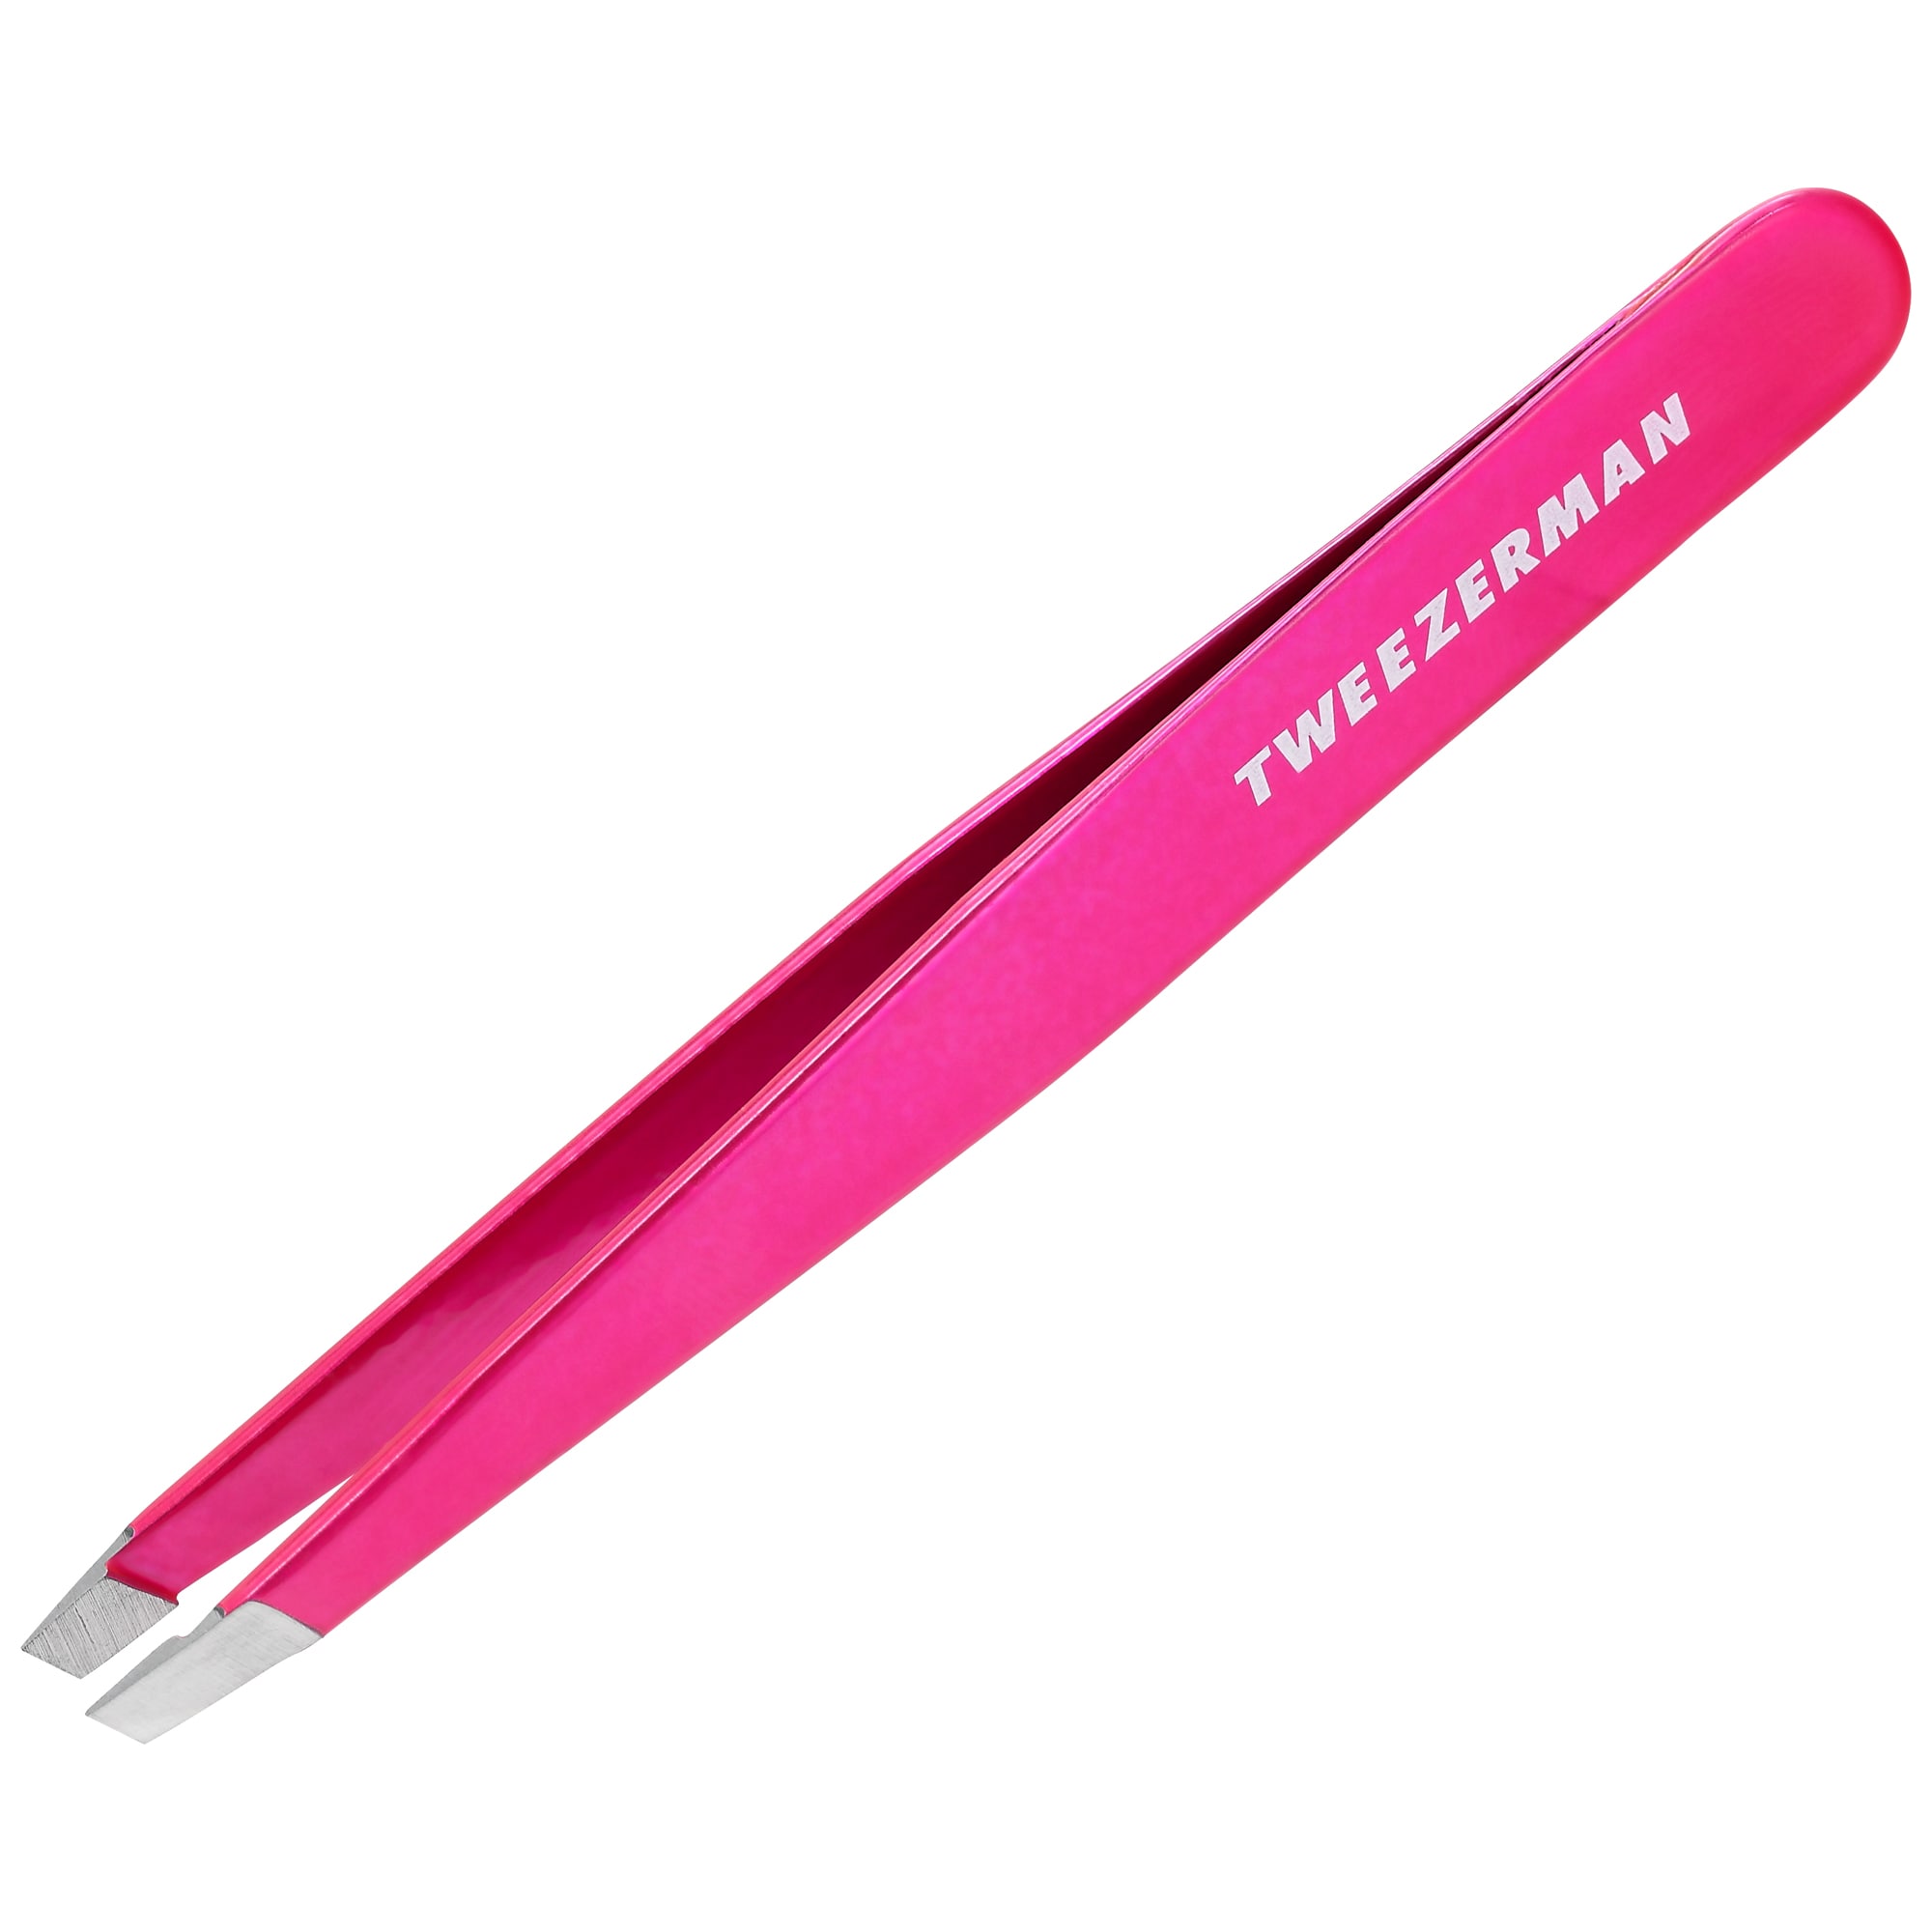
- Secure and Blend: Securing the strip is an inside-out process: anchor the center first, then press the inner and outer corners into place with tweezers or the back of a makeup brush. Once everything is set, run a bit of eyeshadow or liquid liner along the lash line to seamlessly blend the band.
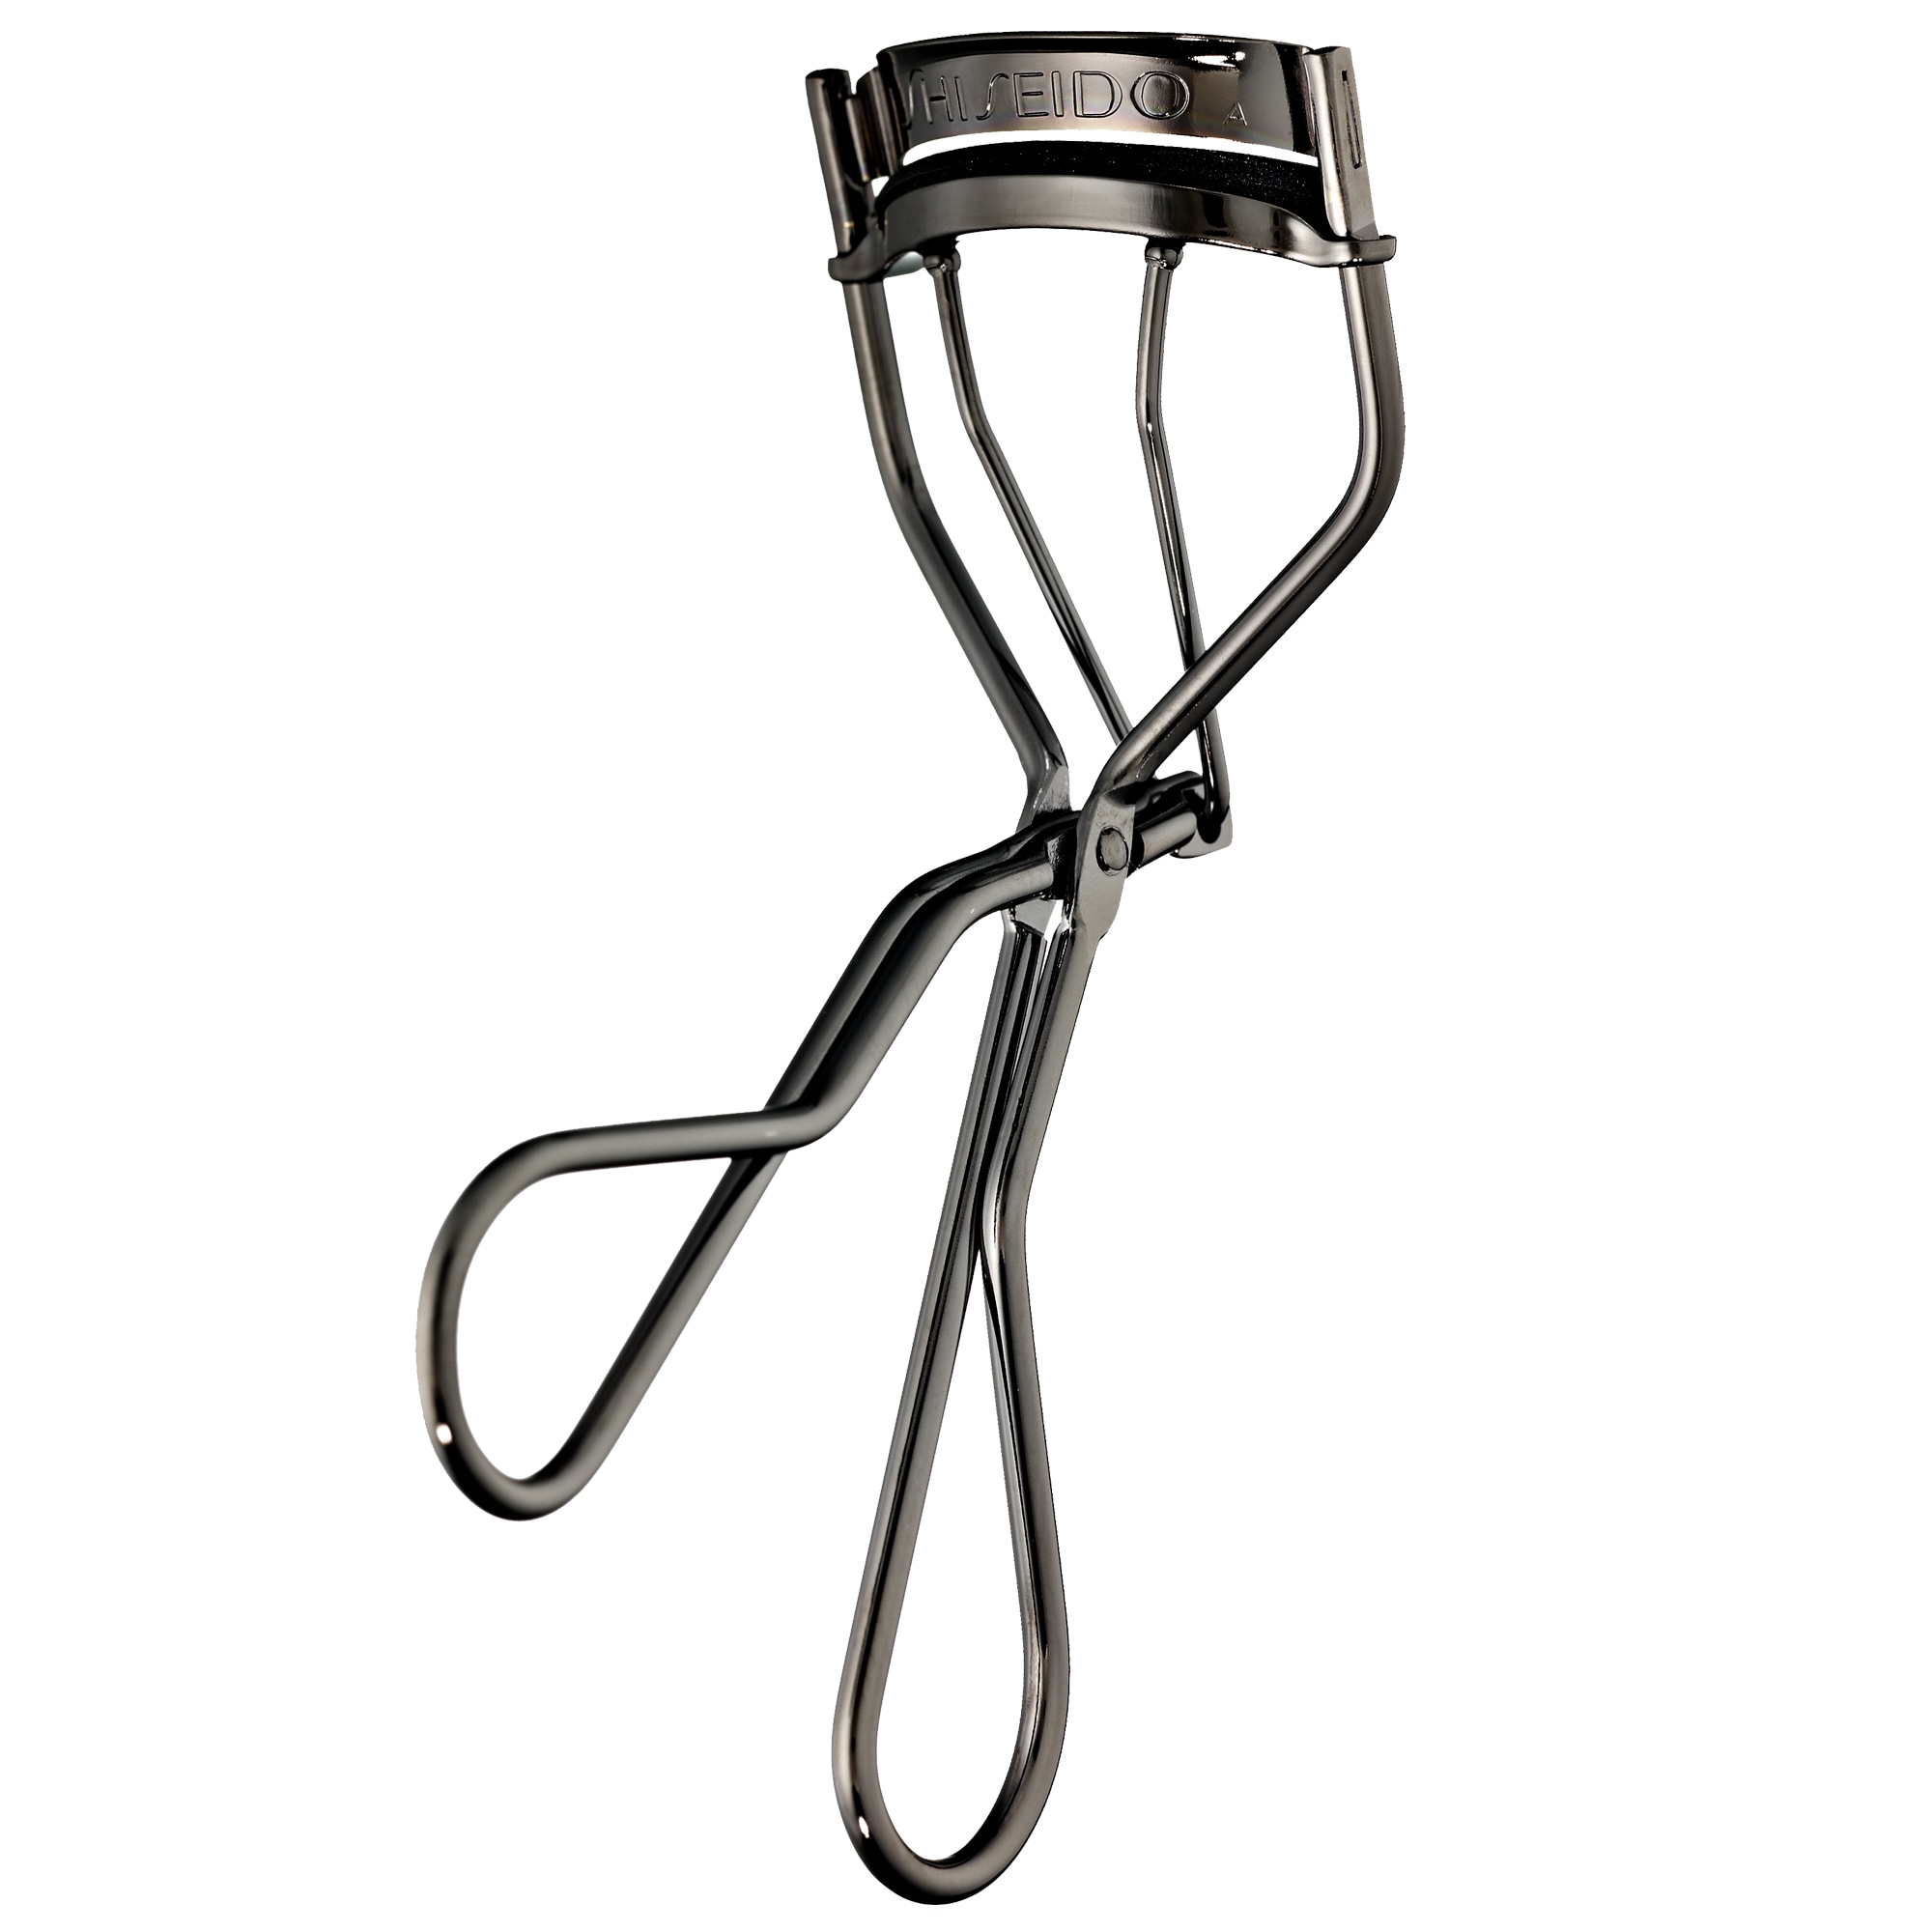
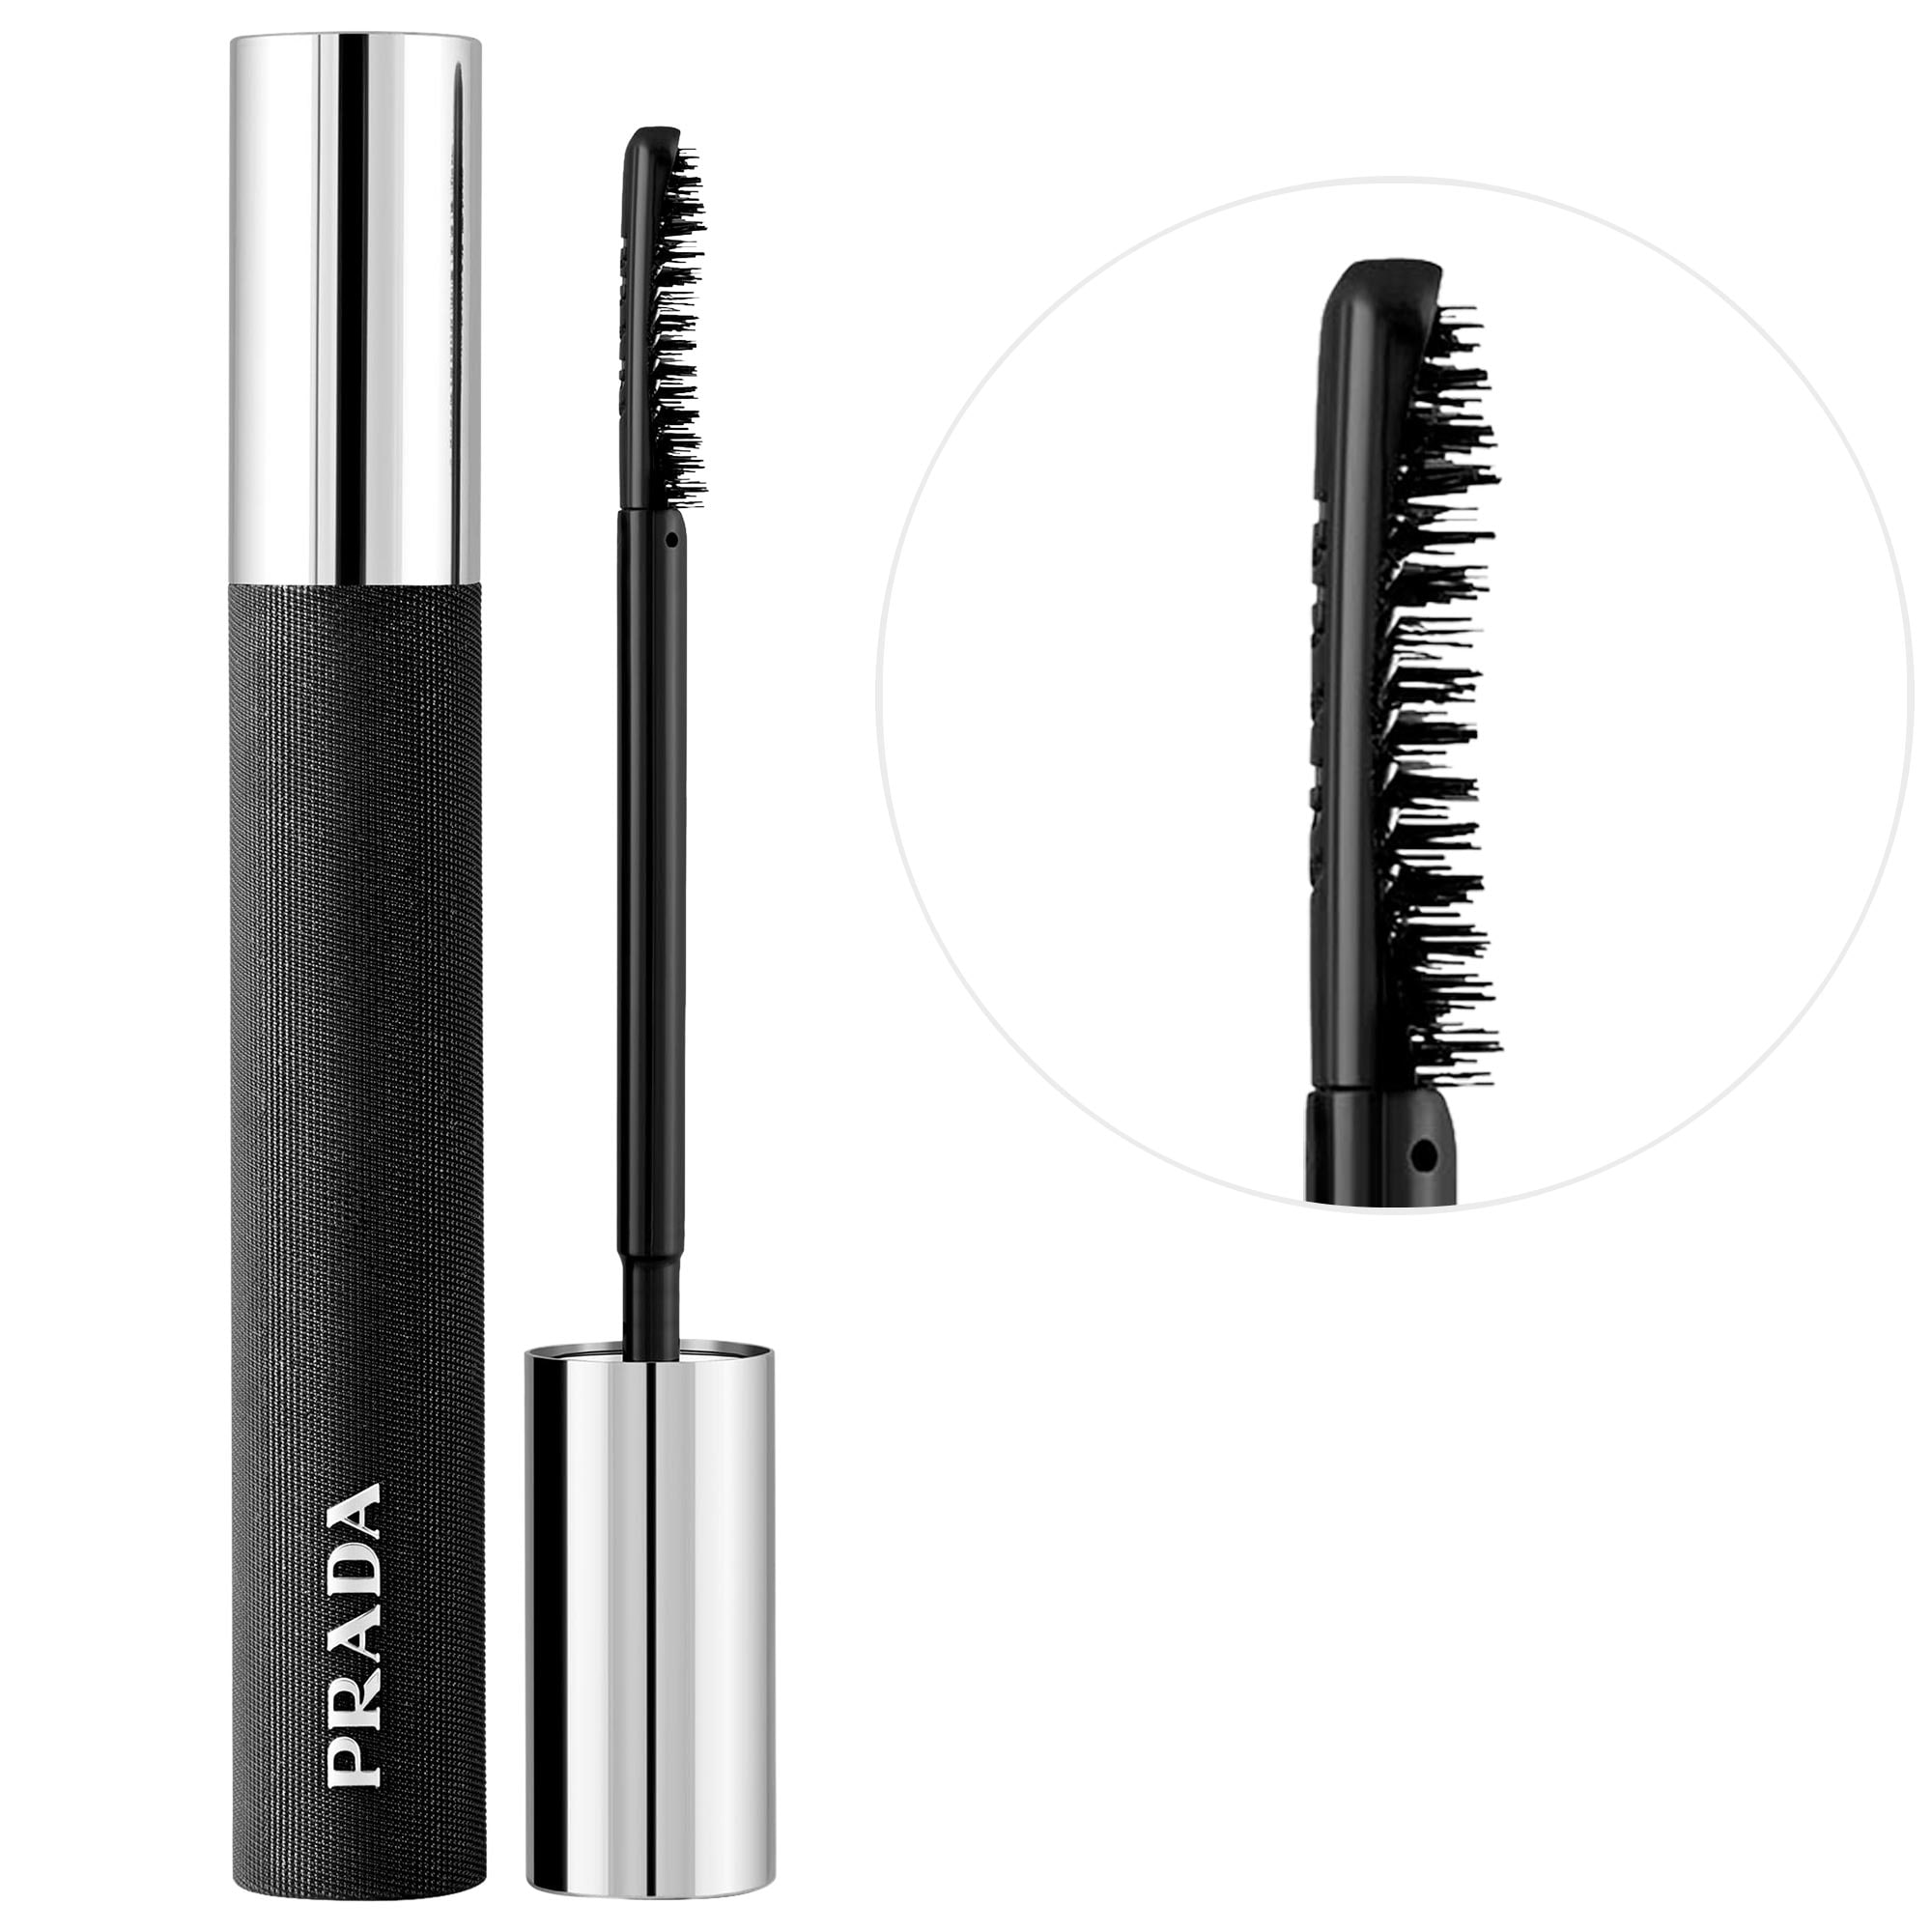
- Finish With Mascara: This final step is what makes strip lashes look convincingly natural. While the glue is still tacky, Cooper recommends using a lash curler to press your natural lashes and the falsies together so they sit on the same plane. If they still need more blending, finish by lightly combing the two with a coat of mascara.
How to Apply Cluster or Individual Lashes
- Choose Your Length: Unlike strips, you don’t need to trim individual lashes. Instead, you customize the look by picking short, medium, and long clusters. “Mixing your lengths is the secret to making individuals look like real lashes,” says D’Amelio. “Natural lashes are never one uniform size, so if you use the same length across the entire eye, it looks flat and artificial.” She recommends starting with the shortest lengths in the inner corners, building up length until you reach the center or the outer third, then tapering back down as you reach the outer corner.
- Apply Glue: Just like with strip lashes, less is more for individuals—using too much will make things look clumpy and visible in all the wrong ways. Dip the end of each cluster into a very small amount of glue; As D’Amelio puts it, “If you see a bead of glue, that’s already too much.” With individuals, you only need to wait about five to 10 seconds before you stick the clusters to your lash line—because you’re using so little glue, it will get tacky more quickly.
- Place Clusters Slightly Above the Lash Line: While strips sit directly on top of your lash roots, individuals sit just a hair (no pun intended) above them. Use tweezers to place them one at a time, working from the outer corner inward to achieve the most natural effect. “I like to angle the lashes upward, rather than straight out, to create a soft lift that still looks believable,” says D’Amelio. In this case, too, looking down at the mirror will make the application process easier.
- Build and Blend as You Go: Since you’re working with small clusters instead of one continuous strip, the application becomes a slow build rather than a single placement. Add a few lashes to create a soft lift, then layer additional clusters wherever you want more fullness. D’Amelio’s advice? “Always layer,” she says. “Layering two or three lengths gives dimension, movement, and that soft, fluffy finish that looks like your natural lashes, just enhanced. Keep in mind that with clusters, you don’t need eyeliner to hide a band the way you do with strips, but if you want a little extra definition, feel free to add a thin line along the roots.
- Skip Mascara: Mascara shortens the lifespan of individual lashes, so if you want them to stay clean and last as long as possible, it’s better to skip it. To blend the clusters with your natural lashes, gently pinch them together using your fingers or tweezers. If you really want mascara, keep it minimal and focus only at the roots to avoid clumping the clusters.
How to Apply Magnetic Lashes
- Choose the Right Size: Unlike traditional strips, magnetic lashes often come in short, medium, and long lengths, so it’s usually better to choose the size that suits your eye rather than trimming them down. If you do need to shorten the band, proceed with caution, as snipping any magnets will prevent the lash from gripping properly.
- Apply Magnetic Liner: Magnetic lashes adhere to your lid with a special magnetic liner (not glue), which is typically included with your strips. Swipe a thick, even line across your lash where you want the lash band to sit, then let it dry completely—which can take up to two minutes. If the liner is still wet, the magnets won’t grip, so patience really pays off here.
- Click the Lashes Into Place: Now for the easy part: All you have to do is hold the lash strip above your liner and wait for the magnets to grab on. Once they’re in place, they’re pretty much locked in—you can adjust the corners if you need to, but you don’t get quite as much wiggle room as you do with regular strips or individuals.
- Press the Band Into Place: Pinch the band and your natural lashes together to secure. If a corner lifts, add a little more magnetic liner just to that spot and let it dry.
- Skip Mascara: Mascara can damage the magnets, so it’s best to steer clear once your lashes are applied. If you’re worried about blending, you can apply before the lashes themselves.
How Do I Remove False Lashes Safely?
When removing fake lashes, being gentle is a non-negotiable. Tugging at the band can pull and damage the delicate skin around your eyes, so you’ll want to break down the adhesive before you lift anything off.
Steam is the easiest way to do that. “I tell clients to take a warm shower or hold their face over a bowl of hot water with a towel over their head,” says D’Amelio. “The steam loosens the adhesive so you never have to tug.”
Once the glue has softened, saturate a cotton pad with an oil-based makeup remover or cleansing balm and gently wipe downward. The oils will break down any remaining adhesive so the lashes slide off with minimal effort. If they’re still holding on, don’t force it—apply a bit more remover and repeat the process until it works.
How Do I Make False Lashes Last Longer?
The number of wears you’ll get out of a pair of falsies depends largely on the product itself—some are meant for a single use, while others are designed to be worn, washed, and reworn multiple times (the packaging will usually spell this out). If you’re working with a reusable pair, the key is keeping them clean and free of buildup. Gently peel off any remaining glue after each wear, then use a cotton swab dipped in oil-free makeup remover to wipe away mascara or liner. Let them dry completely before putting them back in their case so they hold their shape, stay protected between uses, and help you create the wide-open, doe-eyed look of your dreams.
Why Trust Marie Claire
For more than 30 years, Marie Claire has been an internationally recognized destination for news, fashion and beauty trends, investigative packages, and more. When it comes to the products Marie Claire recommends, we take your faith in us seriously. Every product that we feature comes personally recommended by a Marie Claire writer or editor, or by an expert we’ve spoken to firsthand.
Meet the Experts

I have been in the beauty industry for the past 16 years and a licensed Cosmetologist for the past 14 years specializing in Bridal, Education & Film. I have been featured on major networks such as MTV, BRAVO, VH1 as well as E! and have worked countless New York City fashion shows for the Bridal industry’s top designers. I strongly believe in always furthering my own education and will be showing you my personally recommended tips and tricks that I have learned through it all.
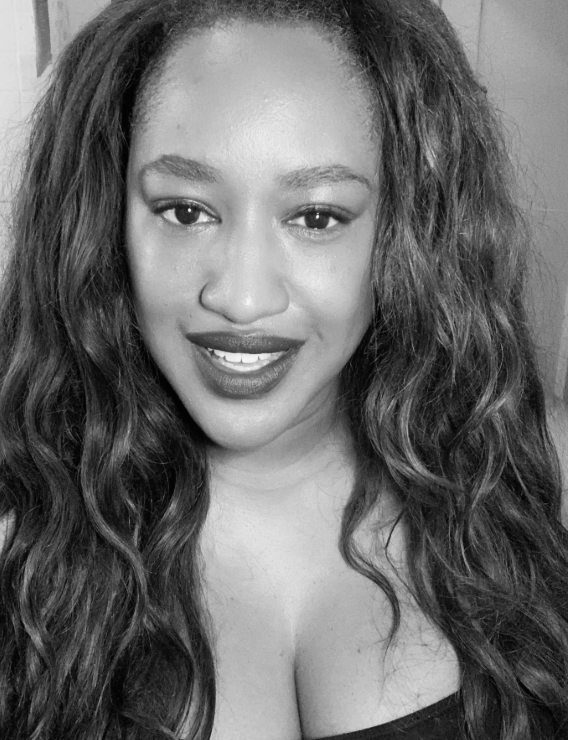
In addition to being a sought after Makeup Artist and Hairstylist, T. Cooper is also a Beauty Editor and Beauty Director who offers expert consulting services for beauty brands. With over a decade of experience in the beauty industry as an artist, coupled with a background in business, T. Cooper provides valuable insights and strategic guidance to help beauty brands enhance their product lines, marketing strategies. Her expertise spans product development, trend analysis, beauty content, creation, and consumer engagement.

Zoe Weiner is a freelance beauty and wellness journalist, expert, and content creator who specializes in skin care, mental health, and travel. Her favorite stories to tell are the ones that bring these worlds together. Her work has appeared in Bustle, Byrdie, Cosmopolitan, Popsugar, GQ, Glamour, Marie Claire, Allure, SELF, Brides, and Teen Vogue, among others. Before going freelance, she was the Senior Beauty Editor at Well+Good, where she hosted the Routine Rundown Podcast and Zoë Tries It All YouTube series.
